Are you struggling with removing fasteners from your drywall without causing damage? You’re not alone.
Whether you’re fixing a hole, repainting, or just updating your wall, getting those stubborn nails or screws out cleanly can be tricky. But don’t worry—this guide will show you simple, effective steps to remove fasteners quickly and safely. Keep reading, and you’ll learn the tricks that pros use to protect your walls and save time.
Your drywall will look flawless, and you’ll feel confident tackling this task on your own.
Credit: www.bobvila.com
Types Of Drywall Fasteners
Drywall fasteners hold drywall sheets securely to wall studs or ceilings. Different fasteners suit different wall types and weights. Knowing these types helps remove them safely without damage. Fasteners vary by material, size, and design. Each type needs a specific removal approach.
Understanding fastener types makes drywall work easier. It saves time and prevents extra repairs. Let’s explore common drywall fasteners and how to choose the right removal method.
Common Fastener Varieties
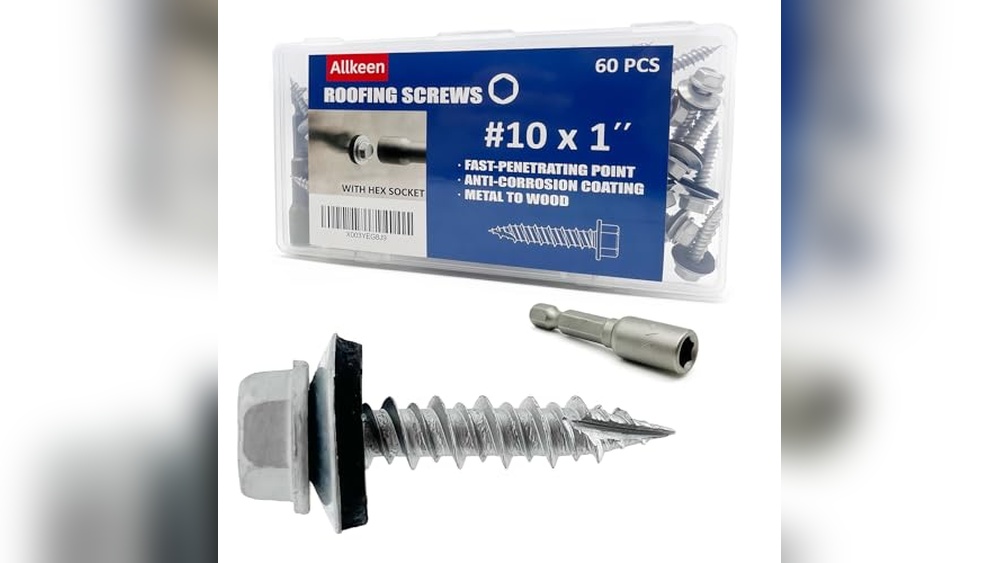
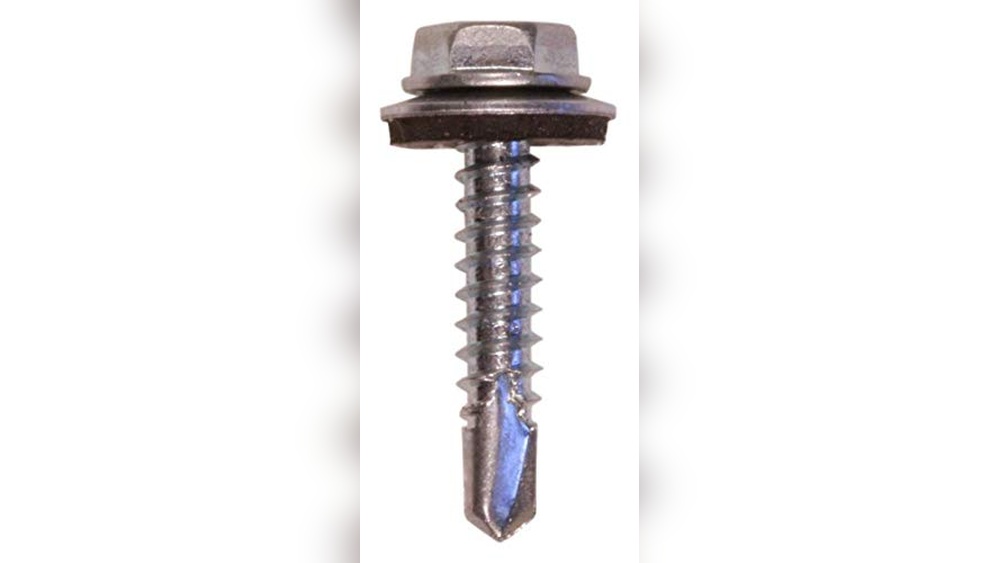
Drywall screws are the most common fasteners. They have coarse threads and a sharp tip. These screws grip wood or metal studs firmly. Nails also hold drywall in place. They are thinner and often have a ringed shaft for better grip. Drywall anchors come in plastic or metal. Anchors support heavy items on drywall alone. Each fastener type needs careful handling during removal.
Choosing The Right Removal Method
Removing screws requires a screwdriver or drill. Turn slowly to avoid stripping the head. Nails need a claw hammer or pry bar. Pull straight out to reduce drywall damage. Anchors must be removed gently. Some can be twisted out, others pushed through. Choose tools and methods based on fastener type. This prevents wall damage and keeps surfaces smooth.
Credit: www.hgtv.com
Tools Needed For Removal
Removing fasteners from drywall requires the right tools. Using proper tools makes the job easier and protects the wall. It also helps avoid damage to the drywall surface. This section covers the essential tools for fastener removal.
Basic Hand Tools
Start with simple hand tools. A flathead screwdriver works well to pry out nails and screws. Pliers help grip and pull stubborn fasteners. A putty knife can gently lift edges without harming drywall. These tools are affordable and easy to use.
Power Tools Options
Power tools save time and effort. A cordless drill with a screwdriver bit quickly removes screws. An oscillating multi-tool with a cutting blade cuts through tough fasteners. Use power tools carefully to avoid making holes or cracks.
Safety Gear Essentials
Wear safety glasses to protect eyes from dust and debris. Gloves shield your hands from sharp edges and splinters. A dust mask prevents inhaling drywall dust. Safety gear keeps you safe and comfortable during removal work.
Preparing The Work Area
Preparing the work area is an important first step before removing fasteners from drywall. It helps keep the space safe and clean. Proper preparation also makes the task easier and faster. Taking time to get ready saves effort later on.
Clearing The Space
Remove furniture and objects near the wall. Clear the floor to avoid tripping hazards. A tidy space lets you move freely. It also protects your belongings from dust and debris.
Protecting Surfaces
Cover floors and nearby furniture with drop cloths or plastic sheets. Protect light switches and outlets with painter’s tape. This prevents scratches and damage. It keeps the area clean and saves time on cleanup.
Gathering Materials
Collect all tools needed for the job. Common items include a screwdriver, pliers, and a putty knife. Have a container ready for fasteners and debris. Being prepared means you won’t stop mid-task to find tools.
Removing Nails From Drywall
Removing nails from drywall needs care. Nails hold the drywall but can damage the wall if pulled wrong. Using the right tools helps keep the wall smooth and ready for repair or repainting. This guide shows simple ways to remove nails without making big holes.
Using A Claw Hammer
Grab a claw hammer for small nails in drywall. Place the claw under the nail head gently. Pull the hammer handle back slowly to lift the nail. Move the hammer a little if the nail is stuck. This method works best for nails near the wall surface.
Leveraging A Pry Bar
A pry bar helps with nails that are hard to reach. Slide the thin end under the nail head carefully. Use the bar as a lever by pressing the handle down. This lifts the nail out with less force. Keep steady pressure to avoid cracking the drywall.
Minimizing Wall Damage
Protect the wall by placing a thin piece of wood or cardboard under tools. This spreads the force and stops dents. Pull nails slowly and straight out to reduce wall damage. After removal, fill small holes with spackling paste for a smooth finish.
Extracting Screws Efficiently
Removing screws from drywall can be tricky without the right method. Extracting screws efficiently saves time and prevents wall damage. Use the best tools and techniques for smooth removal. Focus on proper grip and steady force. Avoid stripping the screw head or making the hole bigger. Follow simple steps to get screws out quickly and cleanly.
Manual Screwdriver Techniques
Choose a screwdriver that fits the screw head exactly. Turn the screwdriver slowly and steadily. Apply firm pressure to avoid slipping. Keep the screwdriver straight to prevent damage. Use a rubber band over the screw head for extra grip. Turn counterclockwise to loosen the screw. Take breaks if the screw feels stuck. Patience helps prevent stripping or wall damage.
Power Drill Tips
Use a drill with adjustable speed and torque settings. Select a drill bit that matches the screw head. Start at low speed to avoid stripping. Hold the drill firmly and keep it straight. Pull the screw out as it loosens. Stop if the screw resists and switch to manual tools. Power drills save effort but need careful handling. Protect drywall edges from accidental drill slips.
Handling Stripped Screws
Stripped screws need special care to remove. Place a wide rubber band over the screw head. Press the screwdriver into the rubber band for grip. Use pliers to turn the screw if the head is damaged. Try a screw extractor tool for deep stripping. Apply penetrating oil to loosen rusted screws. Work slowly to avoid damaging the drywall. Stripped screws require patience and proper tools.

Credit: www.youtube.com
Dealing With Anchors And Wall Plugs
Anchors and wall plugs secure heavy items on drywall. Removing them needs care to avoid damage. Different types require different methods. Knowing how to handle plastic and metal anchors helps keep walls smooth.
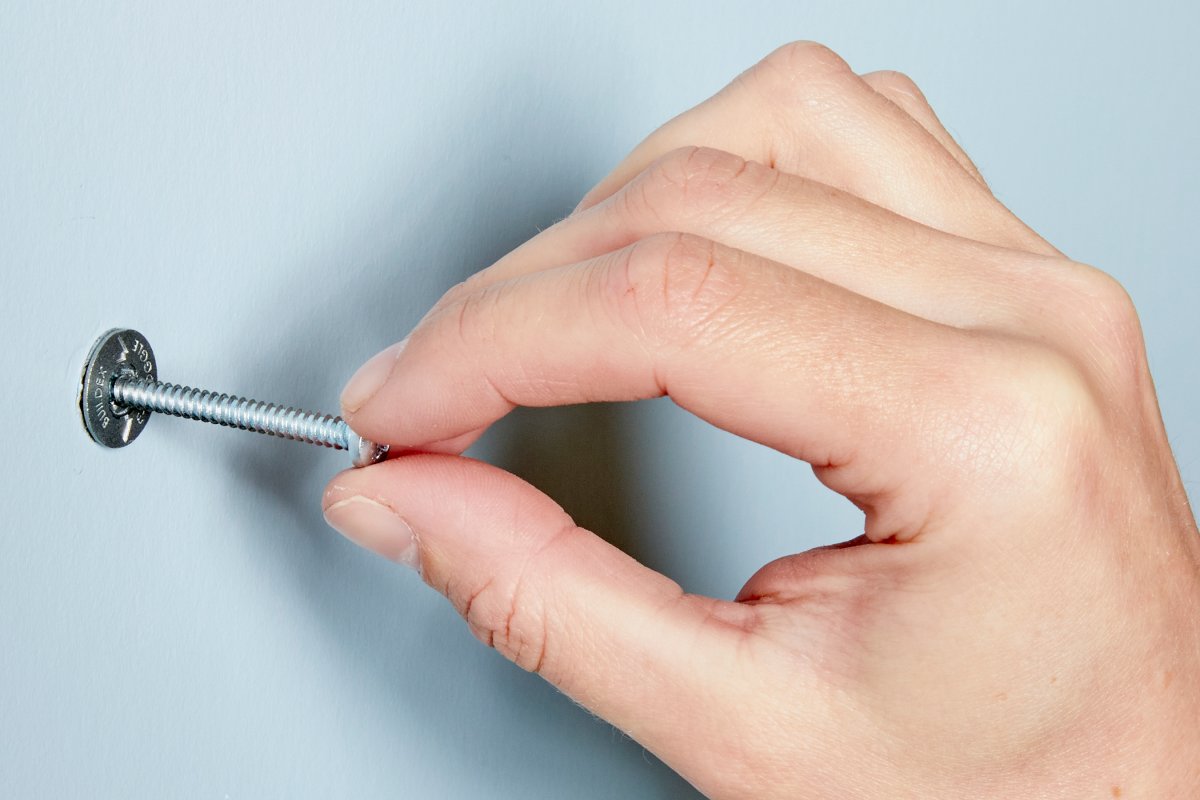
Pulling Out Plastic Anchors
Plastic anchors often widen inside the wall for grip. Try to pull them out gently using pliers. If they don’t move, push them inside the wall cavity. Use a screwdriver to tap the anchor through the drywall. Avoid forcing it to prevent wall damage.
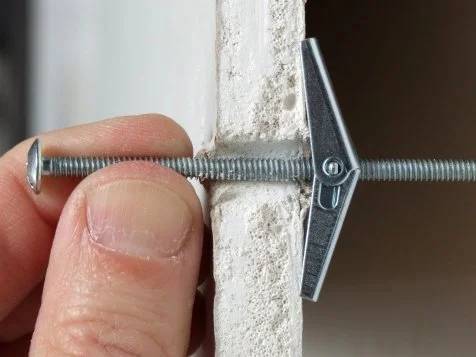
Removing Metal Anchors
Metal anchors are tougher and can be harder to remove. Use pliers to grip the anchor’s rim. Twist it slowly while pulling out. If it resists, push it into the wall carefully. Avoid enlarging the hole or cracking the drywall.
Repairing The Wall After Anchor Removal
Removing anchors leaves holes or dents in drywall. Fill holes with spackling paste or joint compound. Smooth the surface with a putty knife. Let it dry, then sand it flat. Paint over the patch for a clean finish.
Repairing Holes After Fastener Removal
Removing fasteners from drywall often leaves holes or damage behind. Fixing these spots keeps walls smooth and ready for painting. Proper repair helps maintain your room’s clean look. Small holes need quick filling, while bigger damage requires patching. Sanding finishes the job by making walls even. Follow these steps for neat repairs after fastener removal.
Filling Small Holes
Small holes come from nails or screws. Use spackling paste or lightweight drywall compound. Apply a small amount with a putty knife. Press the compound firmly into the hole. Smooth the surface to blend with the wall. Let it dry fully before touching or painting. This method is quick and keeps walls neat.
Patching Large Damages
Large holes or torn drywall need patching. Cut a drywall patch slightly bigger than the hole. Attach the patch with drywall tape or adhesive. Cover the edges with joint compound. Spread the compound evenly beyond the patch edges. Multiple layers may be needed for a smooth finish. Allow each layer to dry before adding the next.
Sanding And Finishing Tips
Once the compound is dry, sand the area gently. Use fine-grit sandpaper for smooth results. Sand until the patch blends with the wall surface. Avoid sanding too hard to prevent damage. Wipe away dust with a damp cloth. Prime and paint the repaired spot to match the wall color. This step gives a clean, seamless finish.
Preventing Damage During Removal
Removing fasteners from drywall can be tricky. Without care, you might damage the wall’s surface. Preventing damage during removal keeps your walls smooth and ready for new finishes. Using the right methods helps avoid holes, cracks, or peeling paint. This section explains simple ways to protect your drywall.
Techniques For Gentle Removal
Start by identifying the fastener type. Use the right tool, like a screwdriver or pliers. Turn screws slowly to avoid stripping them. For nails, gently pull them out with pliers. Work carefully to prevent tearing the drywall paper. Place a thin piece of cardboard behind the tool. This protects the wall surface from scratches. Take your time and use steady pressure. Avoid sudden pulls that may cause damage.
When To Call A Professional
Some fasteners are hard to remove safely. Deep or rusted fasteners may break easily. Large or fragile drywall areas need expert care. Professionals have special tools for tough jobs. They can fix damage during removal too. Choose a pro if you feel unsure. This reduces risk and saves time. Protect your walls by knowing when to ask for help.
Frequently Asked Questions
How Do You Safely Remove Drywall Fasteners?
To safely remove drywall fasteners, use pliers or a screwdriver. Gently pry or unscrew to avoid damaging the wall. Work slowly to prevent holes or tears in the drywall surface.
What Tools Are Best For Removing Drywall Fasteners?
Pliers, a flathead screwdriver, and a utility knife are best. Pliers grip and pull fasteners. A screwdriver helps unscrew them. A utility knife can clean around fastener edges.
Can Drywall Be Damaged When Removing Fasteners?
Yes, drywall can be damaged if removed roughly. Use gentle, steady pressure. Avoid pulling too hard or using sharp tools that can tear the surface.
How Do You Repair Holes After Fastener Removal?
Fill holes with spackle or drywall compound. Smooth the surface with a putty knife. After drying, sand lightly and repaint to match the wall color.
Conclusion
Removing fasteners from drywall does not have to be hard. Use the right tools to avoid damage. Gently pull or unscrew fasteners for best results. Fill holes afterward to keep walls smooth. Take your time and work carefully. Small steps make a big difference.
Soon, your wall will look neat and clean. This simple process saves you time and effort. Keep these tips in mind for your next project.