Are your shutters loose or won’t stay closed? Replacing shutter fasteners might be the simple fix you need.
You don’t have to call a professional or spend a lot of money. With a few easy steps, you can make your shutters secure and look great again. Keep reading, and you’ll learn how to do it quickly and confidently, even if you’ve never done this before.
Let’s get your shutters working perfectly!
Tools And Materials Needed
Replacing shutter fasteners requires the right tools and materials. Having everything ready makes the job easier and faster. Using proper tools helps avoid damage and ensures a secure fit. Choosing the right fasteners keeps your shutters safe and functional. Below are the must-have tools and tips for picking fasteners.
Essential Tools
Start with a screwdriver set. Both flathead and Phillips types are useful. A drill with screwdriver bits speeds up the work. A tape measure helps to check sizes accurately. Needle-nose pliers assist in gripping small parts. A hammer can be handy for tapping fasteners into place. Keep a level nearby to ensure shutters are straight.
Choosing The Right Fasteners
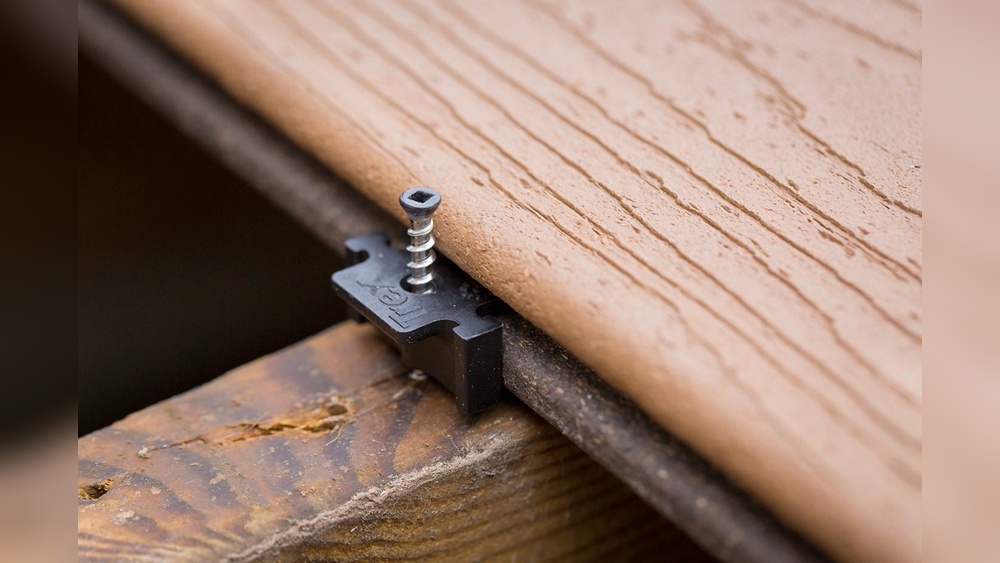
Select fasteners made of rust-resistant materials. Stainless steel or coated screws last longer outside. Match fastener size to the shutter and frame thickness. Too short fasteners won’t hold; too long can damage the shutter. Use fasteners designed for outdoor use only. Avoid cheap or weak screws that can break easily. Proper fasteners improve shutter durability and safety.
Preparing Your Shutters
Preparing your shutters is the first step to replace shutter fasteners. Proper preparation makes the task easier and ensures a better result. Take your time to carefully remove old parts and check the condition of the shutters. This helps avoid problems later and keeps your shutters working well.
Removing Old Fasteners
Start by removing the old fasteners carefully. Use the right tools like a screwdriver or drill. Unscrew each fastener slowly to avoid damaging the wood or paint. Keep the fasteners aside if you want to compare sizes later. Removing all fasteners clears the way for new ones.
Cleaning And Inspecting Shutters
After removing the fasteners, clean the shutter surface. Use a soft brush or cloth to remove dirt and dust. Check the shutters for cracks or damage. Look closely at the areas around the fastener holes. Fix any small problems before installing new fasteners.
Step-by-step Replacement Process
Replacing shutter fasteners is a simple task with the right steps. Follow this guide to fix your shutters quickly. Each step ensures your shutter stays secure and works well. This process keeps your home safe and neat.
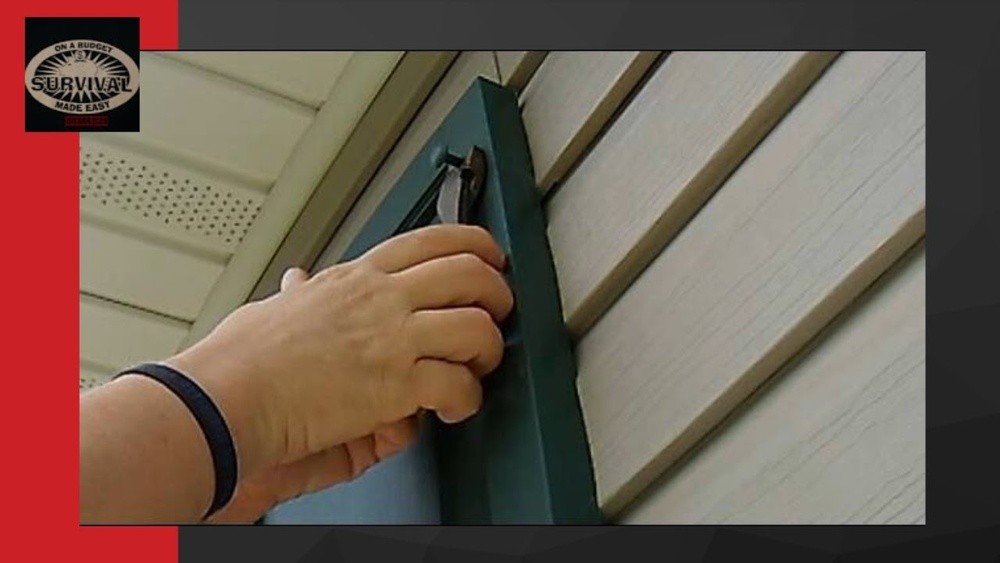
Aligning The Shutter
Start by closing the shutter gently. Check if it lines up with the frame. Move the shutter slowly to find the best position. Proper alignment helps the fastener work smoothly. Make small adjustments until the shutter fits perfectly.
Installing New Fasteners
Choose fasteners that match your shutter size. Hold the fastener against the frame where the old one was. Use a pencil to mark screw holes clearly. Drill small pilot holes to avoid wood splitting. Attach the fastener firmly with screws using a screwdriver.
Securing And Testing
Lock the shutter using the new fastener. Check if it holds the shutter tight. Try opening and closing several times. Ensure the fastener does not slip or loosen. Tighten screws if needed to keep everything secure.
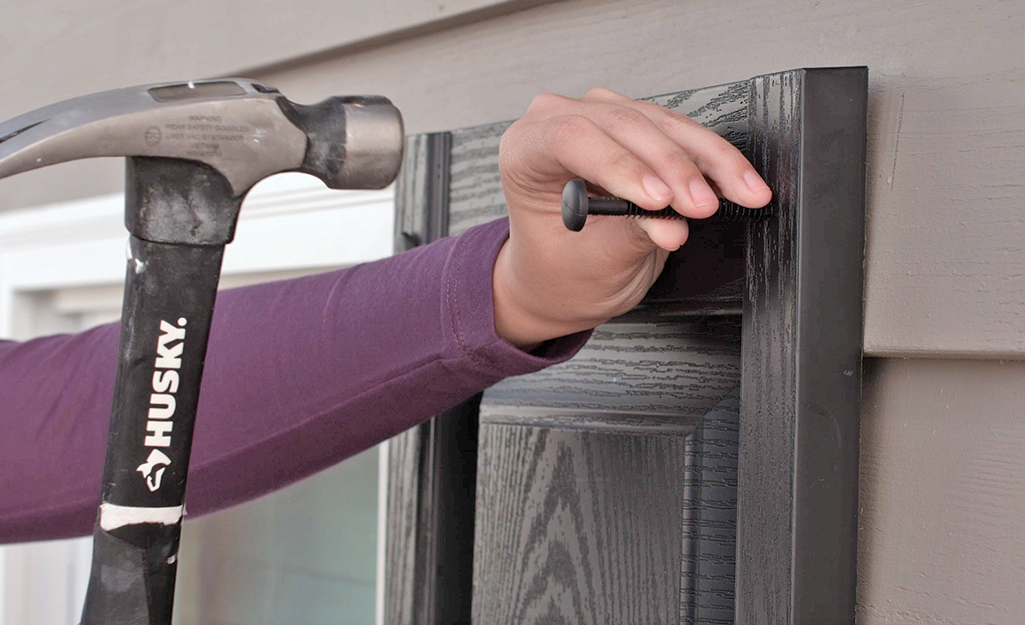
Credit: www.homedepot.com
Troubleshooting Common Issues
Troubleshooting common issues with shutter fasteners saves time and effort. Problems often arise from simple causes. Fixing these quickly keeps shutters functional and looking good. This section covers two frequent problems: loose fasteners and misaligned shutters. Each issue has clear steps to solve it.
Loose Fasteners
Loose fasteners make shutters unstable and noisy. Check fasteners regularly for tightness. Use a screwdriver to tighten any loose screws. Replace damaged fasteners with new ones of the same size. Avoid overtightening to prevent stripping the screw holes. Secure fasteners ensure shutters stay firmly in place.
Misaligned Shutters
Misaligned shutters do not close or open smoothly. Check if fasteners are installed evenly on both sides. Adjust the position of the fasteners slightly to align shutters properly. Sometimes, removing and reinstalling fasteners helps correct alignment. Use a level to ensure shutters are straight. Proper alignment improves shutter function and appearance.
Maintenance Tips For Longevity
Keeping shutter fasteners in good shape helps your shutters last longer. Regular care stops problems early. It saves money and effort over time.
Simple steps extend the life of fasteners. Check them often and protect them from damage.
Regular Inspections
Look at fasteners once a month. Check for loose screws or parts. Tighten any that feel weak. Notice cracks or bends in the fastener. Small problems grow if ignored.
Use a flashlight to see hidden spots. Inspect both sides of the fastener. Make sure the fastener holds the shutter firmly. Replace worn parts before they break.
Preventing Rust And Damage
Rust weakens metal fasteners. Avoid water sitting on fasteners. Wipe them dry after rain or washing. Apply a light coat of oil to metal parts. Oil blocks moisture and stops rust.
Use rust-resistant fasteners if possible. Paint or seal fasteners to protect from weather. Keep plants and dirt away from fasteners. Dirt traps moisture and causes corrosion.

Credit: www.youtube.com

Credit: www.amazon.com
Frequently Asked Questions
What Tools Are Needed To Replace Shutter Fasteners?
You need a screwdriver, replacement fasteners, a drill, and safety gloves. These tools help remove old fasteners and install new ones easily.
How Long Does It Take To Replace Shutter Fasteners?
Replacing shutter fasteners usually takes 30 to 60 minutes per shutter. Time depends on fastener type and shutter condition.
Can I Replace Shutter Fasteners Without Removing Shutters?
Yes, in many cases you can replace fasteners without removing shutters. This saves time and effort if access is easy.
What Types Of Shutter Fasteners Are Best For Replacement?
Stainless steel or rust-resistant fasteners are best. They provide durability and resist weather damage, extending shutter life.
Conclusion
Replacing shutter fasteners can be simple and quick. Choose the right tools and parts first. Remove old fasteners carefully to avoid damage. Attach new fasteners firmly for a secure hold. Test the shutters to ensure they open and close smoothly.
Regular checks help keep shutters in good shape. Small fixes save money and improve home look. Stay safe and take your time during the process. Now, your shutters will work well and look neat. Easy steps lead to great results.