Are you planning to refresh your cabinets with a fresh coat of paint? Before you pick up that brush, there’s a simple step that many people overlook—drilling hardware holes first.
It might sound small, but this choice can save you time, prevent damage, and give your cabinets a flawless finish. Wondering why this matters for your project? Keep reading to discover how doing the hardware holes before painting can make your cabinets look professional and last longer.
This one tip could change the way you renovate forever.

Credit: www.youtube.com
Why Drill Before Painting
Drilling hardware holes before painting cabinets is a smart step. It helps keep the cabinet surface smooth and neat. This process stops paint from cracking or peeling near the hardware. It also makes sure the hardware fits perfectly. Drilling first saves time during the whole project.
Preventing Paint Damage
Drilling holes before painting stops paint from breaking around screws. Screwing into painted surfaces can cause cracks. Paint chips fall off, and the cabinet looks old fast. A clean drilled hole keeps paint tight around the hardware. This protects your cabinet’s new look for longer.
Ensuring Precise Hardware Placement
Marking and drilling holes first helps put hardware in the right spot. You can measure carefully and avoid mistakes. Hardware looks balanced and works well when holes are exact. Painting over drilled holes is easier and cleaner. This keeps cabinets looking sharp and well-made.
Saving Time And Effort
Drilling before painting cuts down extra work later. You avoid fixing chipped paint or uneven hardware. No need to repaint areas damaged by screws. It makes the painting job smoother and faster. Less fixing means you finish your project sooner.
Choosing The Right Drill And Bits
Choosing the right drill and bits is key before drilling holes in cabinet doors. The right tools make drilling easier and keep the cabinets safe. Using the wrong drill or bit can cause damage or uneven holes. It helps to know which drills suit cabinet work and how to pick the correct bit size. This knowledge saves time and gives clean results.
Types Of Drills Suitable For Cabinets
Cordless drills are popular for cabinet projects. They offer freedom to move without a cord. Their adjustable speed helps control the drilling process. Corded drills provide steady power for tougher tasks. Both types can work well depending on the job.
Drills with a clutch help avoid overdrilling. They stop the drill when too much pressure builds. This feature protects the cabinet surface. Compact drills fit well in tight spaces. This makes them ideal for small cabinet doors or corners.
Selecting The Correct Drill Bit Size
Drill bits come in many sizes. The size must match the hardware screws. Too large a bit makes holes loose. Too small can split the wood or break the screw.
Measure the screw diameter before choosing the bit. The bit should be slightly smaller than the screw. This ensures a snug fit and strong hold. For cabinet hinges, pilot holes often need a smaller bit than the screw size. This guides the screw without cracking the wood.
Marking Hardware Locations
Marking hardware locations is a key step before painting cabinets. It helps place handles and knobs in the right spots. This step saves time and prevents mistakes later. Clear marks guide you through drilling holes accurately. A small error can make hardware look off-center or crooked. Proper marking ensures a neat and professional finish.
Take your time with this step. Double-checking measurements and using tools can make the process easier. Well-marked spots help create a balanced look on each cabinet door and drawer.
Measuring For Accuracy
Measure carefully to ensure perfect hardware placement. Use a ruler or tape measure to find the center or desired spot. Measure twice to avoid errors. Mark the spot lightly with a pencil. Check the height and spacing against other hardware pieces. Consistent measurement keeps hardware aligned and visually pleasing.
Using Templates And Guides
Templates simplify marking by providing exact hole positions. You can buy plastic or metal templates made for cabinet hardware. Place the template on the cabinet door or drawer. Hold it steady and mark the holes through the template’s guides. Templates save time and improve accuracy. They help maintain the same placement on all doors and drawers.
Credit: arayofsunlight.com
Drilling Techniques For Cabinets
Drilling holes for cabinet hardware requires care and precision. Proper drilling helps the hardware fit well and keeps the cabinet surface smooth. This process affects the look and function of the cabinets. Using the right drilling techniques can prevent damage and save time.
Understanding the best ways to drill holes ensures a neat and strong installation. The following tips cover how to drill straight holes and avoid splintering or damage on your cabinets.
Drilling Straight And Clean Holes
Start with a sharp drill bit made for wood. Hold the drill steady and keep it perpendicular to the cabinet surface. A guide or jig can help keep the drill straight. Slow drilling reduces the risk of slipping or uneven holes. Mark the spot clearly before drilling to avoid mistakes. Clean holes make hardware fit better and look professional.
Avoiding Splintering And Damage
Use painter’s tape over the drilling spot to reduce splintering. Drill from the front and then from the back if needed. This method stops wood fibers from tearing. Choose the right drill speed; too fast can cause chips and cracks. Support the cabinet panel firmly to prevent vibrations. These steps protect the cabinet’s surface and edges.
Preparing Cabinets After Drilling
Preparing cabinets after drilling is a key step before painting. It helps the paint stick better and creates a smooth finish. Drilling holes can leave rough edges and dust. These must be handled carefully to avoid paint problems later.
Sanding Around Holes
Use fine-grit sandpaper to smooth the edges of each hole. Sand gently to remove any splinters or rough spots. This makes the surface even and ready for paint. Avoid sanding too hard to keep the hole shape intact.
Cleaning Dust And Debris
Dust and debris from drilling can stop paint from sticking well. Wipe the cabinet surface with a damp cloth to remove dust. Use a vacuum or brush for hard-to-reach areas. Make sure the cabinet is dry before painting to prevent paint issues.
Painting Tips For Drilled Cabinets
Painting cabinets with drilled hardware needs care and attention. This process protects the wood and keeps the hardware secure. Proper painting helps avoid paint buildup around holes and keeps the finish smooth. Follow these tips to make your cabinets look neat and last longer.
Choosing The Right Paint
Use paint made for cabinets or furniture. These paints are tough and resist scratches. Choose a paint with a satin or semi-gloss finish for easy cleaning. Avoid flat paints because they can stain easily. Pick a color that matches your room’s style.
Applying Even Coats Around Hardware Areas
Paint in thin layers near drilled holes and hardware. Thick paint can clog holes and stop screws from fitting. Use a small brush to reach tight spots. Let each coat dry fully before adding the next one. This method gives a smooth, even finish without lumps.
Installing Hardware Post-paint
Installing hardware after painting cabinets ensures a clean and polished look. It helps prevent paint damage and keeps handles and knobs shiny. This step requires care to align and secure each piece properly. Attention to detail here improves the cabinet’s overall appearance and function.
Aligning And Securing Handles And Knobs
Start by placing each handle or knob in its correct spot. Use the existing holes or mark new ones carefully. Make sure the hardware sits straight and level. Tighten screws slowly to avoid stripping or loosening. Check each piece for a firm hold without wobbling. Proper alignment makes opening cabinets easy and comfortable.
Checking For Proper Fit And Finish
After securing hardware, inspect the fit closely. Handles should not touch painted surfaces roughly. Knobs must turn smoothly without scratching paint. Look for any paint chips or dents near hardware. Clean any dust or fingerprints left on handles. A neat finish gives cabinets a fresh, professional look.
Credit: www.reddit.com
Common Mistakes To Avoid
Painting cabinets is a careful job. Avoiding common mistakes can save time and money. Many make errors that cause damage or a poor finish. Knowing what to avoid helps you get the best result.
Drilling After Painting
Drilling holes after painting can ruin the paint job. It can cause chips and cracks around the hole. Paint may peel off, leaving rough edges. Drilling first keeps the paint smooth and clean.
Using Incorrect Drill Bits
Using the wrong drill bit can damage the cabinet surface. Some bits make holes too big or uneven. Wood bits work best for cabinets. Metal bits may cause splintering or cracking.
Skipping Measurement Steps
Skipping measurements leads to misplaced holes. This causes handles or knobs to look crooked. Measure twice before drilling once. Use a ruler and mark spots clearly for accuracy.
Frequently Asked Questions
Do I Need To Drill Hardware Holes Before Painting Cabinets?
Yes, drilling hardware holes before painting ensures accurate placement. It prevents damage and makes installation easier after painting.
Can Drilling Holes After Painting Damage Cabinets?
Drilling after painting can chip or scratch the finish. Pre-drilling protects the paint and creates clean, precise holes.
What Drill Bit Size Is Best For Cabinet Hardware?
Use a drill bit that matches the hardware screws. Typically, 3/32-inch or 1/8-inch bits work well for most hardware.
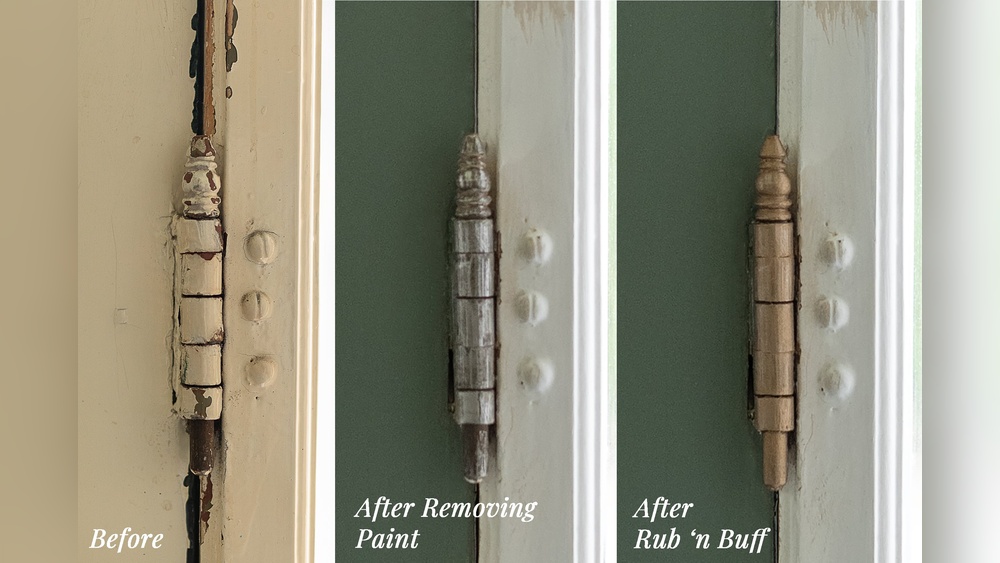
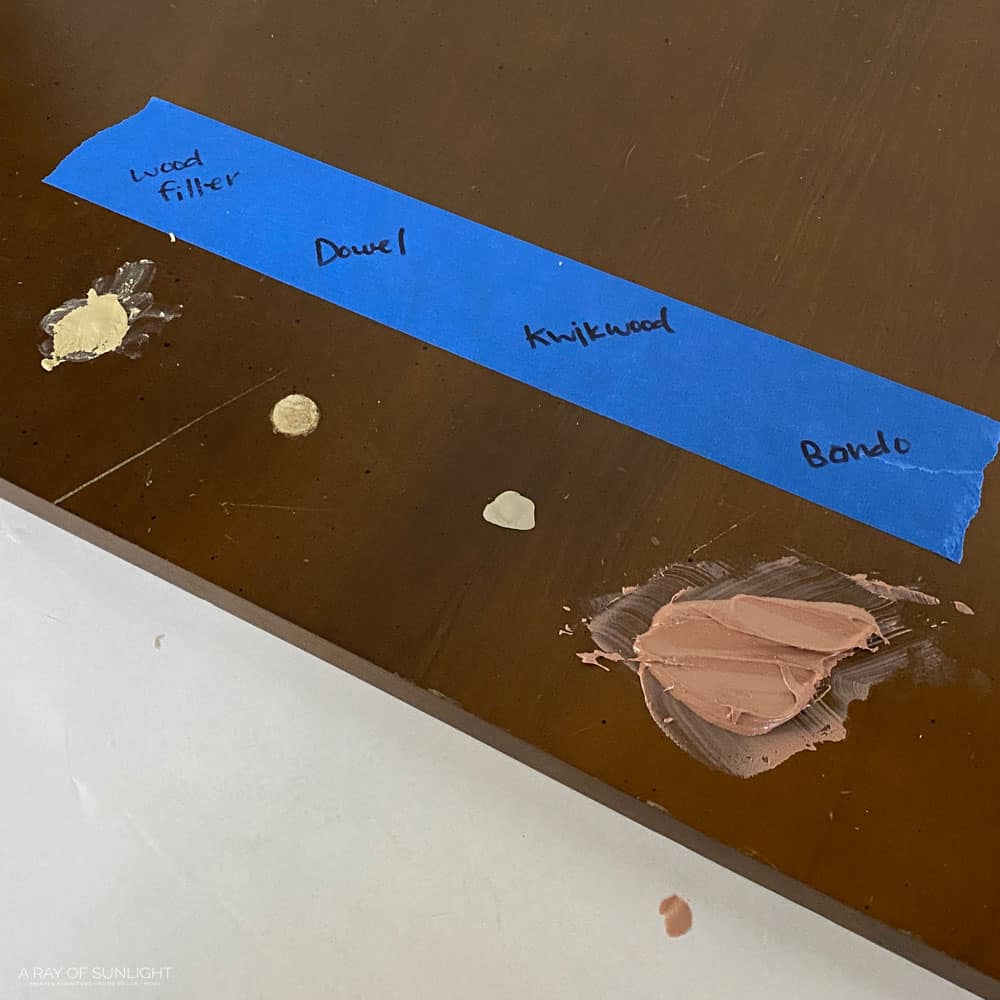
Should I Fill Old Hardware Holes Before Painting?
Yes, fill old holes with wood filler for a smooth surface. Sand and prime to ensure a flawless paint finish.
Conclusion
Drilling hardware holes before painting cabinets saves time and effort. It helps you avoid messy paint on handles and hinges. Painting first can cause chipped paint when drilling later. Preparing holes early ensures a cleaner, smoother finish. It also makes installation easier and faster.
Small steps like this improve your cabinet’s look. Think ahead, work smart, and get better results. Simple choices make a big difference in home projects.