Have you ever tried to remove hardware from your cabinet, only to find it stuck fast? It’s frustrating when screws won’t budge and handles seem glued in place.
But don’t worry—you don’t have to give up or damage your cabinet. You’ll discover simple, effective ways to loosen stuck hardware quickly and safely. By the end, you’ll feel confident tackling even the most stubborn fixtures with ease. Keep reading to learn the tricks that professionals use and save yourself time and stress.
Identify The Type Of Hardware
Before removing stuck hardware from a cabinet, first identify the type of hardware. Different hardware needs different tools and methods for removal. Knowing what you are dealing with saves time and prevents damage.
Common Cabinet Hardware Types
Cabinet hardware includes knobs, pulls, handles, and hinges. Knobs are small and round. Pulls are longer and easier to grab. Handles often have a grip design. Hinges connect the door to the cabinet frame. Each type has screws or fasteners in different spots.
Signs Of A Stuck Hardware
Stuck hardware shows signs like stripped screws or rust. Screws may turn without loosening. The hardware might feel tight or frozen. Paint or dirt can block screws. Sometimes, the hardware is bent or damaged. Identifying these signs helps decide the best removal method.
Prepare Your Tools
Before removing hardware from a stuck cabinet, gather the right tools. Proper preparation saves time and reduces frustration. Having the tools ready helps you work safely and efficiently. This section explains what you need and how to stay safe.
Essential Tools Needed
A screwdriver set is crucial. Choose flathead and Phillips types for different screws. A putty knife or thin pry tool helps loosen stuck hardware gently. Pliers can grip and twist hardware parts if needed. WD-40 or a similar lubricant loosens rust or paint bonds. A small hammer helps tap stubborn screws or nails. Keep a cloth nearby to clean dirt or oil.
Safety Precautions
Wear safety glasses to protect your eyes from debris. Use gloves to avoid cuts or scrapes. Work in a well-lit area to see clearly. Keep your workspace clean to prevent slips. Handle tools carefully to avoid injury. Always pull tools away from your body. Take breaks if you feel tired. Safety is the top priority during hardware removal.
Loosen Screws And Fasteners
Removing hardware stuck on a cabinet can be tricky. The first step is to loosen the screws and fasteners. This helps free the hardware without damaging the cabinet. Patience and the right tools make the task easier.
Using Screwdrivers Effectively
Choose the correct screwdriver size for each screw. A tight fit prevents slipping and damage. Apply firm, steady pressure while turning the screwdriver.
Turn screws slowly to avoid stripping the head. Use a screwdriver with a comfortable handle for better grip. If a screw feels stuck, try turning it back slightly before loosening it.
Handling Stripped Screws
Stripped screws lose their grip and are hard to remove. Try using a rubber band between the screwdriver and screw head. This adds extra grip.
If that fails, use a screw extractor tool. It bites into the screw and helps pull it out. Another trick is tapping the screwdriver gently with a hammer to loosen the screw.
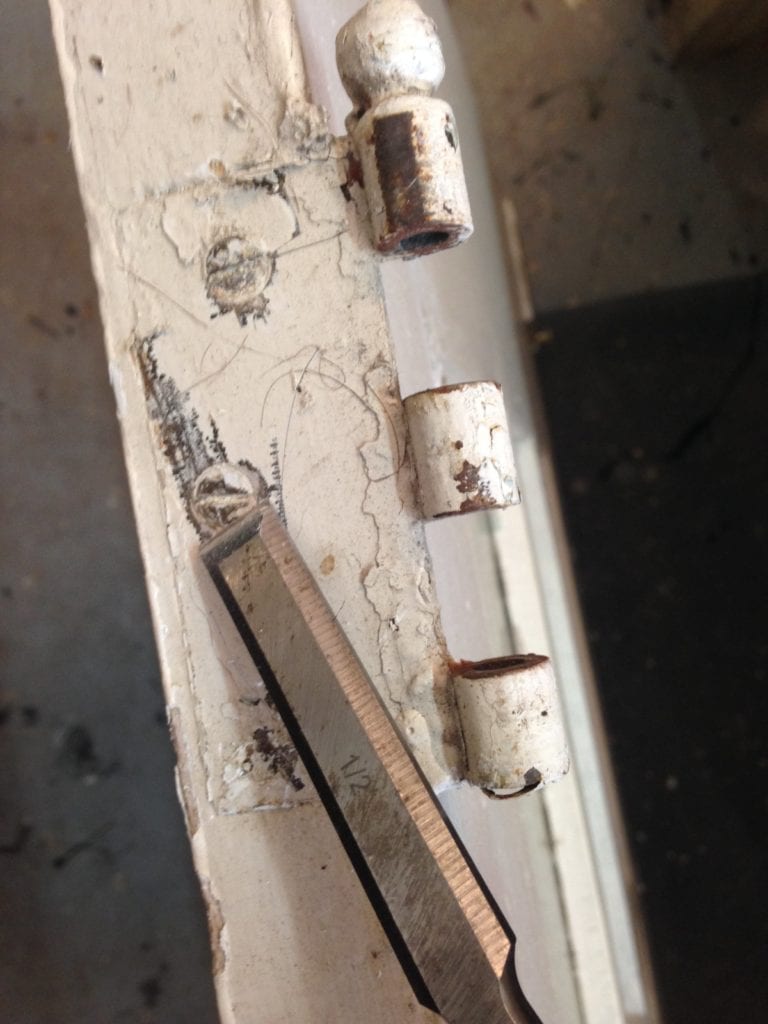
Credit: thecraftsmanblog.com
Apply Lubricants
Applying lubricants can help loosen stuck hardware on cabinets. It reduces friction and makes removal easier. A good lubricant reaches tight spaces and works quickly. Using the right type and applying it properly is key to success.
Choosing The Right Lubricant
Not all lubricants work the same on cabinet hardware. Use penetrating oils like WD-40 or silicone spray. These types seep into small gaps and break down rust or grime. Avoid thick greases; they can attract dust and dirt. Choose a lubricant safe for metal and wood surfaces.
Proper Application Techniques
Spray a small amount directly onto the stuck part. Let the lubricant sit for 5 to 10 minutes to work deeply. Use a cloth to wipe excess liquid away. Gently wiggle the hardware to help the lubricant spread inside. Repeat if needed, but avoid over-saturating the area.
Use Heat To Soften Adhesives
Removing hardware from a cabinet can be tough if the adhesive is old or very strong. Heat helps soften these adhesives, making it easier to pull the hardware off without damage. Using heat carefully loosens glue or sticky residue under handles, knobs, or hinges.
This method works well for sticky residues that don’t come off with just pulling or twisting. Heat makes the glue less sticky and easier to clean away. It also protects the cabinet surface from scratches or breaks during removal.
Safe Heating Methods
Use a hairdryer on medium heat to warm the adhesive. Keep it moving to avoid overheating one spot. Hold the dryer a few inches away from the hardware. Avoid using open flames or high heat tools like a heat gun, which can burn the wood or paint. A warm cloth soaked in hot water can also help loosen glue gently.
When To Use Heat
Apply heat if the hardware won’t budge after trying simple twisting or pulling. Use heat when the adhesive feels hard or brittle. Heat works best on glue, tape residue, or stickers stuck under knobs. Avoid heat on plastic parts that might melt or on finishes that could discolor. Test heat on a small area first to protect your cabinet.
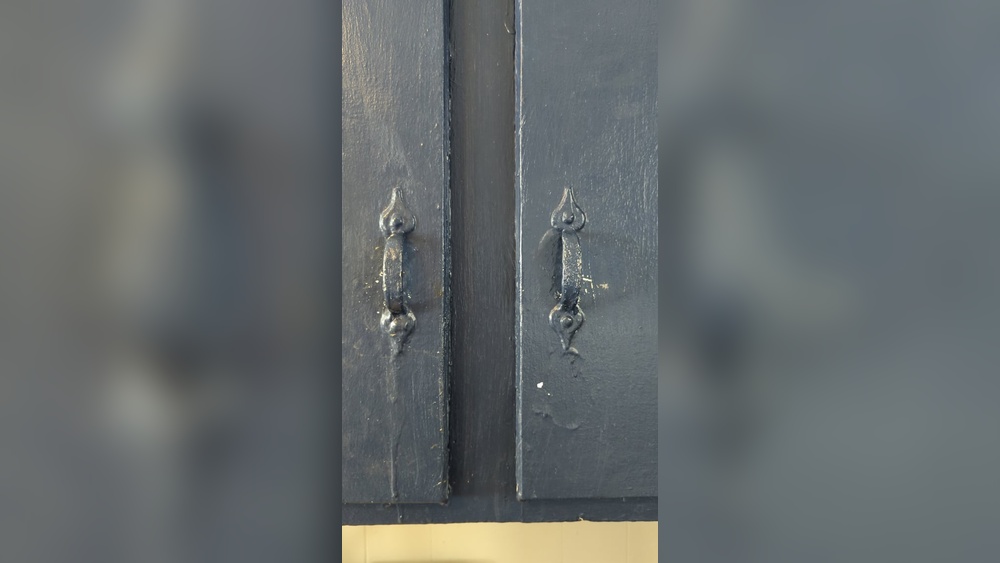
Try Gentle Prying Methods
Removing stuck hardware from a cabinet needs care. Using force can damage the wood or finish. Gentle prying methods help loosen the hardware without harm. These methods use tools and slow, steady pressure. Patience is key to avoid scratches or dents.
Using Plastic Pry Tools
Plastic pry tools are perfect for delicate jobs. They are soft and do not scratch surfaces. Slide the tool gently between the hardware and cabinet. Apply slight pressure to lift the hardware. Move the tool around carefully to loosen stuck parts. Plastic tools reduce the risk of marks and chips.
Avoiding Damage To Cabinets
Protect the cabinet surface before prying. Place painter’s tape around the hardware edges. This tape acts as a shield against scratches. Use slow, steady pressure to avoid sudden slips. Keep the tools clean and free from debris. Check progress often to stop if damage starts.
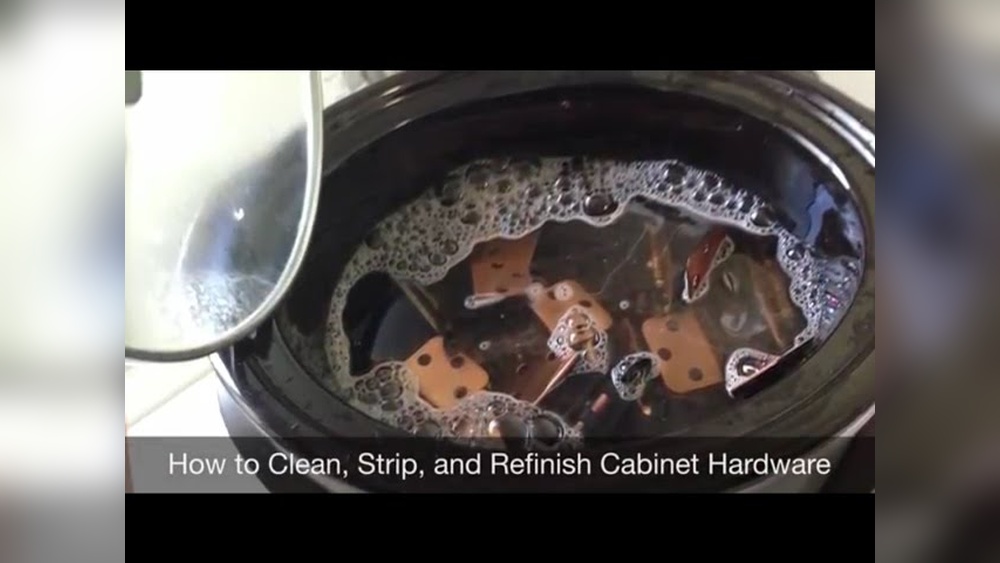
Remove Rust And Corrosion
Removing rust and corrosion is key to freeing stuck cabinet hardware. Rust forms when metal meets moisture and air. It makes screws and handles hard to move. Corrosion weakens metal and can damage your cabinet. Cleaning rust helps hardware turn smoothly again. It also protects your cabinet from more damage.
Rust Removal Techniques
Start by cleaning the area with a soft brush. Use a rust remover solution or white vinegar. Soak a cloth in vinegar and wrap it around the hardware. Let it sit for 30 minutes to loosen rust. Use a small wire brush or steel wool to scrub gently. Wipe the area clean with a damp cloth. Dry the hardware fully to stop more rust. Repeat if rust remains until hardware moves freely.
Preventing Future Corrosion
Keep hardware dry and clean to avoid rust. Wipe off water and spills quickly. Apply a thin coat of oil or wax on metal parts. Use rust-resistant screws and handles if possible. Store cabinets in dry rooms with good air flow. Check hardware often and clean at first signs of rust. Small care prevents big problems later.
Credit: www.jsbhomesolutions.com
Tackle Stubborn Hardware
Removing stuck hardware from cabinets can be frustrating. Rust, paint, and dirt often cause screws and handles to stick tight. Simple tools may not work well in these cases. It needs patience and the right approach to free the hardware without damage.
This section explains how to tackle stubborn hardware with easy and effective steps. Learn to loosen stuck parts safely and keep your cabinet looking good.
Using Penetrating Oils
Penetrating oils are great for loosening rusted or stuck screws. Apply a small amount directly on the hardware. Let it sit for 10 to 15 minutes. The oil seeps into tight spaces and breaks down rust and grime.
Use a soft brush or cloth to spread the oil well. After waiting, try turning the screw gently with a screwdriver. Avoid using too much force. Repeat the process if the hardware still feels stuck.
Last Resort Methods
If oils don’t work, try other careful methods. Use a rubber band between the screwdriver and screw head. This adds grip and may help loosen tight screws. Tap the screwdriver lightly with a hammer. The vibrations can break rust bonds.
For very stuck hardware, use heat from a hairdryer. Warm the metal for a few minutes. Heat expands metal slightly, making screws easier to turn. Avoid open flames to prevent damage. If the screw still won’t move, consider drilling it out carefully.
Clean And Inspect After Removal
After removing stuck hardware from your cabinet, cleaning and inspection are essential. Dirt, dust, and residue often remain on the surface. These can affect the new hardware’s fit and the cabinet’s appearance. Careful cleaning clears the area and prepares it for repair or new hardware installation.
Inspection helps spot any damage caused by the stuck hardware or removal process. Early detection of issues saves time and money later. It ensures your cabinet stays strong and looks good.
Surface Cleaning Tips
Start by wiping the area with a soft cloth. Use mild soap and warm water to remove grime. Avoid harsh chemicals that can damage the finish. For sticky residue, use a small amount of vinegar or rubbing alcohol. Test on a hidden spot first. Dry the surface thoroughly before moving on.
Checking For Cabinet Damage
Look closely at the holes and edges where the hardware was. Check for cracks, splinters, or dents. Loose or chipped wood may need repair. Use wood filler for small holes or cracks. Sand gently after it dries to smooth the surface. Make sure the area is even before installing new hardware.
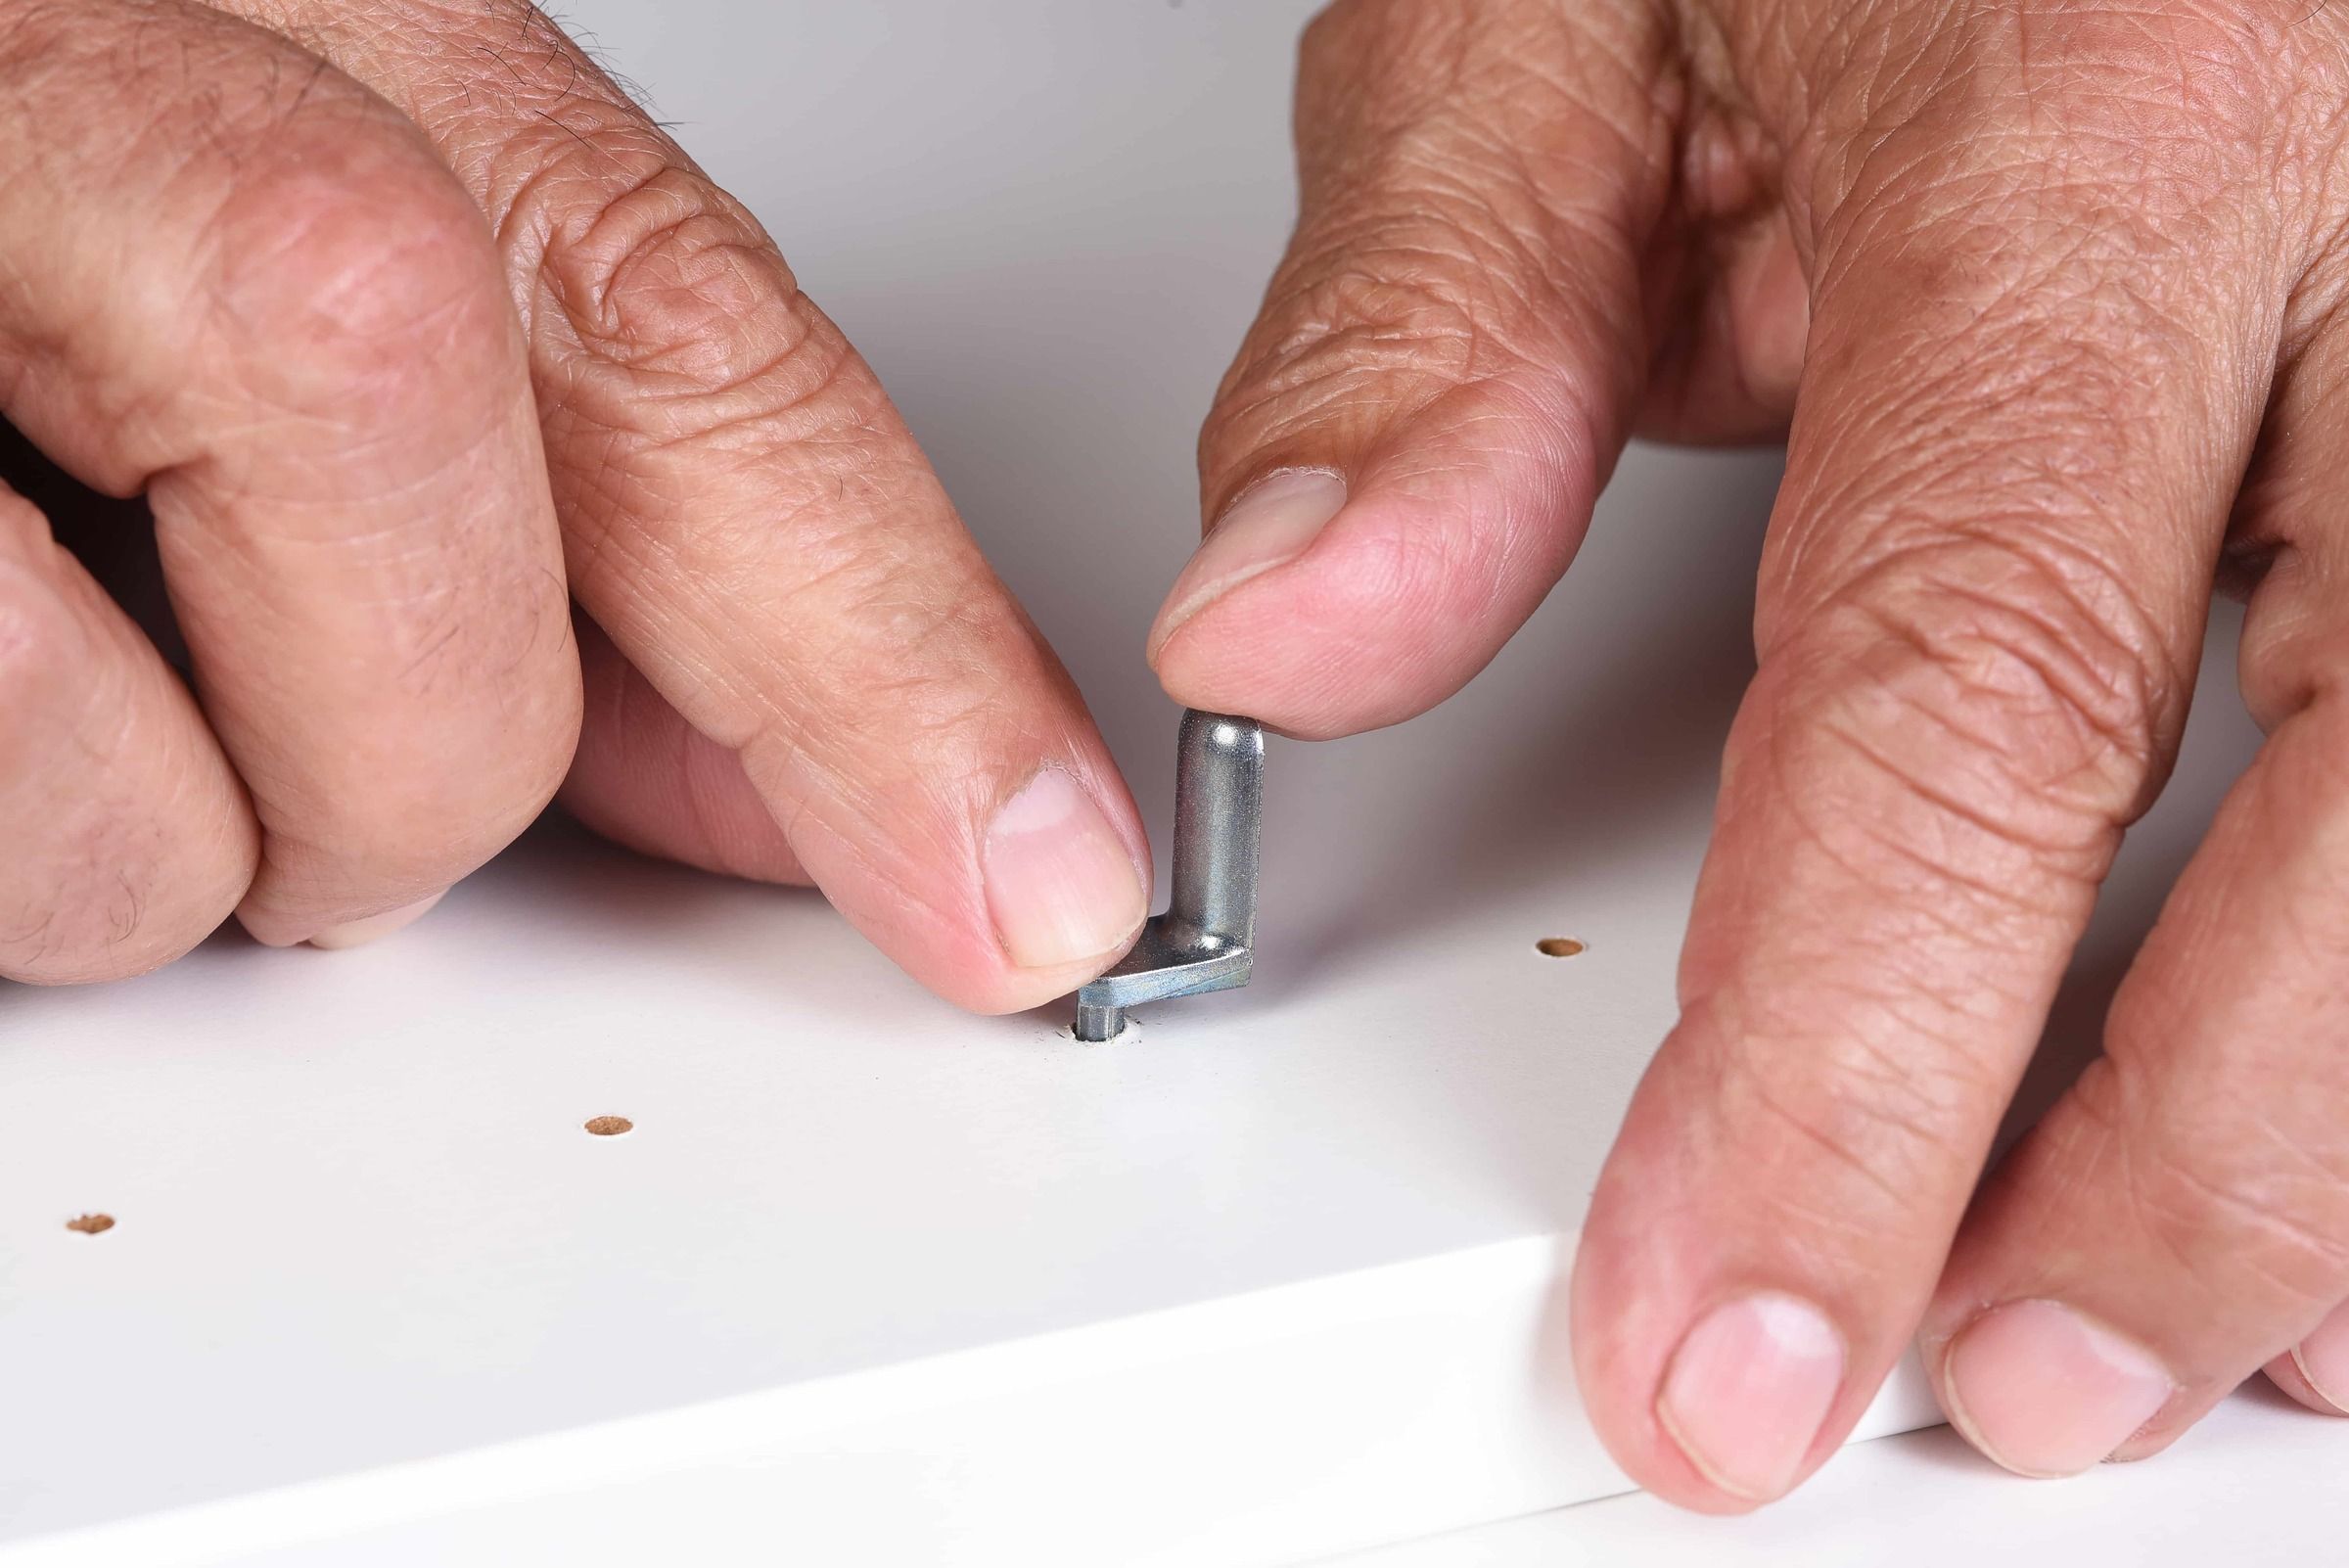
Replace Or Repair Hardware
Sometimes cabinet hardware gets stuck and stops working well. You can choose to repair the hardware or replace it. Repairing helps save money. Replacing can give your cabinet a fresh look. Both options need care and the right tools.
Choosing Replacement Parts
Pick hardware that fits your cabinet’s style and size. Measure the old piece before buying a new one. Choose parts made of strong materials like metal. Check if screws and bolts come with the new hardware. Matching the finish is important for a neat look.
Proper Installation Tips
Remove old hardware carefully to avoid damage. Use the right screwdriver or tool for screws. Align new hardware holes with existing ones. Tighten screws just enough to hold firmly. Test the hardware by opening and closing the cabinet. Adjust if it feels loose or tight.

Credit: www.reddit.com
Frequently Asked Questions
How Do I Loosen Stuck Cabinet Hardware Safely?
Apply penetrating oil around the stuck hardware. Let it sit for 10-15 minutes. Gently wiggle or twist the hardware to loosen it without causing damage.
What Tools Are Best For Removing Stuck Cabinet Hardware?
Use a screwdriver, pliers, and penetrating oil. A rubber mallet can help tap gently. Avoid excessive force to prevent cabinet damage.
Can Heat Help Remove Stuck Cabinet Hardware?
Yes, applying heat with a hairdryer can expand metal parts. Heat the hardware for a few minutes, then try turning or pulling it off carefully.
How To Avoid Damaging Cabinets When Removing Hardware?
Use soft cloths or tape to protect surfaces. Apply gentle pressure and avoid forcing hardware off. Use appropriate tools and patience to prevent scratches or cracks.
Conclusion
Removing stuck hardware from cabinets can be simple with the right steps. Use patience and gentle tools to avoid damage. Loosen screws carefully and try different angles. Warm oil or a little heat might help ease tight parts. Always work slowly to prevent breaking the cabinet or hardware.
With practice, this task becomes easier and less frustrating. Keep these tips in mind for your next cabinet project. You can fix stuck hardware without stress or extra costs. Just follow the guide and take your time.