Are your bathroom cabinets missing that perfect finishing touch? Adding hardware like knobs or handles can instantly transform the look and feel of your space.
But if you’re unsure how to put hardware on bathroom cabinets the right way, don’t worry—you’re in the right place. This guide will walk you through simple, step-by-step instructions that anyone can follow. By the end, you’ll have beautiful, functional cabinets that make your bathroom look fresh and stylish.
Ready to upgrade your space with ease? Let’s get started!
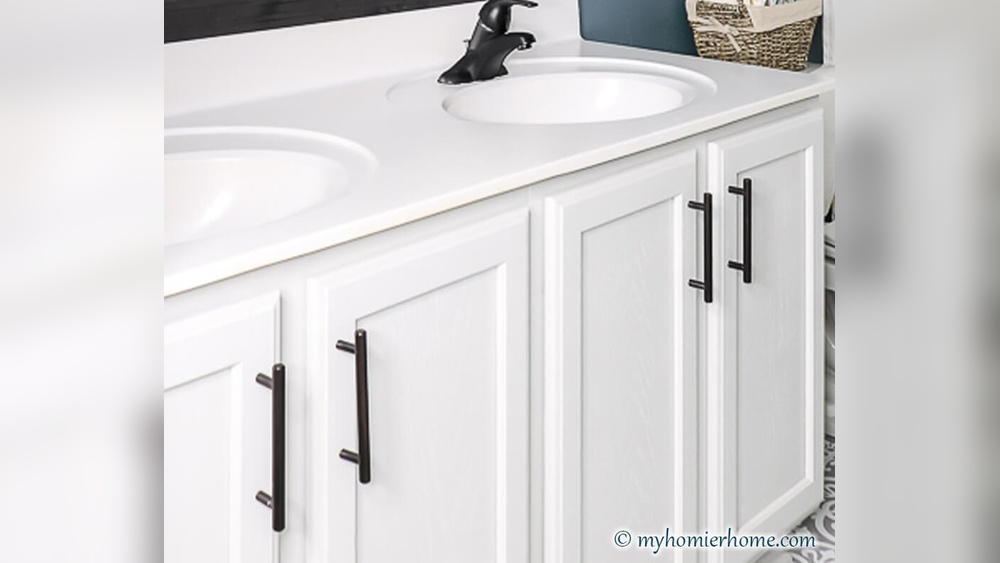
Credit: usbathstore.com
Choosing The Right Hardware
Choosing the right hardware for bathroom cabinets makes a big difference. It changes how your cabinets look and how easy they are to use. Hardware includes knobs, pulls, and handles. These small pieces must match your bathroom style and be strong enough for daily use.
Types Of Cabinet Hardware
Cabinet hardware comes in different types. Knobs are small and round. They need just one screw to attach. Pulls are longer and easy to grip. They usually need two screws. Handles can be curved or straight. Choose the type that feels comfortable and fits your cabinet style.
Materials And Finishes
Hardware comes in many materials. Metal is strong and lasts long. Common metals include brass, stainless steel, and chrome. Plastic hardware is cheaper but less durable. Finishes affect the look and feel. Matte finishes hide fingerprints well. Shiny finishes add a polished look. Pick materials and finishes that suit your bathroom design and resist moisture.
Measuring For Fit
Measure carefully before buying hardware. Check the distance between screw holes on your cabinet doors. This is called the “center-to-center” measurement. Measure twice to avoid mistakes. Make sure the hardware size matches the cabinet size. Proper fit ensures easy installation and a neat appearance.

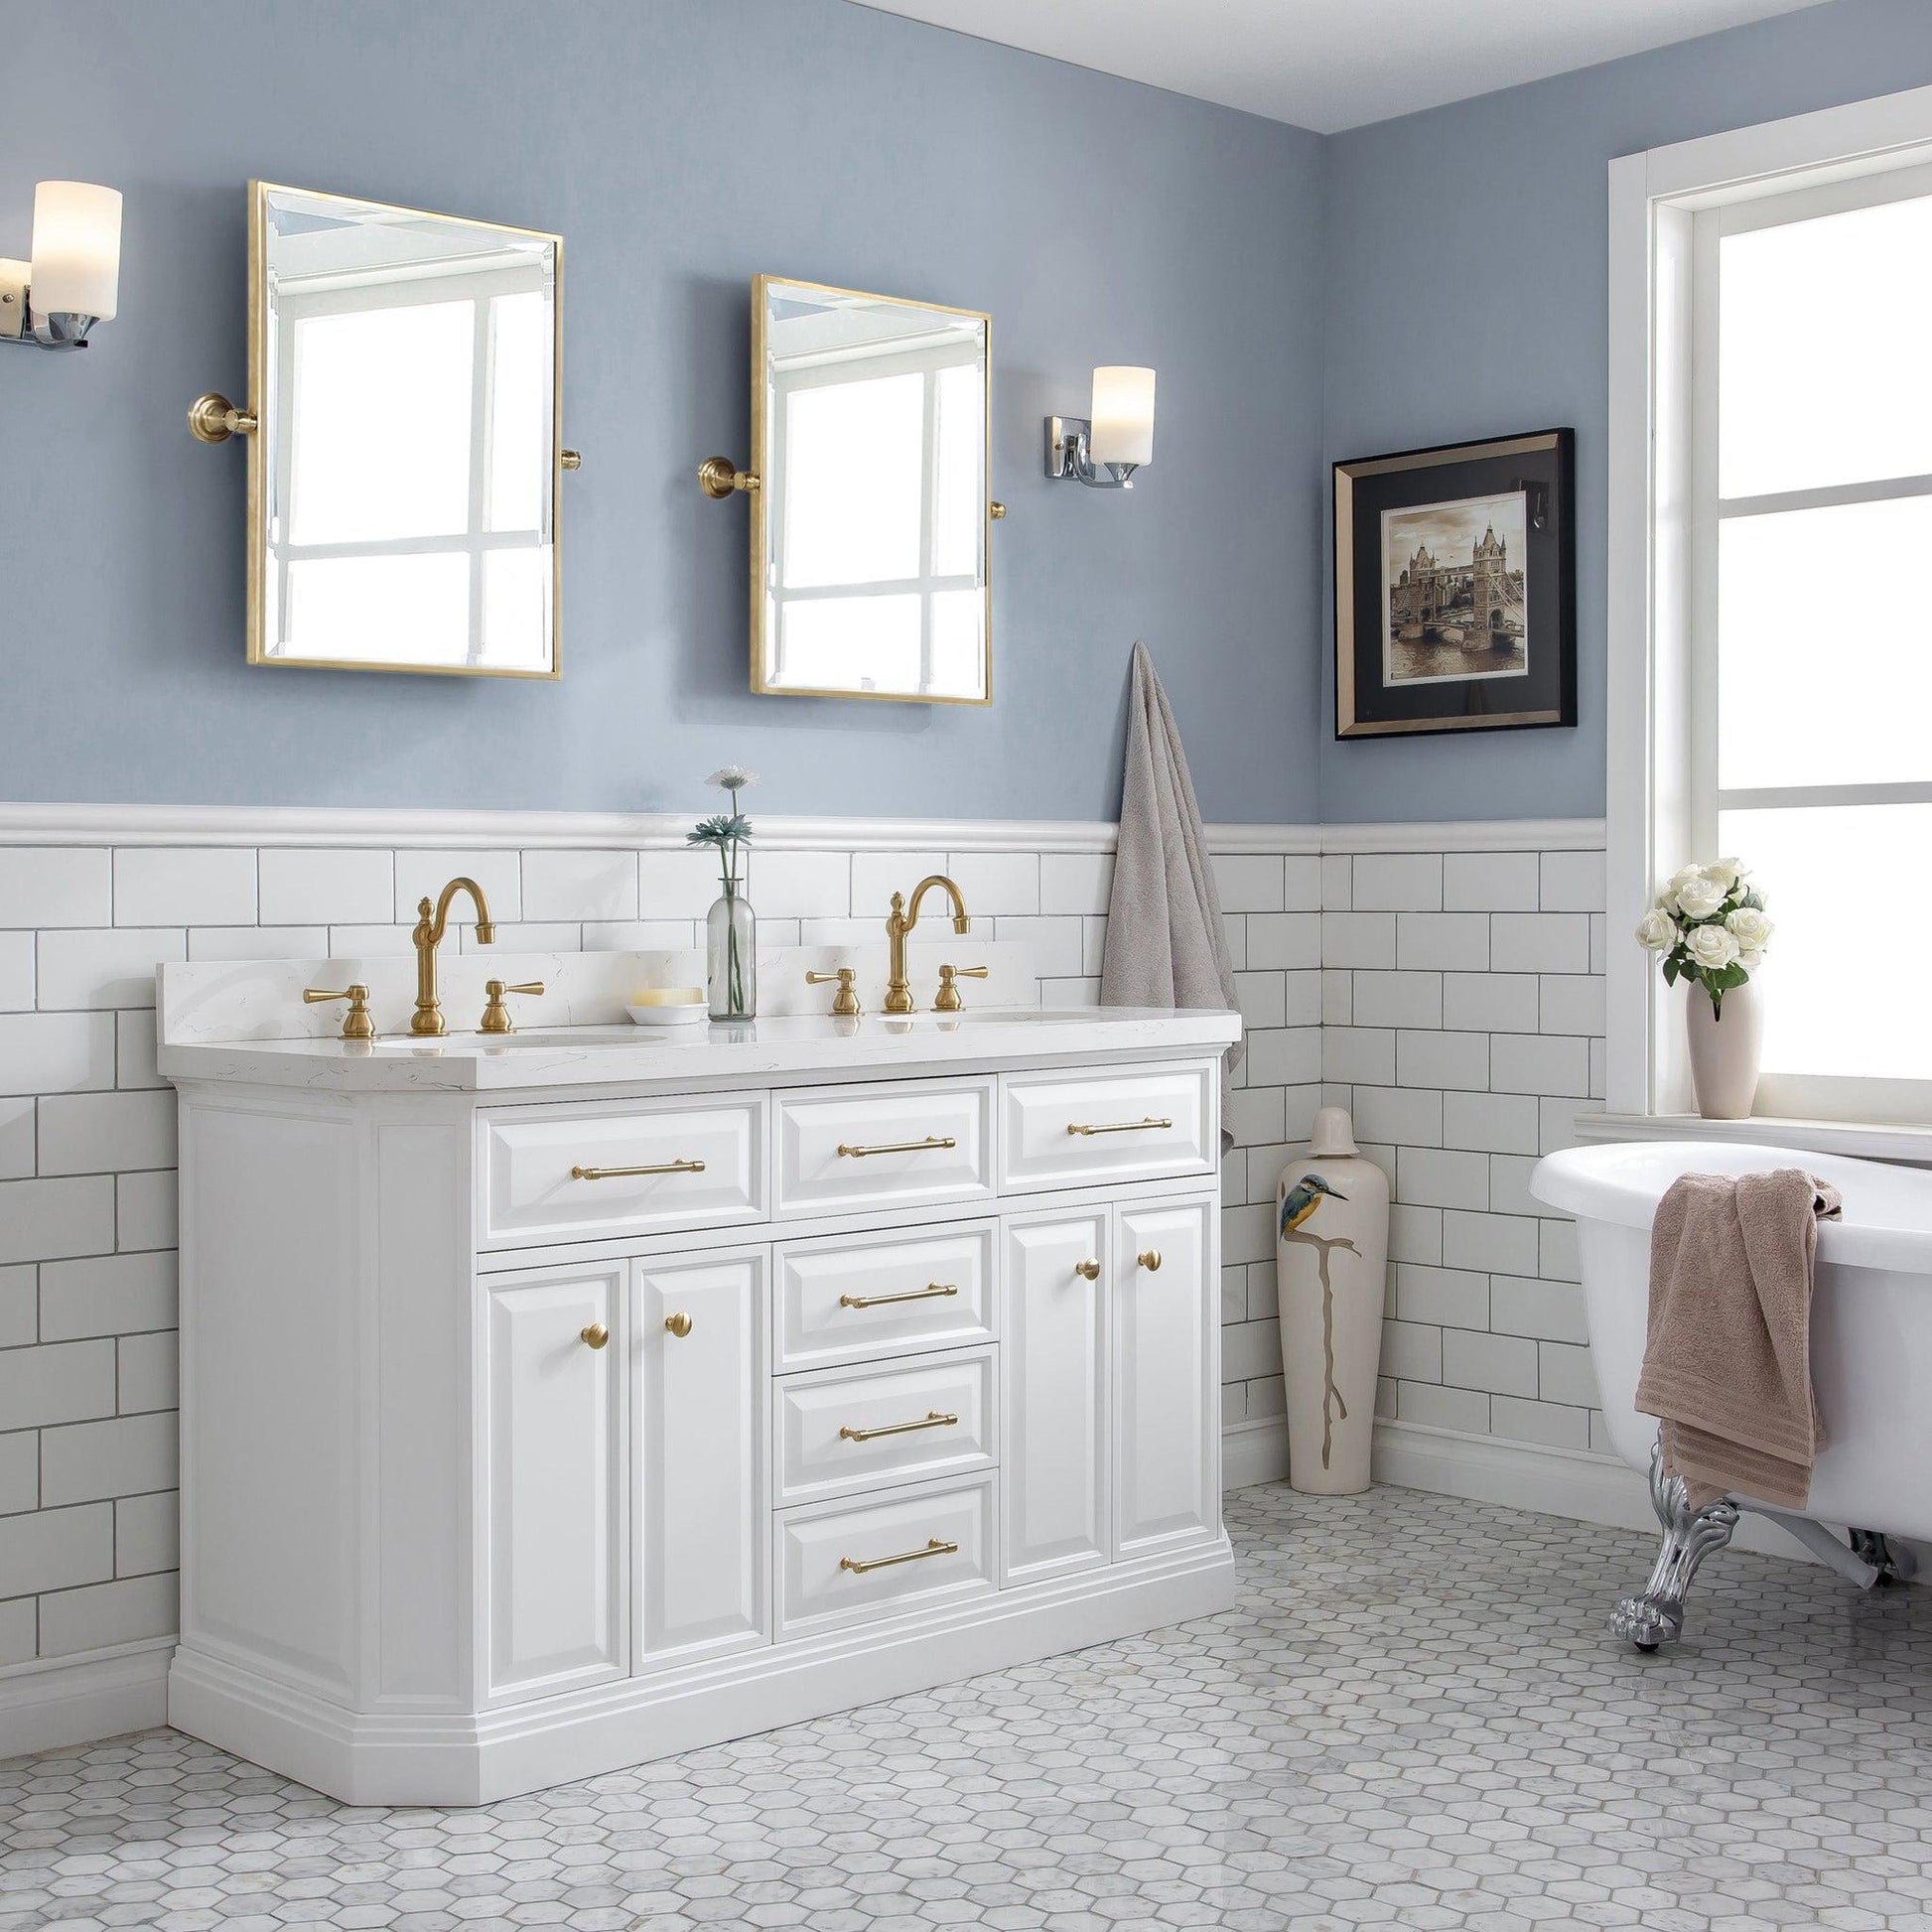
Credit: vevano.com
Gathering Tools And Materials
Before installing hardware on bathroom cabinets, gather all necessary tools and materials. Having everything ready saves time and avoids interruptions. It also helps you work more safely and efficiently. This section breaks down essential tools and optional supplies for your project.
Essential Tools
You need a drill or screwdriver to attach hardware. A tape measure helps mark the correct spot for handles. Use a pencil to draw guide marks on the cabinet surface. A level ensures your hardware is straight and balanced. Lastly, a ruler or template can make spacing consistent between knobs or pulls.
Optional Supplies
Consider using masking tape to protect cabinet surfaces while marking. A drill bit set comes in handy if holes must be adjusted. Wood filler can fix any mistakes or old holes. Small clamps help hold hardware in place during installation. A soft cloth cleans dust and fingerprints after finishing.
Preparing The Cabinets
Preparing your bathroom cabinets before adding new hardware is important. It makes sure the new handles or knobs fit well and last longer. Proper preparation also helps the new hardware look its best on the cabinets.
Start by cleaning the cabinet surfaces. Dirt and grease can stop the hardware from sticking or fitting right. Clean cabinets also show any damage or marks that need fixing.
Cleaning The Surface
Use a mild cleaner and a soft cloth to wipe the cabinet doors and drawers. Avoid harsh chemicals that can damage the finish. Clean all around the area where you will place the hardware. Let the surface dry completely before moving on.
Removing Old Hardware
Take off any old knobs or handles with a screwdriver. Keep screws in a safe place if you plan to reuse them. Remove any leftover glue or dirt from the old hardware spots. This clears the way for new pieces to fit tightly and look neat.
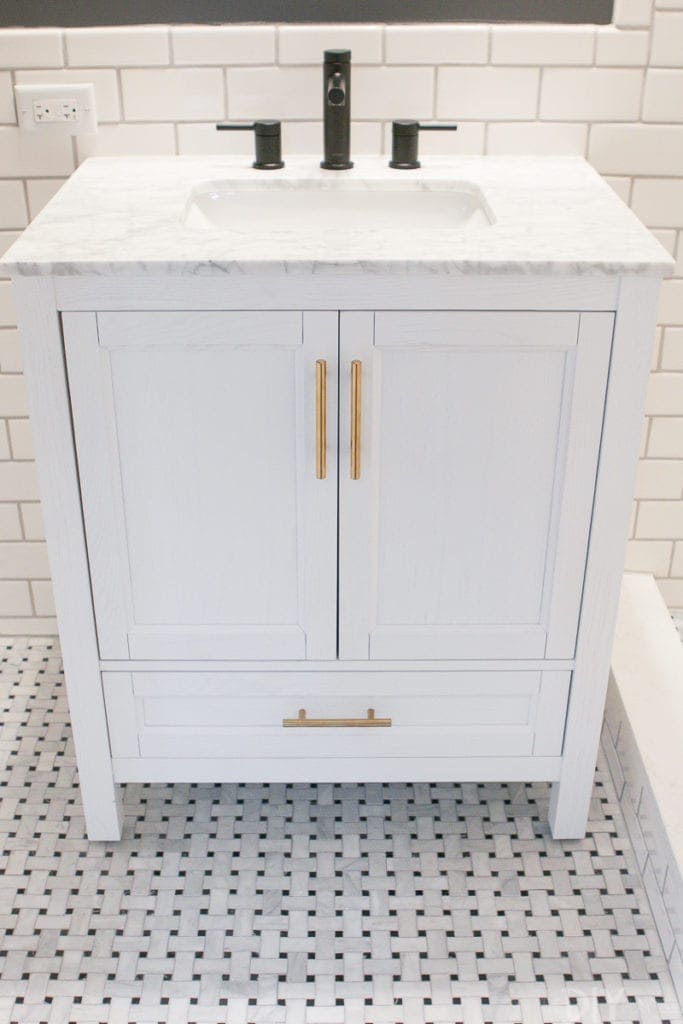
Credit: thediyplaybook.com
Marking Drill Points
Marking drill points is a key step before attaching hardware to bathroom cabinets. Precise marks ensure that handles or knobs fit perfectly. Incorrect drill points lead to crooked hardware and damage to the cabinet. Taking time to mark carefully saves effort later.
Using A Template
Templates help mark drill points quickly and accurately. Most hardware comes with a paper or plastic template. Place it on the cabinet door or drawer front. Hold it steady and mark the holes with a pencil. Templates keep spacing consistent and reduce mistakes.
If no template is available, create one using cardboard or paper. Measure the hardware and mark hole positions on the template. Test the template on the cabinet before drilling. This step avoids wrong placements.
Measuring For Symmetry
Symmetry makes cabinets look neat and balanced. Measure from the edges to find the center of the door or drawer. Use a ruler or tape measure for accuracy. Mark the center lightly with a pencil.
Measure the distance between holes on the hardware. Place this measurement evenly around the center mark. Check both horizontal and vertical alignment. Double-check marks before drilling to prevent errors.
Drilling Holes Safely
Drilling holes in bathroom cabinets needs care and focus. Mistakes can damage the wood or make the holes uneven. Safe drilling helps keep cabinets strong and looks neat. Follow simple steps to drill without problems and get the perfect fit for your hardware.
Choosing The Right Drill Bit
Select a drill bit that matches the screw size. Use a bit slightly smaller than the screw’s diameter. This helps the screw grip the wood well. For soft wood, a standard wood drill bit works best. For harder cabinets, use a high-speed steel bit. Avoid using worn or rusty bits. Sharp bits make cleaner holes and reduce splintering.
Avoiding Damage
Mark the drilling spot clearly with a pencil. Use masking tape over the spot to stop wood from splitting. Drill slowly and keep the drill steady. Stop drilling as soon as the bit passes through the wood. Check the hole size before inserting screws. Clean any rough edges with sandpaper for a smooth finish. Avoid drilling near cabinet edges to prevent cracks.
Attaching The Hardware
Attaching hardware to bathroom cabinets is a simple step that changes the entire look of your space. Proper installation ensures the handles and knobs stay secure and work well. Taking time to do this carefully makes a big difference.
Aligning Handles And Knobs
Start by marking where each handle or knob will go. Use a ruler or measuring tape for accuracy. Check the height and spacing on each cabinet door or drawer. A pencil mark helps keep everything straight. Double-check the marks before drilling any holes. Consistent alignment looks neat and professional.
Securing Screws Properly
Insert screws through the back of the cabinet door or drawer. Use a screwdriver that fits the screw head well. Turn the screw slowly to avoid stripping it. Tighten until the hardware feels secure but not too tight. Over-tightening can damage the cabinet or hardware. Check the handle or knob for any movement and adjust if needed.
Finishing Touches
After installing hardware on your bathroom cabinets, the final steps bring the project together. These finishing touches ensure your cabinets look great and work well for a long time. Taking time now helps avoid problems later.
Checking For Stability
Make sure each handle or knob feels secure. Give them a gentle pull and twist. They should not move or wiggle. Tighten screws if you notice any looseness. Use a screwdriver that fits well to avoid stripping the screws. Check all hardware pieces for steady attachment. This step prevents future damage or accidents.
Cleaning And Polishing
Remove fingerprints and dust from the hardware. Use a soft cloth and mild cleaner. Avoid harsh chemicals that may damage finishes. Wipe gently to keep the shine intact. Clean cabinet surfaces around the hardware too. This keeps your bathroom looking neat and fresh. Polishing makes the hardware stand out and adds a nice touch.
Troubleshooting Common Issues
Installing hardware on bathroom cabinets can be tricky. Problems may arise during the process. Common issues include misaligned hardware and stripped screws. These problems can slow down your project. Fixing them quickly helps keep your work smooth and neat.
Fixing Misaligned Hardware
Misaligned hardware looks uneven and can cause doors to stick. To fix this, first remove the hardware carefully. Use a pencil to mark the correct spot. Drill new pilot holes if needed. Tighten screws evenly to avoid shifting. Check alignment before fully tightening. Small adjustments make a big difference.
Dealing With Stripped Screws
Stripped screws happen when the head is damaged. This makes them hard to turn or remove. Use a rubber band over the screw head for better grip. Try a screwdriver with a bigger or smaller tip. If the screw is stuck, use pliers to pull it out. Replace stripped screws with new ones to secure hardware well.
Frequently Asked Questions
How Do I Choose Hardware For Bathroom Cabinets?
Choose hardware that matches your bathroom style and cabinet finish. Consider durability and moisture resistance for longevity. Pick handles or knobs that feel comfortable and complement your decor.
What Tools Are Needed To Install Cabinet Hardware?
You need a drill, screwdriver, measuring tape, pencil, and level. These tools ensure accurate placement and secure installation of hardware on bathroom cabinets.
How Do I Measure For Cabinet Hardware Placement?
Measure cabinet door width and height. Mark holes evenly spaced and aligned. Use a template or ruler for consistent placement on all cabinets.
Can I Install Hardware On Bathroom Cabinets Myself?
Yes, installing cabinet hardware is a simple DIY task. Follow instructions carefully and use proper tools for a professional look. Take your time to ensure accuracy.
Conclusion
Adding hardware to bathroom cabinets is simple and quick. Measure carefully and mark where holes go. Use the right tools to avoid damage. Choose handles that match your style and cabinet size. Tighten screws firmly but don’t overtighten. Small changes can improve your bathroom’s look a lot.
Enjoy your refreshed space with new cabinet hardware. Keep these tips handy for future projects. Easy updates can make a big difference.


