Are you ready to install new cabinet hardware but unsure what size drill bit you need? Choosing the right drill bit can make all the difference between a perfect fit and a frustrating, damaged cabinet.
If you pick the wrong size, your screws might not hold properly, or worse, your cabinets could crack. Don’t worry—this guide will help you find the exact drill bit size you need, step by step. Keep reading, and you’ll gain the confidence to tackle your project like a pro.
Credit: www.homedepot.com
Choosing The Right Drill Bit Size
Choosing the right drill bit size is key for installing cabinet hardware. Using the correct bit ensures screws fit well and hold tight. It also prevents damage to cabinets. Picking the wrong size can cause loose hardware or cracked wood. This guide helps you select the best drill bit for your project.
Matching Drill Bits To Hardware Screws
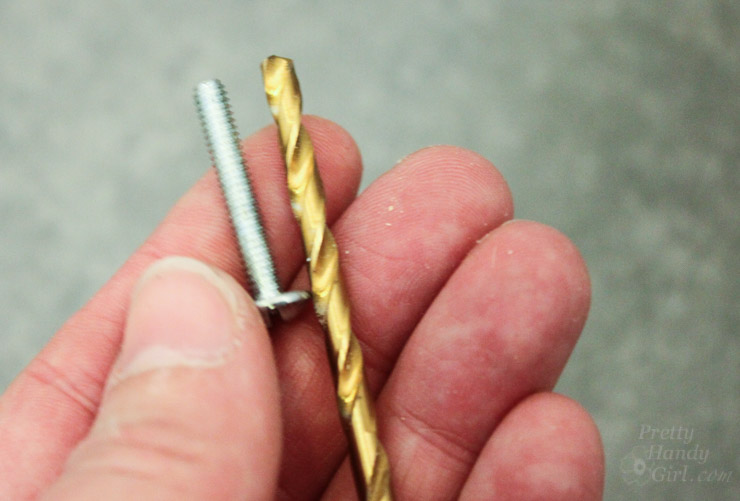
Check the screw size before picking a drill bit. The drill bit should match the screw’s core diameter. This is the part without threads. If the hole is too small, the screw won’t fit. If too big, the screw won’t hold firmly. Measure the screw or use a drill bit gauge. This makes matching easier and more accurate.
Standard Drill Bit Sizes For Cabinet Hardware
Most cabinet screws need a drill bit between 1/16 inch and 1/8 inch. Small screws, like 6 or 8, often use 7/64 inch bits. Larger screws, like 10, may need 1/8 inch bits. Wood and metal require different bits. Use a wood bit for cabinets made of wood. Metal bits work best for metal hardware parts.
When To Use Pilot Holes
Pilot holes guide screws into the wood smoothly. They reduce the chance of splitting the wood. Use pilot holes for hardwood or close to edges. The pilot hole should be slightly smaller than the screw. This helps screws bite into the wood properly. In soft wood, pilot holes may not be needed. Always test on a scrap piece first.
Materials And Drill Bit Types
Choosing the right drill bit depends on the material you plan to drill into. Different materials need different types of drill bits. Using the correct bit makes the job easier and protects your cabinets.
Drilling Into Wood Cabinets
Wood is soft and easy to drill. Standard twist drill bits work well for wood. They create clean holes without splintering. For hardwood, use sharper bits for smooth cuts. Always drill slowly to avoid cracking.
Drilling Into Metal Or Laminates
Metal and laminates are harder and need special bits. Use high-speed steel (HSS) bits for thin metal. For thicker metal, cobalt bits work better. Laminates need sharp bits to avoid chipping. Drill gently and use tape on laminates to protect surfaces.
Best Drill Bits For Each Material
Wood cabinets: Use brad point or twist bits. These bits cut clean holes in wood. Metal cabinets: Choose HSS or cobalt bits. They can handle tough metals without dulling quickly. Laminates: Use carbide-tipped or diamond bits. These bits reduce chipping and give smooth holes.
Measuring And Marking For Accuracy
Measuring and marking accurately is the first step for installing cabinet hardware. Precise marks ensure the drill bit hits the right spot. This prevents mistakes and keeps your project neat. Careful measurement helps the hardware fit perfectly and look professional.
Tools For Precise Measurements
Use a tape measure or ruler for clear measurements. A combination square helps keep lines straight and even. A pencil with a fine point makes small, easy-to-see marks. These simple tools improve accuracy and reduce errors.
Marking Drill Points
Mark drill points carefully on the cabinet surface. Double-check the distance between holes for handles or knobs. Use a small punch or nail to create a starter point. This stops the drill bit from slipping during drilling.
Avoiding Common Measurement Mistakes
Measure twice before marking once. Avoid guessing distances or angles. Keep the tape measure straight and steady. Don’t mark with thick lines that can hide exact points. Take your time to ensure every mark is correct.
Credit: www.homedepot.com
Step-by-step Drilling Process
Installing cabinet hardware needs careful drilling. The right drill bit size and a clear process prevent mistakes. Follow each step for accurate holes. The cabinet looks neat, and the hardware fits perfectly.
Setting Up Your Drill
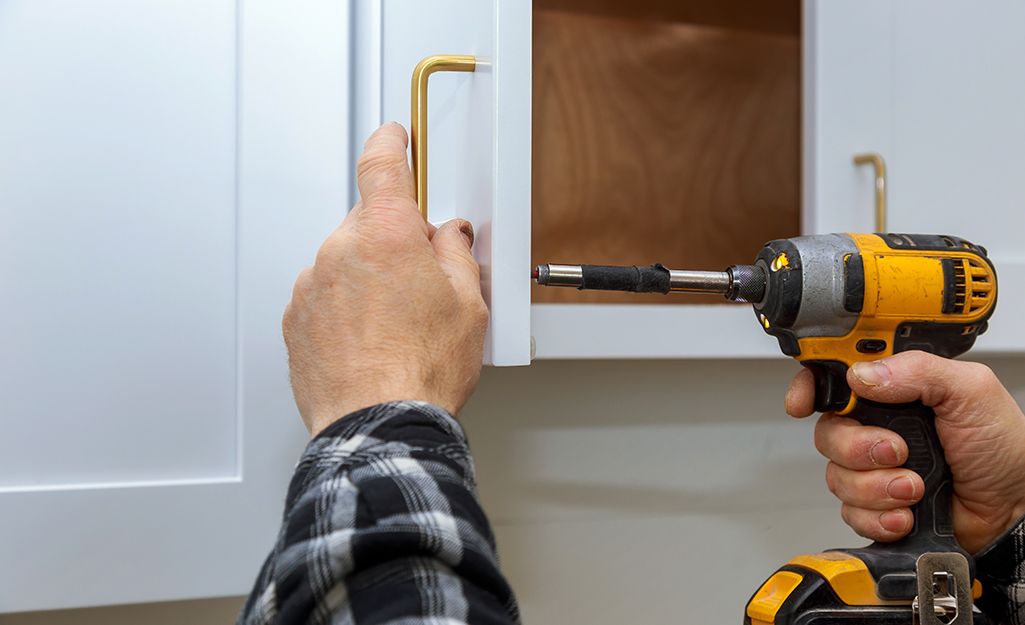
Choose the correct drill bit size for your hardware screws. Check the drill speed and set it to low or medium. Wear safety glasses to protect your eyes. Hold the drill firmly and steady. Use a clamp or guide to keep the drill straight.
Drilling Pilot Holes Safely
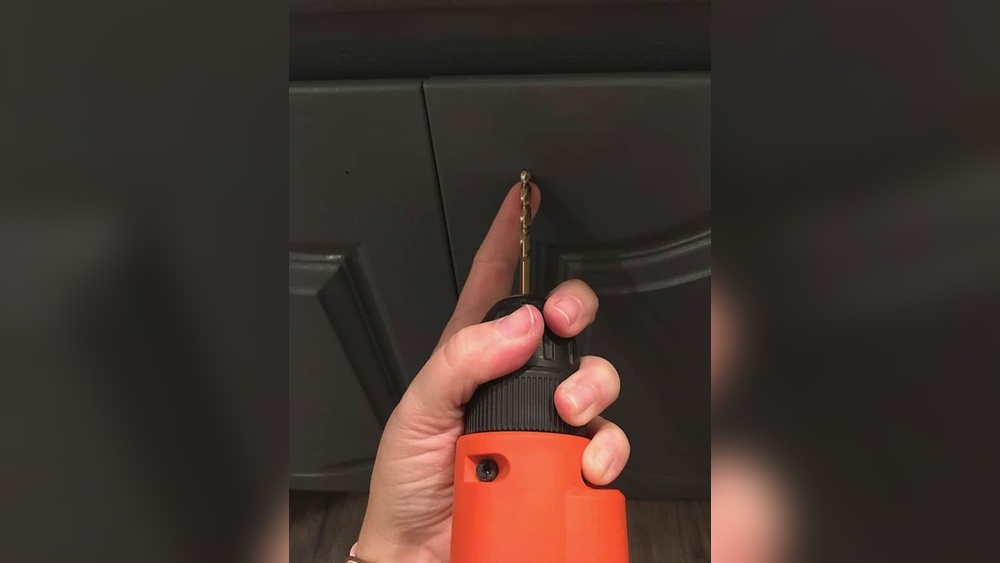
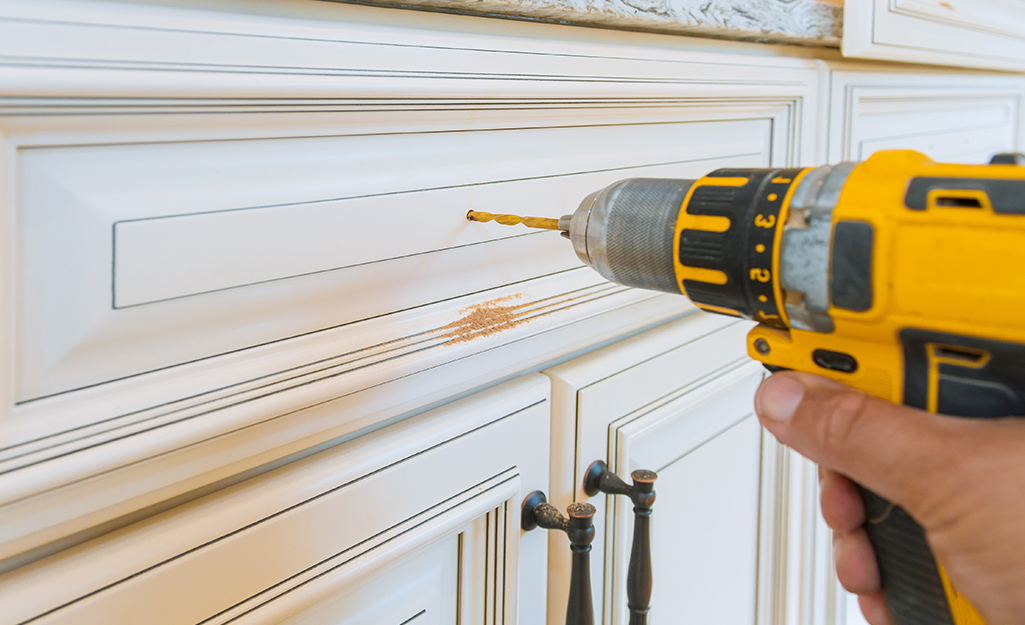
Mark the spot with a pencil where you want the hole. Start drilling slowly to avoid slipping. Drill just deep enough for the screw. Keep the drill steady and straight. Stop if the drill bit gets stuck or the wood splits.
Checking Hole Size Before Installation
After drilling, check the hole size with the screw. The hole should be slightly smaller than the screw for a tight fit. If too small, drill a little more carefully. If too big, use a larger screw or filler. Test the hardware to ensure it fits well.
Troubleshooting Drill Bit Issues
Drilling holes for cabinet hardware can sometimes cause problems. Issues with drill bits affect the quality of your work. Knowing how to fix these problems saves time and frustration. This section covers common drill bit troubles and simple ways to solve them.
Dealing With Bit Slippage
Bit slippage happens when the drill bit spins without gripping the wood. This can damage the surface or make inaccurate holes. To stop slippage, start drilling at a slow speed. Use a center punch to make a small dent before drilling. This dent helps keep the bit steady. Also, check that the drill bit is sharp and fits tightly in the chuck.
Fixing Oversized Or Undersized Holes
Oversized holes make hardware loose. Undersized holes make installation hard or impossible. To fix oversized holes, fill them with wood filler or a wooden dowel. Let it dry, then drill again with the correct bit size. For undersized holes, gently widen them using the next size drill bit. Always measure twice before drilling to avoid these errors.
Maintaining Drill Bits For Longevity
Keeping drill bits in good shape improves drilling performance. Clean bits after each use to remove wood dust. Sharpen dull bits with a sharpening stone or file. Store bits in a dry place to prevent rust. Regular care extends the life of your drill bits and ensures better results.
Credit: prettyhandygirl.com
Tips For Professional Results
Getting professional results when installing cabinet hardware depends on careful drilling. Using the right tools and techniques helps avoid mistakes. Precise holes make the hardware fit perfectly and look great.
Small details matter. Taking time to prepare and follow steps improves your work quality. Here are some simple tips to guide you through the drilling process.
Using Clamps And Guides
Clamps hold the cabinet door steady. This prevents movement while drilling. Movement causes misaligned holes and uneven hardware placement.
Use a drill guide to keep the bit straight. It helps drill holes at the correct angle. A guide also controls depth, avoiding damage to the cabinet.
Drilling Multiple Holes Consistently
Mark all hole spots before drilling. Measure twice to ensure accuracy. Use a template or jig for repeated holes. It saves time and keeps holes uniform.
Drill slowly to avoid splintering. Use a sharp drill bit matching the screw size. Consistent pressure keeps holes clean and even.
Finishing Touches After Drilling
Remove any rough edges around holes with sandpaper. Clean dust and debris before installing hardware. This helps screws grip better and ensures a neat finish.
Test fit the hardware before final screwing. Adjust if needed for perfect alignment. Small corrections prevent future problems.
Frequently Asked Questions
What Drill Bit Size Fits Cabinet Hardware Screws?
Typically, a 3/32-inch drill bit fits most cabinet hardware screws. Always check the screw diameter for accuracy. Using the correct bit ensures a secure and clean installation without splitting the wood or damaging the hardware.
How To Choose The Right Drill Bit For Cabinet Handles?
Select a drill bit slightly smaller than the screw’s diameter. This ensures a tight fit and prevents wood damage. Measure your hardware screws before drilling to match the drill bit size perfectly for a professional finish.
Can I Use A Larger Drill Bit For Cabinet Hardware?
No, using a larger drill bit can cause loose fittings. It weakens the screw’s grip in the wood. Always use a drill bit size that matches or is slightly smaller than the screw’s diameter for best results.
What Drill Bit Size Is Best For Glass Cabinet Knobs?
For glass knobs, use a carbide-tipped bit sized to the screw. Typically, a 3/32-inch or 1/8-inch bit works well. Be gentle and drill slowly to avoid cracking the glass or damaging the knob.
Conclusion
Choosing the right drill bit size makes cabinet hardware installation easier. Measure the screw diameter before drilling. A drill bit slightly smaller than the screw works best. This helps screws hold tight and prevents wood damage. Always double-check measurements to avoid mistakes.
Small steps bring better results. Proper tools and care ensure your cabinets look great and last longer. Simple preparation saves time and frustration. Now, you can install hardware with confidence and ease.