Are you ready to give your kitchen a fresh, stylish look without spending a fortune? Learning how to mount kitchen cabinet hardware is easier than you think—and it can completely transform your space.
Whether you want to update old cabinets or add a personal touch to new ones, this simple DIY task puts the power in your hands. Keep reading, and you’ll discover step-by-step tips that make the process quick, precise, and even enjoyable.
Your kitchen makeover starts here!
Choosing The Right Hardware
Choosing the right hardware for your kitchen cabinets helps create a polished look. It also makes your cabinets easier to use. The right hardware fits your style and the function of your kitchen. This section explains how to pick the best hardware for your space.
Types Of Cabinet Hardware
Cabinet hardware includes knobs, pulls, and handles. Knobs are small and round or square. Pulls are longer and easier to grip. Handles offer a firm hold for heavy cabinet doors. Each type suits different cabinet styles and uses.
Materials And Finishes
Hardware comes in many materials like metal, wood, and plastic. Metal is strong and lasts long. Popular finishes include chrome, brass, and matte black. Choose a finish that matches your kitchen’s colors and theme. Finishes protect hardware from wear and tear.
Hardware Styles To Match Your Kitchen
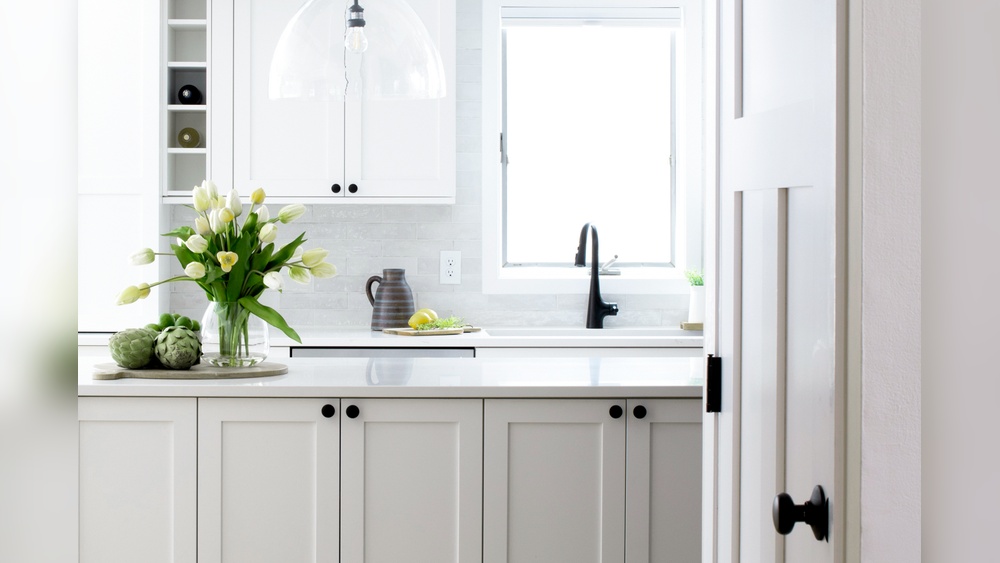
Hardware style should fit your kitchen design. Modern kitchens work well with sleek, simple hardware. Traditional kitchens look best with ornate, classic styles. Rustic kitchens suit hardware with a rough, natural look. Pick a style that blends well with your cabinets and walls.

Credit: www.homedepot.com
Tools And Materials Needed
Mounting kitchen cabinet hardware is a simple task with the right tools and materials. Having these items ready makes the process faster and smoother. This section lists all the essentials you need before starting.
Basic Tools Checklist
- Power drill or screwdriver
- Drill bits (usually 3/32″ or 1/8″)
- Tape measure
- Level
- Pencil
- Masking tape
Measuring Tools
Accurate measurements help place hardware evenly. Use a tape measure to check distances.
A ruler or straight edge can guide your pencil marks. A small square helps ensure right angles.
Additional Supplies
- Mounting screws (usually come with hardware)
- Wood filler for any mistakes
- Cleaning cloth to wipe dust
- Safety glasses for eye protection
Preparing Cabinets For Installation
Preparing cabinets for hardware installation is a crucial step. It helps ensure the hardware fits well and looks great. Taking time to prepare carefully can save you from mistakes and extra work later.
Start by making sure the cabinet surfaces are clean and clear. This allows for accurate measurements and prevents damage to the hardware. Next, marking drill points precisely is important to avoid misaligned holes. Using templates can help keep consistency and accuracy during the process.
Cleaning And Clearing Surfaces
Remove all dirt, dust, and grease from cabinet surfaces. Use a soft cloth with mild soap and water. Avoid harsh cleaners that can damage the finish. Dry the surface completely before moving to the next step. Clear away any stickers or labels on the cabinet doors.
Marking Drill Points
Measure carefully to find the right spot for each handle or knob. Use a pencil to make small marks where you will drill. Double-check measurements to avoid mistakes. Measure from the edges and center to keep hardware balanced. Marking clearly helps keep everything straight.
Using Templates For Accuracy
Templates guide where to drill holes for hardware. They ensure each handle or knob is placed the same way. Use a plastic or cardboard template designed for your hardware size. Align the template with cabinet edges. Hold it steady and mark through the holes. This step saves time and prevents uneven placement.
Step-by-step Mounting Process
Mounting kitchen cabinet hardware is simple when broken down into clear steps. Follow this process to ensure your handles and knobs fit perfectly and stay secure. Each step helps you avoid mistakes and saves time. Let’s start with drilling pilot holes.
Drilling Pilot Holes
Mark the exact spot for each hole using a pencil. Use a tape measure or template for accuracy. Choose a drill bit slightly smaller than the screw size. Drill slowly and straight to avoid splitting the wood. Clean away any dust before moving on.
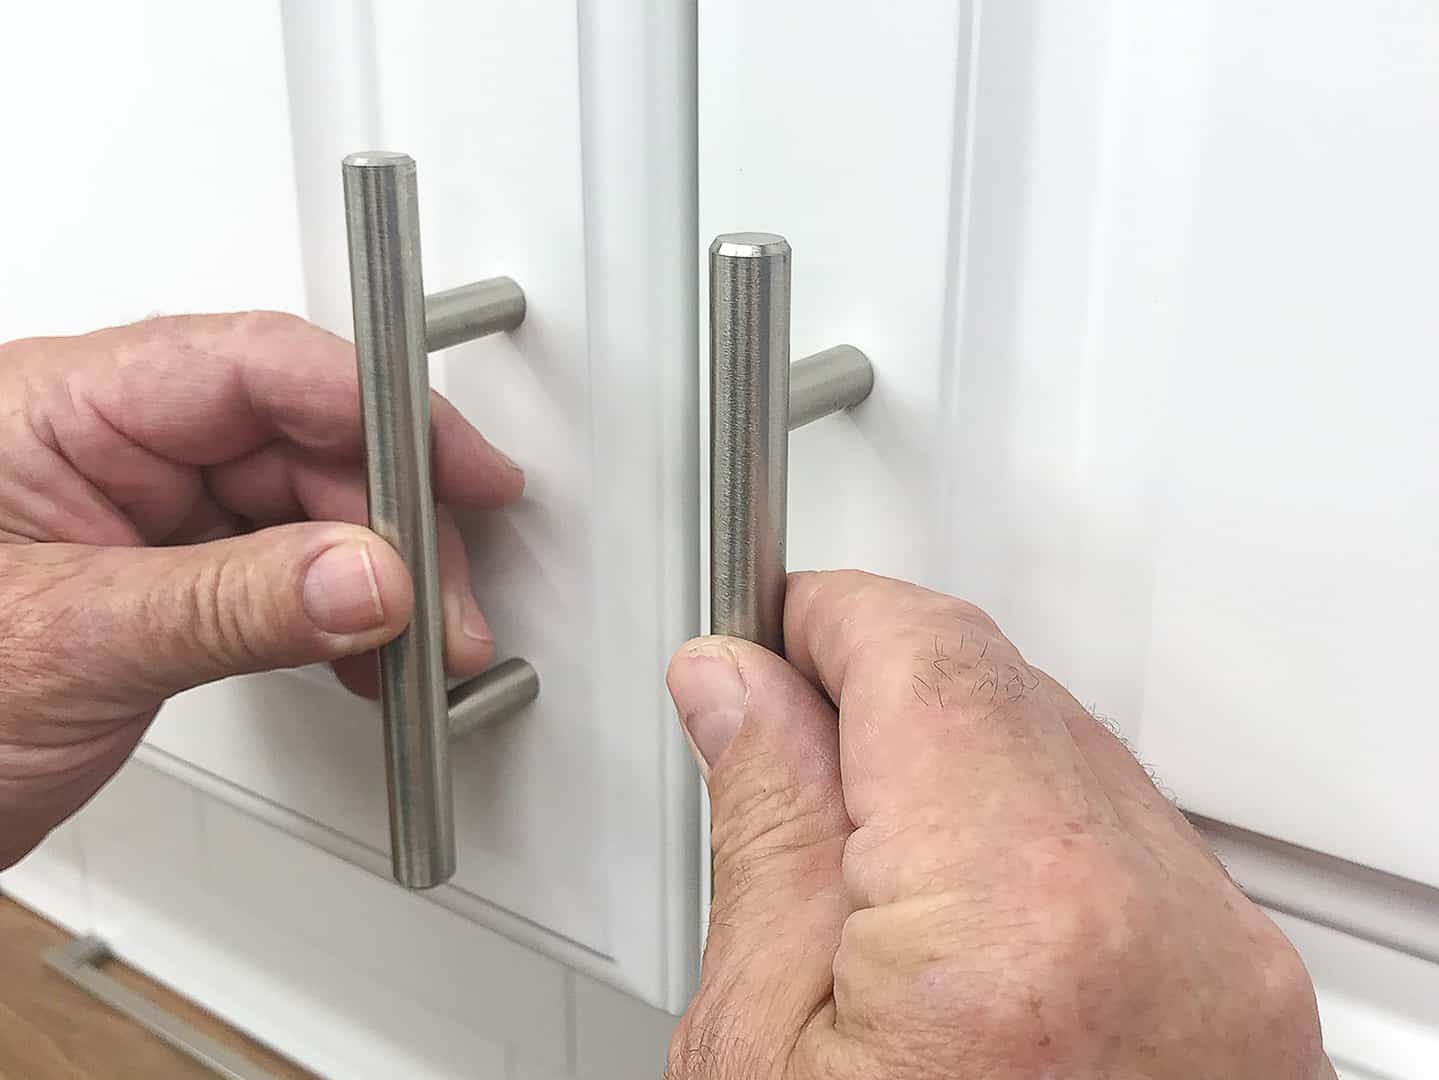
Attaching Handles And Knobs
Align the handle or knob with the pilot holes. Insert screws through the inside of the cabinet door or drawer. Hold the hardware steady to keep it from moving. Hand-tighten screws first to check the fit. Adjust if needed before fully tightening.
Securing Screws Properly
Use a screwdriver or drill with a low setting. Tighten screws until snug but avoid over-tightening. Over-tightening can strip the holes or damage hardware. Check that handles and knobs sit flush against the surface. Test for firmness to ensure long-lasting hold.
Tips For A Perfect Fit
Getting the perfect fit for kitchen cabinet hardware makes a big difference. It helps your cabinets look neat and work well. Careful steps keep your hardware straight and strong. Small details matter. Use these tips to make the job easier and cleaner.
Measuring Twice, Drilling Once
Measure your cabinet doors and drawers carefully. Mark the spots for screws with a pencil. Check your marks twice before drilling. This avoids holes in the wrong places. Take your time measuring. It saves effort and fixes later.
Leveling Hardware
Use a small level tool to keep handles and knobs straight. Uneven hardware looks messy and feels awkward. Hold the hardware in place before drilling. Adjust it until it is perfectly horizontal or vertical. Balanced hardware makes your kitchen look tidy.
Avoiding Common Mistakes
Do not rush the process. Avoid drilling holes too close to edges. This can crack the cabinet wood. Use the right drill bit size for the screws. Test the hardware fit before final tightening. Loose screws cause handles to wiggle or fall off.

Credit: smart.dhgate.com
Maintaining And Updating Hardware
Maintaining and updating kitchen cabinet hardware keeps your kitchen fresh and functional. Small changes can make a big difference in appearance and ease of use. Regular care extends the life of your hardware. Knowing when to replace parts helps avoid damage and frustration. Style upgrades give your kitchen a new look without a full remodel.
Cleaning And Care Tips
Clean hardware often to avoid buildup of grease and dirt. Use a soft cloth and mild soap with water. Avoid harsh chemicals that can damage the finish. Dry hardware completely after cleaning to prevent rust. Tighten loose screws to keep handles secure. Check for signs of wear or damage regularly.
When To Replace Hardware
Replace hardware if it is loose or broken. Look for scratches or worn finishes that cannot be cleaned. Hardware that sticks or does not open smoothly needs replacement. Changing old hardware can prevent damage to cabinets. New hardware improves kitchen safety and function.
Upgrading For Style Changes
Hardware upgrades can change your kitchen’s style quickly. Choose finishes that match your decor, like brushed nickel or matte black. Switch from knobs to pulls for a modern look. Select unique designs to add personality. Updating hardware refreshes your kitchen without high costs.
Credit: truepositiontools.com
Frequently Asked Questions
How Do I Choose The Right Hardware For Kitchen Cabinets?
Select hardware that matches your cabinet style and kitchen décor. Consider size, finish, and grip comfort for functionality and aesthetics.
What Tools Are Needed To Mount Kitchen Cabinet Hardware?
You need a drill, screwdriver, measuring tape, pencil, and level. These tools ensure accurate placement and secure mounting.
How Do I Measure For Cabinet Hardware Placement?
Measure from cabinet edges to center of handle holes. Use consistent spacing to maintain uniformity across all cabinets.
Can I Mount Hardware On Painted Cabinet Doors?
Yes, but ensure the paint is fully dry. Use a drill bit suitable for painted surfaces to avoid chipping.
Conclusion
Mounting kitchen cabinet hardware is easier than it seems. Measure carefully and mark your spots clearly. Use the right tools to avoid mistakes. Take your time and stay patient. Small steps lead to great results. Your kitchen will look neat and updated.
Enjoy the new look and function. Keep practicing, and it will get simpler. You can handle this project yourself. A little effort makes a big difference.