Are you struggling with stubborn Huck fasteners that just won’t come off? Removing these strong, industrial-grade fasteners can feel like a tough challenge if you don’t have the right know-how.
But don’t worry—this guide will show you simple, effective ways to get them out quickly and safely. Whether you’re working on a big project or just need a quick fix, understanding how to remove Huck fasteners will save you time and frustration.
Keep reading, and you’ll have the confidence to tackle those fasteners like a pro.
Credit: macrosfastening.com
Tools Needed
Removing Huck fasteners requires the right tools to work safely and efficiently. Having the proper tools makes the process faster and prevents damage to the materials. Some tools are basic and easy to find. Others are specialized for tough jobs. Understanding what tools you need helps you prepare before starting.
Basic Tools
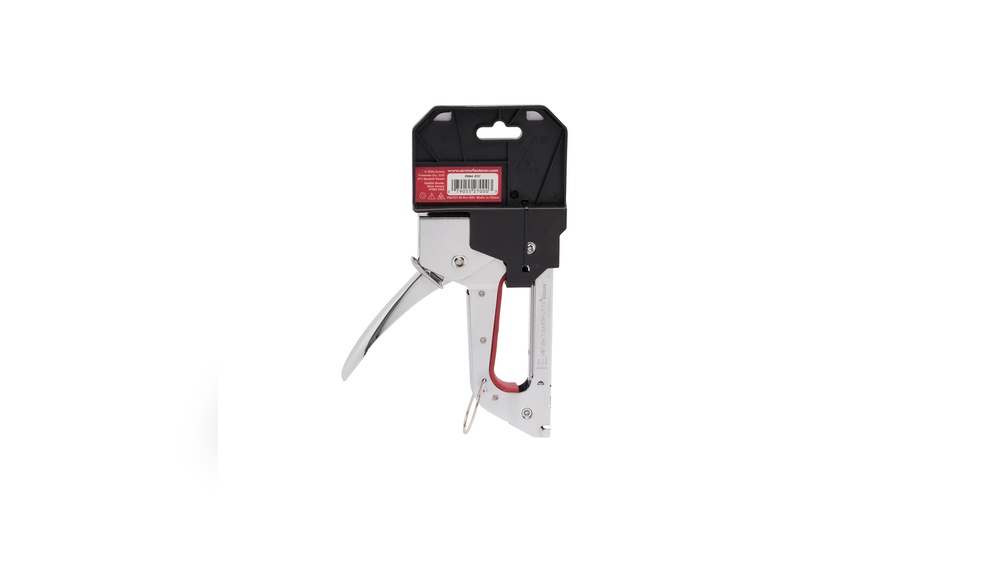
Start with a hammer and a punch tool. These help loosen the fastener by hitting its head. A cold chisel is useful for cutting or shaping metal parts. Safety goggles protect your eyes from flying debris. A pair of pliers helps grip and pull fasteners out. A wrench or socket set may be needed to hold or turn parts. These tools are common in most toolkits and are enough for simple fastener removal.
Specialized Equipment
For harder or stuck Huck fasteners, use a Huck fastener removal tool. This tool fits the fastener’s shape and removes it quickly. An air hammer or pneumatic chisel can speed up the removal process. It uses compressed air to deliver strong blows. A drill with metal bits helps drill out damaged fasteners. Some shops use dedicated Huck fastener removal kits with all necessary parts. These tools make removing fasteners easier and reduce the risk of damage.
Safety Precautions
Safety is the top priority when removing Huck fasteners. These fasteners are strong and require tools that can be dangerous without care. Taking safety steps protects you from injury and damage.
Protective Gear
Always wear safety glasses to protect your eyes from flying metal pieces. Use gloves to shield your hands from sharp edges and hot surfaces. Ear protection is important if you use power tools that make loud noise. Dress in long sleeves and sturdy clothing to avoid cuts and burns.
Work Area Preparation
Clear the workspace of unnecessary items to avoid tripping or distractions. Make sure the area is well-lit so you can see clearly. Keep tools organized and within reach. Use a stable surface to hold the materials you work on. Check for any flammable materials nearby and remove them to prevent fires.
Preparing The Fastener
Preparing the fastener is the first step in removing Huck fasteners safely and effectively. This stage ensures the fastener is ready for removal without causing damage to the surrounding material. Proper preparation helps avoid extra work and saves time during the process.
Taking the time to clean and inspect the fastener makes the removal smoother. It also helps identify any issues that might affect the process. Careful preparation leads to better results and less frustration.
Cleaning The Area
Start by cleaning the area around the Huck fastener. Use a brush or cloth to remove dirt, grease, and debris. A clean surface allows you to see the fastener clearly. It also prevents dirt from interfering with tools and equipment. Cleaning helps create a safe workspace and reduces slipping risks.
Inspecting The Fastener
Look closely at the fastener for any damage or rust. Check if the fastener head is intact and not stripped. Examine the fastener’s position to make sure it is accessible. This step helps you choose the right removal method. It also reveals if special tools might be needed. A good inspection prevents surprises during removal.
Removing Huck Fasteners
Removing Huck fasteners requires the right tools and techniques. These fasteners are strong and designed for heavy-duty use. Taking them out needs care to avoid damage. The process can be simple with the correct approach.
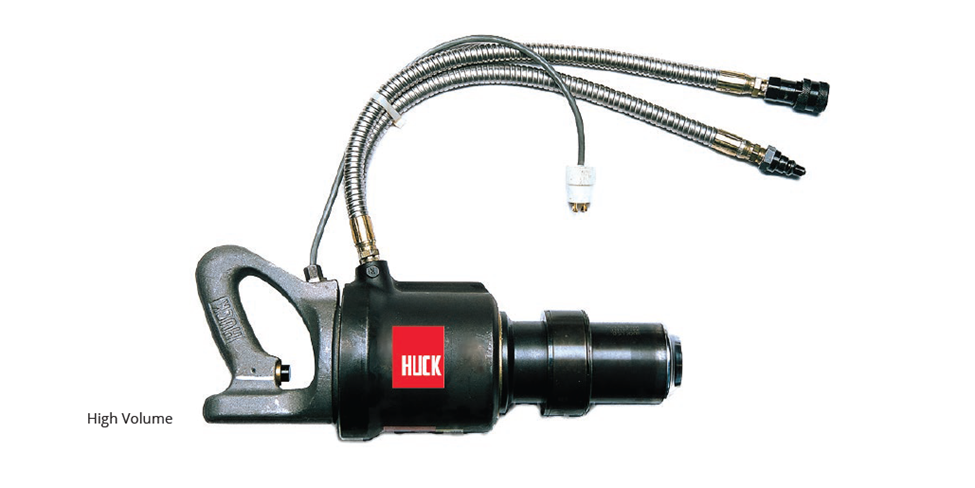
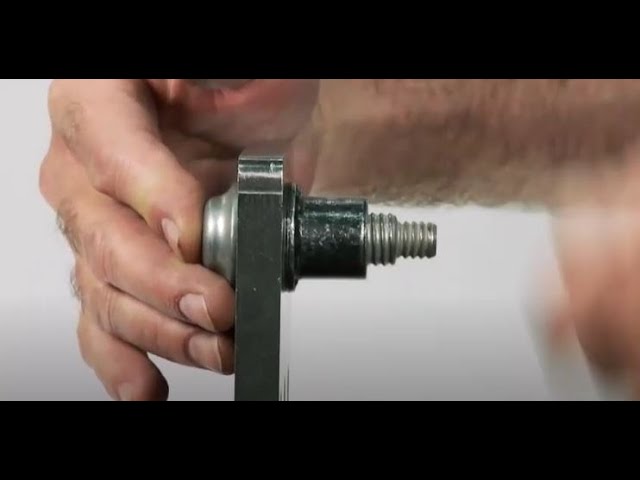
Using A Huck Tool
A Huck tool is made for removing these fasteners quickly. It grips the fastener and twists it loose. This tool works by breaking the lock created during installation. Using the Huck tool ensures the fastener comes out cleanly. Always match the tool size to the fastener for best results.
Alternative Removal Methods
If a Huck tool is not available, other methods can help. Cutting the fastener with a rotary tool is common. Use a cut-off wheel to slice through the collar carefully. Another option is to drill out the fastener. Drill slowly to avoid hurting the surrounding material. These methods take more time and caution but can be effective.
Post-removal Steps
After removing Huck fasteners, some important steps follow. These steps help prepare the surface for the next use or repair. Taking care of the area ensures safety and durability.
Cleaning The Surface
Remove any leftover debris from the removal process. Use a brush or cloth to clear dust and dirt. Clean the surface with a mild detergent and water. Dry the area completely to avoid rust or corrosion. This step creates a smooth base for new fasteners or paint.
Inspecting For Damage
Check the surface carefully for cracks or dents. Look for any marks left by the fastener. Small damages can weaken the material over time. Use a flashlight to see hard-to-spot issues. Fix problems before installing new fasteners or parts.
Replacing Or Repairing
Replacing or repairing Huck fasteners is a key step after removal. Proper replacement ensures the strength and safety of your project. Repairing fasteners can save time and cost but requires care. Understanding how to choose the right fasteners and install them properly is crucial.
Choosing Replacement Fasteners
Select fasteners that match the original size and type. Check material compatibility with your project’s metal. Choose fasteners designed for the load and environment. Avoid using lower quality or incorrect fasteners. Proper choice prevents future failures and ensures durability.
Installation Tips
Use the correct tools for Huck fastener installation. Clean the holes before placing new fasteners. Apply steady pressure during installation to avoid damage. Follow manufacturer instructions for best results. Inspect the fastener after installation for tightness and alignment.
Troubleshooting Common Issues
Troubleshooting common issues with Huck fasteners helps save time and effort. Problems may arise during removal, causing delays. Knowing how to address these issues improves the process. This section covers common problems and their solutions.
Stuck Fasteners
Stuck fasteners happen due to rust or over-tightening. First, apply a lubricant to loosen the fastener. Let it sit for several minutes. Use steady pressure with the removal tool. Avoid sudden force that could damage the fastener or tool. If the fastener remains stuck, try tapping it gently with a hammer. This can break rust bonds and ease removal.
Tool Malfunctions
Tool malfunctions often occur from wear or incorrect use. Check the tool before starting to remove fasteners. Look for worn parts or broken pieces. Clean the tool regularly to avoid build-up. Use the correct tool size for the fastener. If the tool jams or stops working, pause and inspect it. Replace damaged parts promptly to keep the tool safe and effective.
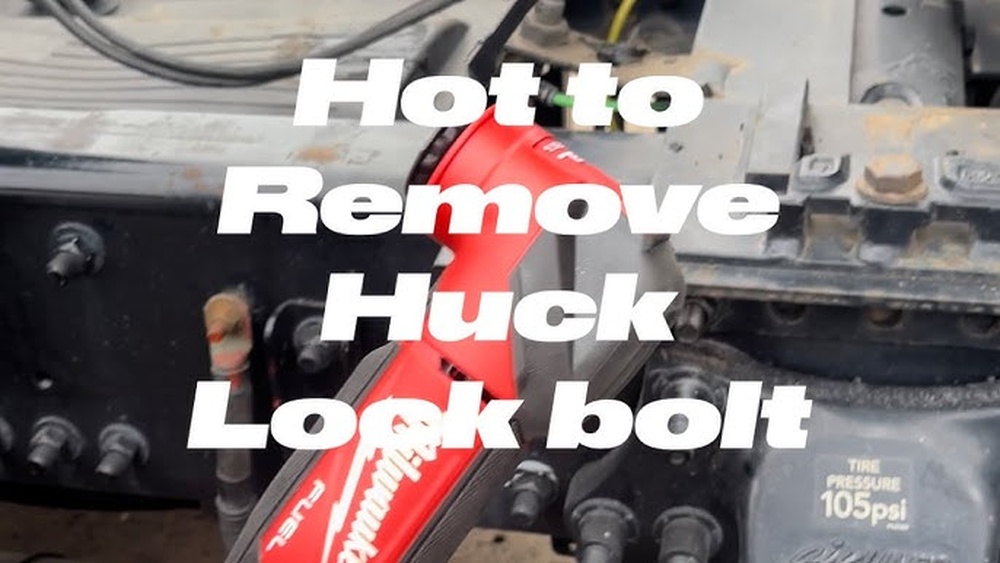
Credit: www.youtube.com
Credit: macrosfastening.com
Frequently Asked Questions
What Tools Are Needed To Remove Huck Fasteners?
To remove Huck fasteners, you need a Huck rivet removal tool or drill, safety goggles, and gloves. These tools ensure safe and efficient removal without damaging the material.
How Do You Safely Remove Huck Fasteners?
Wear protective gear, use the appropriate removal tool, and work slowly. Avoid excessive force to prevent damage to surrounding materials during removal.
Can Huck Fasteners Be Reused After Removal?
No, Huck fasteners are designed for one-time use and should be replaced after removal to ensure proper fastening strength.
How Long Does It Take To Remove A Huck Fastener?
Removing a Huck fastener typically takes 1 to 3 minutes, depending on the tool used and the operator’s experience.
Conclusion
Removing Huck fasteners is easier with the right tools and steps. Always stay safe and wear protective gear during the process. Take your time to avoid damaging the materials around the fastener. Practice on scrap pieces before working on important projects.
Following clear steps helps you finish the job quickly and cleanly. Now, you can handle Huck fasteners with more confidence and skill.