Are you ready to give your cabinets a fresh, stylish upgrade? Switching from knobs to pulls is one of the easiest ways to transform the look and feel of your kitchen or bathroom without a full remodel.
But how do you make sure the change is smooth and looks professional? Whether you want a sleek modern vibe or just need a better grip on those drawers, this step-by-step guide will walk you through everything you need to know.
Keep reading to discover simple tips, the right tools, and tricks that will save you time and frustration while turning your cabinet hardware into a stunning focal point. Your cabinets are about to get a whole new look!
Tools And Materials Needed
Changing cabinet hardware from knobs to pulls requires a few important tools and materials. Having everything ready makes the job easier and faster. This section covers what you need before starting the project.
Selecting The Right Pulls
Choose pulls that match your cabinet style and size. Measure the distance between screw holes on your cabinet door. This measurement is called center-to-center. Pick pulls with the same center-to-center size to avoid extra drilling.
Consider the finish and shape of the pulls. Metal finishes like brushed nickel or bronze work well in most kitchens. Make sure the pulls feel comfortable to hold and use.
Gathering Basic Tools
Prepare simple tools before you begin. A screwdriver fits most screws on cabinet hardware. A drill helps if new holes are needed. Use a drill bit that matches the screw size.
A tape measure or ruler is important for accurate measuring. A pencil is useful to mark drill spots. You may also need wood filler to cover old holes if you change pull size.
Preparing Your Workspace
Clear the area around the cabinets. Remove any items from drawers and shelves. Lay down a cloth or newspaper to catch dust and small parts.
Good lighting helps you see screws and holes clearly. Keep a small container nearby for screws and hardware to avoid losing them. Take your time to stay organized and safe.
Credit: semistories.semihandmade.com
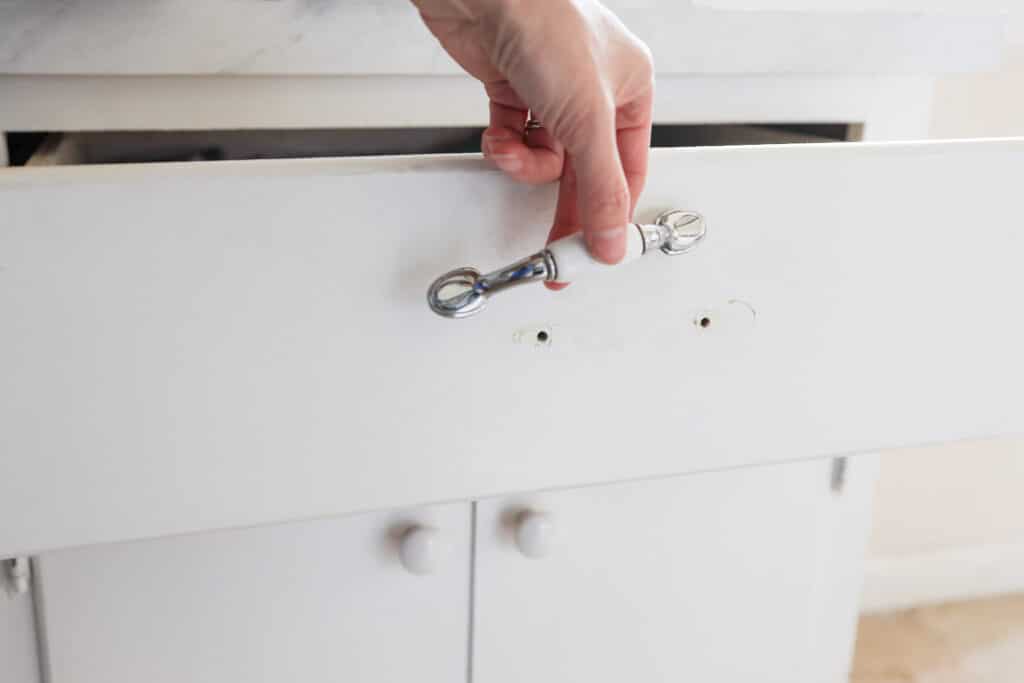
Removing Existing Knobs
Removing existing cabinet knobs is the first step in switching to pulls. It may seem simple, but doing it carefully protects your cabinets. Taking time here ensures a smooth hardware update with no damage. Follow these steps to remove knobs safely and prepare surfaces for new pulls.
Unscrewing Knobs Safely
Use a screwdriver that fits the knob screws. Turn the screwdriver counterclockwise to loosen each screw. Hold the knob while unscrewing to avoid dropping it. Work slowly to keep screws from stripping or falling inside the cabinet. Place screws and knobs in a small container for reuse or recycling.
Handling Old Hardware
Inspect the knobs and screws for any damage or rust. Keep parts you want to reuse or recycle old hardware responsibly. Old screws may be worn and not fit new pulls, so consider replacing them. Store hardware in a labeled bag to avoid confusion later.
Cleaning Cabinet Surfaces
Remove any dirt or grease around the holes with a mild cleaner. Use a soft cloth or sponge to avoid scratching the cabinet finish. Cleaning ensures the new pulls stick well if you use adhesive or touch up paint. Let the surface dry completely before installing new hardware.
Measuring For New Pulls
Measuring for new pulls is a key step when changing cabinet hardware. Accurate measurements ensure the pulls fit perfectly and look balanced. Taking time to measure reduces mistakes and saves effort later. This section guides you through the basics of measuring for new pulls. It covers center-to-center dimensions, marking drill points, and using templates for alignment.
Understanding Center-to-center Dimensions
Center-to-center measurement is the distance between two screw holes. It is the most important number when choosing pulls. Measure from the center of one hole to the center of the other. Use a tape measure or ruler for this task. Common sizes include 3 inches, 4 inches, and 5 inches. Knowing this helps you buy pulls that fit your cabinets without extra drilling.
Marking Drill Points Accurately
Mark drill points carefully to avoid mistakes. Use a pencil to mark where holes will go. Measure twice before marking once. Hold the pull in place to check the position. Ensure marks are level and centered on the cabinet door or drawer. Accurate marks make drilling easier and keep pulls straight.
Using Templates For Alignment
Templates help keep holes aligned and evenly spaced. Many hardware kits include paper or plastic templates. Place the template on the cabinet surface. Align it with existing holes or edges. Use a pencil to mark drill points through the template holes. Templates save time and increase accuracy, especially for multiple cabinets.
Drilling New Holes
Drilling new holes is a crucial step when changing cabinet hardware from knobs to pulls. This process ensures the pulls fit properly and look neat. Careful drilling keeps your cabinets safe and maintains their beauty. Follow these tips to drill with confidence and precision.
Choosing The Right Drill Bit
Select a drill bit that matches the screw size of your pulls. Use a bit slightly smaller than the screw to ensure a tight fit. A wood drill bit works best for cabinet doors. Avoid metal bits, which can cause splintering or cracks.
Drilling With Precision
Mark the drill spots carefully using a ruler or template. Measure twice to avoid mistakes. Hold the drill steady and start at a low speed. Drill straight into the cabinet surface to prevent angled holes. Take your time for clean, accurate holes.
Preventing Damage To Cabinets
Place painter’s tape over the drilling area to reduce splintering. Support the cabinet door from behind to avoid cracks. Do not press too hard with the drill. Clean dust and debris after drilling to keep surfaces smooth.
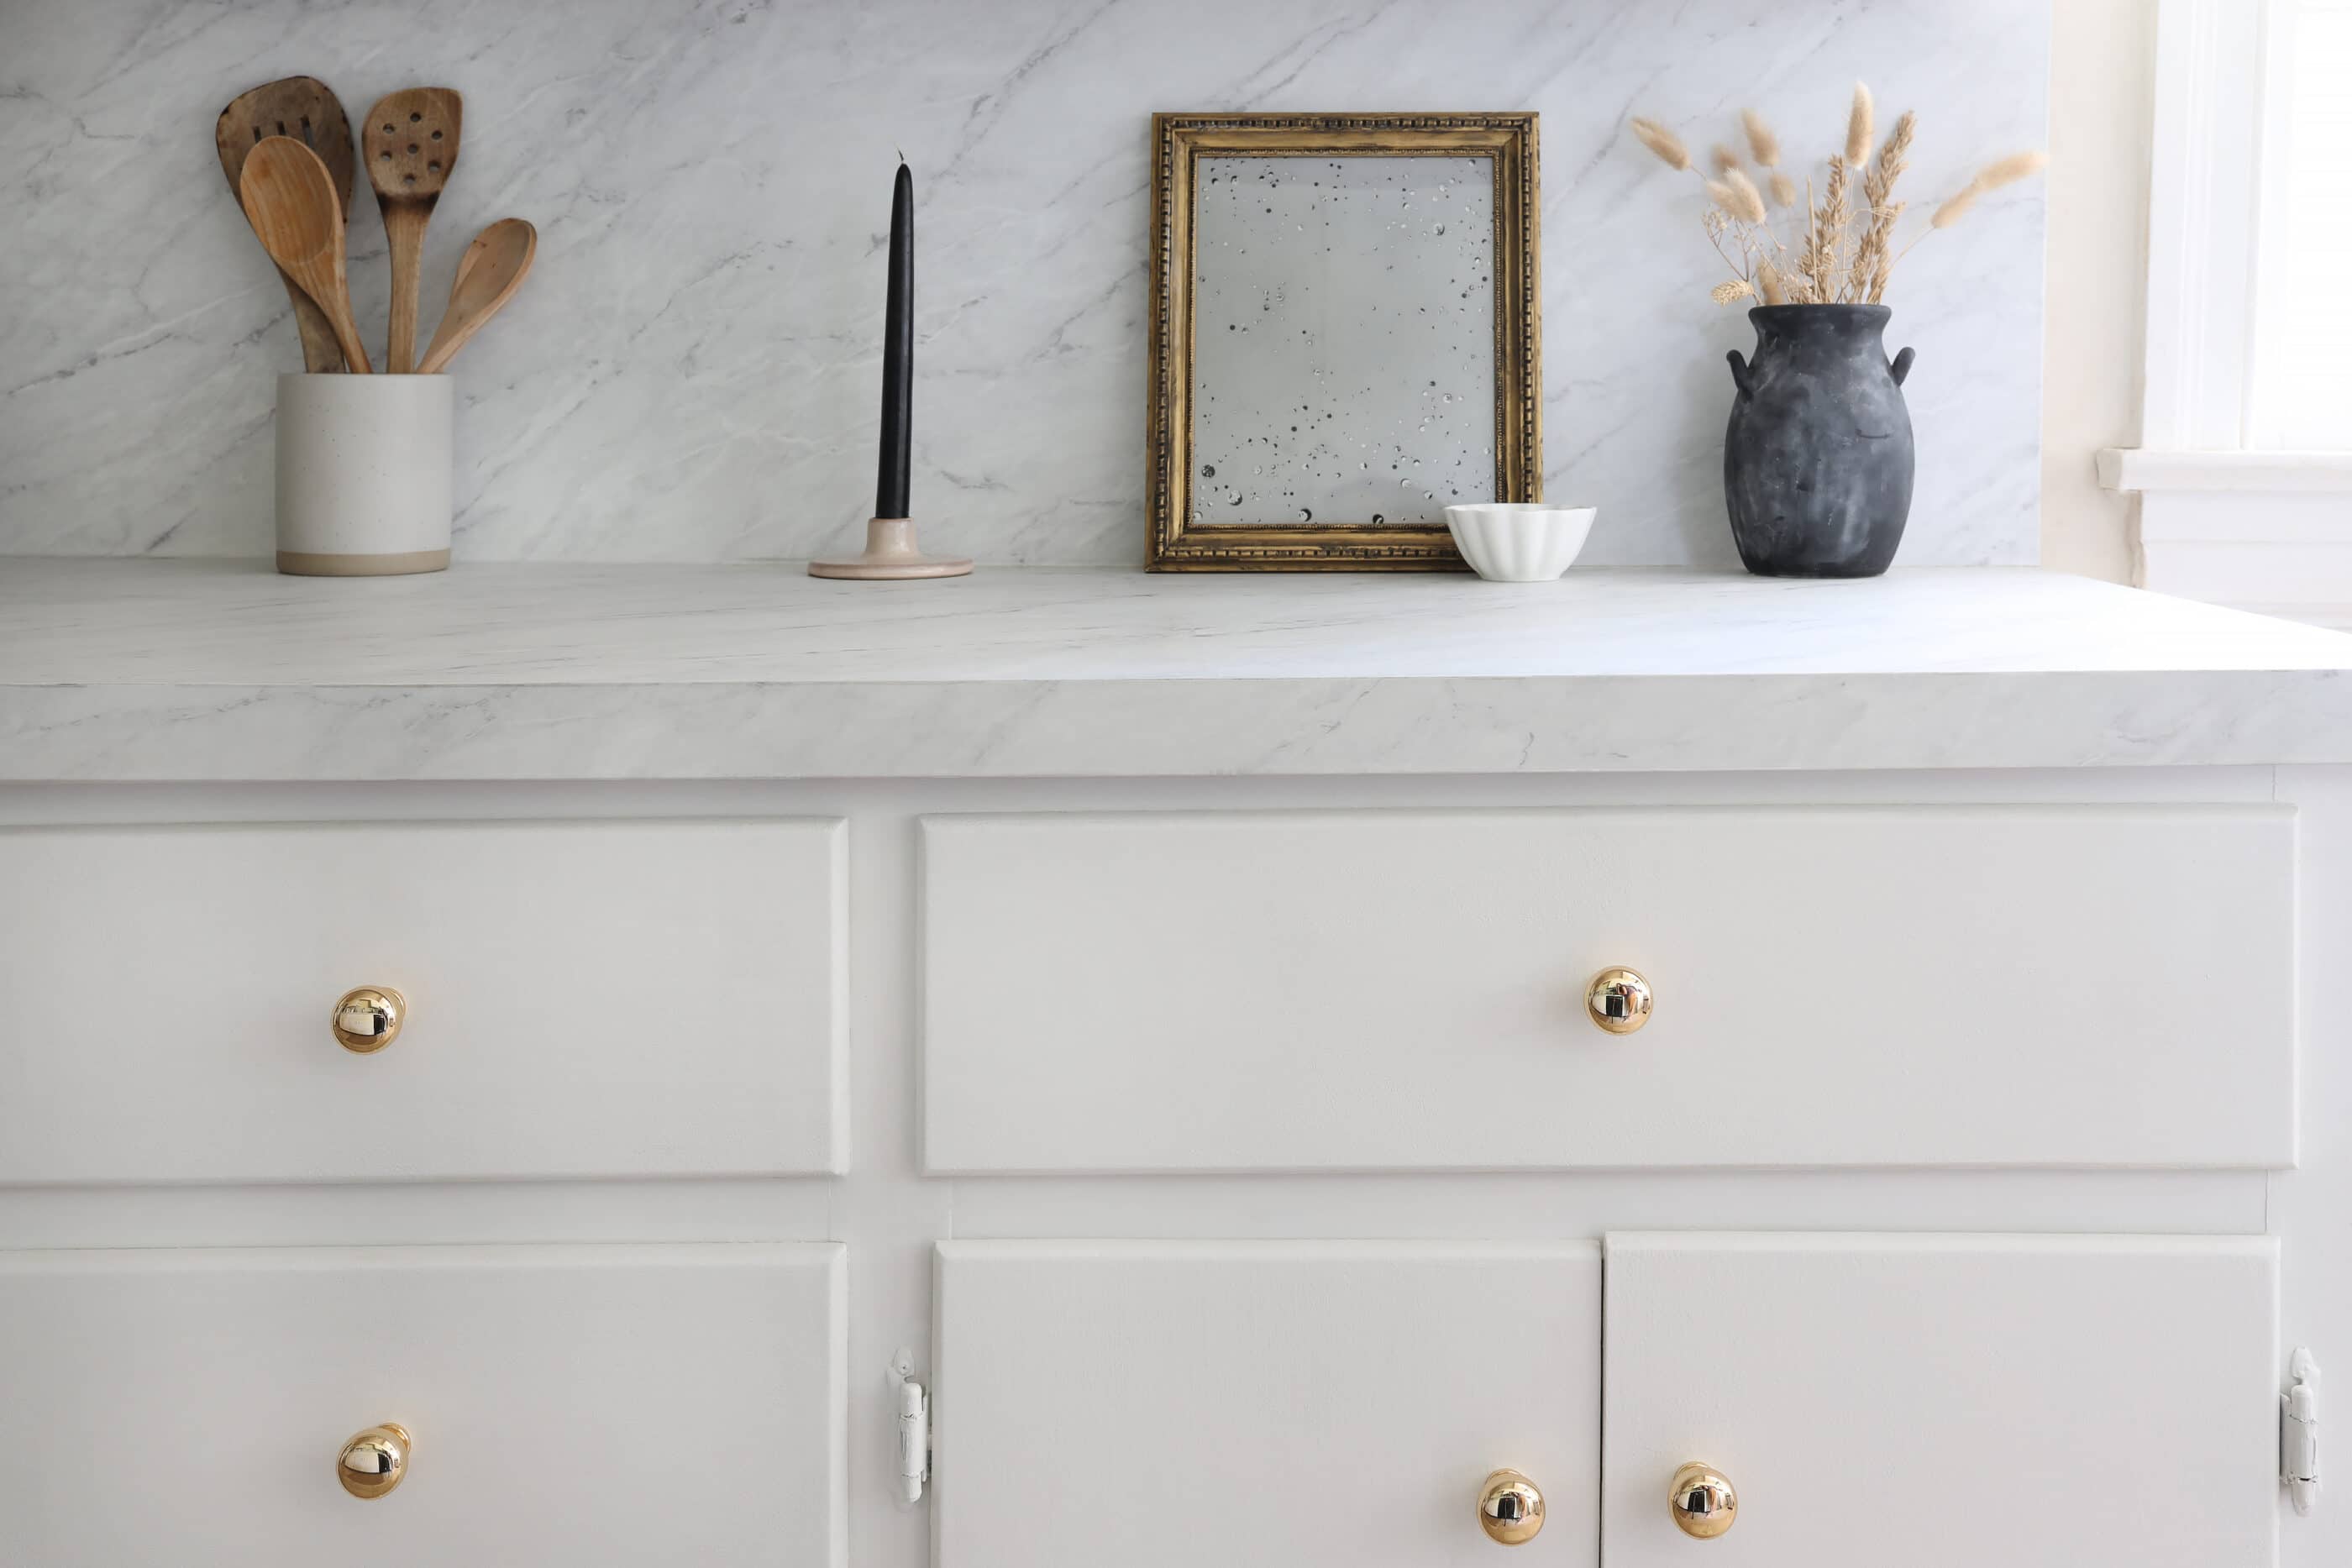
Installing Pulls
Installing pulls on your cabinets updates the look and improves functionality. This step requires careful attention to detail. Proper installation ensures the pulls look balanced and work well. Follow these simple steps for a smooth and secure installation.
Aligning Pulls Correctly
Start by measuring the distance between existing holes. Use a ruler or tape measure for accuracy. Mark the drill points lightly with a pencil. Check that marks are level across all cabinet doors or drawers. Use a level tool if possible to avoid crooked pulls. Correct alignment gives a clean, professional appearance.
Securing Screws Tightly
Place the pulls against the cabinet front. Insert screws from inside the cabinet through the holes. Use a screwdriver to tighten screws firmly. Avoid overtightening to prevent damage to the cabinet or hardware. Tight screws keep the pulls in place and prevent wobbling. Double-check each screw before moving on.
Checking For Stability
After installation, pull gently on each handle. Confirm that the pulls do not shift or loosen. Test all cabinet doors and drawers to ensure smooth operation. If any pull feels loose, tighten the screws again. Stable pulls provide ease of use and longevity. Your cabinets will look neat and function well for years.
Credit: semistories.semihandmade.com
Tips For Mixed Hardware Styles
Mixing cabinet hardware styles can create a unique and stylish look. It adds personality and interest to your kitchen or bathroom cabinets. Follow these tips to blend knobs and pulls smoothly. Keep the design balanced and functional.
Combining Knobs And Pulls
Use knobs on cabinet doors and pulls on drawers for easy use. This combination works well because drawers need a better grip. Knobs add a simple touch to doors. Keep the mix consistent throughout the room.
Matching Styles And Finishes
Choose hardware with similar finishes to create harmony. For example, pair brushed nickel knobs with brushed nickel pulls. Matching styles keep the look neat and planned. Avoid clashing colors or shapes that feel random.
Balancing Function And Aesthetics
Pick hardware that fits both style and comfort. Pulls offer easier handling for heavy drawers. Knobs are great for smaller doors. Think about how you use each cabinet daily to decide.
Troubleshooting Common Issues
Changing cabinet hardware from knobs to pulls can improve your kitchen’s look. Sometimes, problems arise during installation. These issues can slow you down or make the new pulls look uneven. Knowing how to fix common problems helps you finish the job quickly and cleanly.
Fixing Misaligned Holes
Misaligned holes happen when the new pulls have different spacing. Measure the distance between holes on the pulls carefully. Mark the new hole positions on your cabinet doors. Use a drill to create clean holes exactly where you marked. If old holes show, fill them with wood filler. Sand smooth and paint for a neat finish before adding pulls.
Dealing With Worn Cabinet Surfaces
Old cabinets often have chipped paint or scratches around the hardware. Clean the surface well before installing pulls. Use fine sandpaper to smooth rough areas. Apply touch-up paint or stain to match the cabinet color. Let it dry completely. This step makes your new pulls stand out and keeps the cabinets looking fresh.
Adjusting Pull Tightness
Pulls that are too loose or too tight cause frustration. Tighten screws just enough so the pull feels secure. Avoid over-tightening because it can crack the cabinet or strip screws. Check each pull after installation and adjust screws if needed. Proper tightness ensures the pulls last longer and feel comfortable to use.

Credit: www.reddit.com
Maintaining New Hardware
Maintaining your new cabinet hardware keeps it looking fresh and working well. Simple care extends its life and preserves its shine. Small efforts prevent damage and keep your kitchen stylish.
Cleaning Tips
Use a soft cloth to wipe the hardware regularly. Avoid harsh chemicals that can damage the finish. Warm soapy water works well for most metals. Dry the hardware fully after cleaning to avoid water spots. For stubborn dirt, a gentle brush helps reach small spaces.
Preventing Tarnish And Wear
Apply a thin layer of clear wax or polish to protect metal surfaces. Avoid touching hardware with dirty or oily hands. Keep the kitchen dry to reduce moisture that causes rust. Use cabinet pulls gently to prevent loosening or scratching. Store cleaning products away from hardware to avoid chemical damage.
Regular Inspection
Check screws and mounts every few months to ensure tightness. Look for signs of rust, scratches, or fading. Replace damaged hardware parts promptly to avoid further issues. Tighten loose pulls to keep cabinets safe and functional. Early fixes save time and keep your kitchen looking great.
Frequently Asked Questions
What Looks Better On Kitchen Cabinets, Knobs Or Pulls?
Pulls suit modern kitchens with ergonomic grip and sleek style, ideal for large drawers. Knobs offer classic charm, easy installation, and affordability. Choose based on your kitchen’s style, drawer size, and comfort preference for the best look and function.
What Is The 1/3 Rule For Cabinet Pulls?
The 1/3 rule for cabinet pulls means placing the pull handle one-third from the drawer’s edge. This creates balanced, visually appealing hardware alignment. It enhances ergonomics and maintains consistent spacing across cabinets. Use this guideline for uniform, professional-looking kitchen or bathroom cabinetry.
Can You Change Door Knobs To Handles?
Yes, you can change door knobs to handles by drilling new holes to fit the handle’s screws. Ensure proper alignment before installation.
How To Change Cabinet Hardware?
Remove old hardware by unscrewing it. Measure and mark new hole positions if needed. Drill new holes carefully. Align and attach new hardware with screws. Tighten securely for a firm fit. Clean the cabinet surface to finish.
Conclusion
Changing cabinet hardware from knobs to pulls can refresh your space easily. Measure carefully to ensure the new pulls fit well. Use the right tools to avoid damage. Take your time drilling new holes for a perfect fit. This simple update boosts both style and function in your kitchen.
Enjoy the fresh look and improved grip with your new pulls. Small changes often make a big difference in home design. Keep experimenting to find what suits your taste best.


