Are your cabinets looking a little tired? Changing the cabinet hardware is one of the easiest and fastest ways to give your kitchen or bathroom a fresh, new look.
You don’t need to spend a lot of money or hire a professional to make this simple upgrade. Imagine opening your cabinets and feeling excited every time because of the stylish knobs and pulls you chose. In this guide, you’ll discover step-by-step how to change your cabinet hardware quickly and effortlessly.
By the end, you’ll have the confidence to transform your space and add a personal touch that truly stands out. Ready to get started? Let’s dive in!
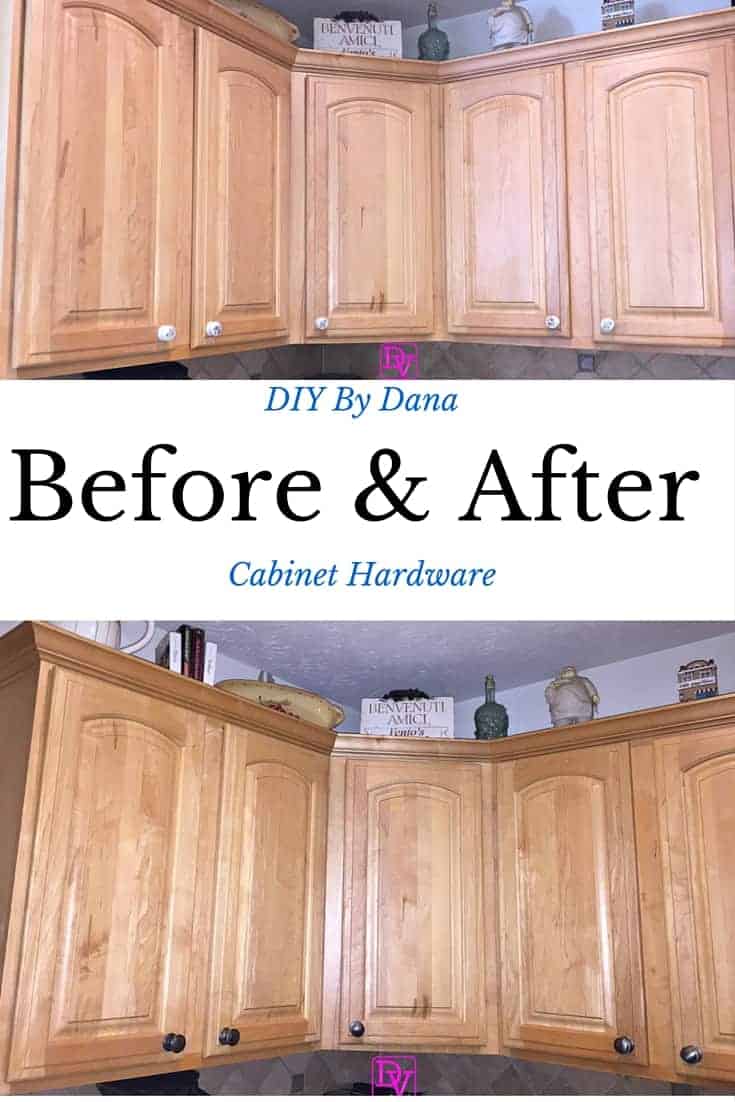
Credit: danavento.com
Tools And Materials Needed
Changing cabinet hardware is a simple way to refresh your space. Having the right tools and materials makes the job easier and faster. This section covers everything you need before starting.
Essential Tools
You will need a screwdriver. Choose one that fits the screws on your cabinets. A drill can speed up the process but is optional. A tape measure helps check the size and placement of hardware. A pencil is useful for marking drill spots. Keep a level handy to align handles straight. Lastly, a small wrench or pliers can help remove old hardware.
Choosing New Hardware
Pick hardware that matches your cabinet style. Consider the finish, like chrome, bronze, or nickel. Measure the distance between screw holes on your old hardware. This ensures the new pieces fit without extra work. Think about the size and shape that feels comfortable to use. Simple designs often blend well with most kitchens.
Removing Old Hardware
Removing old cabinet hardware is the first step to a fresh kitchen look. It prepares your cabinets for new handles and knobs. Taking time here makes the next steps easier. Careful removal keeps your cabinets safe from damage. Let’s break down the process into simple tasks.
Preparing The Workspace
Clear the area around your cabinets. Remove items from countertops to avoid clutter. Lay a cloth or paper towels under the cabinet doors. This protects surfaces from scratches and drops. Gather your tools before starting. A screwdriver and a small container for screws work best. Good lighting helps you see screws clearly. Take your time to avoid mistakes.
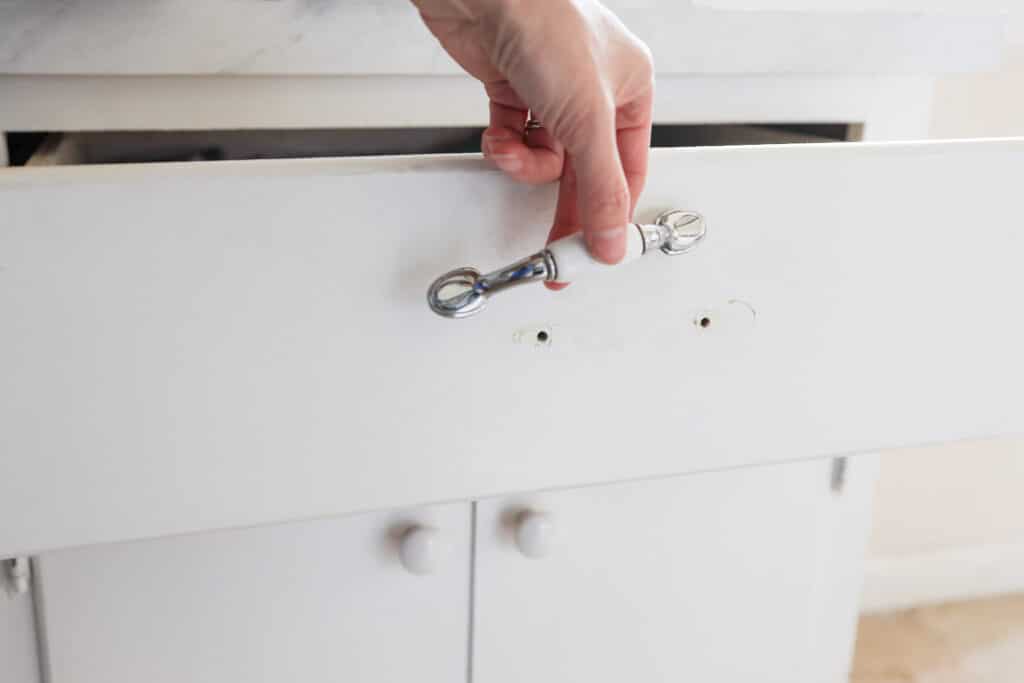
Unscrewing Handles And Knobs
Open cabinet doors to reach screws inside. Turn screws counterclockwise using your screwdriver. Keep steady pressure to avoid stripping screws. Place screws in your container to keep them safe. If screws are stuck, try gentle rocking motion. Do not force too hard to prevent damage. Once screws are out, pull handles or knobs gently. Clean the area before installing new hardware.
Cleaning And Preparing Cabinets
Cleaning and preparing cabinets is a key step before changing cabinet hardware. It ensures the new handles or knobs fit well and look great. Proper preparation helps avoid problems later. Take time to clean and check your cabinets carefully.
Removing Residue
Start by removing any old glue, dirt, or sticky residue. Use a soft cloth with warm, soapy water. Gently scrub the cabinet surface. For tough spots, try a mild cleaner safe for wood or paint. Avoid harsh chemicals that damage finishes. Make sure the surface is clean and dry before moving on.
Checking For Damage
Look closely at cabinet doors and drawer fronts for cracks or dents. Check around old hardware holes for wear or splitting. Small damage can cause new hardware to fit poorly. Fix minor problems with wood filler or putty. Sand smooth once dry. This step creates a strong base for your new hardware.
Measuring And Aligning New Hardware
Measuring and aligning new cabinet hardware is key to a neat, professional look. Precise measurements stop mistakes and save time. Take your time to measure carefully before drilling any holes. Double-check every mark to avoid misalignment. A small error can make the hardware look crooked or uneven.
Marking Screw Holes
Start by holding the new hardware in place. Use a pencil to mark the exact spots for the screws. Mark lightly so you can erase if needed. Measure twice and mark once. Make sure the marks are straight and even on all doors or drawers. Consistent marks help the hardware line up perfectly.
Using Templates For Accuracy
Templates make marking screw holes easier and more accurate. Use a paper or plastic template that matches your hardware size. Place the template on the cabinet and mark the holes through the guide. This method saves time and ensures every piece matches. Templates are helpful if you replace many handles or knobs.
Installing New Handles And Knobs
Installing new handles and knobs can refresh the look of your cabinets quickly. It gives your kitchen or bathroom an updated feel without much effort. The process is simple and does not require special skills.
Start by removing the old hardware carefully. Clean the surface before attaching new pieces. Proper installation ensures the handles and knobs stay secure and work well.
Securing Hardware Properly
Align the new handle or knob with the existing holes on the cabinet door or drawer. Insert the screws through the back of the panel into the hardware. Hold the handle steady while tightening the screws to avoid misalignment. Check that the handle sits flush against the surface without gaps. Proper securing prevents wobbling and makes the hardware last longer.
Tightening Screws Without Damage
Use a screwdriver that fits the screw head perfectly. Turn the screws slowly and evenly to avoid stripping. Stop tightening when the handle feels firm but not forced. Over-tightening can crack the cabinet or damage the hardware finish. If the screws feel stuck, back them out and try again gently. This careful approach protects your cabinets and new handles.
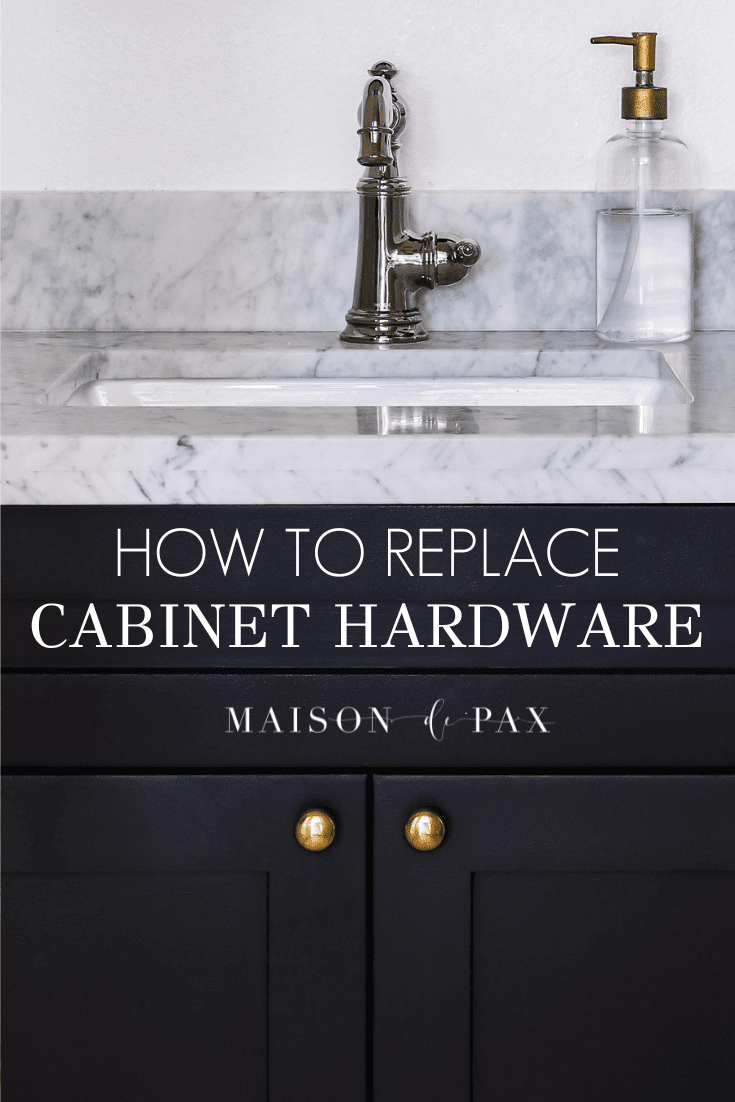
Credit: www.maisondepax.com
Finishing Touches
Finishing touches give your new cabinet hardware a polished look. They make sure everything fits well and looks clean. Taking time to complete these steps improves your kitchen or bathroom’s appearance. Small details make a big difference in the final result.
Adjusting Alignment
Check if the handles or knobs line up straight. Use a level or ruler to measure spacing. Tighten screws gently to avoid moving the hardware out of place. Fix any parts that seem loose or crooked. Proper alignment helps cabinets look neat and professional.
Cleaning Up The Area
Remove dust and fingerprints from your cabinets and hardware. Use a soft cloth with mild soap and water. Avoid harsh cleaners that can damage finishes. Clean both inside and outside of cabinet doors. A clean surface highlights the new hardware’s style and shine.
Tips For Choosing Hardware Styles
Choosing the right hardware style can change the look of your cabinets. It makes a big difference in your kitchen or bathroom. Pick hardware that fits your room’s style and meets your needs. Small details matter and create a fresh, polished look.
Think about how the hardware will work and look together. This helps avoid mistakes and saves time. The right choice makes your space feel complete and stylish.
Matching Cabinet Design
Match hardware style with your cabinet design. Classic cabinets pair well with simple knobs or handles. Modern cabinets suit sleek, minimal hardware. Rustic cabinets look great with metal or bronze finishes. Keep the size proportional to the cabinet doors and drawers. This balance keeps the design clean and attractive.
Considering Functionality
Choose hardware that feels good to use. Handles are easier to grip than knobs. Think about who will use the cabinets most. For families, sturdy and smooth hardware works best. Consider how often you open the cabinets. Durable materials last longer in busy kitchens. Comfort and ease are as important as style.
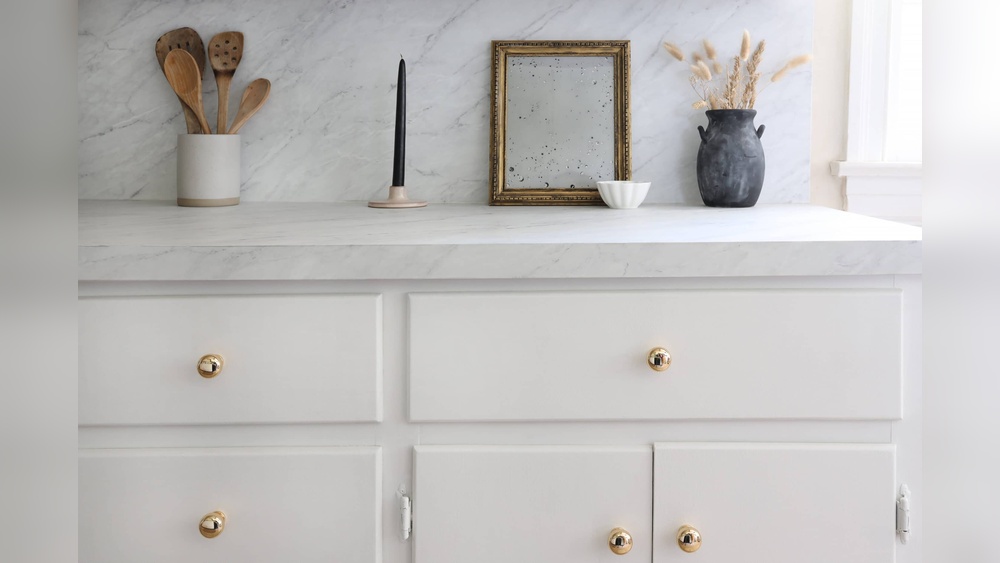
Credit: semistories.semihandmade.com
Common Mistakes To Avoid
Changing cabinet hardware can refresh your space quickly. Avoid common mistakes to get the best results. Simple errors can cause problems and waste time. Pay attention to details for a smooth update.
Incorrect Measurements
Measure carefully before buying new hardware. Check the distance between screw holes precisely. Wrong measurements lead to holes that do not align. This can cause damage or require extra work. Use a ruler or tape measure for accuracy. Mark measurements clearly to avoid mistakes.
Over-tightening Screws
Do not tighten screws too much. Over-tightening can strip the holes or break the hardware. Tighten screws just enough to hold firmly. Use a screwdriver with control to avoid damage. Stop once the hardware feels secure and stable.
Frequently Asked Questions
How Do I Remove Old Cabinet Hardware Safely?
To remove old hardware, use a screwdriver to unscrew each piece carefully. Protect the cabinet surface with tape. Remove screws fully and keep them for reuse or disposal.
What Tools Are Needed To Change Cabinet Hardware?
You need a screwdriver, drill, measuring tape, and new hardware. A level helps align handles properly. These tools ensure a smooth and precise hardware installation.
How Do I Measure For New Cabinet Hardware?
Measure the distance between existing screw holes. This is called the “center-to-center” measurement. Use a ruler or tape measure for accuracy before buying new hardware.
Can I Change Cabinet Hardware Without Drilling New Holes?
Yes, if your new hardware matches existing hole spacing. Otherwise, you’ll need to drill new holes carefully to avoid damaging the cabinet.
Conclusion
Changing cabinet hardware is a simple way to refresh your space. You only need a few basic tools and some patience. Take your time to remove old handles carefully. Choose new hardware that fits your style and needs. Installing new knobs or pulls can brighten up any room.
Small changes often make a big difference. Try it yourself and enjoy the fresh look. This project saves money and adds a personal touch. Give your cabinets a quick update today!


