
Are you struggling to attach prong fasteners the right way? You’re not alone.
These small but powerful tools can make a big difference in organizing your documents, crafts, or projects. But if you don’t know the proper steps, they can be tricky to handle. You’ll discover simple, clear instructions that will save you time and frustration.
By the end, you’ll feel confident using prong fasteners like a pro—no guesswork, no mistakes. Let’s get started and make your next project easier than ever!
Choosing The Right Prong Fasteners
Choosing the right prong fasteners is important for a strong hold. The correct fastener fits your material and project size. It makes the attachment process easier and lasts longer. Understanding types, materials, and sizes helps you pick the best fastener.
Types Of Prong Fasteners
There are several types of prong fasteners. Two-prong fasteners are common for papers and light materials. Four-prong fasteners give extra strength for thicker stacks. Flat prong fasteners lie flat after closing. They work well for neat and clean finishes.
Materials And Sizes
Prong fasteners come in metal and plastic options. Metal prongs are strong and durable. Plastic prongs are flexible and less likely to rust. Sizes vary by length and width. Choose a size that fits your document thickness. Short prongs suit thin materials. Longer prongs hold more sheets together securely.
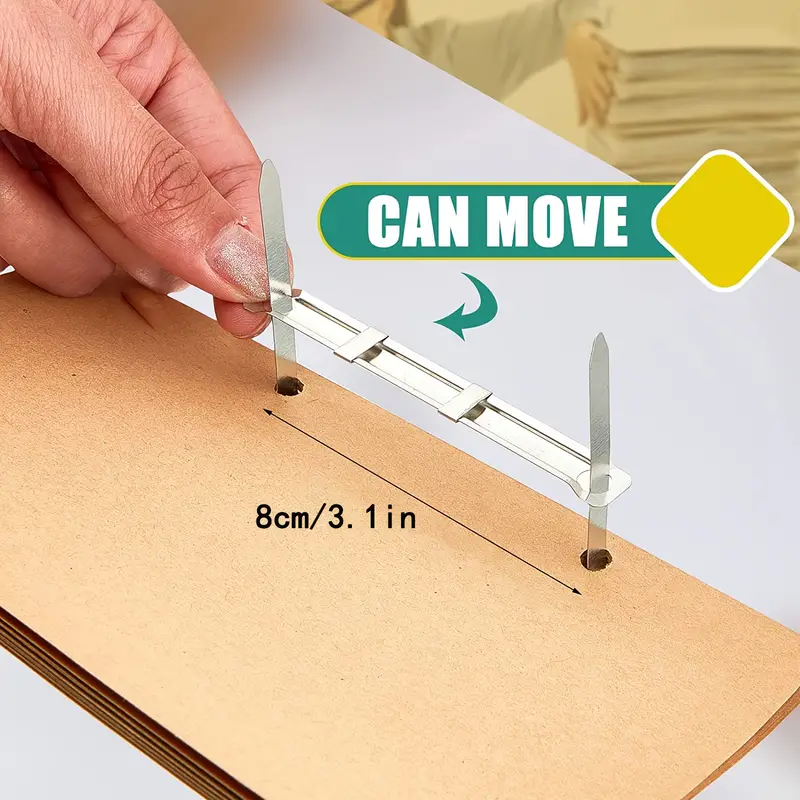
Credit: www.temu.com
Tools Needed For Attachment
Attaching prong fasteners requires a few essential tools. These tools help secure the fasteners quickly and firmly. Using the right tools makes your work easier and neater. Below, find the basic tools you need and some optional accessories that improve the process.
Basic Tools
A hole punch is necessary to make clean holes for the prongs. Choose a punch size that fits the fastener’s prongs perfectly. You also need a pair of pliers to bend and secure the prongs tightly. Flat-nose pliers work best because they hold the prongs without damaging them. A ruler or measuring tape helps keep your placement accurate and even. Finally, a cutting mat or hard surface protects your workspace while punching holes.
Optional Accessories
A prong fastener setter tool can speed up the attachment process. This tool presses the prongs down evenly and firmly. It is especially useful for many fasteners or thick materials. You might also use a small hammer to tap the setter tool gently. Another helpful accessory is a metal template guide that aligns holes perfectly. It ensures your fasteners line up straight for a professional look.
Preparing Your Materials
Preparing your materials is the first step to attach prong fasteners properly. Good preparation saves time and avoids mistakes. It helps you place the fasteners in the right spots. This section covers how to mark attachment points and align fasteners correctly.
Marking Attachment Points
Start by measuring the area where you want to attach the fastener. Use a ruler or tape measure for accuracy. Mark the exact points lightly with a pencil. These marks guide you during the attachment. They help keep the fasteners straight and even. Mark both sides if you use two parts of a fastener. Double-check your marks before moving on.
Aligning Fasteners Properly
Place the fastener pieces on the marked points. Make sure they match perfectly. Check that the prongs face the right direction. Align the holes or slots for easy joining. Use a flat surface to keep the fasteners stable. Adjust as needed to avoid crooked placement. Correct alignment ensures the fastener works well and looks neat.
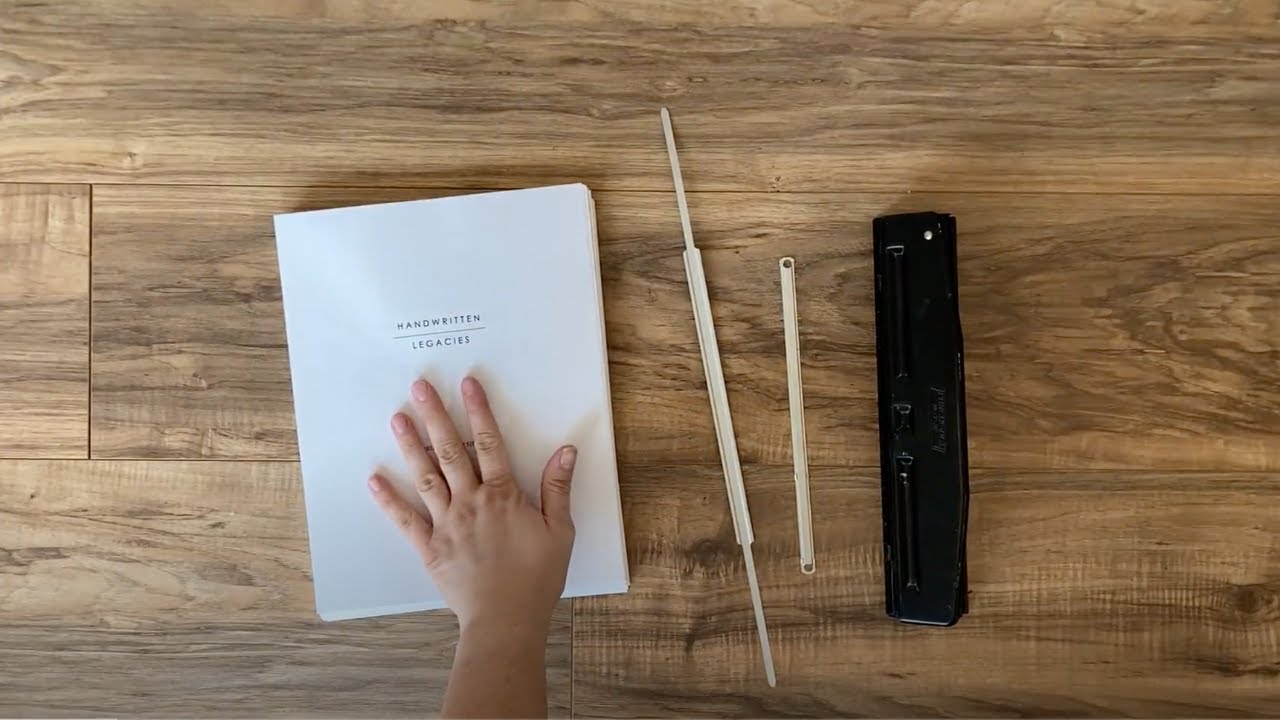
Credit: www.youtube.com
Step-by-step Attachment Process
Attaching prong fasteners is a simple process anyone can follow. This guide breaks down each step clearly. Follow these steps to attach prong fasteners correctly and securely.
Inserting The Prongs
Start by aligning the prong fastener with your paper or material. Push the prongs through the holes carefully. Make sure the prongs go all the way through. Avoid bending the prongs too early to keep them straight.
Securing The Fastener
Once the prongs pass through, spread them apart. Use your fingers or a tool to bend the prongs outward flat. Press the prongs down firmly against the back surface. This keeps the fastener tight and stable.
Checking For Durability
Check if the fastener holds the papers or material tightly. Wiggle the papers gently to test the grip. The prongs should not move or loosen easily. Re-adjust the prongs if the fastener feels weak.
Common Mistakes To Avoid
Attaching prong fasteners seems easy but common mistakes can cause problems. These errors can damage your materials or make the fastener loose. Avoiding these errors improves your results and saves time.
Misalignment Issues
Misalignment is a frequent problem. Prongs must line up perfectly with holes. If not, the fastener will not hold well. Misalignment can cause tears or weak grip. Always check the position before pressing the prongs down.
Overtightening Prongs
Applying too much pressure can break the prongs or damage the material. Overtightening does not make the fastener stronger. It makes it fragile and less effective. Use gentle but firm force to secure the prongs without bending them too far.
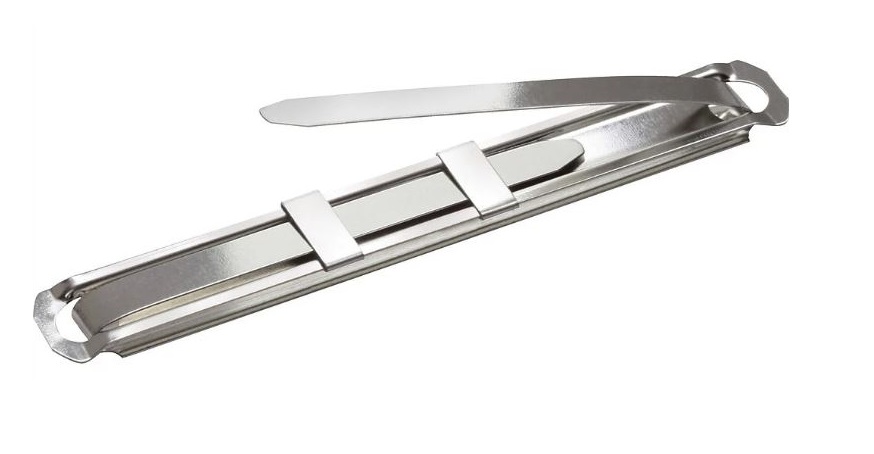
Credit: theblogstar-94.webself.net
Maintenance Tips For Longevity
Proper care extends the life of prong fasteners. Simple steps keep them strong and reliable. Maintenance prevents damage and ensures smooth use. Follow easy routines to protect your fasteners.
Regular Inspections
Check prong fasteners often for signs of wear. Look for bent or broken prongs. Notice any rust or dirt buildup. Early spotting of problems avoids bigger repairs. Clean fasteners gently with a soft cloth. Keep them dry to stop rust from forming.
Repairing Loose Fasteners
Loose fasteners cause weak holds and damage fabric. Tighten prongs carefully using small pliers. Push prongs down firmly but gently. Replace missing or badly bent fasteners right away. Fixing small issues stops them from worsening. Secure fasteners maintain strength and appearance.
Frequently Asked Questions
What Tools Do I Need To Attach Prong Fasteners?
You need prong fasteners, a hole punch, and a setting tool. A hammer or press may also help. These tools ensure a secure and neat attachment.
How Do I Prepare Material Before Attaching Prong Fasteners?
First, mark the spot for the fastener. Punch holes matching prong size. Proper preparation prevents misalignment and ensures durability.
Can Prong Fasteners Be Used On Thick Materials?
Yes, but choose longer prong fasteners for thick materials. Ensure prongs fully pierce and fold securely for a firm hold.
How Do I Secure Prong Fasteners Properly?
Insert prongs through holes, then bend them flat against the material’s back. Use a tool or pliers to press prongs firmly.
Conclusion
Attaching prong fasteners is simple with clear steps. Prepare your materials carefully and work slowly. Align the prongs properly to avoid damage. Press firmly to secure the fastener in place. Check that it holds well before finishing. Practice makes the process easier and faster.
Use the right tools for the best results. Now, you can add prong fasteners confidently to your projects. Keep these tips in mind for smooth, strong attachments every time.


