Are you struggling with those stubborn push pin fasteners that just won’t budge? Whether you’re fixing your car’s interior or working on a DIY project at home, knowing how to remove push pin fasteners quickly and safely can save you time and frustration.
You’ll discover simple, effective techniques that anyone can use—no special tools or experience needed. Keep reading, and you’ll master the easy steps to get those fasteners out without damaging your project.
Types Of Push Pin Fasteners
Push pin fasteners come in several types. Each type has a unique design and use. Knowing these types helps in removing them safely and correctly.
Understanding different push pin fasteners makes the removal process easier. It also prevents damage to surfaces and parts.
Common Designs
Push pin fasteners usually have a round head and a split shaft. Some have a flat head, others a domed head. The shaft often has barbs or ridges to hold it in place. Some designs include a center pin that locks the fastener securely.
Materials Used
Most push pin fasteners are made from plastic or nylon. These materials resist rust and corrosion. Metal fasteners also exist, often made of steel or aluminum. Plastic fasteners are light and flexible. Metal ones offer stronger hold and durability.
Typical Applications
Push pin fasteners are common in automotive panels and trims. They also attach interior parts like door panels and dashboards. Electronics and appliances use them to hold covers or components. Furniture assembly sometimes uses push pin fasteners for easy setup.

Credit: www.pointsunknown.com
Tools Needed For Removal
Removing push pin fasteners requires the right tools. Using proper tools makes the job easier and safer. Different tools work best for different types of push pins. Preparing these tools before starting saves time and effort.
Basic Household Tools
Many push pin fasteners can be removed with tools found at home. A flathead screwdriver helps pry up pins gently. Needle-nose pliers grip small pins for pulling. A butter knife can work as a makeshift pry tool. These tools are simple but effective for light jobs.
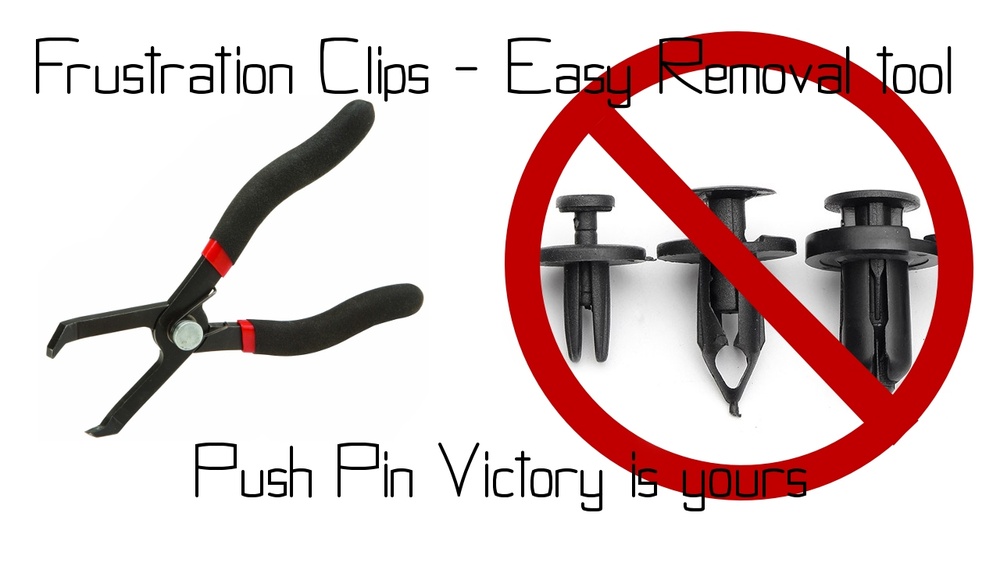
Specialized Removal Tools
Some push pins need special tools for easy removal. A trim removal tool is designed to lift pins without damage. Fastener removal pliers hold and pull pins smoothly. These tools reduce the risk of breaking fasteners or surfaces. They are worth having for frequent or tough jobs.
Safety Equipment
Safety is important when removing push pin fasteners. Wear safety glasses to protect your eyes from flying debris. Use gloves to avoid cuts or pinches on your hands. Good lighting helps you see the pins clearly. Taking safety steps prevents accidents and injuries.
Preparing For Removal
Preparing for the removal of push pin fasteners is important for a smooth process. Taking time to get ready helps avoid damage and saves effort. Proper preparation sets the stage for easy and safe fastener removal.
Locating The Fasteners
Start by finding all push pin fasteners. Check common areas like door panels, bumpers, and trim pieces. Use a flashlight for better visibility in dark spaces. Mark their positions to avoid missing any during removal.
Clearing The Work Area
Clear the area around the fasteners. Remove loose items that may get in the way. Make sure you have enough space to work comfortably. A tidy workspace reduces accidents and speeds up the job.
Protecting Surrounding Surfaces
Cover nearby surfaces to prevent scratches or dents. Use painter’s tape or soft cloths around the fasteners. This simple step protects paint and plastic parts. It keeps your project looking clean and neat.
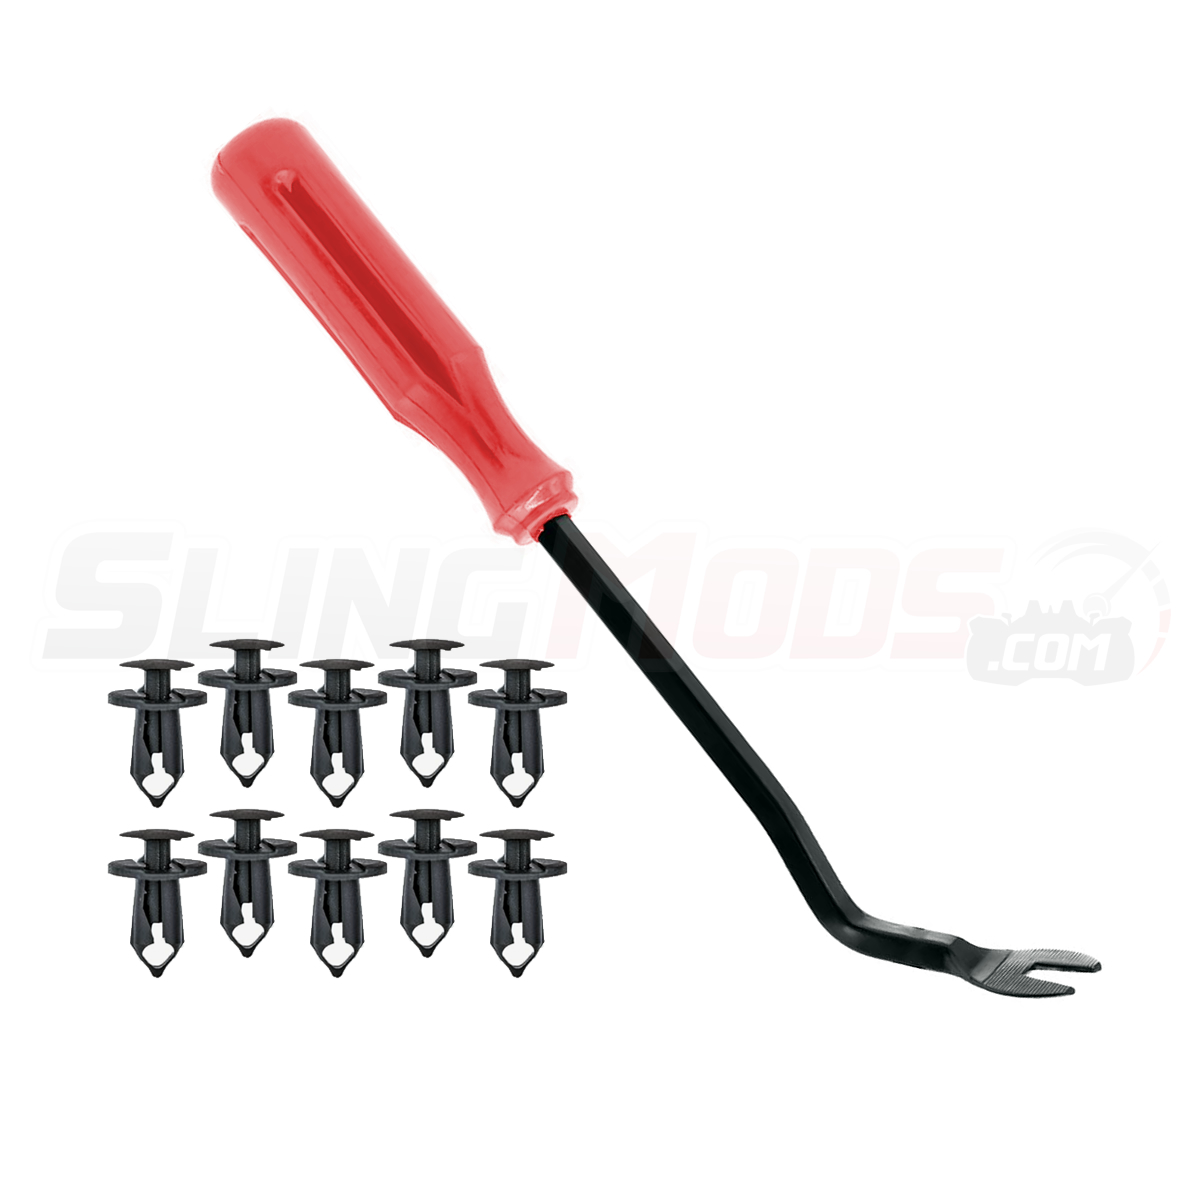
Credit: www.slingmods.com
Step-by-step Removal Process
Removing push pin fasteners may seem tricky at first. Follow these clear steps to take them out safely. Using the right tools and care protects the surface from damage. The process breaks down into three simple parts. Start with loosening the fastener, then pry out the pin, and finally handle any stubborn ones.
Loosening The Fastener
Begin by locating the push pin fastener’s center pin. Use a flathead screwdriver or a trim removal tool. Gently lift the center pin to loosen the grip. Avoid using too much force to prevent breaking the fastener. Loosening helps the outer part become easier to remove.
Prying Out The Pin
After loosening, place the tool under the fastener’s edge. Carefully pry it upward in small movements. Work around the pin if needed to ease it out evenly. Keep the tool steady to avoid scratching nearby surfaces. Once loose, pull the push pin straight out by hand.
Handling Stubborn Fasteners
Some fasteners resist easy removal. Spray a little lubricant around the pin to reduce friction. Let it sit for a few minutes to work well. Use a pair of needle-nose pliers for a better grip. Pull slowly and steadily to avoid snapping the fastener.
Tips To Avoid Damage
Removing push pin fasteners without causing damage is important for many DIY projects. Careless removal can break the fastener or damage the surface. Following simple tips helps protect both the fastener and the material.
This section shares useful advice to keep your parts safe and intact.
Using The Right Tools
Choose tools designed for push pin fasteners. A trim removal tool or a flathead screwdriver works well. Avoid using sharp objects that can scratch or break the fastener. The right tool fits snugly under the fastener’s head.
Applying Gentle Pressure
Push pins need slow and steady force to come out. Press gently and lift the fastener little by little. Avoid pulling hard or twisting fasteners roughly. This prevents cracks or bending of the fastener and the panel.
Checking For Hidden Clips
Some push pins have extra clips underneath. These clips hold the fastener tight. Look closely around the fastener base before pulling. Release any clips carefully to free the fastener without damage.

Credit: www.youtube.com
After Removal Care
After removing push pin fasteners, proper care is important. It helps keep surfaces and fasteners in good shape. Taking a few simple steps can prevent damage and save time later.
Inspecting The Fastener And Surface
Check the fastener for cracks or bends. A damaged fastener may not work well again. Look at the surface where the fastener was. See if there are any scratches or holes. Small problems can get worse without attention.
Cleaning The Area
Remove dirt and dust around the hole. Use a soft cloth or brush to clean gently. Avoid harsh chemicals that can damage the surface. A clean area helps new fasteners hold better. It also keeps the surface looking neat.
Storing Or Replacing Fasteners
Keep fasteners in a small container if you plan to reuse them. Store them in a dry place to prevent rust. Toss damaged or worn fasteners. Buy new ones that match the original size and type. Proper fasteners ensure a secure fit next time.
Frequently Asked Questions
What Tools Do I Need To Remove Push Pin Fasteners?
You mainly need a flathead screwdriver or a panel removal tool. These tools help pry out the fastener without damage. Using proper tools ensures fast and safe removal. Avoid sharp objects that can break or scratch surfaces.
Can I Remove Push Pin Fasteners Without Tools?
Yes, but it’s harder and risks damage. Using fingers alone may not provide enough leverage. It’s best to use a tool for clean removal. Tools reduce the chance of breaking the fastener or panel.
How Do I Avoid Damaging Panels When Removing Fast Pins?
Insert a flathead screwdriver or trim tool under the pin head gently. Pry slowly and evenly to loosen the fastener. Avoid using excessive force to prevent cracking. Patience and the right tool protect your panels effectively.
Are Push Pin Fasteners Reusable After Removal?
Most push pin fasteners can be reused if undamaged. Inspect the pin for cracks or bends before reuse. Damaged fasteners should be replaced to ensure secure fitting. Reusing pins saves time and cost during repairs.
Conclusion
Removing push pin fasteners can be simple and quick. Use the right tools to avoid damage. Gently pry the pins out with care. Take your time to keep parts safe. Practice makes the process easier and faster. Now you can handle push pin fasteners with confidence.
Keep these tips in mind for future projects.


