Are you struggling to fix a fastener securely in your wall? Whether you’re hanging a picture, mounting a shelf, or installing a fixture, getting it right is crucial to keep everything safe and stable.
You might have tried before, only to find the fastener loose or the wall damaged. Don’t worry—this guide will show you simple, effective steps to make sure your fastener holds strong every time. Keep reading, and you’ll learn how to avoid common mistakes and get the job done quickly and confidently.
Choosing The Right Fastener
Choosing the right fastener is key to a secure and lasting hold. A wrong fastener can cause damage or fail to support the load. It is important to match the fastener to the wall type and the weight it must carry. Understanding different fasteners helps you make the best choice.
Types Of Fasteners
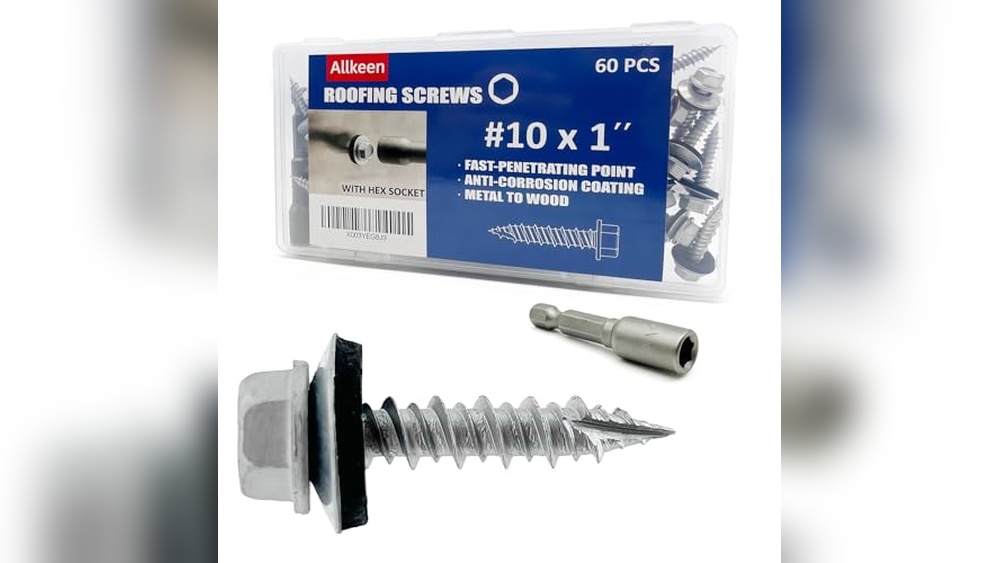
There are many fasteners for walls: screws, anchors, nails, and toggle bolts. Screws are common and work well with wood or drywall. Anchors expand inside the wall for better grip. Toggle bolts hold heavy items by spreading weight over a larger area. Each type fits a specific purpose and wall condition.
Materials And Wall Types
Walls vary: drywall, plaster, brick, concrete, or wood. Drywall needs anchors or toggle bolts for strength. Brick and concrete require masonry screws or anchors. Wood walls hold screws directly without extra anchors. Choose fasteners designed for your wall material. This ensures the best hold and prevents damage.
Weight And Load Considerations
Know the weight of the item to hang. Light objects need simple screws or nails. Heavy items need strong anchors or toggle bolts. Always check the fastener’s weight limit. Overloading can cause fasteners to pull out or break. Use multiple fasteners for large or heavy objects to spread the load evenly.
Gathering Tools And Materials
Before fixing a fastener in the wall, gather all necessary tools and materials. Being prepared saves time and avoids frustration. Having the right items ensures a smoother and safer process. This step is important for both beginners and experienced DIYers.
Essential Tools
Start with basic tools like a drill and screwdriver. A hammer might be needed for some fasteners. Use a level to keep fasteners straight. A tape measure helps with accurate placement. Having a pencil to mark spots is useful.
Safety Gear
Protect your eyes with safety goggles. Wear gloves to avoid cuts and scrapes. Use ear protection if drilling loud holes. A dust mask keeps you safe from particles. Safety gear prevents injuries during the task.
Additional Supplies
Wall anchors provide strong support for heavy items. Choose the right type based on your wall material. Screws and fasteners must fit the anchors. A stud finder helps locate solid support behind walls. Keep some extra fasteners in case of mistakes.
Preparing The Wall
Preparing the wall is the first step to fix a fastener securely. A well-prepared wall ensures the fastener holds tight and lasts long. This process includes finding the right spots, marking them clearly, and cleaning the area.
Locating Studs Or Solid Areas
Studs are wooden or metal beams behind the wall. Fastening into studs gives strong support. Use a stud finder tool to locate these beams. Tap the wall to hear a solid sound indicating a stud. Avoid weak drywall areas for heavy objects.
Marking Drill Points
Mark the exact points for drilling with a pencil. Use a level to keep marks straight. Double-check the spots before drilling. Clear markings prevent mistakes and help place fasteners correctly.
Cleaning The Surface
Clean the wall surface before drilling. Remove dust, dirt, or grease with a damp cloth. A clean surface allows better grip for fasteners. Let the wall dry fully to avoid slipping.
Drilling The Hole
Drilling the hole is a key step in fixing a fastener in the wall. The hole must be the right size and depth for the fastener to hold well. Using the proper tools and techniques helps make the process easier and safer. Careful drilling also protects your wall from damage.
Choosing Drill Bits
Select a drill bit that matches your fastener size. For drywall, a standard twist bit works well. Masonry bits are best for brick or concrete walls. Wood bits suit wooden surfaces. Always check the drill bit’s diameter against the fastener’s instructions.
Drilling Techniques
Avoiding Wall Damage
Mark the spot before drilling to prevent mistakes. Clear the area behind the wall if possible. Avoid drilling near electrical wires and pipes. Use a stud finder to locate safe spots. Drill carefully to keep the wall intact and strong.
Inserting Wall Anchors
Inserting wall anchors is key to securing fasteners in walls safely. Anchors give extra support, especially in drywall or hollow walls. They help prevent screws from pulling out under weight. Choosing the right anchor and installing it correctly ensures strong holds for shelves, pictures, and other fixtures.
Types Of Anchors
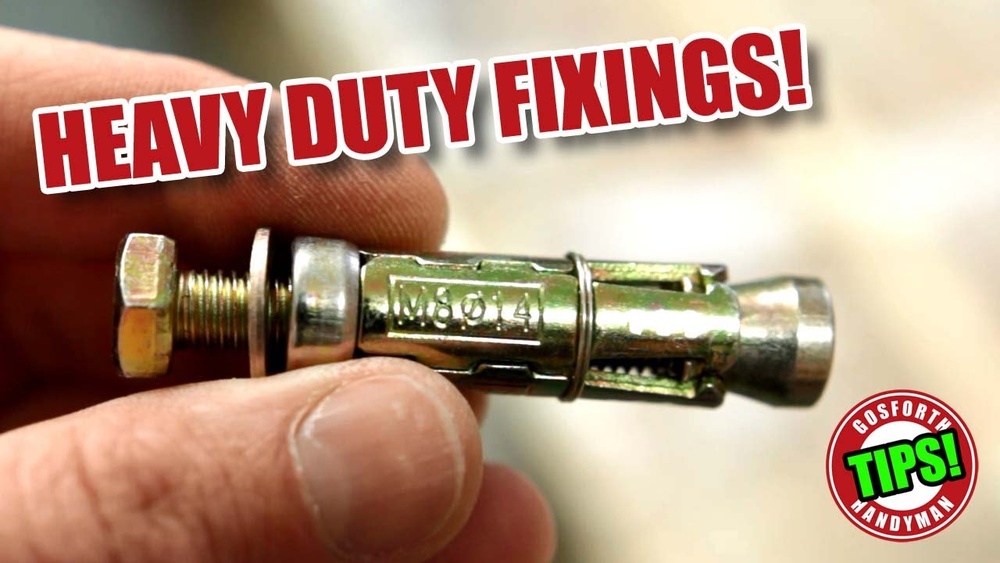
Plastic expansion anchors are common for light loads. Metal anchors work well for medium weight items. Toggle bolts spread inside the wall for heavy objects. Self-drilling anchors are easy to use without pre-drilling holes. Match the anchor type to the wall and the load for best results.
Proper Installation
Start by drilling a hole that fits the anchor size. Insert the anchor flush with the wall surface. Tap gently with a hammer if needed. For toggle bolts, fold the wings and push through the hole. Tighten the screw slowly to expand the anchor inside the wall. Avoid over-tightening to prevent damage.
Checking Anchor Stability
After installation, pull gently on the fastener to test strength. The anchor should not wiggle or feel loose. If movement occurs, remove and try a larger anchor or a different type. Proper stability ensures the fastener will hold over time. Regular checks help maintain safe fixtures on your walls.

Credit: www.youtube.com
Fixing The Fastener
Fixing the fastener in the wall is a key step in many home projects. It holds objects firmly and safely. Doing it right keeps your items secure and your walls undamaged.
Follow simple steps for a strong hold. Use the right tools and techniques for best results. A good fastener job lasts for years.
Screwing Techniques
Start by choosing the correct screw for your wall type. Use a drill or screwdriver to insert the screw slowly. Keep the screw straight as you drive it in. This prevents damage to the wall and fastener.
Turn the screw with steady pressure. Avoid forcing it too fast. Slow and steady helps the screw grip the wall better. This ensures a firm hold.
Ensuring Tightness
Check the fastener after screwing. It should feel snug but not too tight. Wiggle the attached object slightly to test stability. If it moves, tighten the screw a bit more.
Use a screwdriver to adjust small movements. Stop once the fastener feels secure. Proper tightness stops the fastener from loosening over time.
Avoiding Over-tightening
Over-tightening can strip the screw hole or break the fastener. Stop turning once you feel resistance. Excess pressure can damage the wall and fastener.
Use a torque screwdriver if possible. It controls how tight the screw goes. This protects your wall and keeps the fastener strong.
Testing The Hold
Testing the hold of a fastener in the wall is a crucial step. It ensures the fastener can support weight safely. Without this check, items may fall and cause damage or injury. This part of the process confirms the fastener is secure and stable.
Weight Testing
Start by applying a small weight to the fastener. Use something lighter than the final load. Watch for any movement or slipping. Increase the weight gradually while observing the fastener’s grip. Stop if you notice any shift or looseness. This method shows if the fastener is strong enough.
Adjustments If Needed
If the fastener moves or feels loose, adjustments are necessary. Tighten screws or anchors carefully. Replace weak or damaged parts. You might need a different type of fastener for heavy loads. Ensure the fastener fits the wall material properly. These changes improve the hold and safety.
Maintenance Tips
Check fasteners regularly, especially for heavy or valuable items. Look for signs of rust, wear, or loosening. Tighten or replace parts as needed. Keep the area clean and dry to prevent damage. Good maintenance extends the fastener’s life and reliability.
:max_bytes(150000):strip_icc()/how-to-use-and-discard-anchor-screws-1822671-003-06-fb50737ae9234d2290a1c9d0ebc08a91.jpg)
Credit: www.thespruce.com
/Bhg-how-to-patch-dry-wall-hero-2431_ErCJ7v2pKcVADoq5rBc19m-9bc6054b40c84af4bd3ba2b19b3693b9.jpg)
Credit: www.bhg.com
Frequently Asked Questions
What Tools Are Needed To Fix A Fastener In A Wall?
You need a drill, screwdriver, wall anchors, screws, a hammer, and a measuring tape. These tools ensure a secure and accurate fastener installation in different wall types.
How Do I Choose The Right Fastener For My Wall?
Select fasteners based on wall material and load weight. Use plastic anchors for drywall and metal anchors for masonry for best results.
Can I Fix A Fastener In A Hollow Wall?
Yes, use hollow wall anchors designed to expand behind the wall. These provide strong support without damaging the structure.
How Deep Should I Drill Holes For Wall Fasteners?
Drill holes slightly deeper than the fastener length. This ensures anchors fit well and the fastener holds firmly in place.
Conclusion
Fixing a fastener in a wall is simple with the right steps. Choose the correct fastener for your wall type. Use proper tools to make the job easier and safer. Take your time to measure and mark the spot carefully.
Tighten the fastener securely without overdoing it. A strong fastener keeps your items safe and stable. Practice these tips to improve your DIY skills. Soon, fixing fasteners will feel quick and easy. Keep your walls sturdy and your home organized.