Are you ready to give your kitchen a fresh, new look without spending a fortune? Changing your kitchen cabinet hardware is one of the easiest and most effective ways to do just that.
Whether you want to update old knobs and pulls or add a touch of style to your space, installing new hardware can transform your cabinets in no time. In this guide, you’ll learn simple, step-by-step instructions to install new kitchen cabinet hardware like a pro—no special tools or experience needed.
Keep reading, and you’ll be surprised at how quickly and easily you can upgrade your kitchen’s look.
Choosing The Right Hardware
Choosing the right hardware for your kitchen cabinets can change the whole look of your space. Good hardware makes your kitchen easier to use and looks nice. It also needs to fit well and last a long time. This guide will help you pick the best hardware for your cabinets.
Types Of Cabinet Hardware
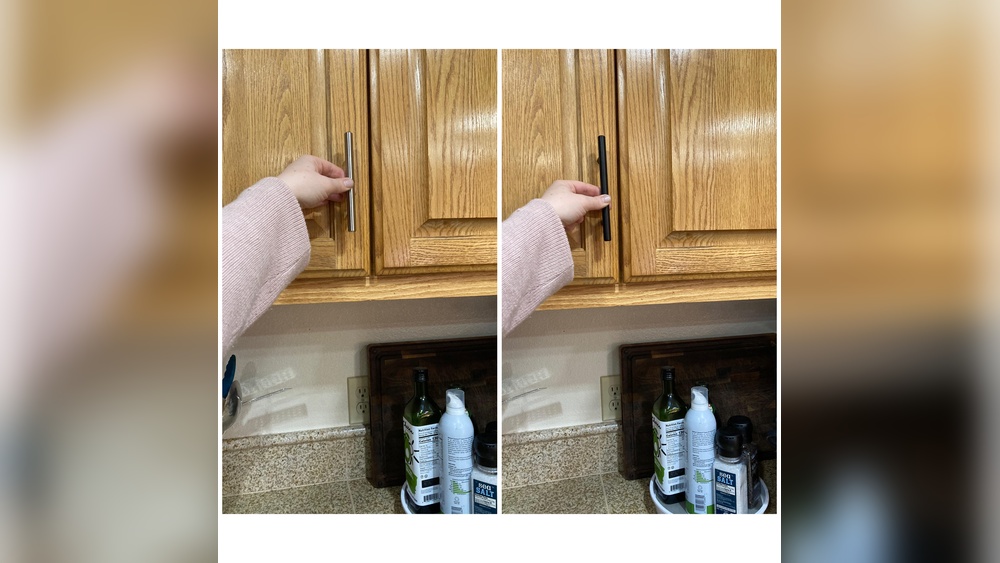
There are two main types of cabinet hardware: knobs and pulls. Knobs are small and round, easy to grab. Pulls are longer and provide more space to hold. Choose knobs for a simple look. Pulls work well for larger drawers and doors. Some people mix both types for style and function.
Materials And Finishes
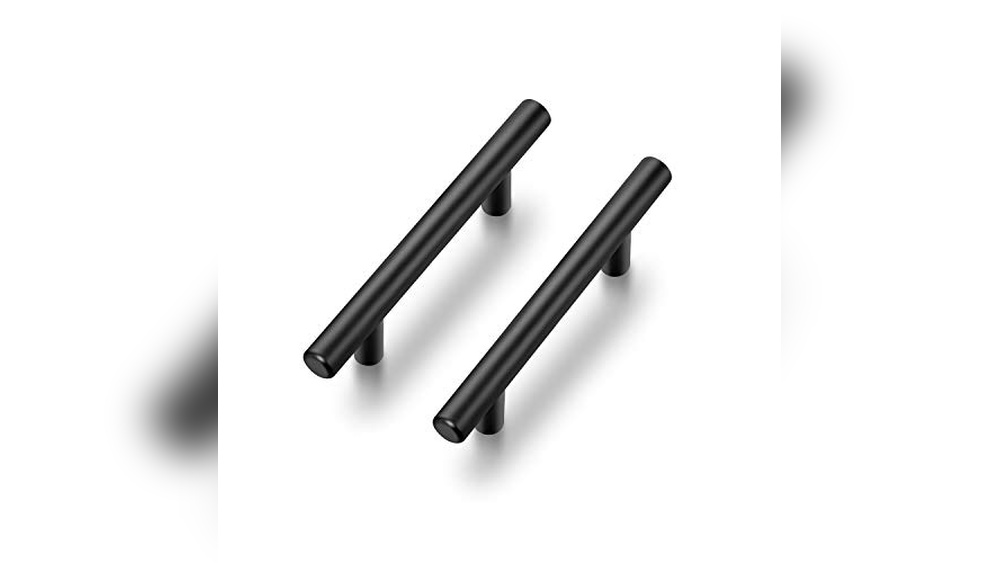
Hardware comes in many materials like metal, plastic, and wood. Metal is strong and lasts longer. Popular finishes include chrome, brass, bronze, and matte black. Each finish gives a different style. Shiny finishes look modern. Matte finishes feel warm and soft. Pick a finish that matches your kitchen style and colors.
Measuring For Fit
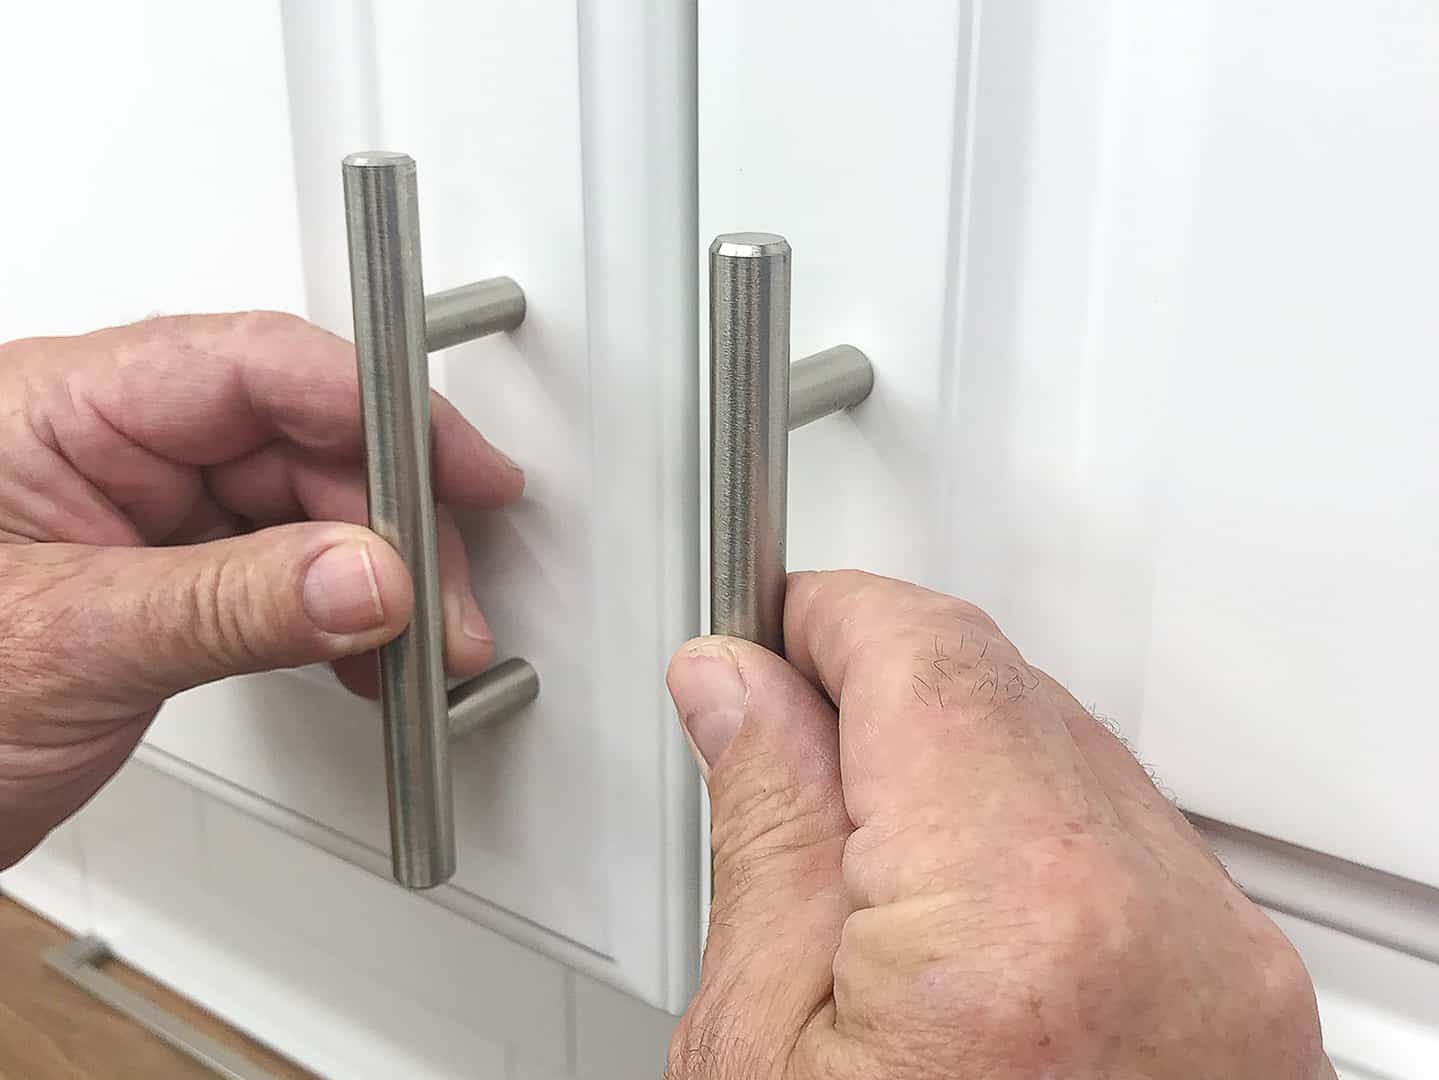
Measure your current hardware before buying new pieces. Measure the distance between screw holes. This is called the “center-to-center” measurement. It helps you find hardware that fits without drilling new holes. Also, check the size of your cabinet doors and drawers. Make sure the hardware is easy to use and fits well.
Gathering Tools And Supplies
Before starting the installation of new kitchen cabinet hardware, gather all tools and supplies. This step saves time and prevents interruptions during the project. Having the right tools ensures a smooth and safe installation.
Essential Tools
First, get a screwdriver that fits your hardware screws. A power drill with drill bits helps make holes faster. A tape measure is needed to mark the exact spot for each handle or knob. Use a pencil for marking. A level keeps the hardware straight. Finally, a pair of pliers can help remove old hardware or tighten screws.
Additional Supplies
Keep extra screws on hand in case some are missing or damaged. Masking tape can mark drill spots without damaging the cabinet surface. A small container holds screws and parts safely. Sandpaper smooths any rough edges on the cabinet doors. Clean cloth wipes away dust before installing new hardware. These supplies make the process easier and more organized.
Removing Old Hardware
Removing old cabinet hardware is the first step in refreshing your kitchen look. It clears the way for new handles and knobs. Doing this carefully protects your cabinets from damage. Take your time to avoid scratches or dents. This process is simple with the right tools and approach.
Preparing Cabinets
Start by emptying cabinet contents. This prevents accidents and keeps items clean. Place a soft cloth or towel on the floor to catch screws. Gather a screwdriver that fits the hardware screws. Check for any stuck or painted-over screws. Loosen paint around screws gently with a utility knife if needed. Clean the cabinet surface to remove grease or dirt before removal.
Safely Removing Handles And Knobs
Use the screwdriver to turn screws counterclockwise. Hold the handle or knob firmly to stop it from spinning. Remove screws one at a time. Keep screws in a small container for reuse or disposal. If screws are tight, apply a little WD-40 and wait a few minutes. Avoid forcing hardware off quickly to prevent damage. After removal, wipe the area to remove dust and debris.

Credit: www.youtube.com
Marking New Hardware Placement
Marking the placement for new kitchen cabinet hardware is a vital step. It ensures that handles or knobs sit perfectly aligned and look great. This step saves time and prevents mistakes during installation. Careful marking helps avoid drilling holes in the wrong spots.
Using Templates
Templates make marking new hardware easy and precise. Many hardware kits include paper or plastic templates. Place the template on the cabinet door or drawer front. Use a pencil to mark the hole positions through the template. Templates keep all marks consistent across cabinets.
Templates also speed up the process. No need to measure each piece by hand. Simply align the template and mark. This tool is especially helpful for multiple drawers or doors.
Measuring And Aligning
Measure the distance for your hardware carefully. Use a ruler or tape measure to find the center point. Align marks so handles sit straight and balanced. Double-check measurements before drilling any holes.
Use a level or square to keep hardware aligned horizontally and vertically. Consistent alignment improves the cabinet’s overall look. Small errors become obvious once hardware is installed.
Drilling New Holes
Drilling new holes is an important step when installing new kitchen cabinet hardware. Accurate holes ensure the hardware fits well and looks good. Taking time to drill carefully helps avoid damage to your cabinets. This process requires the right tools and steady hands. Follow simple tips to drill holes safely and correctly.
Selecting Drill Bits
Choose drill bits made for wood to prevent splitting. A brad point bit is best for clean holes. Match the drill bit size to the hardware screws. Too large holes cause loose fittings. Too small holes can crack the wood. Use sharp bits for smooth drilling and less effort.
Drilling Techniques
Mark the hole spots clearly before drilling. Use a pencil or masking tape as a guide. Start drilling slowly to avoid slipping. Keep the drill straight to ensure a straight hole. Drill to the right depth for the screws. Stop if you feel too much pressure to avoid damage.
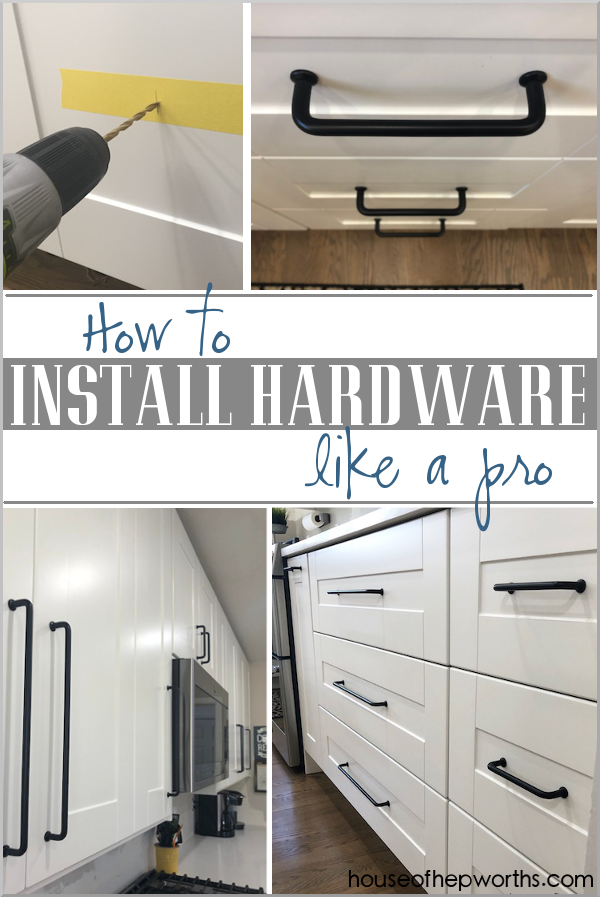
Credit: www.houseofhepworths.com
Installing New Hardware
Installing new hardware on kitchen cabinets changes the look fast. It refreshes old cabinets with little effort. This step is simple but needs care. Correct installation keeps handles and knobs strong and functional.
Take your time to place hardware right. It helps avoid damage and ensures a neat finish. Follow these steps to attach hardware correctly and secure screws tightly.
Attaching Handles And Knobs
Start by aligning the handles or knobs with the holes on the cabinet. Hold the hardware steady. Insert screws from the inside of the cabinet door or drawer. Keep the handle or knob straight as you push the screws through. Tighten screws by hand to hold the hardware in place.
Securing Screws Properly
Use a screwdriver to tighten screws firmly. Avoid over-tightening to prevent stripping the holes or breaking the hardware. Check that the handle or knob does not wiggle. If it moves, tighten screws a bit more. Clean any dust or debris before final tightening.
Final Touches
After installing new kitchen cabinet hardware, the final touches bring everything together. These small steps ensure your cabinets look neat and work well. Taking time here improves both appearance and function.
Checking Alignment
Check each handle and knob to see if they line up. Use a ruler or level for accuracy. Make sure screws are tight but do not over-tighten them. Misaligned hardware can look sloppy and feel awkward. Adjust any pieces that seem off. Perfect alignment gives your kitchen a polished look.
Cleaning And Maintenance Tips
Wipe all hardware with a soft cloth to remove fingerprints and dust. Use mild soap and water for stubborn dirt. Avoid harsh cleaners that can damage the finish. Dry thoroughly to prevent rust or spots. Regular cleaning keeps hardware shining and working smoothly. Inspect screws and tighten them every few months to maintain stability.
Credit: truepositiontools.com
Frequently Asked Questions
How Do I Choose The Right Kitchen Cabinet Hardware?
Choose hardware that matches your kitchen style and cabinet finish. Consider size, material, and functionality for ease of use. Ensure the hardware complements your kitchen’s overall design and durability needs.
What Tools Are Needed To Install Cabinet Hardware?
You will need a drill, screwdriver, measuring tape, pencil, and level. These tools help ensure precise placement and secure installation of your hardware.
How Do I Measure For New Cabinet Hardware Placement?
Measure from the edge of the cabinet door or drawer front. Mark the drill holes evenly to maintain consistent hardware alignment across all cabinets.
Can I Install Cabinet Hardware Without Removing Doors?
Yes, you can install hardware on mounted doors carefully. Use steady hands and accurate measurements to avoid damaging the cabinet surfaces.
Conclusion
Installing new kitchen cabinet hardware is a simple way to refresh your space. Choose hardware that fits your style and needs. Measure carefully to ensure a perfect fit. Use basic tools and take your time during installation. Small changes can make a big difference in your kitchen’s look.
Enjoy your updated cabinets and the new feel they bring. This easy project adds value without much effort. Try it yourself and see how satisfying the process can be. A fresh kitchen look is just a few steps away.