Are you tired of your picture frames falling apart or looking unstable? Using the right joint fasteners can make all the difference in keeping your frames strong and secure.
Whether you’re a DIY enthusiast or just want to improve your home decor, understanding how to use joint fasteners will save you time and frustration. You’ll discover simple, effective ways to make your picture frames last longer and look better.
Keep reading to learn the secrets that professionals use to create sturdy, beautiful frames you’ll be proud to display.

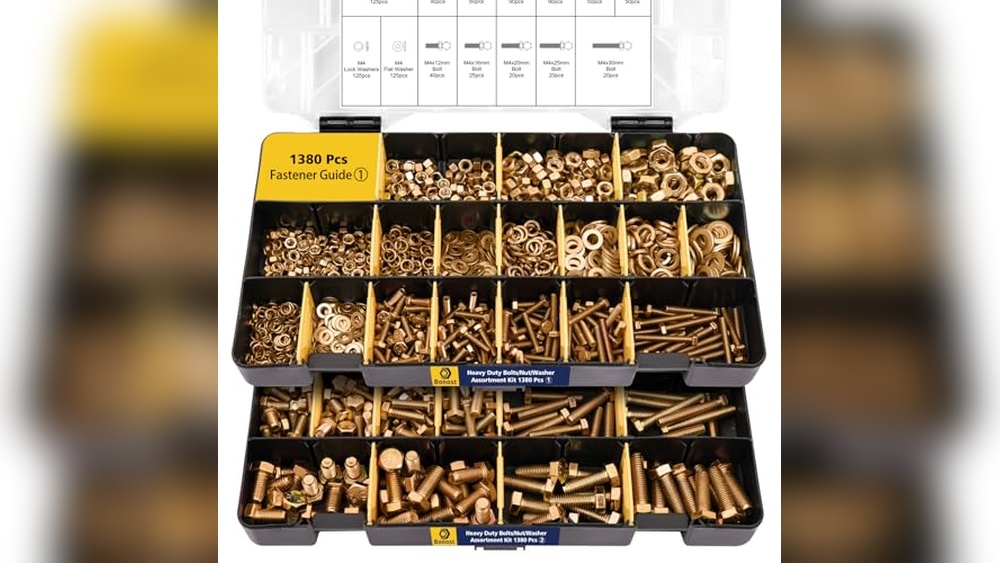
Credit: stonedesignbysantos.com
Types Of Joint Fasteners
Joint fasteners hold picture frames together. They keep corners tight and strong. Different types of fasteners suit different frames. Choosing the right type helps your frame last longer. Here are some common joint fasteners used in picture framing.
Corner Brackets
Corner brackets are metal pieces shaped like an L. They fit inside the frame corners. Screws hold the brackets and frame tightly. These brackets add strength to the frame. They are easy to install and remove. Corner brackets work well for large or heavy frames.
Butterfly Keys
Butterfly keys are small, wooden inserts. They fit into slots cut across frame joints. When glued, they lock the joint firmly. The keys look like butterfly wings. They add a decorative touch to the frame. Butterfly keys are strong and improve frame stability.
Spline Joints
Spline joints use thin strips of wood called splines. The splines fit into grooves in frame edges. Glue holds the splines and frame pieces together. This joint type adds extra strength to corners. Spline joints also help align frame parts perfectly.
Dowel Pins
Dowel pins are small wooden rods. They fit into matching holes in frame corners. Glue secures the dowels tightly. Dowels help keep frame corners square. They are simple and strong fasteners. Dowels are common in many woodworking projects.
Metal Plates
Metal plates are flat strips or bars. They attach to frame backs with screws. These plates hold frame corners firmly. Metal plates are useful for fixing broken frames. They provide extra support without changing the frame look.
Choosing The Right Fastener
Choosing the right fastener for your picture frame is important. The fastener holds the frame parts tightly together. It keeps the frame strong and stable. Picking the right one stops damage and keeps your picture safe.
Material Compatibility
Fasteners must match the frame material. Wood frames work best with wood screws or nails. Metal frames need bolts or specialized metal fasteners. Using the wrong fastener can cause cracks or rust. Check the frame material before selecting the fastener.
Frame Size And Weight
Heavy or large frames need stronger fasteners. Small or light frames can use simple nails or clips. Choose fasteners that hold the frame firmly without bending. The right size fastener supports the frame’s weight well.
Aesthetic Considerations
Fasteners should not spoil the frame’s look. Some fasteners are hidden behind the frame. Others are decorative and match the frame style. Select fasteners that blend with the frame design for a neat finish.
Tools Required
Using joint fasteners for picture frames requires some basic tools. These tools help hold the frame securely and make the process easier. Having the right equipment ensures strong joints and a neat finish. Below are the key tools you need for this task.
Screwdrivers And Drills
Screwdrivers are essential for tightening screws in the fasteners. A manual or electric screwdriver works well. Drills help create pilot holes for screws. This prevents wood from splitting. Choose drill bits that match the screw size. Using the right screwdriver and drill saves time and effort.
Clamps And Measuring Tools
Clamps hold frame pieces together while fastening. They keep the corners tight and aligned. Use corner clamps for best results. Measuring tools like rulers or tape measures ensure accurate cuts. A square tool helps check right angles. Proper measuring avoids gaps in the frame joints.
Adhesives And Finishing Supplies
Wood glue adds extra strength to joints. Apply glue before fastening for a solid hold. Sandpaper smooths rough edges after assembly. Finish with paint or varnish to protect the frame. These supplies improve the frame’s look and durability.

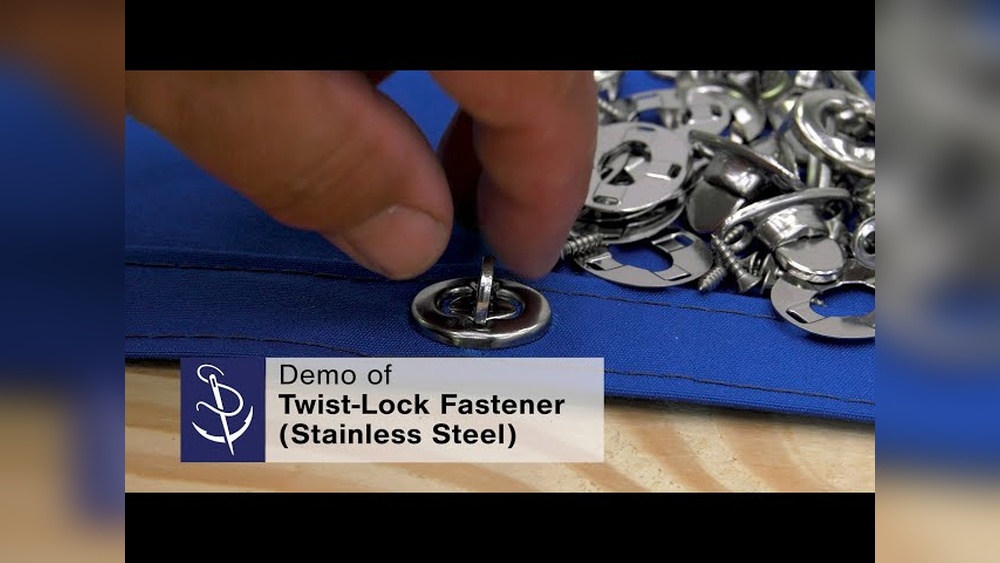
Credit: www.fletcher-terry.com
Preparing The Frame
Preparing the frame is the first step for using joint fasteners. A well-prepared frame helps the fasteners hold tightly. It makes the picture frame strong and neat. Follow simple steps to get the frame ready for fasteners. This will save time and avoid mistakes.
Measuring And Marking
Measure the corners where the fasteners will go. Use a ruler or tape measure for accuracy. Mark the spots with a pencil. Check the marks twice to ensure they are even. Proper marking helps place fasteners in the right position.
Cleaning Surfaces
Clean the frame edges before attaching fasteners. Remove dust, dirt, and grease using a cloth. Clean surfaces help fasteners stick better. Avoid using water that can damage the wood. A dry, clean surface is best for strong joints.
Pre-drilling Holes
Pre-drill small holes where you marked the frame. Use a drill bit smaller than the fastener screws. This prevents the wood from splitting. Drilling makes it easier to insert screws. It also keeps the frame neat and secure.
Step-by-step Fastener Installation
Installing joint fasteners for picture frames is a simple task. It helps hold the frame parts tightly together. Using the right method ensures a strong, neat finish. Follow these clear steps to install various fasteners with ease.
Attaching Corner Brackets
Place corner brackets on the frame joints. Use a screwdriver to fix screws into the wood. Make sure brackets sit flush against the frame edges. Tighten screws carefully to avoid damaging the wood. This method adds strong support to the corners.
Inserting Butterfly Keys
Cut a small slot across the joint for the butterfly key. Slide the key into the slot to lock the parts. Use glue inside the slot for extra hold. Tap gently with a hammer to fit the key fully. Butterfly keys prevent the frame from opening or twisting.
Fitting Spline Joints
Cut matching grooves in the frame edges. Insert a thin strip of wood, called a spline, into the grooves. Apply wood glue to the spline and grooves. Press the joint firmly and clamp it until dry. Splines help align and strengthen the frame corners.
Installing Dowel Pins
Drill holes in both frame parts to match dowel size. Insert wood glue into the holes and on dowels. Push the dowels into one side first. Join the two parts and press them together. Clamp the frame until glue sets for a tight fit.
Securing Metal Plates
Place metal plates over the frame joints. Align holes with the wood surface. Screw the plates into place using small screws. Metal plates give strong, visible support to the frame. They are easy to install and very durable.
Ensuring Frame Stability
Ensuring the stability of a picture frame is key to keeping your artwork safe and looking good. Using joint fasteners correctly strengthens the frame and stops it from wobbling or falling apart. Taking the time to check and adjust these fasteners helps your frame last longer.
Follow simple steps to make sure every corner fits tightly and stays in place. This process improves the frame’s strength and keeps your picture secure on the wall.
Checking Alignment
Start by placing the frame on a flat surface. Look closely at each corner to see if all sides meet evenly. The edges should line up perfectly without gaps or overlaps. Small misalignments can weaken the frame and cause stress over time. Adjust the frame pieces gently until they fit flush together.
Tightening Fasteners
Use the right tools to fasten the joints firmly. Avoid over-tightening, which can crack the frame or strip the screws. Tighten just enough to hold the pieces snugly. Check each fastener to confirm it feels secure. Loose fasteners let the frame shift and may damage your picture.
Testing Durability
Once fastened, test the frame’s strength by applying light pressure at different points. The frame should feel solid and show no signs of movement. Shake it gently to check if any parts loosen. A strong frame stays steady and protects your artwork well.
Finishing Touches
Finishing touches make your picture frame look neat and complete. They hide small flaws and give the frame a smooth, polished look. These steps help the frame last longer and look more attractive on your wall.
Filling Gaps
Small gaps often appear where the wood pieces join. Use wood filler or putty to fill these spaces. Apply it with a putty knife, pressing firmly into the gaps. Let it dry fully before moving on. This step creates a smooth surface for the next steps.
Sanding Edges
Sand the filled areas and edges to remove roughness. Use fine-grit sandpaper for a smooth finish. Sand lightly to avoid damaging the wood. Clean off dust with a soft cloth after sanding. Smooth edges improve the frame’s look and feel.
Applying Sealants Or Paint
Choose a sealant or paint to protect the wood. Sealants keep moisture out and preserve the frame. Paint adds color and style. Apply thin, even coats with a brush. Let each coat dry before applying the next. This step enhances the frame’s durability and beauty.

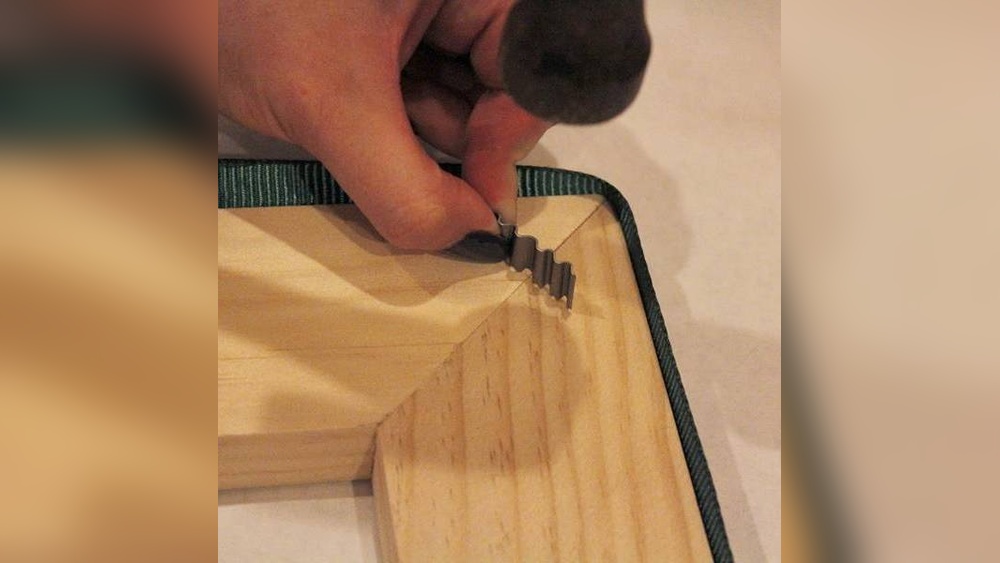
Credit: woodworking.stackexchange.com
Troubleshooting Common Issues
Troubleshooting common issues with joint fasteners helps keep picture frames strong. Small problems can weaken frames or spoil their look. Fixing these issues early saves time and money. Below are simple tips to solve frequent problems with fasteners and frames.
Loose Joints
Loose joints cause frames to wobble or fall apart. Check if fasteners are tight and secure. Use a screwdriver to tighten screws gently. Avoid over-tightening to prevent damage. If screws do not hold, replace them with longer or thicker ones. Adding a small amount of wood glue inside the joint can improve strength.
Misaligned Corners
Misaligned corners make frames look uneven and crooked. Remove fasteners and realign the frame parts carefully. Use a square tool to check corners for a perfect 90-degree angle. Hold the frame firmly while reinstalling fasteners. Use clamps to keep corners tight while drying if glue is added. Proper alignment improves both strength and appearance.
Damaged Fasteners
Fasteners can bend, rust, or break over time. Replace damaged fasteners with new ones of the same size and type. Clean rusty spots on the frame before installing new fasteners. Use rust-resistant fasteners for long-lasting results. Avoid forcing damaged fasteners out; use pliers to remove them gently. Good fasteners keep frames stable and safe.
Frequently Asked Questions
What Are Joint Fasteners In Picture Frames?
Joint fasteners are small hardware pieces that secure frame corners. They ensure stability and prevent frame parts from separating. They come in various types like clips, brackets, and screws, chosen based on frame design and material. Proper fasteners extend frame durability and maintain alignment.
How Do I Choose The Right Fasteners For Frames?
Select fasteners based on frame material, size, and style. Metal frames often need screws or brackets. Wooden frames work well with corner clips or nails. Consider load weight and frame thickness for the best fit. Using proper fasteners ensures frame strength and longevity.
Can I Use Joint Fasteners For Large Picture Frames?
Yes, large frames benefit from sturdy joint fasteners like metal brackets. They provide extra support to prevent warping or separation. Reinforce corners with multiple fasteners if needed. Using strong fasteners keeps large frames secure and maintains their shape over time.
How Do I Install Joint Fasteners Correctly?
Align frame corners precisely before attaching fasteners. Use appropriate tools like screwdrivers or hammers. Avoid overtightening to prevent frame damage. Secure all corners evenly for balanced support. Proper installation guarantees frame stability and a clean finish.
Conclusion
Using joint fasteners helps keep picture frames strong and steady. Choose the right fastener for your frame type and size. Always measure carefully before attaching any fastener. Tight connections prevent the frame from loosening or falling apart. Regular checks on fasteners can extend the frame’s life.
Simple tools make the process quick and easy. Now, you can display your pictures safely and neatly. Enjoy framing with confidence and ease.