Are you struggling to remove those stubborn push pin fasteners? You’re not alone.
These small but tricky fasteners hold many things together, from car panels to furniture pieces. If you try to pull them out the wrong way, you could damage your item or hurt yourself. But don’t worry—this guide will show you simple, effective steps to remove push pin fasteners safely and easily.
Keep reading, and you’ll master the technique in no time. Your next project will go smoothly, without frustration or damage.
Types Of Push Pin Fasteners
Push pin fasteners come in several types. Each type has a unique design and material. Knowing these helps in removing them properly.
Common Designs
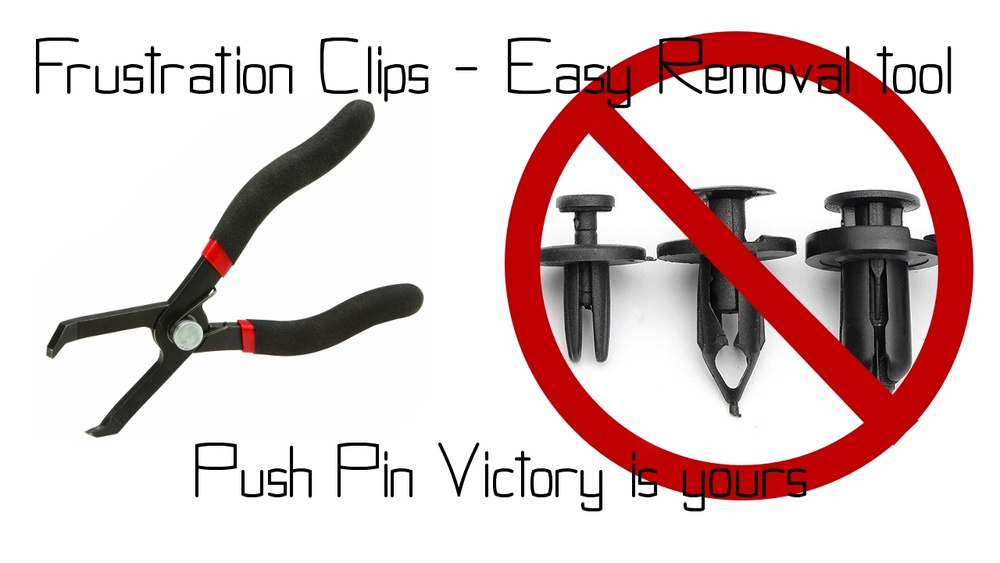
Push pin fasteners often have a round head or a flat top. Some have a split shaft that expands to hold tight. Others use a center pin that pushes out to lock. The design affects how you remove the fastener. Some need a tool, like pliers or a trim removal tool. Others can be pulled out by hand.
Materials Used
Most push pin fasteners are made of plastic. Plastic is light and resists rust. Some fasteners use metal parts for extra strength. Steel or aluminum pins are common. Metal fasteners last longer but may be harder to remove. Plastic fasteners are easier to bend or break during removal. Knowing the material helps choose the right removal method.

Credit: www.pointsunknown.com
Tools Needed For Removal
Removing push pin fasteners requires the right tools. Using proper tools makes the job easier and prevents damage. Some fasteners come out with simple household tools. Others need specialized removers made for push pins. Knowing which tools to use saves time and effort.
Basic Household Tools
A flathead screwdriver works well for many push pin fasteners. It can pry under the pin’s head gently. Needle-nose pliers help grab and pull pins out carefully. A butter knife can also slide beneath the pin to lift it. These tools are common in most homes. They handle most light fastener removal tasks.
Specialized Fastener Removers
Special tools exist to remove push pin fasteners without damage. A trim removal tool has a flat, wide tip to slide under pins easily. It reduces scratches on surfaces around the fastener. Fastener pullers offer a secure grip and leverage. These tools are great for tight or stubborn pins. They make removal smoother and safer.
Preparing For Removal
Preparing for the removal of push pin fasteners is essential for a smooth process. Proper preparation protects you and prevents damage to the parts involved. It also makes the task faster and easier.
Safety Precautions
Wear safety glasses to protect your eyes from flying debris. Gloves help protect your hands from sharp edges and pinches. Use tools with firm grips to avoid slips. Work slowly to prevent sudden jerks that can cause injury.
Workspace Setup
Clear the area around your work to avoid clutter. Good lighting helps you see the fasteners clearly. Use a flat, stable surface to place removed fasteners. Have a container ready to keep all pins safe and organized.
Step-by-step Removal Process
Removing push pin fasteners is easy with the right steps. Follow this simple process to take them out safely. You will save time and avoid damage to your materials.
Loosening The Fastener
Start by gently prying the center pin upwards. Use a flathead screwdriver or a trim removal tool. Place the tool under the pin head carefully. Lift the pin slowly to loosen it. Do not force it to avoid breaking the fastener.
Extracting The Pin
Once loosened, grab the pin with pliers or fingers. Pull it straight out with steady pressure. Keep the fastener aligned to prevent bending. If the pin comes out easily, the fastener will release quickly. Set the pin aside for reinstallation or disposal.
Handling Stubborn Fasteners
Some fasteners stick tightly and need extra care. Apply a small amount of lubricant around the edges. Let it sit for a few minutes to loosen the grip. Use a gentle rocking motion with the tool to break the seal. Avoid sharp or sudden force to prevent damage.
Tips To Avoid Damage
Removing push pin fasteners without causing damage takes care and the right approach. Small mistakes can harm the surface around the fastener or break the fastener itself. Use these tips to protect your work and save time.
Protecting Surrounding Surfaces
Place a thin cloth or plastic sheet around the fastener before removal. This stops scratches and dents on nearby areas. Use tools with soft edges, like plastic pry tools, instead of metal ones. Work slowly and gently to avoid sudden slips. Avoid forcing the fastener out quickly; patience helps protect the surface.
Preventing Fastener Breakage
Choose the right tool size to fit the fastener head properly. This prevents bending or snapping the pin. Apply even pressure on both sides of the fastener to loosen it. Avoid twisting or pulling at an angle, which can weaken the plastic. If the fastener feels stuck, try lubricating it with a small amount of oil before pulling.
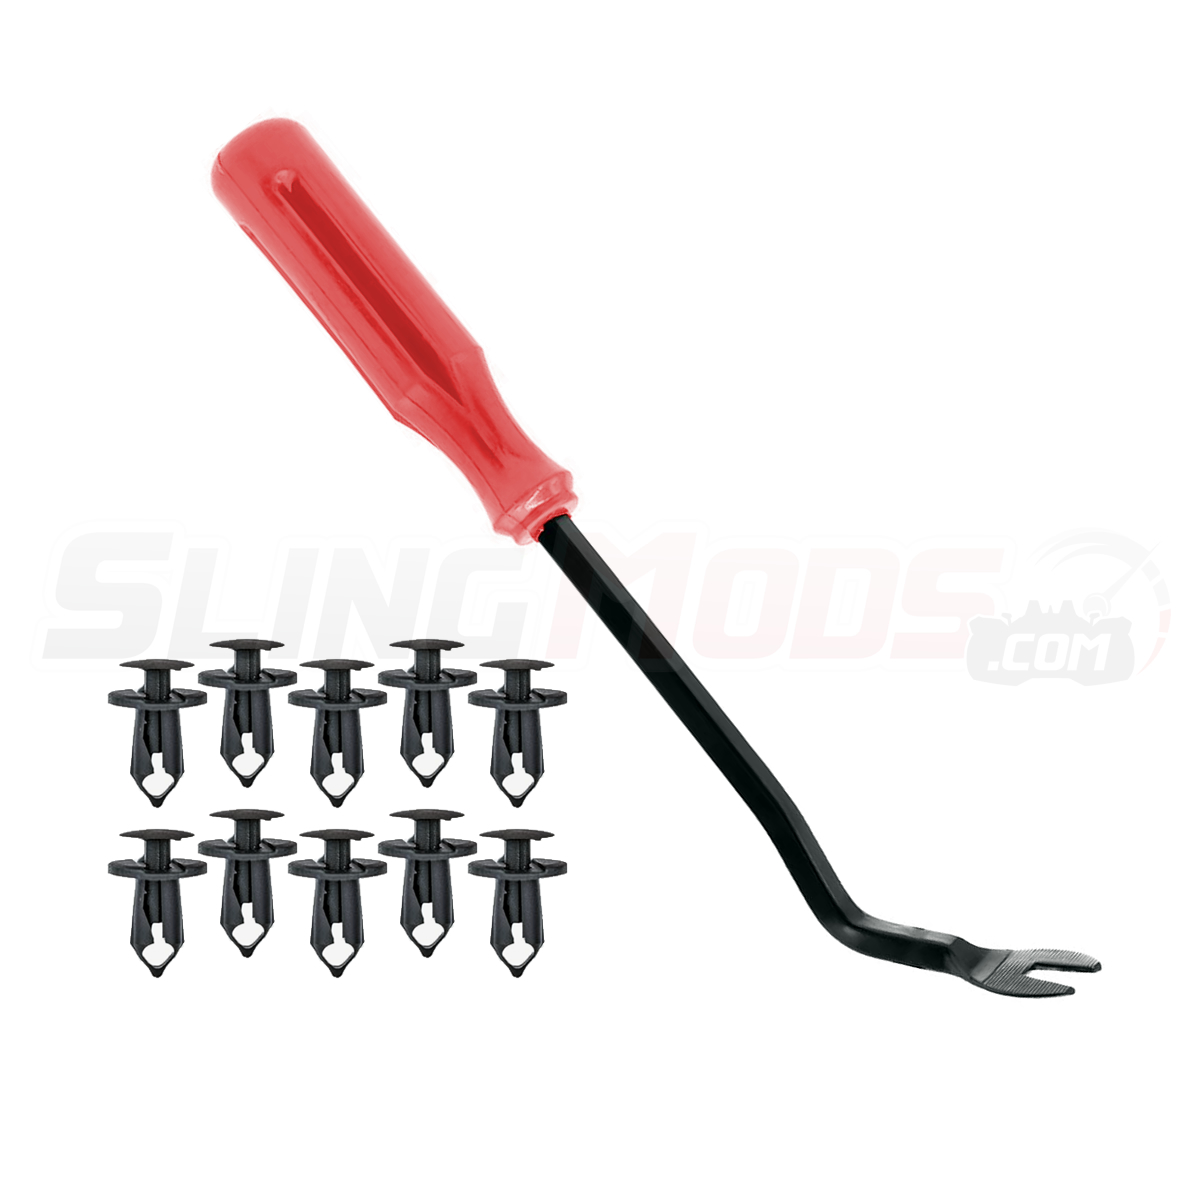
Credit: www.slingmods.com
When To Replace Push Pin Fasteners
Push pin fasteners hold many parts tightly in place. Over time, they can wear out or break. Knowing when to replace them keeps your project safe and secure. This section covers signs of wear and how to choose the right replacements.
Signs Of Wear
Look for cracks or breaks in the plastic. Pins that no longer hold tight need replacing. Loose fasteners cause parts to move or rattle. Rust or corrosion on metal parts is a clear sign. Worn pins may also have missing pieces.
Choosing Replacements
Match the size and type of the original fastener. Use pins made from strong, durable materials. Avoid cheap or weak alternatives that wear quickly. Check that the new fastener fits firmly without forcing. Quality replacements ensure a long-lasting fix.
Common Mistakes To Avoid
Removing push pin fasteners may seem simple. Yet, many make mistakes that cause damage. Knowing what to avoid saves time and effort. It also keeps your parts safe. Pay close attention to these common errors.
Using Incorrect Tools
Using the wrong tools can break the fastener or damage the surface. Avoid sharp objects like knives or screwdrivers. They can scratch or deform the area. Choose tools made for push pin removal. Plastic trim tools or special clips work best. They protect both the fastener and the surrounding parts.
Forcing Removal
Forcing a push pin out can cause it to snap. It also risks breaking the panel or trim piece. Push pins are designed to come out gently. Use slow, steady pressure instead of strong force. If it feels stuck, try a different angle or tool. Patience prevents costly damage and makes the job easier.

Credit: www.youtube.com
Frequently Asked Questions
What Tools Are Needed To Remove Push Pin Fasteners?
To remove push pin fasteners, use a flathead screwdriver or a trim removal tool. These tools help pry the pins gently without damage. Avoid using excessive force to prevent breaking the fastener or surrounding material. Proper tools ensure safe and efficient removal.
How To Safely Remove Push Pin Fasteners Without Damage?
Insert a flathead screwdriver under the pin’s head carefully. Gently pry upwards until the fastener releases. Avoid twisting or pulling too hard to prevent breakage. Using a trim removal tool offers better leverage and control, ensuring safety for both the fastener and the surface.
Can Push Pin Fasteners Be Reused After Removal?
Yes, push pin fasteners can often be reused if undamaged. Inspect the pin for cracks or wear before reinstallation. If the fastener is damaged or bent, replace it to ensure a secure fit. Proper removal increases the chances of successful reuse.
Why Are Push Pin Fasteners Commonly Used In Vehicles?
Push pin fasteners are lightweight, easy to install, and cost-effective. They securely hold panels and trims without screws or bolts. Their design allows quick removal for maintenance or repairs. This makes them ideal for automotive and other manufacturing applications.
Conclusion
Removing push pin fasteners is easier with the right tools and care. Always work slowly to avoid damage. Use a flat tool or pliers to lift pins gently. Keep track of all parts for reassembly. Practice makes the process smoother and quicker.
Now, you can handle push pin fasteners confidently and safely. Simple steps lead to great results every time.

