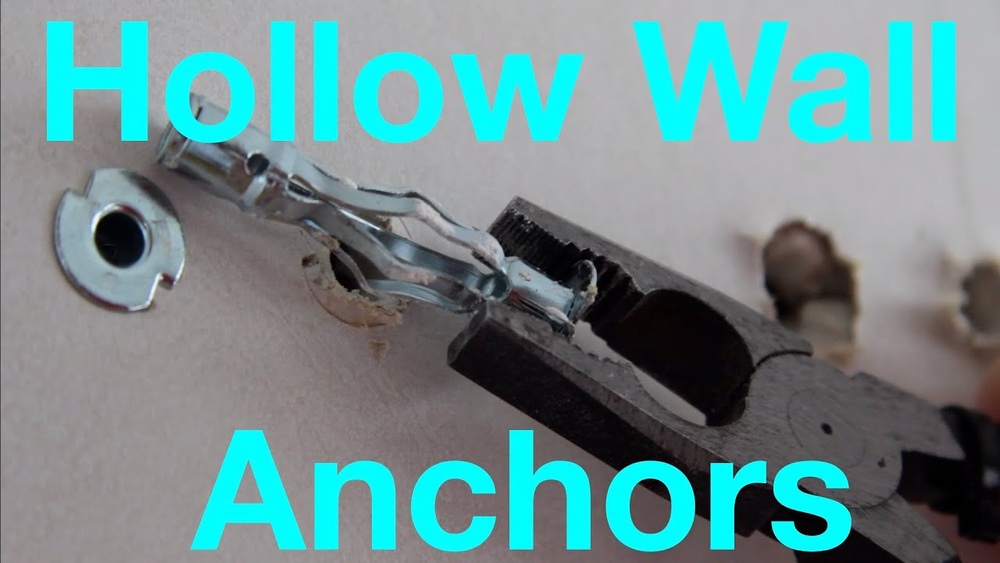
Have you ever tried to remove a hollow wall anchor from your drywall and ended up with a bigger mess than you started with? If so, you’re not alone.
Removing these anchors can be tricky, but it doesn’t have to be frustrating or damaging to your walls. In this guide, you’ll discover simple, step-by-step methods to take out hollow wall anchors cleanly and easily. Whether you’re fixing up your home or preparing to hang something new, these tips will save you time and stress.
Keep reading, and you’ll learn exactly how to get the job done right.
Types Of Hollow Wall Anchors
Hollow wall anchors help hold objects on drywall without studs. They come in different types for various weights and uses. Knowing these types makes removal easier and safer.
Expansion Anchors
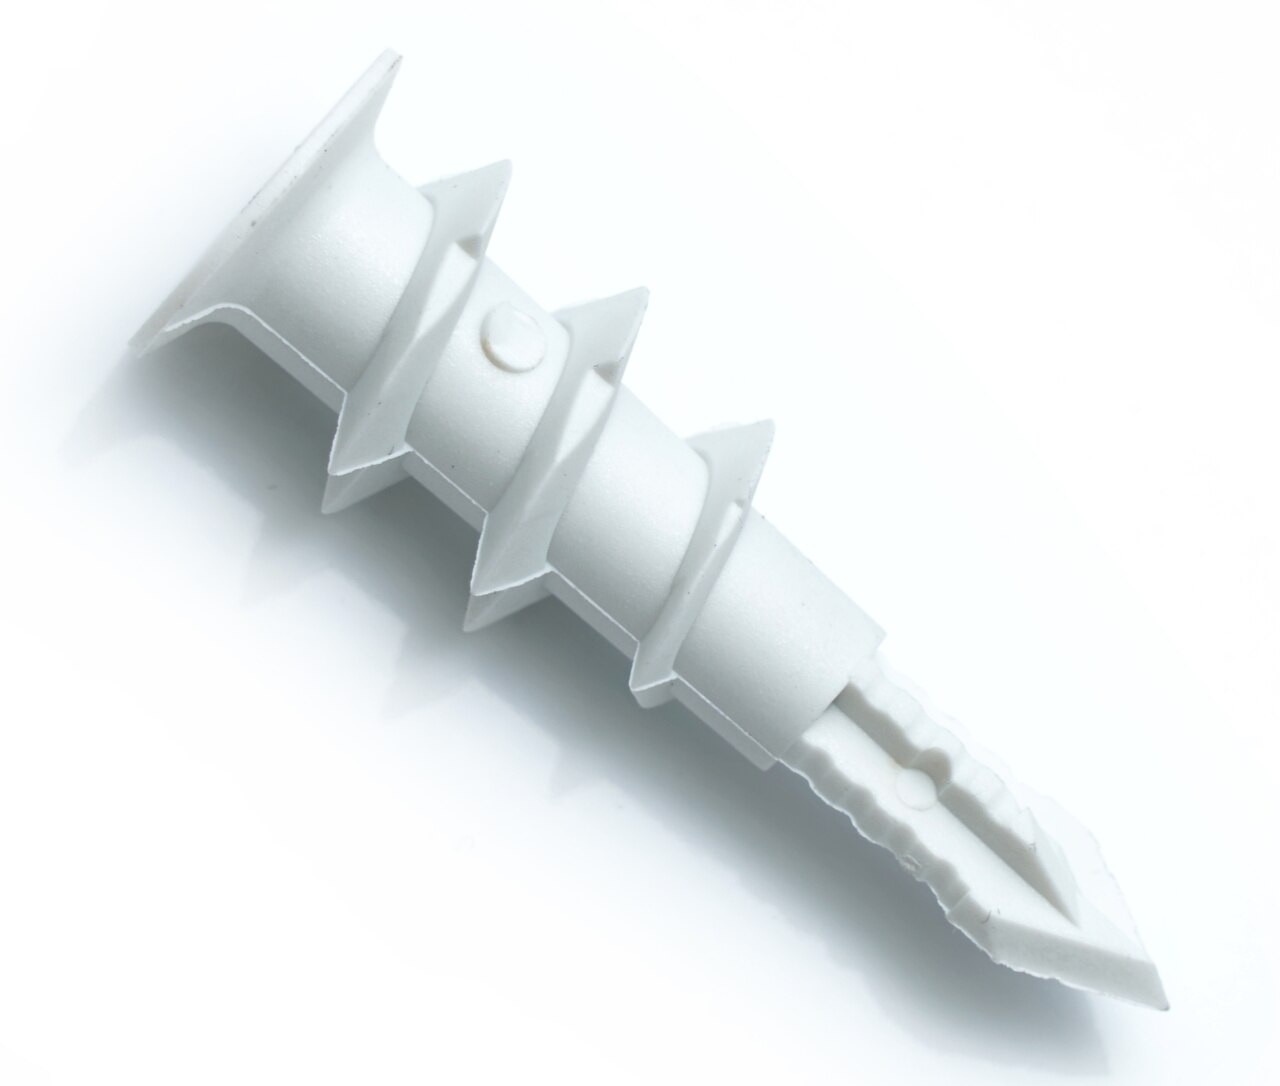
Expansion anchors are simple plastic or metal sleeves. They expand inside the drywall when a screw goes in. This expansion holds the anchor tight. These anchors are common for light objects.
Toggle Bolts
Toggle bolts have metal wings that open behind the drywall. The wings create a strong hold on the back side. They support heavy objects like shelves or mirrors. Removing toggle bolts needs care to avoid drywall damage.
Molly Bolts
Molly bolts have a metal sleeve that expands as the screw tightens. The sleeve grips the drywall firmly. They work well for medium-weight items. Molly bolts can be tricky to remove without tools.

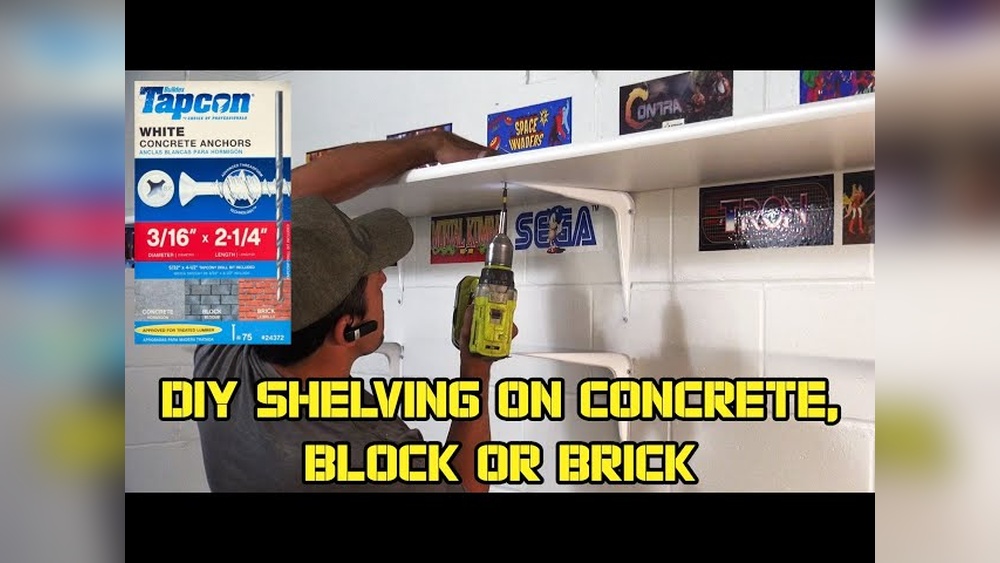
Credit: www.youtube.com
Tools You’ll Need
Removing hollow wall anchors from drywall requires the right tools. Using proper tools makes the task easier and cleaner. Choose tools based on the type of anchor and your comfort level.
Some tools work well by hand, while others need power. Having both options ready helps you finish the job quickly.
Basic Hand Tools
Start with simple hand tools. A screwdriver is key to unscrewing the anchor if possible. Needle-nose pliers help grab and pull out small anchors. A utility knife can cut around the anchor for easy removal. A putty knife is useful to push or pry anchors gently. These tools are safe and easy to control.
Power Tools Options
Power tools speed up the process. A drill with a small bit can remove stubborn anchors by drilling them out. An oscillating multi-tool works well to cut anchors flush with the wall. Use a rotary tool to sand or grind leftover pieces smooth. Power tools need care and steady hands. Wear safety glasses to protect your eyes from dust and debris.
Preparing The Area
Preparing the area is an important first step before removing hollow wall anchors. It helps keep the space safe and clean. Taking time now saves effort later.
Clear space around the wall to work easily. Protect nearby items from dust and damage. This careful preparation makes the task smoother.
Clearing The Wall Space
Remove any pictures, shelves, or decorations near the anchor. This gives you full access to the wall. It also prevents accidents or damage to items.
Clear furniture or objects close to the wall. Move them to another room or further away. This creates more space to work and avoids bumps or spills.
Protecting Surroundings
Cover the floor and furniture near the wall with a drop cloth or old sheet. This stops dust and debris from spreading. Clean-up will be quicker and easier.
Use painter’s tape to protect trim or switch plates near the anchor. It prevents scratches or paint chips. Small steps protect your home’s finish.
Removing Expansion Anchors
Removing expansion anchors from drywall can be tricky but is doable with the right approach. These anchors spread out behind the wall to hold heavy objects. Removing them without damaging the wall takes care and the right tools. Two common ways to remove them include pulling them out or pushing them through the wall.
Pulling Out With Pliers
Start by gripping the anchor’s collar with a pair of pliers. Pull gently but firmly straight out from the wall. Wiggle it slightly if it feels stuck. Be careful not to crush the drywall around the anchor. If the anchor moves, keep pulling until it comes free. For stubborn anchors, try twisting while pulling.
Pushing Through The Wall
If pulling doesn’t work, push the anchor through the drywall. Use a screwdriver or similar tool to press the anchor inward. Apply steady pressure until it breaks free behind the wall. This method leaves a small hole, but it is easy to patch. Make sure nothing is behind the wall before pushing the anchor through.
Removing Toggle Bolts
Removing toggle bolts from drywall requires patience and care. These anchors have a spring-loaded toggle that expands behind the wall. The toggle holds the bolt tightly, making removal a bit tricky. Follow simple steps to remove them without damaging your drywall.
Unscrewing The Bolt
Start by turning the bolt counterclockwise. Use a screwdriver that fits well to avoid stripping the head. Keep turning until the bolt is loose enough to pull out. Sometimes the bolt spins without unscrewing. In this case, try holding the toggle with pliers. This stops the toggle from moving while you turn the bolt.
Dealing With The Toggle
Once the bolt is out, the toggle may stay inside the wall. The toggle is wider than the hole and cannot be pulled out easily. Push the toggle deeper into the wall cavity. It will fall freely behind the drywall. If you want to patch the hole, clean around it first. Use spackle or joint compound to cover the hole smoothly.
Credit: www.confast.com
Removing Molly Bolts
Molly bolts are common hollow wall anchors used to hang objects on drywall. Removing them needs care to avoid wall damage. There are two main ways to remove molly bolts. Choose the best method based on your tools and the bolt’s condition.
Unscrewing And Pulling
Start by unscrewing the bolt’s center screw. Turn it counterclockwise using a screwdriver. This action releases the anchor’s grip inside the wall. Once loose, gently pull the bolt out by hand. If the bolt resists, use pliers for a firmer grip. Pull slowly to avoid tearing the drywall. After removal, you may need to patch the small hole left behind.
Cutting And Pushing In
This method works if the bolt won’t unscrew or pull out. Use a small hacksaw blade to cut the bolt’s head flush with the wall. Be careful not to damage the drywall surface. After cutting, push the remaining anchor body into the wall cavity using a screwdriver handle. The anchor will drop inside and stay hidden. Fill the hole with spackle or wall filler to finish the repair.
Fixing The Wall After Removal
Removing hollow wall anchors leaves holes in your drywall. Fixing these holes makes your wall smooth and neat again. Proper repair keeps your wall strong and ready for new paint.
The process is simple and fast. It involves filling the holes, sanding the surface, and then painting. These steps restore your wall’s look and feel.
Filling Holes
Start by cleaning the holes from dust and debris. Use a putty knife to apply spackle or wall filler. Press the filler firmly to fill the hole completely. Smooth the surface with the knife for an even finish. Let the filler dry fully before moving on.
Sanding And Painting
Once dry, sand the filled area gently with fine-grit sandpaper. Sand until the surface feels smooth and level. Wipe away dust with a dry cloth. Choose paint that matches your wall color. Apply a thin coat with a brush or roller. Let the paint dry, then add another coat if needed. Your wall will look like new.
Preventing Wall Damage
Preventing damage to your drywall is key when removing hollow wall anchors. Careful steps protect the wall surface. This saves time and money on repairs. Simple actions before and during removal reduce holes and cracks. Follow these tips to keep your walls intact and smooth.
Choosing The Right Anchor
Select anchors made for drywall weight limits. Plastic anchors suit light items like pictures. Metal anchors hold heavier objects but need careful use. Avoid using anchors too large for your wall. The right size reduces stress on drywall. This prevents big holes or crumbles during removal.
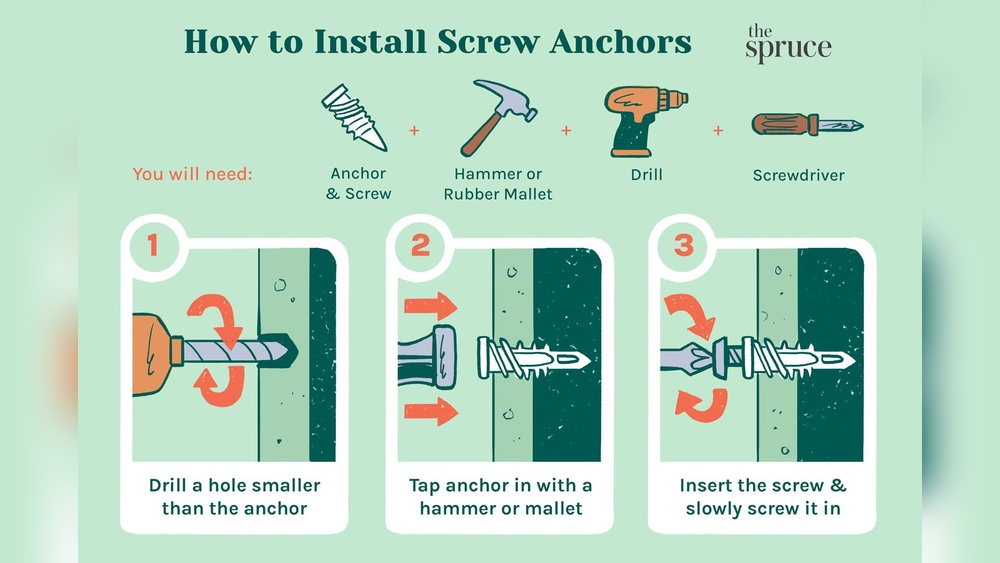
Using Proper Installation Techniques
Drill a hole just the right size for the anchor. Too large a hole weakens the drywall around it. Insert the anchor straight and avoid twisting hard. Use a screwdriver, not a drill, to tighten anchors. Tighten only until firm, not overly tight. Over-tightening cracks the drywall. Properly installed anchors come out easier and cleaner.

Credit: www.concretefasteners.com
Frequently Asked Questions
How Do I Safely Remove Hollow Wall Anchors?
To safely remove hollow wall anchors, unscrew the fastener first. Then, use pliers to gently pull the anchor out. If stuck, push it through the drywall and patch the hole afterward.
Can I Reuse Hollow Wall Anchors After Removal?
No, hollow wall anchors usually get damaged during removal. It’s best to replace them with new anchors for a secure hold.
What Tools Are Needed To Remove Hollow Wall Anchors?
You need a screwdriver, pliers, and possibly a utility knife. These tools help loosen, pull out, or push the anchors through the drywall cleanly.
How Do I Repair Drywall After Anchor Removal?
Fill the hole with spackle or joint compound. Let it dry, then sand smooth. Finally, paint over the patch to match the wall.
Conclusion
Removing hollow wall anchors from drywall can be simple and quick. Use the right tools and follow clear steps. Take your time to avoid damage to the wall. Small holes can be patched easily afterward. This keeps your walls looking neat and clean.
Practice makes the process easier each time. You can handle this task without professional help. Keep these tips in mind for your next project.