Are you struggling to hang heavy items on your walls without worrying about them falling down? Using a Molly wall anchor could be the simple solution you need.
These anchors provide strong, reliable support in drywall, making your shelves, mirrors, and frames stay put safely. In this guide, you’ll learn exactly how to use a Molly wall anchor step-by-step—no guesswork, no stress. By the end, you’ll feel confident handling your own wall projects like a pro.
Ready to make your walls stronger and your home look better? Let’s dive in!
Choosing The Right Molly Anchor
Choosing the right molly wall anchor is key to a secure hold. Each project needs a specific type and size. Picking the wrong anchor can cause damage or weak support. Knowing the types and their limits helps you make the best choice.
Types Of Molly Anchors
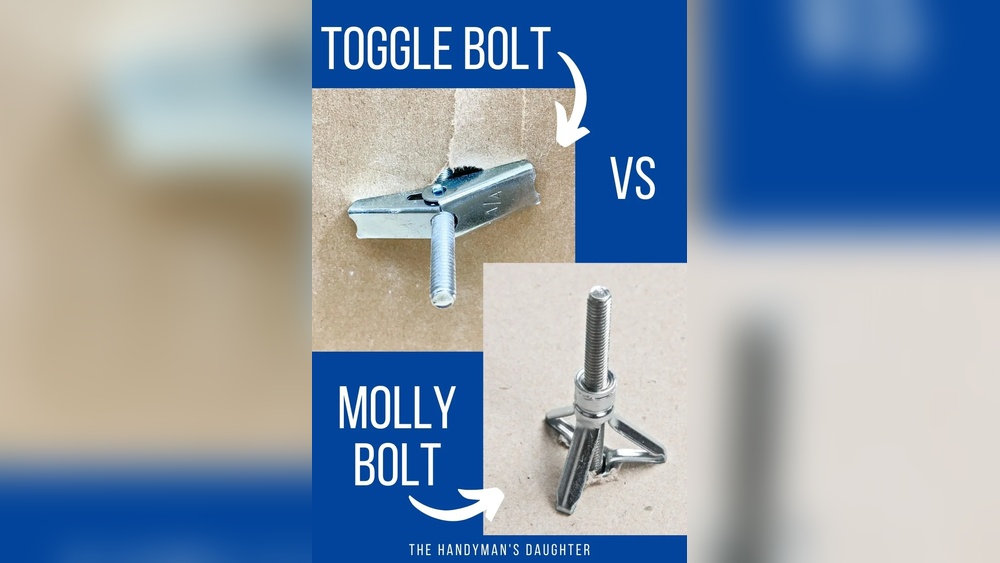
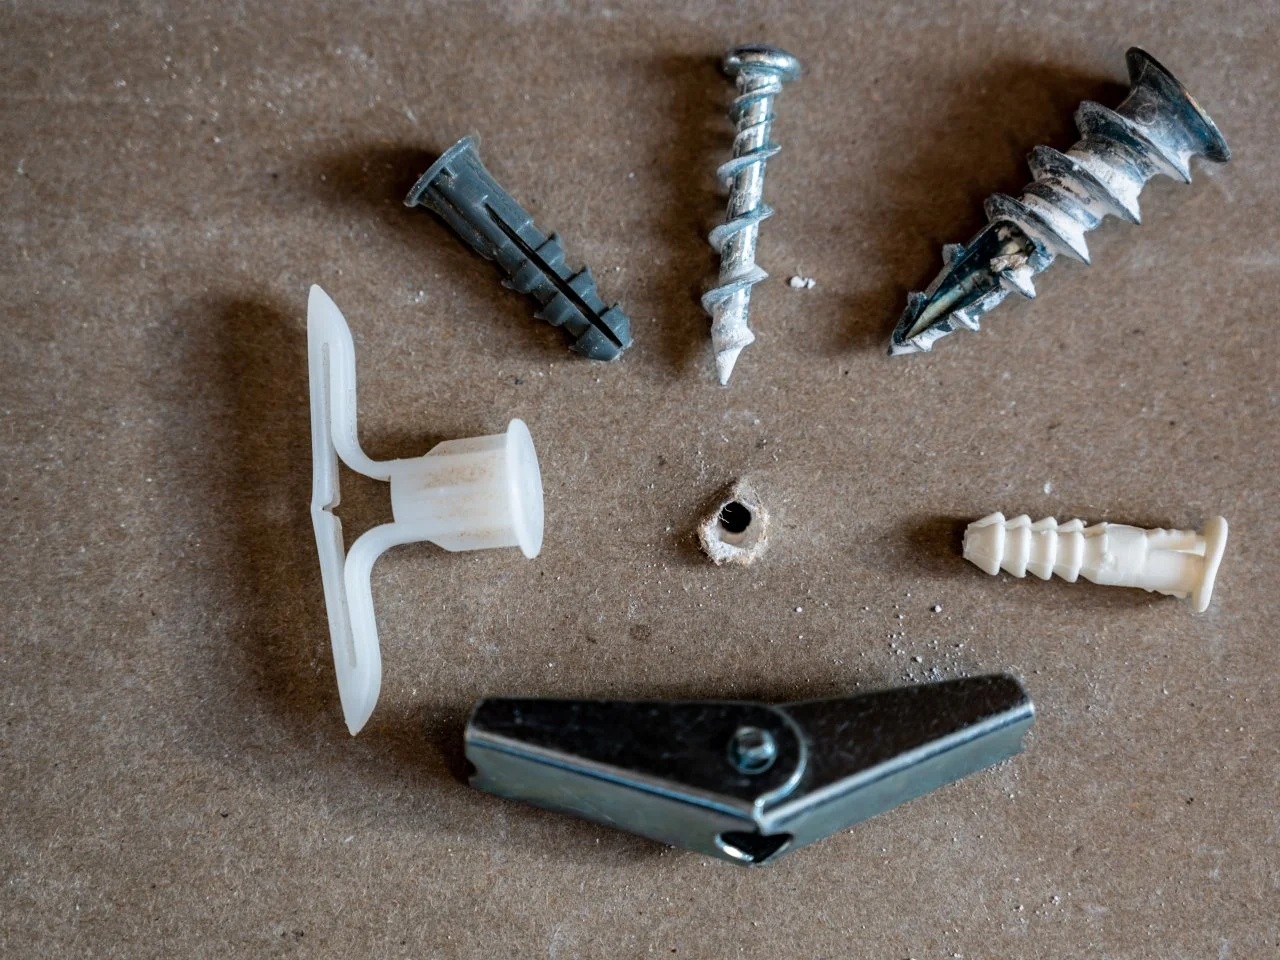
Molly anchors come in different forms. The most common is the metal molly, which expands behind the wall. Plastic molly anchors are lighter and fit smaller holes. Some molly anchors have screws included, while others need separate screws. Choose the type based on the weight and wall type.
Weight Capacity Considerations
Every molly anchor has a weight limit. Check the packaging or instructions for this number. Heavy items need anchors with higher weight capacity. Overloading an anchor can cause it to pull out. Always choose an anchor that supports more weight than your item.
Material And Wall Compatibility
Walls come in different materials like drywall, plaster, or concrete. Some molly anchors work better in certain materials. Metal anchors suit drywall and hollow walls. Plastic anchors are good for light loads and thinner walls. Always match the anchor material to your wall for best results.

Credit: www.youtube.com
Preparing The Wall
Preparing the wall is an important step before installing a molly wall anchor. This step helps ensure the anchor holds securely and supports the weight of your item. Taking time to prepare reduces mistakes and makes the installation easier.
Locating The Studs
Find the wall studs using a stud finder or by tapping the wall. Studs are wooden beams behind the drywall that provide strong support. Avoid placing the molly anchor directly on a stud. The anchor works best in hollow drywall areas between studs.
Marking The Drill Spot
Mark the exact spot where you want to install the anchor. Use a pencil for a clear, light mark that is easy to see. Double-check the spot to make sure it is between the studs and at the correct height. This helps keep the anchor stable and prevents damage.
Selecting The Drill Bit
Choose a drill bit size that matches the molly anchor diameter. The hole must be just big enough for the anchor to fit snugly. A hole that is too large will cause the anchor to loosen. Use a drill bit designed for drywall for the best results.
Installing The Molly Anchor
Installing a molly wall anchor is simple and effective. It helps you hang heavy items on drywall without damage. Follow these steps carefully to get a secure hold.
Drilling The Hole
Start by marking the spot on the wall. Use a drill bit that matches the anchor size. Drill a hole straight and clean. Avoid making the hole too big or small.
Inserting The Anchor
Push the molly anchor into the hole. Tap gently with a hammer if needed. The anchor should fit snugly without force. Make sure it sits flush with the wall surface.
Expanding The Anchor
Turn the screw inside the anchor slowly. This pulls the anchor’s legs behind the wall. The legs spread wide for a strong grip. Tighten until the anchor feels firm and steady.
Credit: www.hgtv.com
Securing The Fixture
Securing the fixture is a key step when using a molly wall anchor. This step holds your item firmly on the wall. Proper securing stops the fixture from falling or moving. Follow the steps carefully for a strong hold.
Aligning The Fixture
Place the fixture over the molly anchor hole. Make sure the holes in the fixture line up with the anchor. This helps the screw go in straight. Proper alignment prevents damage and ensures a tight fit.
Tightening The Screw
Insert the screw into the anchor through the fixture. Use a screwdriver to turn the screw clockwise. Tighten slowly and steadily. Stop when the fixture feels secure but avoid over-tightening. Over-tightening can break the anchor or wall.
Checking For Stability
Gently wiggle the fixture to test its hold. It should not move or feel loose. If it moves, tighten the screw a bit more. The fixture must feel solid against the wall. Proper stability keeps your items safe and secure.
Tips For Stronger Support
Strong support is key when using a molly wall anchor. It ensures your items stay safe and secure on the wall. Follow simple tips to get the best hold from your anchors. These small steps make a big difference in strength and safety.
Avoiding Over-tightening
Do not tighten the screw too much. Over-tightening can break the anchor or damage the wall. Turn the screw until it feels snug, then stop. This keeps the anchor firm without causing harm. A gentle touch protects both the anchor and wall.
Using Multiple Anchors
Use more than one anchor for heavy or large items. Spread the weight evenly across several anchors. This reduces stress on each anchor and the wall. It helps prevent damage and keeps items steady. Multiple anchors improve overall support and safety.
Regular Maintenance Checks
Check your anchors regularly to ensure they stay tight. Walls can shift, and screws may loosen over time. Tighten any loose screws to keep the anchor secure. Look for signs of damage or wear. Early checks help avoid accidents and keep your items safe.
Common Mistakes To Avoid
Using a molly wall anchor can make your wall projects stronger and safer. Yet, many people make simple mistakes that cause the anchor to fail. Avoiding these errors helps your anchor hold tight and last long. Below are common mistakes to watch out for.
Wrong Anchor Size
Choosing the wrong size anchor causes weak support. Too small anchors may not hold heavy items. Too large anchors can damage the wall or not fit correctly. Always pick an anchor size that matches your wall thickness and weight needs.
Improper Drilling
Drilling the wrong hole size leads to poor anchor grip. A hole too big makes the anchor loose. A hole too small may break the anchor or wall. Use the recommended drill bit size for your anchor. Drill straight and clean holes for best results.
Ignoring Weight Limits
Every molly anchor has a weight limit. Exceeding this limit risks the anchor pulling out or wall damage. Check the weight rating before use. Use multiple anchors for heavier items to spread the load evenly.

Credit: www.youtube.com
Frequently Asked Questions
What Is A Molly Wall Anchor Used For?
A Molly wall anchor secures heavy items to drywall. It expands behind the wall, providing strong support. It’s ideal for hanging shelves, mirrors, or TVs safely.
How Do You Install A Molly Wall Anchor?
First, drill a hole matching the anchor size. Insert the anchor into the hole until flush. Tighten the screw to expand the anchor behind the wall.
Can Molly Anchors Hold Heavy Objects?
Yes, Molly anchors support medium to heavy loads. They distribute weight evenly inside drywall. Always check the anchor’s weight rating before use.
Are Molly Anchors Reusable After Removal?
No, Molly anchors are not reusable. Removing them damages the wall and anchor. You should install a new anchor for each use.
Conclusion
Using a Molly wall anchor makes hanging heavy items easier and safer. Choose the right size for your wall and drill a proper hole. Insert the anchor and tighten the screw carefully. This method keeps your shelves and pictures firm.
Always check the weight limit before use. With these steps, your wall projects will stay strong. Practice a few times to feel confident. Simple tools and clear steps make the job quick. Try it yourself and see the difference today.


