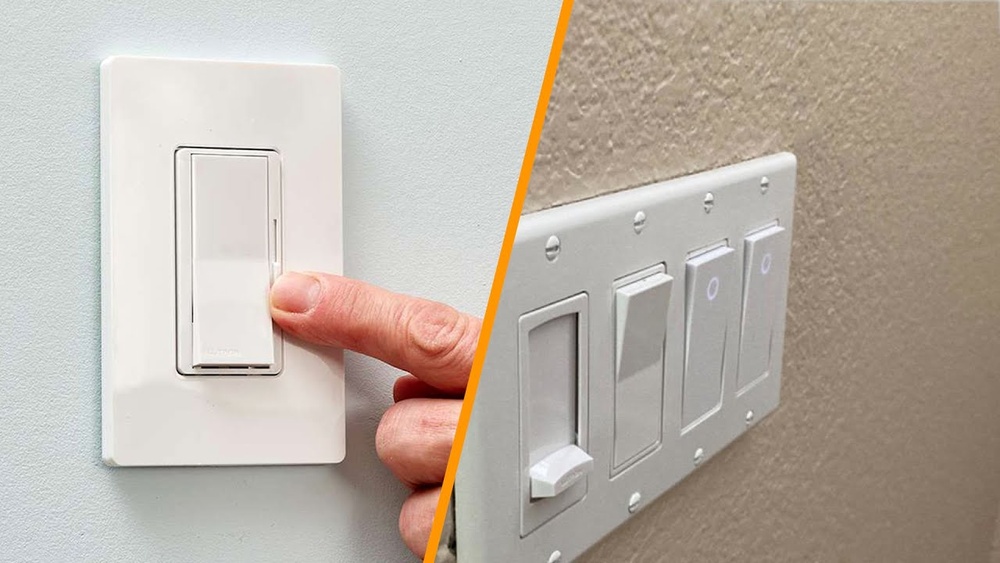
Changing a single pole light switch might seem tricky, but you can do it yourself with just a few simple steps. Imagine saving money on electrician fees and gaining confidence in handling basic home repairs.
Whether your switch is old, faulty, or you just want to upgrade, this guide will walk you through the process clearly and safely. Keep reading, and by the end, you’ll know exactly how to change your light switch without any hassle.
Your home improvement skills start here!
Tools And Materials Needed
Changing a single pole light switch needs the right tools and materials. Having everything ready makes the job faster and safer. Knowing what to use helps avoid mistakes and frustration.
Safety Gear
Wear safety gloves to protect your hands. Safety glasses keep your eyes safe from dust and sparks. Turn off the power before starting to avoid electric shocks.
Screwdrivers
A flathead screwdriver and a Phillips screwdriver are essential. They help remove the switch cover and screws. Choose screwdrivers with insulated handles for extra safety.
Voltage Tester
A voltage tester checks if the power is off. It shows if wires are live or safe to touch. This tool is a must for any electrical work.
Replacement Switch
Buy the correct single pole switch for your setup. Check the switch’s voltage and amperage ratings. Using the right switch ensures proper operation and safety.
Wire Strippers
Wire strippers remove insulation from wires cleanly. They help prepare wires for connection. Avoid damaging the wire inside by using the correct tool.
Electrical Tape
Electrical tape insulates wire connections to prevent shorts. It keeps wires secure and neat. Use good quality tape designed for electrical use.
Safety Precautions
Safety is the top priority before changing a single pole light switch. Working with electricity can be dangerous. Taking the right steps prevents shocks and accidents. Follow these safety rules carefully to protect yourself and your home.
Turn Off Power At The Circuit Breaker
Always switch off the power at the main breaker box. Do not rely on just the light switch. This stops electricity from flowing to the switch. Use a circuit tester to double-check the power is off.
Use Proper Tools And Equipment
Choose tools with insulated handles. This lowers the risk of electric shocks. Avoid using damaged or worn-out tools. Have a flashlight ready for clear visibility if the power is off.
Wear Safety Gear
Wear rubber-soled shoes to reduce shock risk. Use safety goggles to protect your eyes from dust or sparks. Avoid loose clothing or jewelry that can catch on wires.
Check For Live Wires
Before touching wires, use a voltage tester. Confirm no electricity flows through the switch wires. Treat all wires as if they are live until tested safe.
Work In A Dry Environment
Ensure your hands are dry. Avoid working near water or wet surfaces. Water increases the chance of electric shocks.
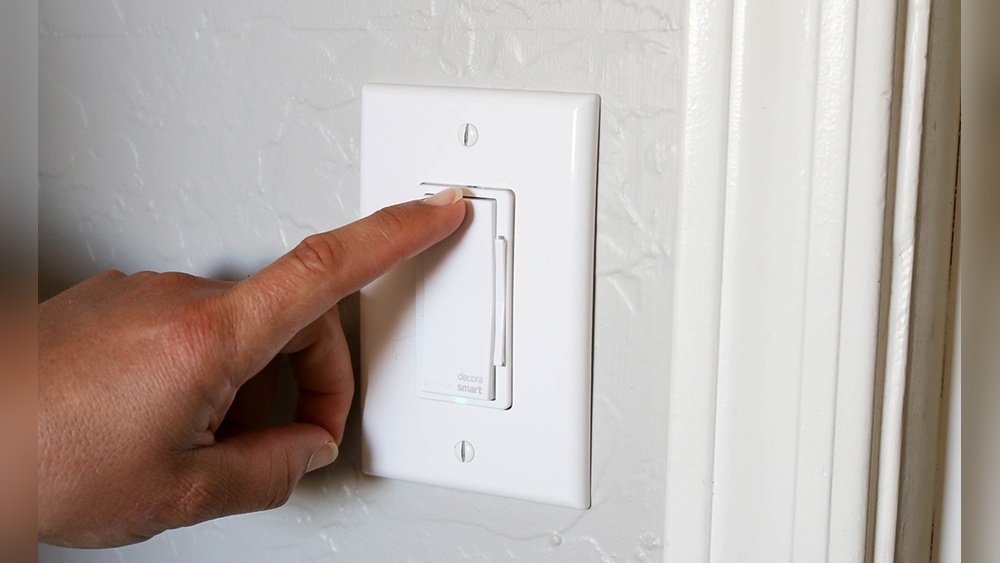
Locate The Switch
Start by finding the light switch you want to change. It is usually on the wall near the room entrance. Turn off the power before touching the switch.
Understanding The Switch Location
Finding the switch is the first step in changing a single pole light switch. The switch is usually on the wall near the entrance of a room. It controls the light or fixture in that room. Knowing exactly where the switch is will save time and avoid confusion during the process.
Check Common Areas For The Switch
Look near doorways and at eye level on the wall. Most switches are placed about 48 inches from the floor. Sometimes, switches can be hidden behind furniture or decorations. Make sure the area is clear before starting work.
Turn Off Power Before Proceeding
Always switch off the power at the breaker box before touching the switch. This step ensures safety and prevents electric shocks. Confirm the power is off by testing the switch or using a voltage tester.
Credit: www.finehomebuilding.com
Turn Off The Power
Turning off the power is the first and most important step to change a single pole light switch. It keeps you safe from electric shocks. Always treat electricity with respect. Even a small mistake can cause injury.
Before you touch the switch, make sure the power is completely off. This step protects you and prevents damage to your electrical system. Safety comes first every time.
Locate The Circuit Breaker
Find the main electrical panel in your home. It is usually in the basement, garage, or utility room. Open the panel door to see the circuit breakers. Each breaker controls power to different parts of your house.
Identify The Correct Breaker
Look for the label that matches the switch or room. If the breakers are not labeled, turn off the main breaker to cut all power. This ensures safety but will turn off all electricity in your home.
Switch Off The Breaker
Flip the breaker switch to the “off” position. You should feel it click. This action stops the flow of electricity to the switch you want to replace. Leave the breaker off until your work is done.
Double Check Power Is Off
Use a voltage tester or a multimeter to check the switch. Touch the tester to the wires connected to the switch. If there is no light or reading, the power is off. Never skip this safety check.
Remove The Switch Cover
Removing the switch cover is the first step in changing a single pole light switch. This step allows access to the switch and wiring behind it. It is important to do this carefully to avoid damage or injury.
Before removing the cover, make sure the power to the switch is turned off. Safety is the top priority. Use a screwdriver to remove the screws holding the cover plate. Keep the screws safe for later use.
After unscrewing, gently pull the cover plate away from the wall. Sometimes the plate may stick due to paint or dirt. Use a flat tool or your fingers to carefully loosen it. Avoid forcing the plate to prevent cracking.
Gather Necessary Tools
Have a screwdriver ready, usually a flathead or Phillips. Check the screw type before starting. A flashlight can help if the area is dark.
Switch off the circuit breaker for the light switch. Confirm power is off by testing the switch or using a voltage tester.
Unscrew The Cover Plate
Locate the screws on the switch cover plate. Use the screwdriver to turn screws counterclockwise. Remove both screws completely.
Remove The Cover Plate
Hold the cover plate firmly. Pull it straight off the wall. If stuck, gently wiggle it free. Set the cover plate and screws aside safely.
Identify And Label Wires
Identifying and labeling wires is the first important step in changing a single pole light switch. It helps avoid confusion and keeps the work safe. By knowing each wire’s role, you can connect them correctly. This step saves time and prevents mistakes.
Before removing the old switch, look carefully at the wires. Usually, there are three types: the hot wire, the neutral wire, and the ground wire. Each one has a different color and job.
Start by switching off the power at the circuit breaker. This stops electricity from flowing. Use a voltage tester to check if the wires are safe to touch. Never work on live wires.
Look At Wire Colors
The black or red wire is usually the hot wire. It carries power to the switch. The white wire is the neutral wire. The green or bare copper wire is the ground wire. These colors help you identify each wire easily.
Use Labels Or Tape
Take small pieces of tape and write the wire type on each one. Wrap the tape around the wire near the end. This keeps track of wires during the switch replacement. It makes reconnecting simple and clear.
Take A Photo For Reference
Before disconnecting, take a clear picture of the wires and switch. This helps you remember the exact setup. Use the photo as a guide when installing the new switch.
Disconnect The Old Switch
Disconnecting the old switch is an important step before installing a new one. It keeps you safe and helps avoid electrical problems. Follow simple steps to remove the old switch carefully. Take your time and work slowly.
Turn Off Power At The Circuit Breaker
Find the right circuit breaker for the switch. Switch it off to stop electricity flow. Use a voltage tester to check that power is off. Safety first.
Remove The Switch Cover Plate
Use a screwdriver to take out the screws holding the cover plate. Gently pull the plate away from the wall. Set the plate and screws aside safely.
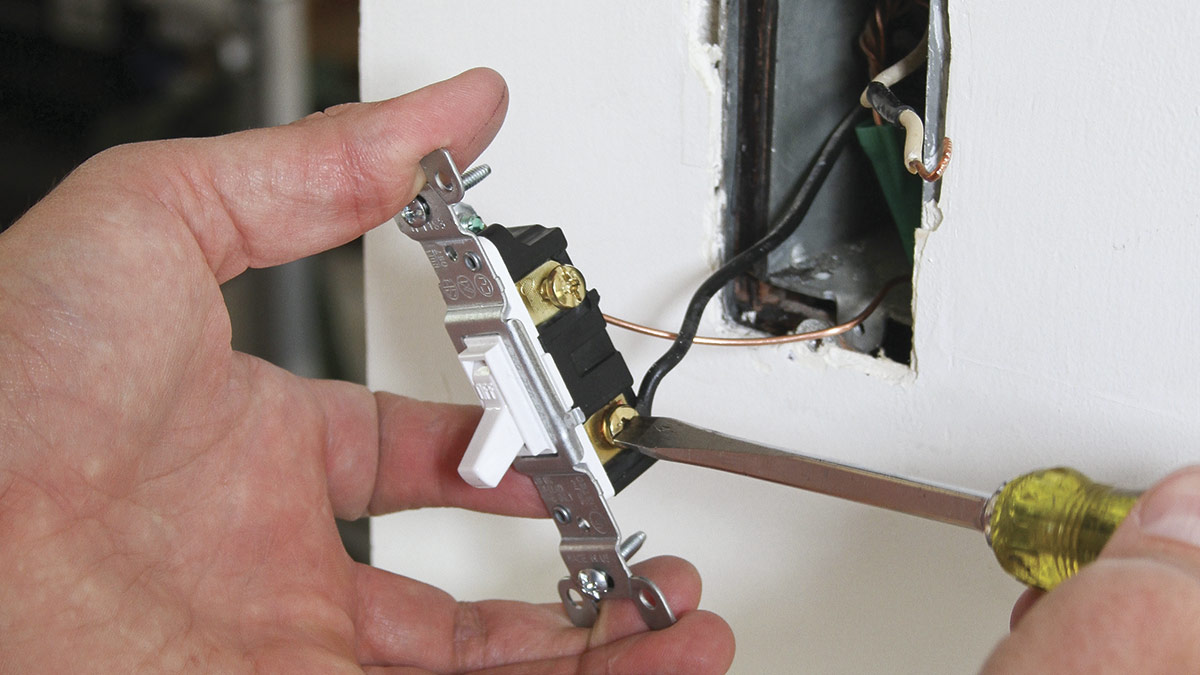
Unscrew The Old Switch
Locate the screws holding the switch in the electrical box. Unscrew them carefully. Pull the switch out just enough to see the wires.
Identify And Disconnect Wires
Look closely at the wires connected to the switch. Remember or mark where each wire goes. Use a screwdriver to loosen the terminal screws. Remove the wires from the switch.
Connect The New Switch
Connecting a new single pole light switch is a key step in the replacement process. This part ensures the switch will control the light properly. Proper connections keep the circuit safe and working well. Follow clear steps to connect the wires to the new switch.
Identify The Terminals On The New Switch
Look closely at the new switch. You will see two brass terminals and one green ground screw. The brass terminals hold the black wires. The green screw connects to the ground wire. Knowing these helps you attach the wires correctly.
Attach The Ground Wire First
Find the bare copper or green ground wire in the box. Wrap it around the green screw on the switch. Tighten the screw firmly. This step protects you from electrical shocks.
Connect The Black Wires To Brass Terminals
Take the black wires from the wall box. Attach one wire to each brass terminal. Loop each wire clockwise around the terminal screw. Tighten the screws securely. Loose connections can cause flickering or sparks.
Double-check All Connections
Review every wire connection. Make sure wires are tight and not touching each other. Confirm the ground wire is secure on the green screw. Proper checks reduce the risk of electrical faults.
Secure The Switch And Cover
Securing the switch and cover is the final step in changing a single pole light switch. This step keeps everything safe and neat. It also protects the wires inside from dust and damage.
Make sure the switch is firmly fixed in the electrical box. A loose switch can cause flickering lights or sparks. Use a screwdriver to tighten the screws on the switch’s mounting plate. The switch should not move when touched.
Align The Switch Properly
Check that the switch is straight before tightening the screws fully. A crooked switch looks unprofessional and might be hard to use. Hold the switch level and tighten the screws evenly.
Attach The Wall Plate Cover
Place the wall plate cover over the switch. The cover hides the wiring and gives a clean look. Use the screws provided to secure the plate. Tighten the screws just enough to hold the cover firmly.
Test The Switch
After securing, turn the power back on. Flip the switch to see if the light works properly. If it does, the installation is complete. If not, turn off the power and check the connections again.

Credit: icreatables.com
Restore Power And Test
After replacing the single pole light switch, restoring power is the next step. This part is important to check if the switch works properly. Careful steps help avoid any electrical problems.
Turn the circuit breaker back on to restore electricity to the switch. Make sure the area is safe and dry before doing this. The power switch in your home’s breaker box controls the flow of electricity to the light switch.
Turn On The Circuit Breaker
Locate the breaker that controls the light switch circuit. Flip the breaker switch to the “On” position. This action restores power to the wiring connected to the switch.
Test The Light Switch
Go to the light switch and press it up or down. The light should turn on or off without any flickers. If the light does not respond, check the breaker again or the wiring connections.
Check For Proper Operation
Toggle the switch several times to ensure smooth operation. Listen for any unusual sounds, like buzzing or clicking. Proper functioning means the switch is installed correctly and safe to use.
Troubleshooting Tips
Troubleshooting helps find problems when a single pole light switch does not work. It saves time and avoids extra repairs. Simple checks can fix many issues.
Follow these tips to spot common problems and solutions. Take safety steps first. Turn off power before touching wires or parts.
Check The Power Supply
Make sure the circuit breaker is on. A tripped breaker cuts power to the switch. Reset it if needed. Test other devices on the same circuit. If none work, the problem is with the power source.
Inspect The Switch Wiring
Loose or wrong wires stop the switch from working. Remove the switch cover and look inside. Tighten any loose wires. Match wires to the correct terminals. Use a voltage tester to check for live wires.
Test The Switch Itself
Switches can wear out or break. Use a multimeter to check continuity. When the switch is on, the multimeter should show a connection. Replace the switch if no connection appears.
Examine The Light Fixture
The problem may be the light bulb or fixture. Change the bulb with a new one. Check for loose parts or burnt sockets. If the bulb and fixture work, look back at the switch.
Look For Signs Of Damage
Check for burnt marks, melted wires, or corrosion. These signs mean a serious issue. Stop and call an electrician if damage appears. Do not try to fix electrical damage alone.

Credit: icreatables.com
Frequently Asked Questions
How Do I Safely Turn Off Power Before Changing A Switch?
Always switch off the circuit breaker controlling the switch. Use a voltage tester to confirm no electricity flows. Safety first prevents shocks during replacement.
What Tools Are Needed To Replace A Single Pole Switch?
You need a screwdriver, voltage tester, wire stripper, and replacement switch. These tools ensure a smooth and safe switch replacement process.
How Can I Identify The Wires On A Single Pole Switch?
Look for one black (hot) wire, one white (neutral), and a ground wire. Proper identification is crucial for correct wiring and safety.
How Do I Connect Wires To A New Single Pole Switch?
Attach the black (hot) wires to the switch terminals. Connect the ground wire to the green terminal. Secure connections prevent electrical hazards.
Conclusion
Changing a single pole light switch is simple and safe with the right steps. Turn off the power first to avoid shocks. Remove the old switch carefully and connect the new one using the same wires. Test the switch to make sure it works.
This small fix can save money and improve home lighting. Take your time and follow instructions closely. Anyone can do this with basic tools and attention. Try it yourself and enjoy the satisfaction of a job well done.