Are you struggling to hang shelves, pictures, or fixtures securely on your walls? Knowing how to drill in a wall anchor plug can make all the difference.
It’s a simple skill that ensures your items stay put without damaging your walls. In this guide, you’ll discover step-by-step how to drill the perfect hole for a wall anchor plug, so your projects look professional and hold strong. Keep reading, and you’ll gain the confidence to tackle your next wall project with ease.
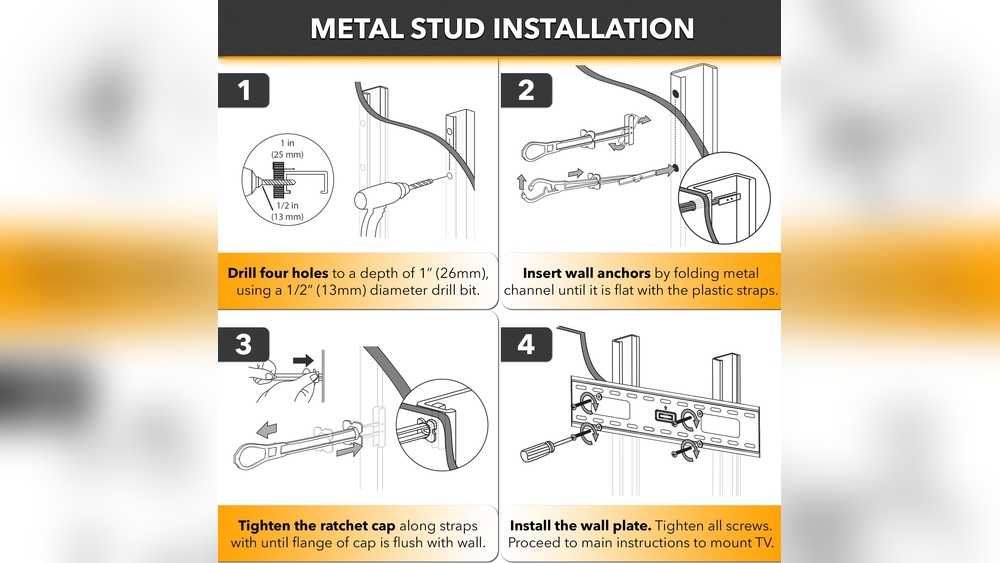
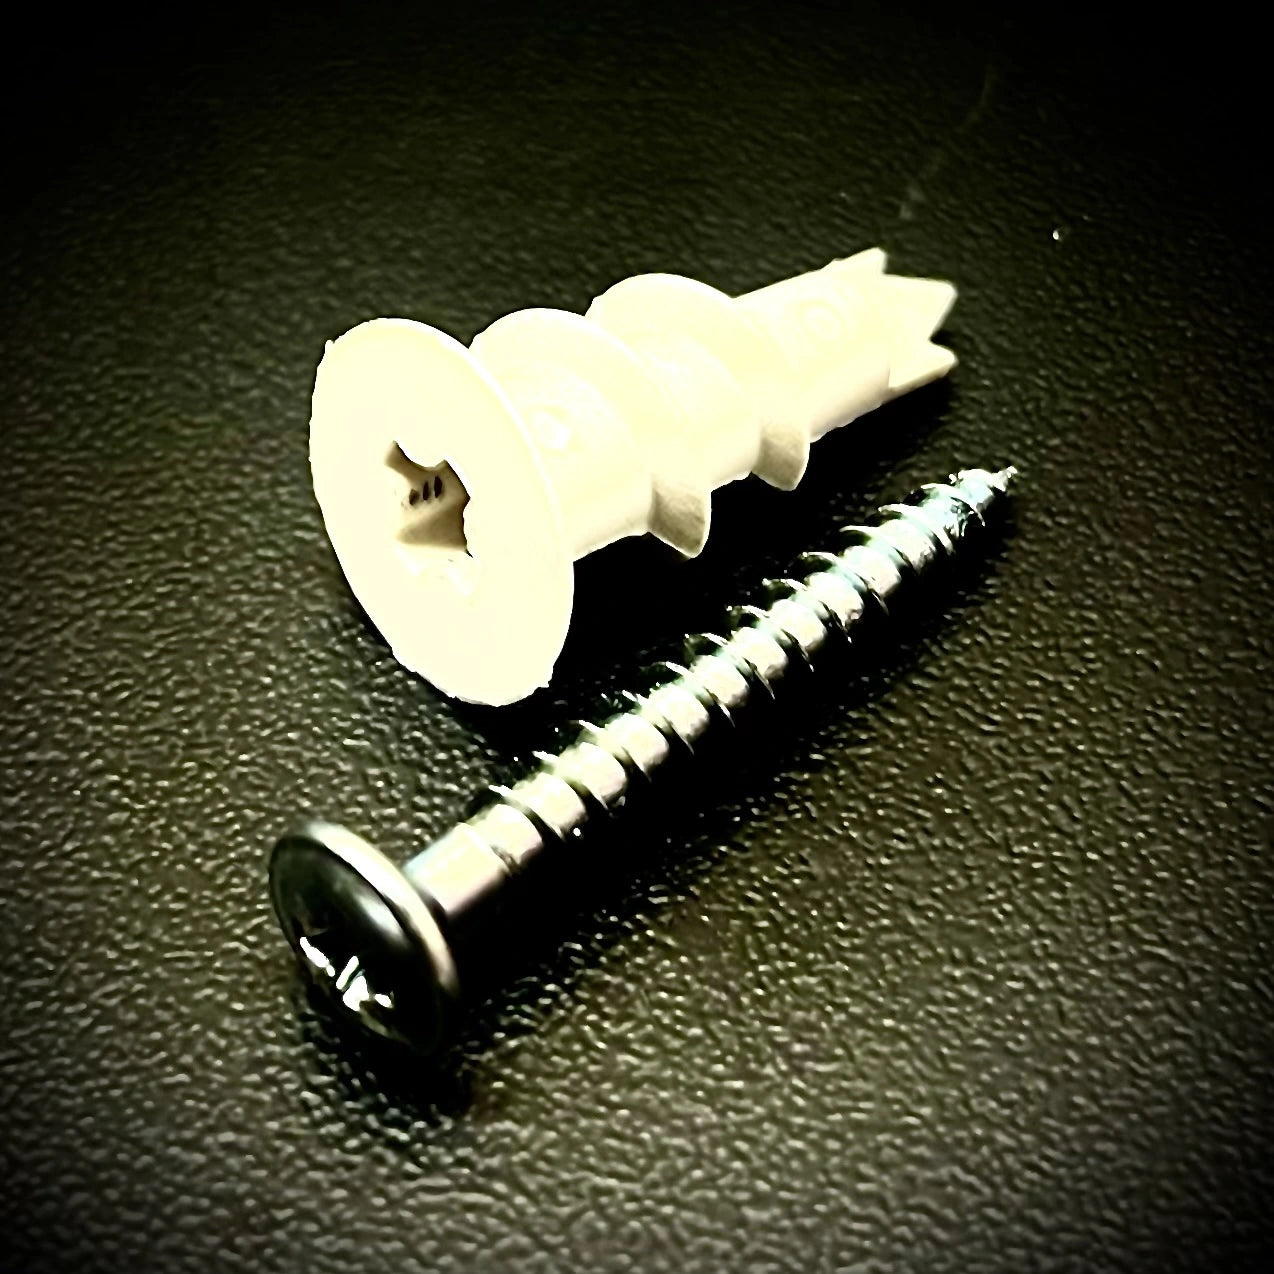
Credit: www.g-locbrakes.com
Choosing The Right Wall Anchor
Choosing the right wall anchor is key to a strong and safe hold. Different anchors suit different walls and weights. Picking the wrong type can cause damage or weak support. Understanding anchor types and matching them to your wall helps secure your items properly.
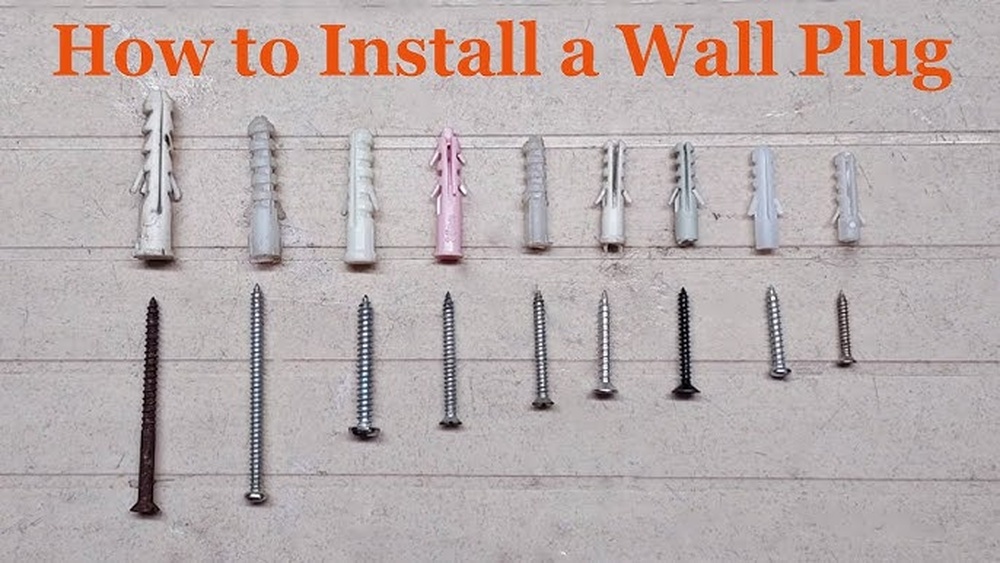
Types Of Wall Anchors
Plastic expansion anchors are common and easy to use. They fit light to medium loads in drywall and plaster. Metal anchors provide stronger support for heavier items. Molly bolts expand behind the wall for a firm grip. Toggle bolts have wings that open inside hollow walls for extra strength. Each type works best in specific conditions and weight ranges.
Matching Anchors To Wall Material
Drywall needs light or medium anchors like plastic or molly bolts. Hollow walls benefit from toggle bolts for solid hold. Concrete and brick require heavy-duty anchors like sleeve or wedge types. Plaster walls need gentle anchors to avoid cracks. Matching anchor type to wall material prevents damage and ensures safety.
Credit: www.relations-publics.org
Tools Needed For Drilling
Drilling a hole for a wall anchor plug needs the right tools. Proper tools make the job easier and safer. This section covers the main tools required for drilling.
Selecting The Drill And Bits
Choose a drill that fits your needs. A cordless drill offers good control and mobility. Pick a drill with adjustable speed settings for precision.
Use the right drill bit size for the wall anchor plug. Masonry bits work well on brick or concrete walls. For drywall, a standard twist bit is best. Match the bit diameter to the anchor size for a snug fit.
Safety Equipment Essentials
Protect your eyes with safety goggles to avoid dust and debris. Wear a dust mask to prevent inhaling fine particles. Ear protection helps reduce noise from the drill. Gloves protect your hands from sharp edges and vibration.
Use a stable ladder or step stool if drilling higher on the wall. Clear the work area to avoid tripping hazards. Safety gear keeps you safe and comfortable during drilling.
Preparing The Wall
Preparing the wall is the first step in drilling a wall anchor plug. It ensures the anchor holds firmly and the wall stays safe. A careful approach prevents damage and makes your work easier. Follow simple steps to prepare the wall properly.
Marking The Drill Spot
Find the exact place where you want to insert the anchor. Use a pencil to mark the spot clearly. Measure twice to make sure it is in the right position. A small mark guides your drill and keeps the hole straight. This step helps avoid mistakes and keeps your project neat.
Checking For Obstacles Behind The Wall
Check for wires, pipes, or studs behind the wall before drilling. Use a stud finder or a wall scanner tool. Avoid drilling where obstacles are present to prevent accidents. Knowing what is behind the wall keeps you safe and avoids damage. Take your time to scan the area thoroughly.
Drilling The Hole
Drilling the hole is a key step when installing a wall anchor plug. It sets the stage for a secure fit. Taking care during this process helps avoid damage to your wall. Precise drilling ensures the anchor holds firmly.
Focus on the right drill speed and depth. These factors control the quality of the hole. Let’s explore how to manage them effectively.
Setting The Drill Speed
Choose a moderate drill speed. Too fast can crack the wall. Too slow wastes time and effort. Use a speed that feels steady and controlled. For most walls, a medium speed works best.
Start slowly to get the bit into place. Increase speed gradually while drilling. Keep the drill straight to avoid angled holes. This keeps the anchor stable and strong.
Drilling At The Correct Depth
Measure the anchor plug length before drilling. Mark this length on your drill bit with tape. This marker shows when to stop drilling.
Drill only as deep as the plug requires. Too shallow and the anchor won’t fit well. Too deep and the plug may slip or loosen.
Check depth by inserting the anchor after drilling. Adjust if needed for a snug fit. Proper depth keeps your anchor secure and your wall safe.
Installing The Anchor Plug
Installing the anchor plug is a key step when drilling into a wall. It helps secure screws and holds objects firmly in place. Proper installation prevents damage to the wall and ensures strong support for heavy items.
Follow simple steps to insert the anchor plug correctly. Taking care during this process gives the best results for your project.
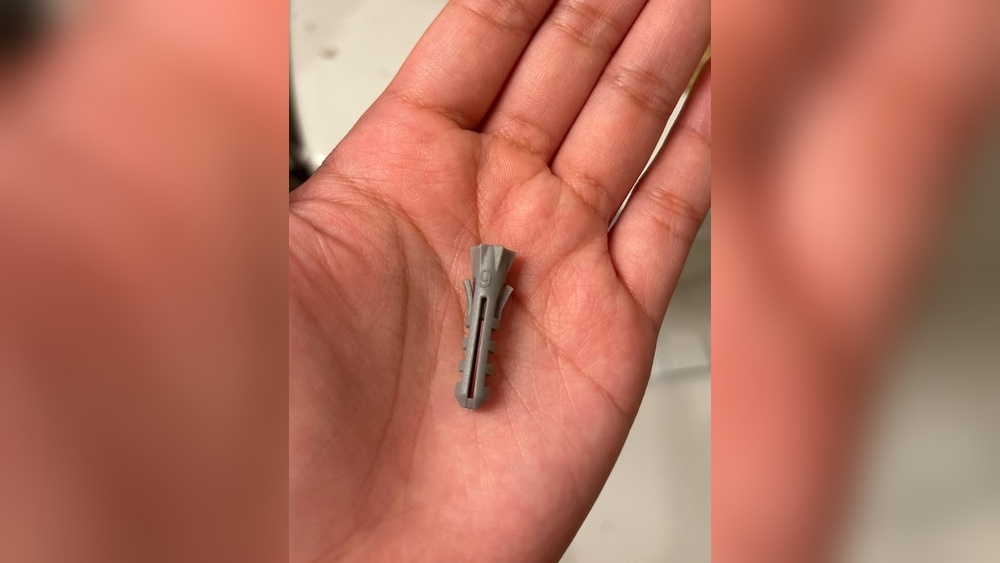
Inserting The Anchor Properly
Start by choosing the right size anchor plug for your hole. The plug should fit snugly without forcing it. Gently push the anchor into the drilled hole. Use your fingers or a small tool to avoid damage. The anchor must sit flush with the wall surface. Do not push it too deep or leave it sticking out.
Ensuring A Secure Fit
Tap the anchor lightly with a hammer to secure it. Make sure it does not move inside the hole. Check the anchor’s grip by pulling it gently. A tight fit means strong support for screws. Avoid loose anchors that can cause wall damage. Proper fit helps the anchor hold heavy items safely.
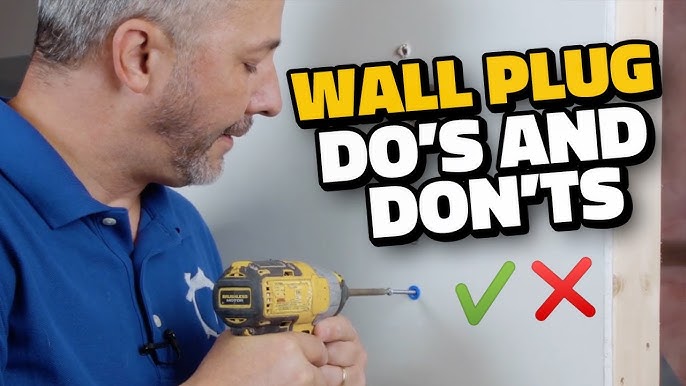
Credit: www.youtube.com
Finishing Touches
Finishing touches make sure your wall anchor plug holds strong. After drilling and placing the anchor, the final steps prepare your wall for use. These steps help attach items firmly and check safety.
Take care during this stage to avoid mistakes. Proper finishing ensures your fixture stays secure and looks neat. Small efforts here save time and damage later.
Attaching Fixtures To The Anchor
Start by aligning the fixture with the anchor. Use the correct screws for your anchor type. Tighten screws gently. Stop when you feel resistance. Over-tightening can break the anchor or wall.
Check if the fixture sits flush against the wall. It should not wobble or move. Adjust screws slowly if needed. Secure fitting means better support and longer use.
Testing The Installation Strength
Test the fixture by applying light pressure first. Push or pull gently to check hold. Increase pressure gradually but carefully. If the fixture moves or feels loose, recheck the anchor or screw.
Do not hang heavy items before testing. Confirm the anchor supports the weight safely. A strong installation protects your wall and belongings.
Common Mistakes To Avoid
Drilling in a wall anchor plug needs care. Many people make simple mistakes. These errors can cause the anchor to fail. It can lead to damage or loose fittings. Avoiding common mistakes helps secure your wall anchor better. Here are the key errors to watch out for.
Overdrilling Or Underdrilling
Drilling too deep or too shallow is a common problem. Overdrilling makes the hole too big. The anchor will not hold tight. Underdrilling creates a hole too small for the anchor. You might break the anchor or damage the wall. Use a drill bit that matches the anchor size. Stop drilling once you reach the right depth. Mark your drill bit with tape to control depth easily.
Using Incorrect Anchor Types
Not all anchors fit every wall type. Using the wrong anchor can cause failure. For example, a plastic anchor may not hold in drywall. A metal anchor suits heavy loads and masonry walls better. Check your wall material before picking an anchor. Match the anchor to the weight and type of object you hang. This choice ensures a firm and safe hold.
Frequently Asked Questions
What Tools Are Needed To Drill Wall Anchor Plugs?
To drill wall anchor plugs, you need a drill, drill bit, wall anchors, hammer, and screwdriver. Use a drill bit matching the anchor size for a secure fit. Always wear safety goggles and follow proper drilling techniques for best results.
How To Choose The Right Drill Bit Size?
Select a drill bit matching the wall anchor’s diameter for a snug fit. Check the anchor packaging for recommended drill size. Using the correct size prevents wall damage and ensures the anchor holds firmly.
Can I Drill Wall Anchors Into Drywall?
Yes, drywall can hold wall anchors if you use suitable anchors like plastic or metal toggle plugs. Avoid heavy loads on drywall anchors; for heavy items, use studs or specialized anchors for better support.
How Deep Should I Drill For Wall Anchors?
Drill a hole slightly deeper than the length of the anchor to ensure full insertion. This prevents damage to the anchor and allows it to expand properly inside the wall for maximum hold.
Conclusion
Drilling in a wall anchor plug is simple with the right steps. Measure and mark the spot clearly before drilling. Use the correct drill bit size for a tight fit. Drill straight into the wall to avoid damage. Insert the anchor plug gently but firmly.
These small actions help your fixture stay secure and safe. Practice makes perfect, so don’t rush. With care, your walls will hold strong and steady every time. Keep these tips in mind for your next project.