Have you ever stuck a hook on your wall, only to wonder later how to remove it without leaving marks or damage? You’re not alone.
Taking off stick-on wall hooks can feel tricky, especially when you want to keep your walls looking perfect. But don’t worry—this guide will show you simple, effective ways to remove those hooks safely and easily. Keep reading, and you’ll learn the secrets to making your walls look as good as new.
Credit: www.velcro.com
Types Of Stick On Wall Hooks
Stick on wall hooks are popular for organizing and decorating spaces without nails. They come in different types, each designed for specific surfaces and weights. Knowing these types helps you choose the right one and remove them properly.
Adhesive Hooks
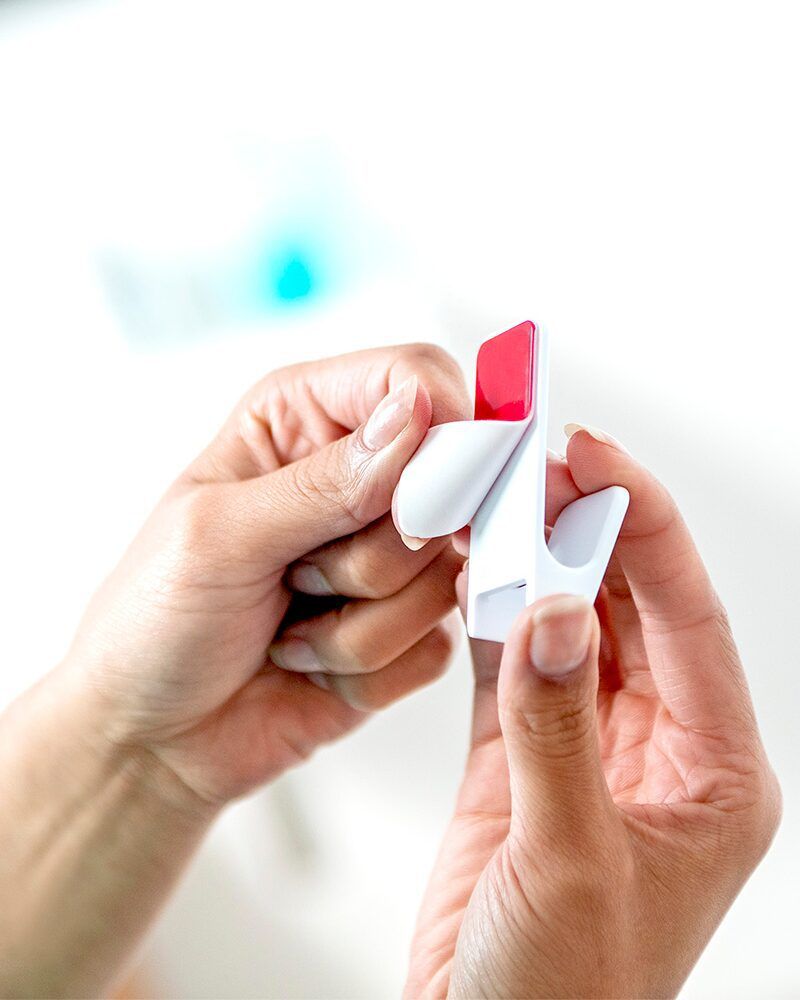
Adhesive hooks use a sticky glue to attach to walls. They hold light to medium items like keys or small frames. The glue is strong but can damage paint if removed roughly. These hooks work well on smooth, clean surfaces.
Command Strips
Command strips have a special adhesive that sticks firmly but removes cleanly. They hold heavier items like picture frames or shelves. Pulling the tab on the strip releases the hook without damaging walls. They are perfect for renters or temporary setups.
Suction Hooks
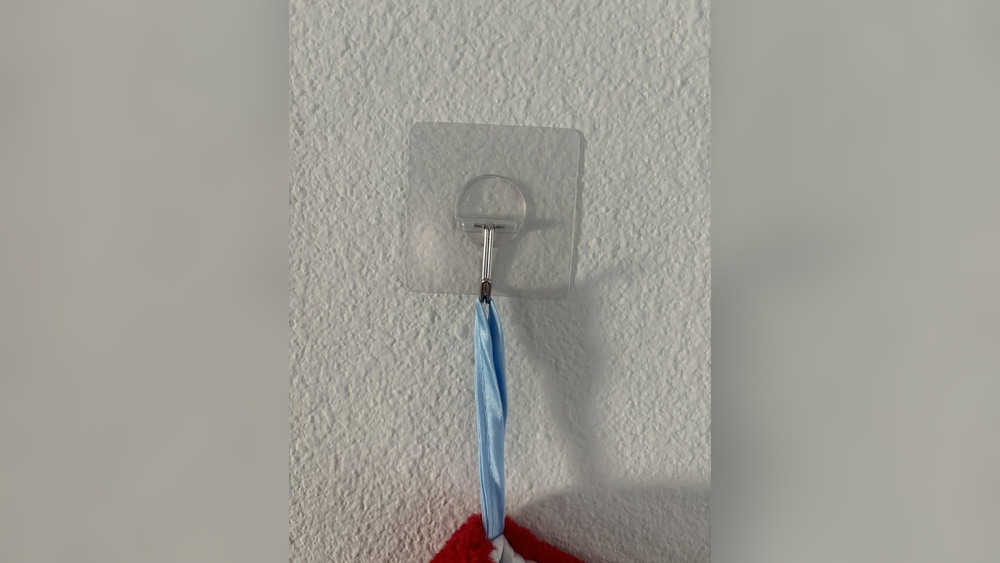
Suction hooks stick by creating a vacuum on smooth, non-porous surfaces like glass or tiles. They hold lightweight objects like towels or kitchen tools. These hooks leave no residue and can be moved easily. They may lose grip over time and need reattaching.
Signs Of Proper Hook Removal
Removing stick-on wall hooks properly helps keep your walls and hooks in good shape. Knowing the signs of proper hook removal ensures you don’t cause damage or waste hooks. These signs show that the hook came off cleanly and can be used again.
No Wall Damage
The wall should look smooth and clean after removal. No paint should peel or chip away. No holes or marks should remain on the surface. A clean wall means the hook was removed gently. This is important to keep your walls neat and ready for new hooks.
Intact Hook For Reuse
The hook itself should stay whole and undamaged. The sticky part should still stick well to another surface. No tears or cracks should appear on the hook or adhesive. An intact hook saves money and effort since you can use it again. Proper removal keeps the hook ready for your next need.
Preparation Steps Before Removal
Before removing stick on wall hooks, prepare the area carefully. Proper preparation helps avoid damage to the wall and makes removal easier.
Taking a few simple steps first saves time and effort later. It also keeps your space clean and safe.
Clear Surrounding Area
Remove items near the hook. Clear the wall space around it. This prevents objects from falling or getting damaged.
Make sure nothing blocks your access to the hook. A clear area gives you room to work comfortably.
Gather Necessary Tools
Collect tools needed for removal before starting. Common tools include a hairdryer, dental floss, and a plastic card.
Having everything ready avoids interruptions. It also helps you remove the hook safely and smoothly.

Credit: www.youtube.com
Removing Adhesive Hooks Safely
Removing adhesive hooks safely protects your walls from damage. These hooks stick firmly but can peel paint or leave marks if pulled off carelessly. The right removal method loosens the adhesive without harming surfaces. This section explains two safe ways to take off stick-on wall hooks.
Slow Pull Technique
Start by gripping the hook firmly. Pull it slowly and steadily away from the wall. Keep the angle low, almost parallel to the surface. This reduces stress on the paint or wallpaper. Avoid sudden jerks that can rip the wall finish. Take your time. A slow pull helps the adhesive stretch and release gently.
Using Dental Floss Or Fishing Line
Slide a piece of dental floss or fishing line behind the hook base. Use a gentle sawing motion to cut through the adhesive layer. Move the floss back and forth steadily. This method lowers risk of wall damage compared to pulling alone. It works best for strong adhesives. The floss separates the hook cleanly without peeling paint.
Using Heat For Easier Removal
Using heat makes removing stick on wall hooks easier and less messy. Heat softens the adhesive, so hooks peel off without damage. This method works well on most wall surfaces and saves time.
Hair Dryer Method
Use a hair dryer on medium heat. Hold it close to the hook for about 30 seconds. Move it around to warm the entire adhesive area. The heat loosens the glue’s grip.
After heating, gently pull the hook from the wall. Pull slowly and evenly to avoid damage. If the hook feels stuck, heat it a bit more. This process helps the adhesive release smoothly.
Heat Gun Precautions
Heat guns are stronger than hair dryers. Keep the gun on low heat to avoid wall damage. Do not hold it too close to the wall. Move the gun constantly to spread the heat.
Wear gloves to protect your hands from heat. Avoid using heat near flammable materials. Use the heat gun only if the hair dryer does not work well. Always test on a small area first.

Credit: www.youtube.com
Alternative Removal Methods
Removing stick on wall hooks can be tricky. Sometimes the usual methods do not work well. Alternative removal methods offer gentle and effective ways to take off hooks. These techniques help protect your wall from damage. They are easy to try at home with simple items.
Oil Or Vinegar Application
Apply a small amount of oil or vinegar to the hook’s adhesive. Use a cotton ball or cloth to dab it on. Let the liquid sit for a few minutes. The oil or vinegar softens the glue, making it easier to peel off. Slowly pull the hook away from the wall. Repeat if the hook feels stuck. This method works well on many wall types.
Plastic Card Sliding
Take a plastic card, like an old credit card or gift card. Slide the card gently between the wall and the hook’s adhesive. Move the card back and forth to loosen the glue. This action helps break the bond without harming the paint. Keep sliding until the hook starts to come off. Use steady, slow movements to avoid wall damage.
Cleaning Residue After Hook Removal
After removing stick-on wall hooks, sticky residue often remains on the surface. This residue can attract dust and dirt, making walls look messy. Cleaning the leftover adhesive is important for a smooth, clean wall. Different methods work well depending on the surface and type of glue. Choose a gentle method first to avoid damage.
Soap And Water
Soap and water can remove light adhesive residue. Mix warm water with a few drops of dish soap. Use a soft cloth or sponge to scrub the sticky area gently. This method works best for fresh or thin glue marks. Rinse the area with clean water and dry with a towel. Repeat if necessary for stubborn spots.
Rubbing Alcohol
Rubbing alcohol helps dissolve sticky glue effectively. Dab a small amount on a cotton ball or cloth. Rub the residue slowly to break down the adhesive. Avoid soaking the wall to prevent damage. Wipe the area clean with a damp cloth afterward. This method suits most painted or smooth surfaces.
Commercial Adhesive Removers
Commercial adhesive removers target tough glue stains. Follow the product instructions carefully. Apply a small amount on a cloth and gently rub the residue. Test in a hidden spot first to check for any wall damage. After removing the residue, clean the surface with soap and water. Use this option for strong or old adhesive marks.
Preventing Wall Damage
Removing stick on wall hooks without harming your walls takes care and attention. Damage like peeling paint or holes can be avoided with the right steps. Protect your walls by handling hooks gently and wisely. This section shares simple ways to prevent wall damage while removing hooks.
Avoiding Sharp Tools
Sharp tools can scratch or gouge your walls quickly. Avoid knives, scissors, or metal scrapers near the hook. These tools can cause permanent marks or chips. Instead, use soft items like plastic cards or your fingernail. They help lift the hook without cutting the wall surface.
Gentle Pressure Application
Apply slow, steady pressure to pull the hook off the wall. Quick or strong pulls can peel off paint or drywall layers. Hold the base of the hook close to the wall and pull sideways. Stretching the adhesive slowly reduces the risk of damage. Patience is key for smooth removal.
Tips For Reusing Hooks
Stick on wall hooks can be reused if handled carefully. Saving and reusing hooks saves money and reduces waste. It also keeps your walls neat without extra holes. Follow these tips to reuse hooks effectively.
Replacing Adhesive Strips
Old adhesive strips lose their stickiness over time. Remove the used strip gently from the hook. Buy new adhesive strips made for your hook brand. Clean the hook surface before placing the new strip. Press the strip firmly to ensure it sticks well. Let it set for a few minutes before hanging anything.
Proper Storage
Store hooks in a dry and cool place. Keep them away from dust and moisture. Use small containers or bags to keep hooks organized. Avoid placing heavy items on stored hooks. Proper storage keeps hooks in good shape for reuse. It helps maintain their stickiness and shape.
When To Call A Professional
Knowing when to call a professional can save time and prevent further damage. Some wall hooks are tricky to remove. Others may have caused damage that needs expert care. Calling a professional ensures the wall stays intact and looks good.
Severe Wall Damage
Severe wall damage requires expert attention. Large holes or deep scratches can weaken your wall. Professionals can repair damage safely and correctly. Trying to fix it yourself may make problems worse. A specialist has the right tools and skills to restore your wall.
Difficult Hook Types
Some hooks stick very tightly to the wall. Hooks with strong adhesives or tricky designs are hard to remove. Pulling them off can peel paint or damage drywall. Professionals know how to remove these hooks without harm. They use special techniques to protect your wall’s surface.
Frequently Asked Questions
How Do I Safely Remove Stick On Wall Hooks?
Gently lift the hook’s edge and slowly peel it off. Use a hairdryer to warm the adhesive. This softens glue, making removal easier without damaging the wall.
Can Stick On Wall Hooks Damage Paint Or Walls?
If removed carefully, they usually don’t damage paint or walls. Avoid pulling hooks forcefully. Warming adhesive before removal reduces paint peeling risks.
What Tools Help Remove Stick On Wall Hooks?
A hairdryer, dental floss, or a plastic card can help. Warm the hook, then slide floss or card behind to separate adhesive gently.
How Do I Remove Sticky Residue After Wall Hook Removal?
Use warm soapy water or rubbing alcohol on a cloth. Gently rub the residue until it dissolves. Avoid harsh scrubbing to protect the wall surface.
Conclusion
Removing stick on wall hooks does not have to be hard. Gently pull the hook or use heat to loosen the adhesive. Take your time to avoid damage to walls or paint. Clean any leftover sticky residue with soap and water.
With care, walls stay clean and smooth. Now, you can hang new items without worry. Simple steps make the process quick and safe. Try these tips for easy hook removal next time.