Are you tired of those stubborn wall hooks ruining your room’s look? Removing wall hooks might seem simple, but if done wrong, you can end up with holes, marks, or even damaged paint.
What if you could get rid of them quickly and cleanly, without the hassle or extra repairs? In this guide, you’ll discover easy, effective ways to remove wall hooks that protect your walls and save you time. Keep reading to find out how to make your walls look as good as new—no stress, no mess!

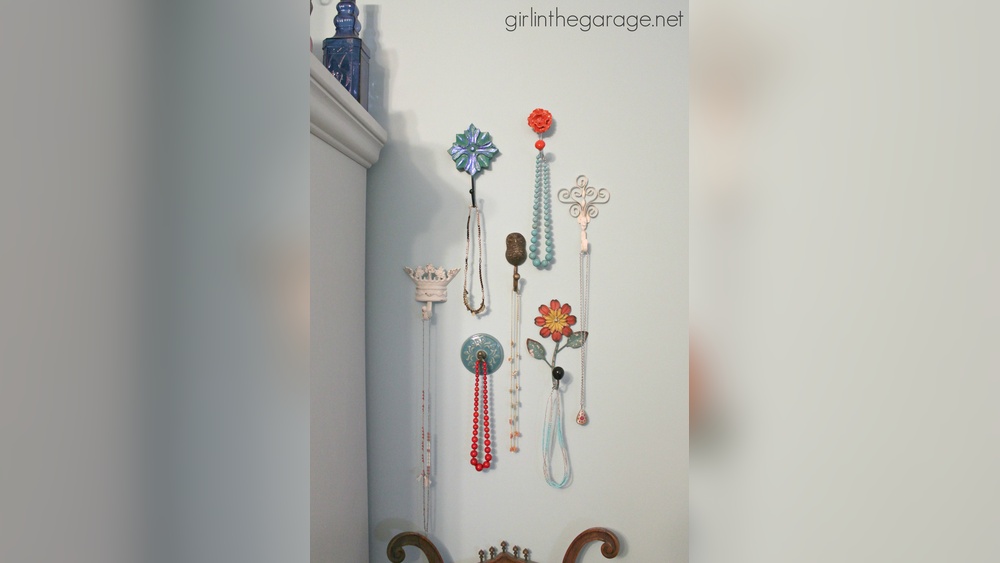
Credit: www.reddit.com
Types Of Wall Hooks
Wall hooks come in several types. Each type sticks or attaches to your wall differently. Knowing the type helps you remove them without damage. Some hooks use glue, while others use nails or screws. Some are designed for easy removal.
Adhesive Hooks
Adhesive hooks stick to the wall with glue. They are easy to put up. You peel off the backing and press the hook on the wall. These hooks hold light to medium weight items. Removing them needs care to avoid peeling paint or wallpaper.
Nail And Screw Hooks
Nail and screw hooks use metal nails or screws. They go directly into the wall or wood. These hooks hold heavier items like pictures or shelves. To remove, you must pull out the nail or unscrew the hook. This may leave small holes in the wall.
Command Strips
Command strips use a special adhesive tape. They hold hooks firmly but peel off cleanly. You can remove these hooks by pulling the tab down slowly. This type is popular because it does not damage walls. They are good for renters or temporary use.

Credit: www.youtube.com
Tools You’ll Need
Removing wall hooks is easier with the right tools. The right tools protect your walls and speed up the job. Some tools you may already have at home. Others you might need to buy.
Basic Household Tools
A flathead screwdriver helps pry hooks gently from the wall. A pair of pliers can grip and pull out stubborn hooks. A putty knife works well to slide behind hooks without damage. A hammer may be useful to tap tools carefully. Keep a drop cloth or old towel to catch debris.
Specialized Removal Tools
A hook removal tool is designed to pull hooks safely. It reduces wall damage and effort. A wall repair kit helps fix holes after removal. Sometimes, a heat gun softens adhesive hooks for easier removal. These tools make the process cleaner and faster.
Preparing The Area
Preparing the area is the first step in removing wall hooks safely and cleanly. It helps avoid damage and keeps the space tidy. Spend a few minutes setting up before you start the removal process.
Clear The Wall Space
Remove any objects near the wall hooks. Take down pictures, shelves, or decorations close to the hooks. Clear the floor area under the hooks. This space gives you room to work freely.
Make sure no furniture blocks your reach. Move chairs, tables, or other items away from the wall. A clear space prevents accidents and helps you focus on the task.
Protect Surrounding Surfaces
Cover the floor with a drop cloth or old sheet. This keeps it safe from dust and debris. Use painter’s tape to mask edges near the hooks. Tape protects paint and wallpaper from scratches.
Wear gloves to protect your hands. Use safety glasses if you expect dust or small particles. Taking these steps keeps the area and yourself safe.
Removing Adhesive Hooks
Removing adhesive hooks from walls can be tricky. The right method prevents damage to paint and drywall. Take your time to avoid leaving marks or residue. Follow these easy steps to remove adhesive hooks safely.
Loosening The Adhesive
Start by softening the glue that holds the hook to the wall. Use a hair dryer on low heat and aim at the base of the hook. Keep the heat moving to avoid overheating one spot. Heat makes the adhesive less sticky and easier to remove.
Peeling Off Gently
After heating, gently pull the hook away from the wall. Hold the base and pull slowly at a low angle. Avoid yanking or pulling straight out, which can damage the wall. If the hook resists, apply heat again and try peeling slowly.
Removing Nail And Screw Hooks
Removing nail and screw hooks from walls can be simple with the right approach. These hooks often hold pictures, mirrors, or decorations. Removing them carefully prevents wall damage and keeps your space clean.
Start by knowing the type of hook you have. Nail hooks are pushed into the wall, while screw hooks twist in. Each type needs a different removal method to avoid holes or cracks.
Unscrewing Hooks
Use your hand or a screwdriver to turn the hook counterclockwise. Keep steady pressure and turn slowly. This helps loosen the hook without damaging the wall.
If the hook is tight, try a pair of pliers for a better grip. Avoid forcing it, as this might pull paint or drywall.
Once the hook is loose, gently pull it out. Check the hole left behind for any rough edges.
Pulling Out Nails Safely
Find a flat tool like a claw hammer or pliers. Place it under the nail head carefully. Pull straight back to remove the nail slowly.
Use a small piece of wood under the tool to protect the wall. This reduces the risk of dents or scratches.
If the nail feels stuck, wiggle it gently. Avoid sudden yanks that can damage the wall surface.
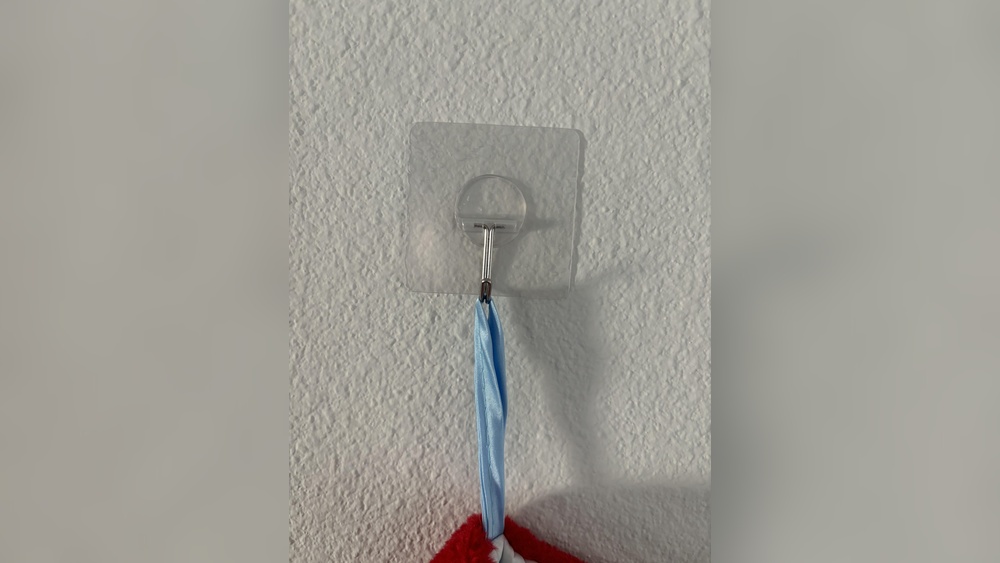
Handling Command Strips
Removing wall hooks with Command strips is easy when done correctly. These strips hold hooks firmly but peel off cleanly. The trick is to handle the strip carefully during removal. This prevents damage to your wall and keeps the surface smooth.
Stretching The Strip
Start by holding the hook gently. Pull the strip straight down. Do not pull it outward or at an angle. Stretching the strip slowly helps release the adhesive. Keep pulling until the strip slides off the wall. Avoid quick or sharp pulls. This method stops the paint from peeling.
Avoiding Wall Damage
Use your fingers to support the wall near the strip. This reduces stress on the paint. Pull the strip down, not outward. If the strip breaks, try pulling the remaining part slowly. Do not use sharp tools to pry it off. Sharp tools can scratch or dent the wall. Stretching and pulling carefully keeps your wall intact.
Fixing Minor Wall Damage
Removing wall hooks can leave small holes or marks on your wall. Fixing these minor damages is simple. It helps your walls look clean and fresh. You can do it yourself with a few tools and some patience. Let’s explore how to fix these small wall damages step-by-step.
Filling Small Holes
Start by cleaning the hole area. Remove dust and loose paint with a dry cloth. Use a putty knife to apply spackle or wall filler into the hole. Press the filler firmly to fill the hole completely. Smooth the surface with the knife. Let it dry for the time suggested on the package. If needed, apply a second layer for deeper holes. Wait again until it dries fully before sanding.
Sanding And Painting Tips
Use fine-grit sandpaper to smooth the dried filler. Sand gently until the surface is even with the wall. Wipe away dust with a damp cloth. Choose paint that matches your wall color. Apply a thin coat of paint with a small brush or roller. Let the paint dry fully before applying a second coat if needed. This process hides the repair and blends it with the rest of the wall. Your wall will look as good as new.
Preventing Future Wall Damage
Preventing damage to your walls is key after removing hooks. Proper care helps keep walls smooth and clean. This saves time and money on repairs later. Choose hooks and install them right to avoid marks and holes.
Choosing The Right Hooks
Select hooks that suit your wall type. Lightweight hooks work best for drywall. Use adhesive hooks for temporary needs. Heavy items need strong, wall-anchored hooks. Avoid nails or screws in thin walls.
Proper Installation Techniques
Clean the wall surface before placing hooks. Follow package instructions carefully. Press hooks firmly but gently to stick. Use a level to keep hooks straight. Distribute weight evenly to stop wall stress.

Credit: www.youtube.com
Frequently Asked Questions
How Do I Safely Remove Wall Hooks Without Damage?
To remove wall hooks safely, gently twist or pull them off. Use a hairdryer to soften adhesive if needed. Avoid force to prevent wall damage. Fill holes with spackle and sand smooth for a clean finish.
What Tools Are Best For Removing Sticky Wall Hooks?
Use a hairdryer, dental floss, or a putty knife. Heat softens adhesive, making removal easier. Dental floss helps slide behind the hook. A putty knife gently pries it off without damaging the wall.
How Can I Fix Holes After Removing Wall Hooks?
Fill holes with spackling paste using a putty knife. Let it dry completely, then sand smooth. Paint over the repaired area to match the wall color for a seamless look.
Are There Differences In Removing Adhesive Versus Nail Wall Hooks?
Yes, adhesive hooks require heat or dental floss for removal. Nail hooks need gentle twisting or pulling. Both methods aim to minimize wall damage. Always repair holes or marks after removal.
Conclusion
Removing wall hooks does not have to be hard or messy. Use gentle tools and take your time. Pull hooks slowly to avoid damage. Fill any holes with spackle or putty. Sand the area smooth once dry. Paint over to match your wall color.
Small repairs keep your walls looking fresh. Clean walls make your space feel neat and new. Try these steps for easy, damage-free hook removal. You can do it yourself with simple care.