If you’re looking to remove your Yale deadbolt, you might feel unsure about where to start. Don’t worry—this guide will make the process simple and stress-free for you.
Whether you want to replace it, fix a jam, or upgrade your lock, knowing exactly how to remove your Yale deadbolt is the first step. Keep reading, and you’ll discover easy, clear instructions that anyone can follow, even if you’ve never handled a lock before.
By the end, you’ll have the confidence to take your deadbolt off quickly and safely.

Credit: support.shopyalehome.com
Tools Needed
Removing a Yale deadbolt needs a screwdriver and a pair of pliers. Sometimes, a drill may be required for stuck screws. Keep these tools ready before starting the job.
Introduction To Tools Needed
Removing a Yale deadbolt requires a few basic tools. These tools help you take the lock apart safely and quickly. Using the right tools makes the job easier and prevents damage.
Keep all tools close before starting. This way, you avoid interruptions and finish faster.
Screwdriver
A screwdriver is the most important tool for this task. Most Yale deadbolts use Phillips head screws. A flathead screwdriver may be needed for some models. Choose a screwdriver that fits the screws well.
Allen Wrench
Some Yale deadbolts have small Allen screws. An Allen wrench set helps remove these screws easily. Make sure to have different sizes to match your lock.
Pliers
Pliers are useful to hold or pull parts gently. They help remove stubborn screws or clips. Use pliers carefully to avoid scratching the door or lock.
Utility Knife
A utility knife helps cut through paint or caulk around the lock. This makes removing the lock smoother. Be careful to avoid cutting the door surface.
Tape Or Small Container
Keep screws and small parts safe during the process. Use tape or a small container to hold them. This prevents losing important pieces while working.

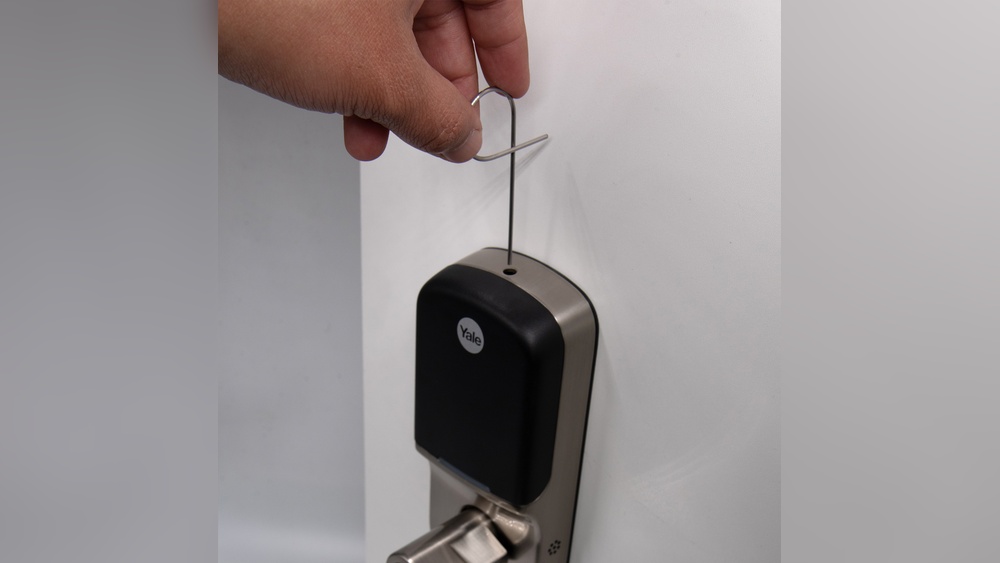
Credit: www.youtube.com
Locate The Deadbolt Screws
Locating the deadbolt screws is the first step to remove a Yale deadbolt. These screws hold the lock together and keep it attached to the door. Finding them helps you know where to start unscrewing.
Usually, the screws are hidden to keep the lock secure. You must look carefully to spot them. Knowing their exact position saves time and effort during removal.
Check The Interior Side Of The Door
The deadbolt screws are often on the inside part of the door. This side has the thumb turn or the lock knob. Look around the metal plate or the lock housing.
Use a flashlight if the area is dark. The screws may be small and blend with the lock’s color. Look for tiny circles or slots where the screwdriver fits.
Remove The Decorative Cover Plate
Some Yale deadbolts have a cover plate hiding the screws. This plate snaps or screws on. Gently pry it off with a flat tool or screwdriver.
Removing the cover reveals the screws underneath. Be careful not to damage the plate. Keep it safe for reinstallation or replacement.
Locate Screws Around The Lock Faceplate
The faceplate is the metal strip on the door edge. It holds the bolt and connects to the lock. Screws here secure the lock mechanism inside the door.
Look along the edge of the door near the lock. You may see one or two screws. Removing these frees the bolt from the door frame.
Remove The Interior Thumb Turn
Removing the interior thumb turn is the first step to take off a Yale deadbolt. This part controls the lock from inside your door. Taking it off carefully helps you access the rest of the lock parts. Follow these steps to remove it safely and easily.
Locate The Set Screw On The Thumb Turn
Look closely at the base of the thumb turn. You will see a small screw called the set screw. This screw holds the thumb turn firmly in place. Use a flashlight if the area is dark. Identifying this screw is key to removing the thumb turn.
Use The Right Screwdriver To Loosen The Screw
Pick a screwdriver that fits the set screw well. Usually, a small flathead or Phillips screwdriver works. Turn the screw counterclockwise to loosen it. Do not force the screw. If it feels stuck, try a bit of spray lubricant to ease it.
Pull The Thumb Turn Straight Out
After loosening the set screw, grip the thumb turn firmly. Pull it straight out from the door. Do not twist or wiggle it too much. The thumb turn should slide out smoothly. If it resists, check if the screw is fully loosened.
Keep The Thumb Turn And Screw Safe
Place the thumb turn and set screw in a safe spot. You may need them later if you want to reinstall the lock. Keeping these parts together prevents loss. A small container or box works well for storage.
Unscrew The Exterior Cylinder
Start by locating the screws on the exterior cylinder of the Yale deadbolt. Use a screwdriver to carefully remove these screws. This step frees the cylinder, making it easier to take out the lock.
Locate The Screws Holding The Deadbolt
Start by finding the screws on the interior side of the door. These screws secure the deadbolt mechanism in place. Use a screwdriver to remove them carefully. Keep the screws safe for reassembly or disposal.
After unscrewing, gently pull the thumb turn away from the door. This part controls the bolt movement inside the lock. It should come off easily once the screws are out. Avoid forcing it to prevent damage.
Pull Out The Deadbolt Mechanism
With the thumb turn removed, slide the deadbolt mechanism out of the door edge. You may need to wiggle it slightly to loosen it. The bolt should come out smoothly, revealing the locking parts inside.
Check For Any Remaining Parts
Look inside the door cavity for any leftover components. Remove any clips or small parts that hold the mechanism. Clearing all parts ensures the deadbolt is fully taken out and ready for replacement.
Take Out The Deadbolt Mechanism
Before removing a Yale deadbolt, check the door for damage. This step prevents problems during installation or removal. A damaged door can make the lock hard to remove or reinstall. It also affects security and door function.
Careful inspection helps spot cracks, dents, or warping. These issues might need repair before removing the deadbolt. The door frame and the area around the lock need close attention. Look for loose or broken parts that could cause trouble.
Check The Door Surface
Look closely at the door surface near the deadbolt. Small cracks or dents can weaken the door. These damages might expand during lock removal. Use a flashlight for better visibility. Mark any damage to decide on repairs.
Examine The Door Frame
Inspect the door frame where the deadbolt connects. The frame must be strong and stable. Look for splits, cracks, or loose wood. Weak frames reduce security and may need fixing. Tighten screws or replace damaged sections if needed.
Inspect The Strike Plate Area
Check the strike plate on the door frame. This plate holds the deadbolt latch. Look for signs of wear or damage. Loose or bent plates can cause lock problems. Tighten screws or replace the plate if it is damaged.
Look For Signs Of Moisture
Moisture can damage the door and lock parts. Check for water stains or soft spots near the deadbolt. Moisture can cause wood to swell or rot. Address any water damage before removing the lock. This prevents further harm to the door.
Credit: www.youtube.com
Inspect The Door For Damage
Reinstalling a Yale deadbolt requires care and precision. Proper reinstallation ensures your lock works smoothly and keeps your home safe. Follow these simple tips to get your deadbolt back in place without trouble.
Check All Parts Before Starting
Make sure every part is clean and undamaged. Missing screws or broken pieces cause problems later. Lay out all components on a flat surface for easy access.
Align The Deadbolt Correctly
Proper alignment is key for smooth operation. The bolt should slide easily into the strike plate. Test the fit before tightening screws to avoid jamming.
Tighten Screws Securely But Gently
Screw in all fasteners firmly to keep the lock stable. Avoid overtightening to prevent stripping threads or damaging parts. Use a screwdriver that fits well.
Test The Lock Multiple Times
Turn the key and thumb turn several times. Check if the bolt moves smoothly and locks fully. Adjust if the lock feels stiff or stuck.
Lubricate Moving Parts
Apply a small amount of graphite or silicone lubricant. It helps the deadbolt operate quietly and reduces wear. Avoid oil-based lubricants that attract dirt.
Frequently Asked Questions
How Do I Remove A Yale Deadbolt Lock?
To remove a Yale deadbolt, first unscrew the interior side screws. Then, gently pull both the interior and exterior parts apart. Finally, remove the latch mechanism from the door edge by unscrewing it.
What Tools Are Needed To Remove Yale Deadbolt?
You only need a Phillips screwdriver and possibly a flathead screwdriver. These tools help remove screws and gently pry parts if needed.
Can I Remove A Yale Deadbolt Without A Key?
Yes, you can remove it without a key by unscrewing the interior side and pulling the lock apart. The key is not necessary for removal.
How Long Does It Take To Remove A Yale Deadbolt?
Removing a Yale deadbolt typically takes 5 to 10 minutes. This depends on your experience and if the screws are easy to access.
Conclusion
Removing a Yale deadbolt is simple with the right steps. Take your time and follow each part carefully. Use basic tools and keep safety in mind. Practice makes the process easier and faster. Now, you can handle this task without extra help.
Stay confident and check your work at the end. This guide helps you protect your home better. Keep your door secure and your mind at ease.


