Are you ready to showcase your beautiful copper wall art but unsure how to hang it securely? Attaching hooks might sound simple, but doing it the right way ensures your artwork stays safe and looks stunning on your wall.
In this guide, you’ll learn easy steps to attach hooks to your copper pieces without damaging them. By the end, you’ll have the confidence to hang your art perfectly every time. Let’s get started and make your walls come alive!
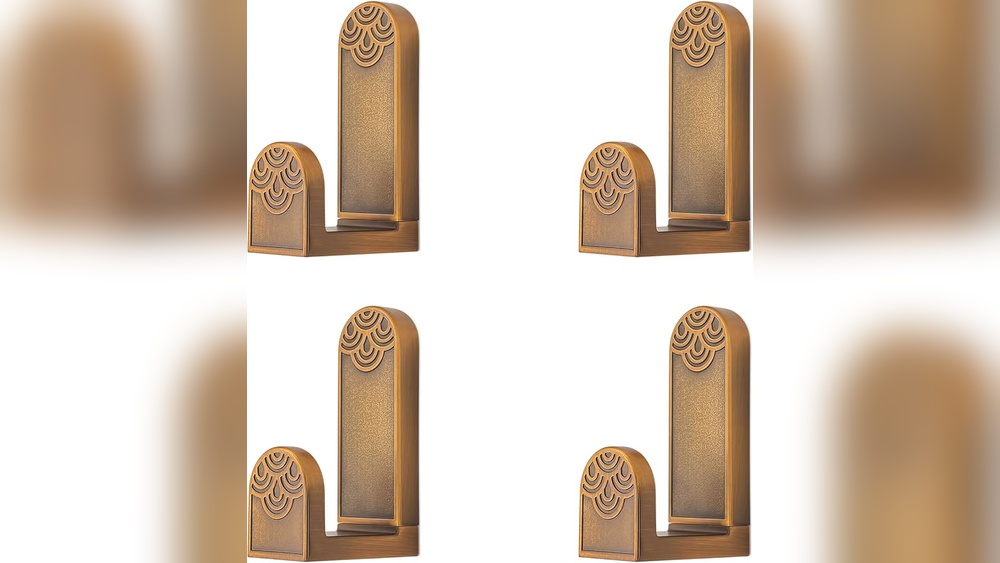
Credit: www.etsy.com
Choosing The Right Hooks
Choosing the right hooks for your copper wall art is important. The right hooks keep the art safe and show it well. Hooks must hold the weight and suit the copper’s look. Pick hooks that do not damage the art or wall. This helps your copper piece stay beautiful and secure for years.
Types Of Hooks For Copper Art
There are many hook types for hanging copper art. Sawtooth hooks work well for light pieces. D-ring hooks offer more support for medium weight art. Wire hangers give flexibility for bigger, heavier art. Adhesive hooks avoid holes but hold less weight. Pick a hook type that fits your copper art’s size and style.
Weight Considerations
Always check the weight of your copper art. Choose hooks that can hold more than the art’s weight. Heavy art needs strong hooks and anchors in the wall. Light art can use smaller hooks. Do not use weak hooks that may bend or break. Safe hanging means no risk of falling or damage.
Material Compatibility
Hooks must match the copper’s metal to avoid damage. Copper can react with some metals, causing stains or rust. Brass or stainless steel hooks work well with copper. Avoid iron or cheap metals that cause corrosion. Using the right material keeps your art clean and shiny.
Preparing The Copper Surface
Preparing the copper surface is a key step in attaching hooks to your wall art. A clean, well-marked surface ensures the hooks hold firmly. This preparation makes your art safe and ready for display. Take your time to do it right.
Cleaning The Surface
Start by removing dirt, dust, and oils from the copper. Use a soft cloth with mild soap and water. Gently wipe the surface until it looks clean. Avoid harsh chemicals that can damage the copper. Dry the area completely with a clean towel. A clean surface helps the hook stick better and last longer.
Marking Hook Placement
Decide where you want to place the hooks on the copper. Use a pencil to lightly mark the spots. Measure carefully to keep the hooks even and balanced. Marking helps avoid mistakes and ensures a neat look. Double-check your marks before attaching hooks to avoid damage.
Attaching Hooks Safely
Attaching hooks to copper wall art requires care. This step ensures your art stays secure and looks great. The right method depends on the weight of the piece and the wall type. Safety must always come first to avoid damage to the art or wall.
Using Adhesive Hooks
Adhesive hooks are easy to use and leave no holes. Choose hooks made for the wall surface and weight of the art. Clean the wall area before sticking the hook. Press firmly and wait the recommended time before hanging. Avoid heavy copper pieces with adhesive hooks, as they may fall.
Screwing Hooks In
Screwing hooks into the wall offers strong support for heavier art. Use a small drill bit to make pilot holes first. This prevents cracking or splitting the wall. Select hooks with a wide base for better grip. Screw the hook in tightly but do not force it. Check that the hook is secure before hanging the copper art.
Using Wire For Hanging
Wire is a flexible option for hanging copper wall art. Attach sturdy wire to hooks or loops on the back of the art. Make sure the wire is tight and strong enough to hold the weight. Use two hooks on the wall spaced apart for better balance. This method helps distribute the weight evenly and keeps the art stable.
Credit: framorey.co.uk
Testing Hook Security
Testing the security of hooks on copper wall art is important. It ensures your art stays safe on the wall. A secure hook prevents falls and damage. Take time to check stability and adjust hook position if needed. These steps help keep your art steady and beautiful.
Checking Stability
Start by gently pulling the hook after attaching it. See if it stays firmly in place. Try to move the art side to side. If the hook slips or wiggles, it is not stable. Also, check the weight the hook can hold. The hook must support the copper art’s weight without bending or breaking. A stable hook keeps your wall art secure for a long time.
Adjusting Hook Position
If the hook is not stable, move it slightly. Try a higher or lower spot on the art. Small changes can improve balance and support. Use a level to keep the art straight. Tighten screws or nails holding the hook. Make sure the hook is fixed well into the copper surface. Adjusting the hook position helps the art hang evenly and safely.
Hanging And Displaying Tips
Hanging copper wall art properly ensures it looks great and stays secure. Proper display enhances the beauty of the copper and your space. Follow these tips to hang your art safely and attractively.
Choosing Wall Anchors
Pick wall anchors that fit your wall type. Drywall, plaster, or brick need different anchors. Use anchors strong enough for your copper art’s weight. Plastic anchors work for light pieces. Metal anchors hold heavier art securely. Always check the package for weight limits. Proper anchors prevent damage and keep art stable.
Positioning For Aesthetics
Place copper art at eye level for best viewing. Center it on the wall or above furniture. Leave space around the art to avoid crowding. Use a level to keep the piece straight. Consider lighting to highlight the copper’s shine. Natural light or spotlights make copper glow beautifully. Arrange multiple pieces with balanced spacing.
Maintenance For Longevity
Dust copper art gently with a soft cloth regularly. Avoid harsh cleaners that can damage the finish. Use mild soap and water for deeper cleaning. Dry thoroughly to prevent water spots or corrosion. Check hooks and anchors often for security. Tighten or replace if they loosen over time. Proper care keeps your copper art shining longer.

Credit: www.oldcalifornia.com
Frequently Asked Questions
How Do You Attach Hooks To Copper Wall Art?
To attach hooks, clean the copper surface first. Use strong adhesive hooks or small screws for secure fixing. Ensure hooks align with the wall studs for better support. Always handle copper gently to avoid dents or scratches.
What Type Of Hooks Work Best For Copper Art?
Small metal or adhesive hooks work best for copper art. Choose rust-resistant hooks to maintain the copper’s appearance. Avoid heavy hooks that might damage the art or copper surface. Lightweight hooks ensure long-lasting and safe hanging.
Can I Use Adhesive Hooks On Copper Wall Art?
Yes, adhesive hooks work well if the copper surface is clean and smooth. They avoid damage from drilling or nails. Ensure the adhesive is strong and rated for the art’s weight. Test on a small area first to avoid residue.
How Do I Prevent Copper Wall Art Damage When Hanging?
Use soft padding between hooks and copper to prevent scratches. Avoid heavy hooks or nails that can dent copper. Handle the artwork with care and use tools gently. Regularly check the hooks for secure attachment.
Conclusion
Attaching hooks to copper wall art can be simple and quick. Use the right tools and materials for a strong hold. Place hooks carefully to keep the art balanced on the wall. Check the weight of your piece before choosing hooks.
A well-attached hook keeps your art safe and looks great. Small steps make a big difference in your display. Enjoy showing your copper art with confidence and style.


