Are you struggling to fit a new light switch plate perfectly on your wall? Cutting a light switch plate might sound tricky, but with the right steps, you can do it yourself quickly and safely.
Imagine having a clean, professional-looking finish without calling a handyman or spending extra money. In this guide, you’ll learn simple tips and tricks to cut your light switch plate just right. Keep reading, and you’ll be able to handle this small project with confidence and ease.
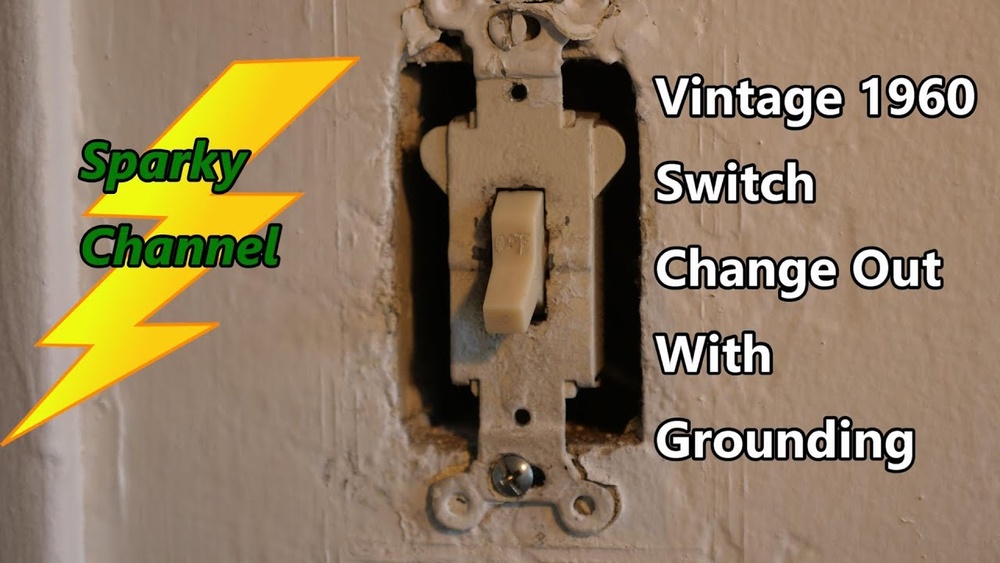
Credit: www.reddit.com
Tools You Need
Cutting a light switch plate needs the right tools. Having proper equipment makes the task easier and safer. Use tools that fit the job well. This section lists the tools you need.
Basic Cutting Tools
A utility knife is useful for thin plastic plates. It allows precise cuts along marked lines. For thicker plates, a small hacksaw or rotary tool works best. These tools help make clean, straight cuts. Avoid using dull blades to prevent rough edges.
Measuring Instruments
Measure carefully before cutting. Use a ruler or tape measure to mark exact dimensions. A pencil or marker helps draw cutting lines clearly. A square tool ensures straight, right-angle lines. Precise measurement avoids mistakes and waste.
Safety Gear
Protect your eyes with safety goggles. Small plastic or metal pieces can fly during cutting. Wear gloves to protect your hands from sharp edges. A dust mask is helpful when using power tools. Safety gear keeps you safe and comfortable.
Choosing The Right Plate
Choosing the right light switch plate is important for a clean and safe finish. The plate must fit well and match your room’s style. Picking the correct plate makes cutting easier and helps the switch work properly. Consider the material and size before starting your project.
Material Types
Light switch plates come in different materials. Plastic plates are common and easy to cut. They are lightweight and affordable. Metal plates offer a stronger option. They look sleek but need special tools for cutting. Wood plates add a warm touch. Cutting wood requires care to avoid splinters. Choose a material that fits your skill and style.
Size And Shape Options
Switch plates come in many sizes and shapes. Single plates cover one switch. Double and triple plates cover more switches. Some plates have rectangular or square shapes. Others have rounded edges for a softer look. Measure your switch box before buying a plate. Picking the right size saves time and effort in cutting.
Measuring For The Cut
Measuring for the cut is the first and most important step in modifying a light switch plate. Accurate measurements ensure the cut fits perfectly. This step prevents mistakes that could ruin the plate or make installation difficult.
Take your time to measure carefully. Use a ruler or tape measure for precise results. Marking and double checking dimensions avoid errors and save effort later.
Marking The Plate
Start by placing the light switch plate on a flat surface. Use a pencil to mark the exact spot where you want to cut. Draw clear lines on the plate for guidance. Make sure the marks are straight and easy to see. These lines will act as your cutting guide.
Double Checking Dimensions
After marking, measure the lines again. Check the width and height twice or thrice. Confirm the marks match the switch or outlet size perfectly. Small mistakes can cause the plate to not fit properly. Double checking avoids this issue and gives confidence before cutting.
Cutting Techniques
Cutting a light switch plate needs care and the right tools. Proper cutting techniques help make clean cuts without damage. Choose the best method based on your tools and skills. Below are three common ways to cut a light switch plate.
Using A Utility Knife
A utility knife works well for thin plastic plates. Score the cutting line several times to deepen the cut. Press firmly but do not rush. Snap the plate along the scored line carefully. This method is quiet and simple. Always wear gloves to avoid cuts.
Using A Rotary Tool
A rotary tool offers precision and control for detailed cuts. Fit a cutting wheel or bit designed for plastic. Mark your cutting area clearly before starting. Move the tool slowly along the line to avoid cracking. Keep the tool steady and wear safety glasses for protection.
Using A Hacksaw
A hacksaw works best for thicker or metal switch plates. Choose a fine-toothed blade for cleaner cuts. Clamp the plate securely to prevent movement. Saw gently along the marked line with smooth strokes. Take breaks if needed to keep control and accuracy.
Smoothing The Edges
Smoothing the edges of a cut light switch plate is important for safety and appearance. Rough edges can cause scratches or catch on clothes. Taking the time to smooth these edges makes the plate look neat and feel comfortable to touch. Simple tools and a little effort can make a big difference.
Sanding Methods
Start with medium-grit sandpaper to remove rough cuts. Wrap the sandpaper around a small block or use a sanding sponge for even pressure. Move the sandpaper in small circles along the edges. Check your progress often to avoid sanding too much. Finish with fine-grit sandpaper for a smooth surface. Light sanding prevents cracks and gives a clean finish.
Polishing Tips
After sanding, polishing adds shine to the edges. Use a soft cloth and a small amount of plastic polish or toothpaste. Rub gently in circular motions until the edges look smooth and bright. Wipe away any leftover polish with a clean cloth. Polishing removes tiny scratches and improves the overall look.

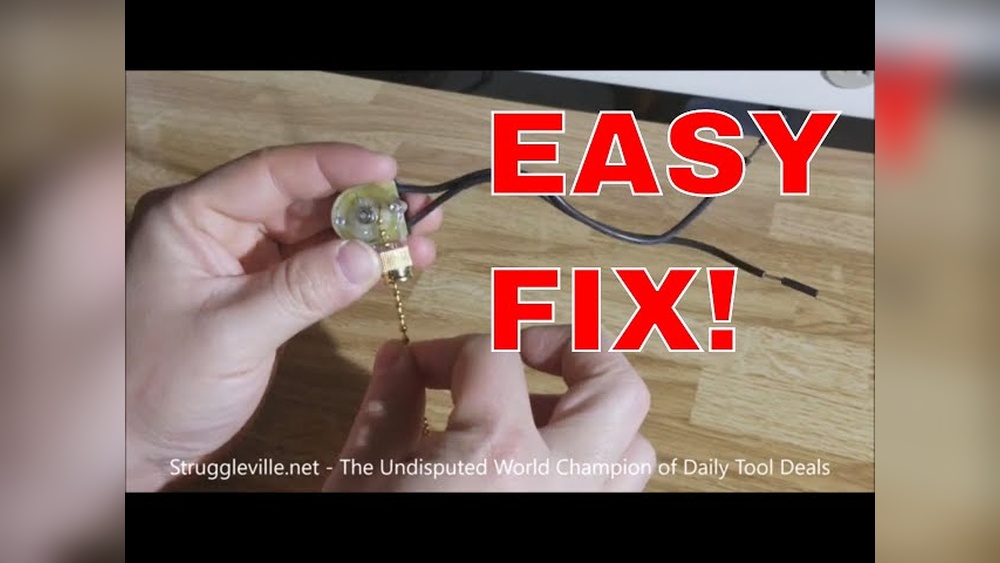
Credit: www.youtube.com
Fitting The Plate
Fitting the light switch plate is a key step after cutting it to size. This step ensures the plate sits correctly over the switch without gaps or tight spots. A proper fit looks neat and keeps the switch safe from dust and damage.
Take time to check the plate’s position before screwing it in. Small changes now save problems later.
Testing The Fit
Place the cut plate over the switch. Check if it covers the switch fully. The plate edges should line up with the wall surface. Look for any gaps or overlaps. Make sure the screw holes align with the switch box. Try to tighten the screws gently. The plate should not move or feel loose. If it does, adjust the plate or cut more carefully.
Making Final Adjustments
Use a file or sandpaper to smooth rough edges. Remove small amounts at a time. Avoid removing too much material. Test the plate fit again after each adjustment. Ensure the plate fits snugly and looks even. Tighten the screws firmly but don’t over-tighten. Over-tightening can crack the plate. The final fit should be clean and secure.
Safety Tips
Safety is the top priority when cutting a light switch plate. Careless handling can cause injuries or electrical problems. Follow simple safety tips to protect yourself and your home.
Handling Tools Safely
Use the right tools for the job. Keep blades sharp to avoid slips. Always hold tools firmly with both hands. Wear safety goggles to protect your eyes from debris. Keep your work area clean and well-lit. Store tools away from children and pets.
Working With Electricity
Turn off the power at the circuit breaker. Test the switch to confirm the power is off. Avoid working on live wires to prevent shocks. Use insulated tools designed for electrical work. Do not touch wires with wet hands. Call an electrician if unsure about any step.

Credit: www.reddit.com
Frequently Asked Questions
How Do You Measure A Light Switch Plate Before Cutting?
Measure the width and height of the switch and wall box. Mark the plate with a pencil for precise cutting. Accurate measurements ensure a perfect fit and prevent damage to the plate or wall.
What Tools Are Best For Cutting A Light Switch Plate?
Use a fine-toothed saw, rotary tool, or utility knife for cutting. These tools provide clean, precise cuts and reduce the risk of cracking the plate. Always wear safety goggles when cutting.
Can I Cut A Plastic Light Switch Plate At Home?
Yes, plastic plates are easy to cut with common tools like a utility knife or saw. Cut slowly to avoid cracking. Sand edges smooth after cutting for a professional finish.
How To Safely Cut A Metal Light Switch Plate?
Use a metal-cutting saw or rotary tool with a metal blade. Wear gloves and goggles for protection. Cut slowly and steady to avoid bending or rough edges.
Conclusion
Cutting a light switch plate is simple with the right steps. Measure carefully before making any cuts. Use tools safely to avoid mistakes or injuries. Take your time for clean, precise edges. A properly cut plate fits well and looks neat.
This small skill can improve your home projects. Practice helps build confidence and better results. Now, you are ready to handle light switch plates easily.