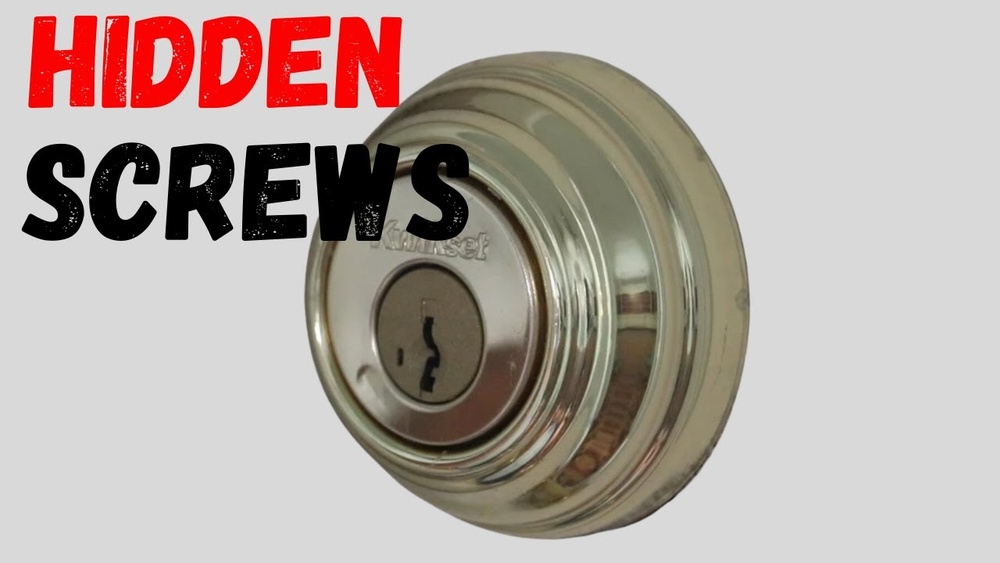
Have you ever tried to replace a deadbolt lock only to find there are no visible screws? It can be frustrating and confusing when you don’t know where to start.
But don’t worry—replacing a deadbolt lock without screws is easier than you think. You’ll discover simple steps that anyone can follow, even if you’re not a DIY expert. By the end, you’ll have the confidence to secure your door quickly and safely.
Keep reading to learn how to tackle this tricky lock replacement with ease.
Tools Needed
Replacing a deadbolt lock without visible screws needs specific tools. Having the right tools helps you finish the job faster and easier. Some tools are a must-have, while others come handy for tough locks.
Essential Tools
A screwdriver with a flat or Phillips head is important. It helps remove parts of the lock and the door plate. A tension wrench or a small flat tool is useful to hold parts in place during removal. Needle-nose pliers help pull out small pieces and springs. A new deadbolt lock set is required for replacement. A flashlight helps you see inside the lock and door frame clearly.
Optional Tools For Stubborn Locks
A putty knife can help pry open stuck covers or plates gently. A drill with a small bit may be needed for pins or rivets if the lock won’t budge. Lubricant like WD-40 loosens rusty or tight parts quickly. A hammer with a small punch can tap out pins or broken pieces carefully. Gloves protect your hands from sharp edges and dirt during the work.
Identify Lock Type
Identifying the type of deadbolt lock without screws is the first step in replacing it. This helps you understand the removal process and the tools needed. Different deadbolts have unique designs and locking mechanisms. Recognizing these details makes your task easier and faster.
Common No-screw Deadbolts
Some deadbolts hide screws for a clean look. Others use clips or covers instead of screws. Many smart locks and modern designs follow this trend. Popular types include snap-on faceplates and twist-off collars. These locks often need special methods for removal.
Features To Look For
Check the lock’s faceplate for hidden clips or tabs. Look around the knob or thumb turn for twist-off parts. Notice if the lock has a smooth surface without visible screws. Observe the keyhole shape and size. These features guide you to the correct removal technique.
Prepare The Door
Preparing the door is a key step before replacing a deadbolt lock without screws. It sets the stage for a smooth and safe process. Taking time to clear the area and follow safety steps helps avoid damage and injury.
Clear The Area
Remove any objects near the door that block your work. Clear tables, chairs, or decorations close to the lock. This creates enough space to move freely and use tools easily. A tidy work area helps you focus and prevents accidents.
Safety Precautions
Wear safety glasses to protect your eyes from dust or small parts. Use gloves to avoid cuts from sharp edges or tools. Keep children and pets away from the work zone. Work slowly and carefully to prevent mistakes or harm. Safety is important for a successful lock replacement.

Credit: diy.stackexchange.com
Remove The Lock Cylinder
Removing the lock cylinder is the key step in replacing a deadbolt without screws. This part holds the keyhole and the locking mechanism inside the door. Taking it out carefully helps you access the internal parts for replacement. The process may seem tricky because there are no visible screws. Understanding the lock’s design will make this easier.
Locate The Release Mechanism
Look closely at the edge of the lock cylinder. Most locks have a small hole or slot that hides the release mechanism. This feature keeps the cylinder in place without screws. Sometimes it is covered by a thin plate or a plastic tab. Use a flashlight to see clearly. The release part is usually a small pin or lever inside this hole.
Techniques For Removal
Insert a thin tool like a paperclip or a small flathead screwdriver into the release hole. Push gently to press the release pin or lever. While holding the release, pull the cylinder straight out from the door. Do not force it, or you may damage the lock. If it feels stuck, wiggle it slightly while pulling. This helps free the cylinder smoothly.
Some locks need you to turn the key slightly to align the release mechanism. Try turning the key as you press the release pin. This adjustment may unlock the cylinder for easy removal. Keep your tools steady and use gentle pressure to avoid breakage.
Detach The Deadbolt
Detaching a deadbolt lock without visible screws can feel tricky. Most deadbolts hide their fasteners for a cleaner look. Removing the lock needs patience and the right steps. This section guides you through detaching the deadbolt safely and easily.
Accessing The Bolt
Start by locating the bolt plate on the door edge. This plate covers the bolt mechanism inside. Use a flathead screwdriver to gently pry the plate off. Be careful not to damage the door or plate. Once removed, the bolt should be visible. This gives you access to the inner parts for removal.
Handling Hidden Fasteners
Some deadbolts hide screws under the faceplate or inside the knob. Look closely for small slots or tabs. Use a thin tool to press or slide these tabs. This action releases the faceplate or knob. After removing these covers, screws become visible. Unscrew them carefully to detach the lock parts. Keep all parts safe for reassembly or replacement.

Credit: diy.stackexchange.com
Install New Deadbolt
Installing a new deadbolt without screws can seem tricky. The right steps make the process smooth and secure. Focus on fitting parts carefully and making sure the lock stays firm. This section guides you through the installation.
Aligning Components
Start by placing the deadbolt mechanism into the door edge. Check that the bolt slides easily inside the door frame. Line up the exterior and interior parts of the lock. The keyhole and thumb turn should match perfectly. Make small adjustments until the pieces fit without force. Proper alignment helps the lock work smoothly every time.
Securing The Lock
Once aligned, hold the lock tight against the door. Press the two sides together firmly. Some models use hidden clips or a twist-lock system. Follow the lock’s design to snap or twist parts into place. Test the lock by turning the key and thumb turn. The deadbolt should move without sticking or wiggling. Secure locking parts ensure safety and long-lasting use.
Test The Lock
Testing the lock is a key step after replacing a deadbolt lock without screws. It ensures the lock works smoothly and keeps your home safe. This step helps find any problems early before final use.
Check Lock Functionality
Turn the key in the lock. See if the bolt moves easily. Try locking and unlocking several times. The bolt should slide in and out without resistance. Test the lock from both sides of the door. Make sure the key turns fully without sticking. Confirm the door closes and locks firmly. This confirms the lock fits well and functions properly.
Troubleshooting Common Issues
If the lock sticks or the key won’t turn, check alignment. The bolt may not line up with the strike plate. Adjust the lock position or the strike plate slightly. Lubricate the lock with graphite powder, not oil. Oil can attract dirt and cause jams. Tighten any loose parts inside the lock. Test again to see if the problem is fixed. Repeat adjustments until the lock works smoothly.

Credit: www.youtube.com
Maintenance Tips
Maintaining a deadbolt lock without screws helps keep it working well for years. Small efforts protect your home and save money on repairs. Follow simple tips to ensure smooth operation and strong security.
Lubrication Advice
Use a graphite or silicone spray lubricant for the lock. Avoid oil-based products that attract dirt and cause stickiness. Spray a small amount into the keyhole and moving parts. Operate the lock several times to spread the lubricant evenly. Repeat this every six months to prevent rust and friction.
Regular Inspection
Check the lock’s exterior and interior parts often. Look for signs of rust, dirt, or loose components. Test the lock by turning the key and knob smoothly. Tighten any loose parts carefully to avoid damage. Early detection of problems helps fix issues before they worsen.
Frequently Asked Questions
How Do I Remove A Deadbolt Without Visible Screws?
To remove a deadbolt without screws, look for a hidden release tab or clip on the lock face. Use a flat tool to gently pry it open. Some locks require twisting or sliding the lock cylinder to release it.
What Tools Are Needed To Replace A Screwless Deadbolt?
You typically need a flathead screwdriver, a Phillips screwdriver, and possibly a hex wrench. A pry tool or putty knife helps with hidden clips. Having a new deadbolt lock and measuring tape is also essential.
Can I Replace A Deadbolt Lock Without Damaging The Door?
Yes, by carefully removing the lock using hidden tabs or clips, you avoid door damage. Use gentle prying and avoid force. Ensure the new deadbolt fits the existing holes for a smooth replacement.
How To Install A New Deadbolt Without Screws?
Most screwless deadbolts use a snap-in or twist-lock mechanism. Align the lock parts correctly, then press or twist them until they click securely. Follow manufacturer instructions for precise installation.
Conclusion
Replacing a deadbolt lock without screws can seem tricky. Take your time and follow each step carefully. Use the right tools and stay patient throughout the process. Check the new lock fits well before final installation. This simple guide helps you secure your door again.
Keep your home safe with a properly installed lock. Small tasks like this build your confidence over time. Try this method next time you face a similar problem.