Are you struggling to remove those stubborn 3M adhesive wall hooks without damaging your walls? You’re not alone.
These hooks stick tightly, making it tricky to take them down smoothly. But don’t worry—there’s a simple way to get them off cleanly and easily. Keep reading, and you’ll discover the step-by-step method that saves your walls and your patience.
Say goodbye to sticky residue and hello to a fresh, clean surface!

Credit: www.amazon.com
Tools Needed
Removing 3M adhesive wall hooks requires a few simple tools. These tools help you take off the hook without damaging the wall. Having the right items makes the process easier and cleaner.
Gathering the tools before you start saves time and avoids frustration. Most tools are common and easy to find. Below are the main tools needed for the job.
Dental Floss Or Fishing Line
Dental floss or fishing line helps to gently slide behind the hook. It cuts the adhesive strip without pulling the wall paint. Thin, strong, and flexible works best for this task.
Hair Dryer
A hair dryer warms the adhesive, making it softer. Heat loosens the stickiness and helps remove the hook smoothly. Use medium heat and keep it moving to avoid wall damage.
Plastic Card
Use a plastic card like an old gift card to help lift the hook. It slides under the edge to separate the adhesive from the wall. Avoid metal cards to prevent scratches.
Cleaning Cloth
A soft cloth cleans any leftover adhesive after removal. It also helps wipe the wall surface gently. Use a damp cloth for better cleaning results.

Credit: www.youtube.com
Preparing The Hook
Preparing the hook is the first step to remove a 3M adhesive wall hook safely. It helps protect your wall and makes the removal easier. Taking time to prepare prevents damage and leaves a clean surface.
Clearing The Area
Clear the area around the hook. Remove any objects or decorations nearby. This gives you space to work and stops anything from falling. Clean the wall gently with a soft cloth to remove dust or dirt. A clean surface helps the adhesive soften evenly during removal.
Warming The Adhesive
Warm the adhesive to make it soft and easier to remove. Use a hairdryer on low heat. Hold it a few inches from the hook and move it in small circles. Heat for about 30 seconds to one minute. Avoid using too much heat to protect the wall paint. Warming loosens the sticky glue beneath the hook.
Removing The Hook
Removing 3M adhesive wall hooks needs care and patience. Doing it wrong can damage your wall or leave sticky marks. Follow simple steps to remove the hook smoothly and safely.
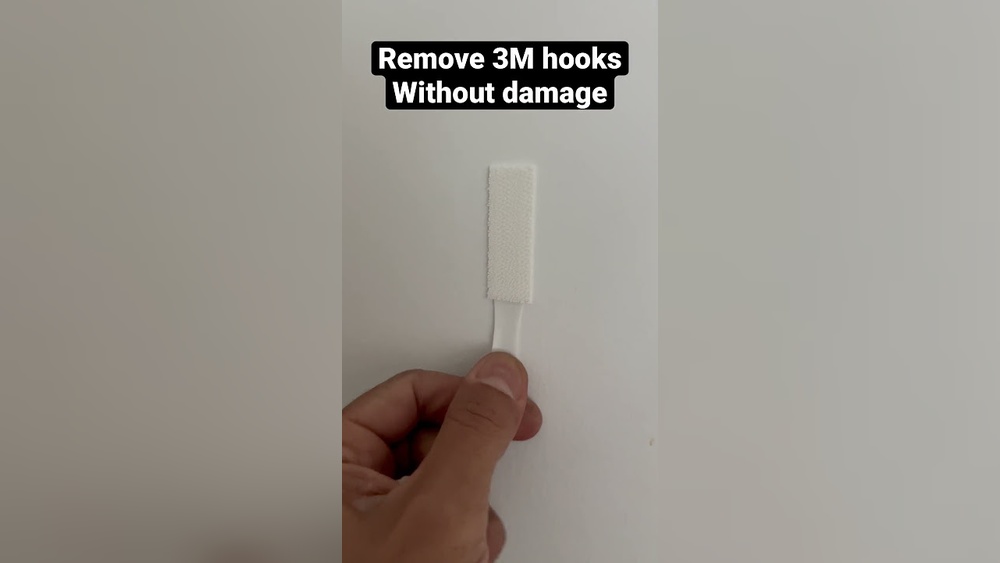
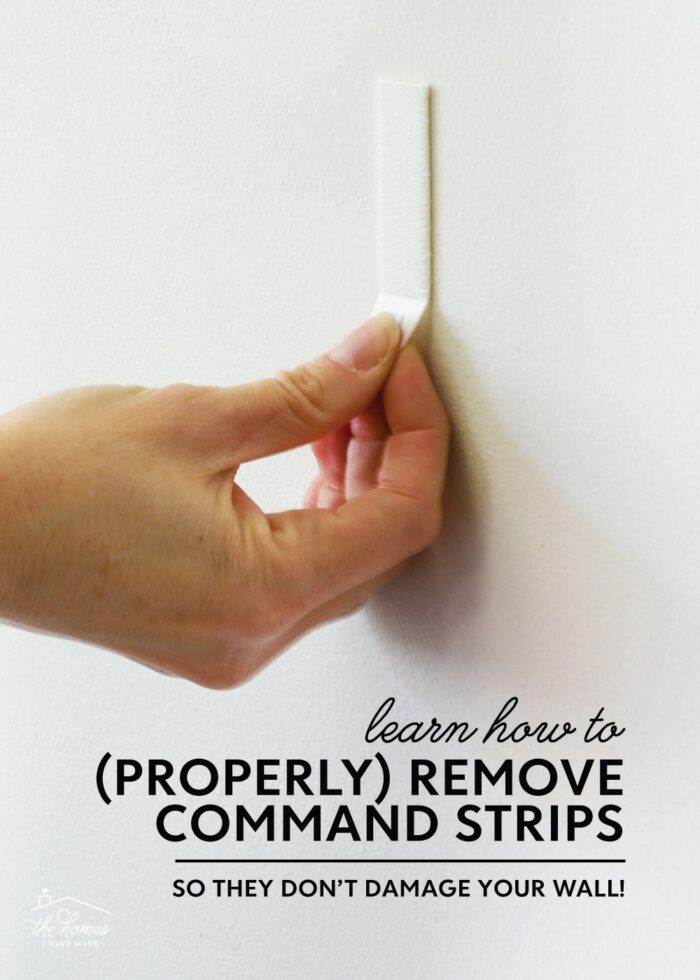
Using The Stretch Method
Hold the hook’s base with one hand. With the other hand, grab the adhesive strip’s tab. Pull the strip slowly and straight down, close to the wall. Stretch the strip until it releases from the surface. Do not pull it outwards or upwards to avoid damage. The adhesive will stretch and come off without leaving residue.
Applying Heat Safely
Heat softens the adhesive, making removal easier. Use a hairdryer on low heat and warm the hook area. Move the hairdryer slowly for one to two minutes. Test if the adhesive feels soft by gently pulling the tab. Warm adhesive stretches better and reduces wall damage. Avoid using high heat to protect paint and wall texture.
Credit: thehomesihavemade.com
Cleaning Residue
Removing 3M adhesive wall hooks can leave behind sticky residue. This residue can attract dust and dirt. It also makes walls look messy. Cleaning the residue is important for a smooth, clean surface. The right cleaning method helps protect your paint or wallpaper. Here are simple ways to clean the leftover adhesive.
Using Rubbing Alcohol
Rubbing alcohol works well to dissolve sticky residue. Apply a small amount on a clean cloth. Gently rub the adhesive until it loosens. Avoid soaking the wall to prevent damage. Wipe the area with a dry cloth after. This method is quick and effective for many surfaces.
Alternative Cleaning Solutions
Some other household items can also remove adhesive residue. Warm soapy water softens the glue for easy removal. Use a soft cloth or sponge to avoid scratches. Cooking oil or peanut butter breaks down sticky spots too. Apply a little, wait a few minutes, then wipe clean. Test any solution on a small area first to ensure no damage.
Preventing Damage
Removing 3M adhesive wall hooks can sometimes damage your walls. Preventing damage helps keep your paint and surfaces safe. Careful steps make the removal smooth and clean.
Avoiding Paint Peeling
Peeling paint is a common problem when pulling off adhesive hooks. Pull the tab slowly, stretching it straight down. Avoid pulling the hook away from the wall. Use gentle heat from a hairdryer to soften the adhesive. This helps the glue come off without peeling paint. Stop if you feel resistance. Pulling too hard can strip the paint.
Protecting Wall Surfaces
Wall surfaces like drywall and plaster need extra care. Use a plastic card to slide under the hook’s edge. This lifts the adhesive gently without scratching. Avoid metal tools that can gouge the wall. After removal, clean the area with warm, soapy water. This removes leftover sticky residue without harsh chemicals. Dry the wall surface before reapplying any paint or new hooks.
Tips For Reusing Hooks
Reusing 3M adhesive wall hooks saves money and reduces waste. These hooks can hold strong if reused properly. Careful handling keeps their adhesive power intact for the next use.
Follow simple tips to make sure your hooks stick well again. Clean surfaces and correct storage are key. Small steps make a big difference in hook performance.
Cleaning The Hook Before Reuse
Remove dirt and dust from the hook surface. Use a soft cloth with warm water. Avoid harsh chemicals that can damage the adhesive. Let the hook dry completely before reapplying.
Preparing The Wall Surface
Clean the wall area with rubbing alcohol. Avoid oily or dusty spots. Dry the surface fully to help the hook stick better. A smooth surface improves adhesive strength.
Storing Hooks Properly Between Uses
Keep hooks in a cool, dry place. Avoid bending or pressing the adhesive side. Store hooks on a clean sheet to prevent dust. Proper storage keeps the adhesive sticky.
Replacing Adhesive Strips When Needed
Use new adhesive strips for a fresh hold. Remove old strips carefully to avoid damage. Follow the instructions on the new strip packaging. Fresh strips restore strong adhesion.
Frequently Asked Questions
How Do I Safely Remove 3m Adhesive Wall Hooks?
To safely remove 3M adhesive hooks, pull the tab slowly straight down. This stretches the adhesive and releases the hook without damage. Avoid pulling outward or upward to prevent wall marks or paint peeling.
Can Heat Help In Removing 3m Adhesive Hooks?
Yes, gently heating the adhesive with a hairdryer softens it. Warm the area for about 30 seconds before pulling the tab. Heat makes the adhesive less sticky, easing hook removal without harming the wall.
Will Removing 3m Hooks Damage My Wall Paint?
If removed correctly, 3M hooks usually don’t damage paint. Pull the adhesive tab slowly and straight down to avoid peeling. Using heat can also minimize wall damage during removal.
What If The Adhesive Tab Breaks While Removing Hooks?
If the tab breaks, use dental floss or fishing line. Slide it behind the hook and move it in a sawing motion. This technique helps separate the adhesive without wall damage.
Conclusion
Removing 3M adhesive wall hooks is simple with the right steps. Gently pull the tab to avoid damage. Use heat if the adhesive feels stuck. Clean the wall to remove any leftover glue. This method keeps your walls safe and clean.
Now you can hang items without worry. Easy, quick, and effective. Give your walls a fresh, neat look today.