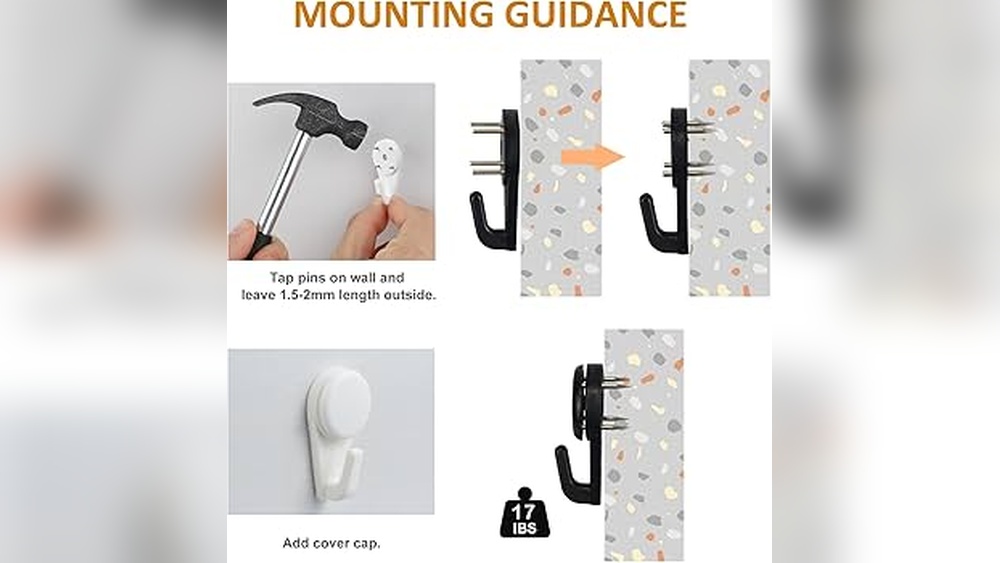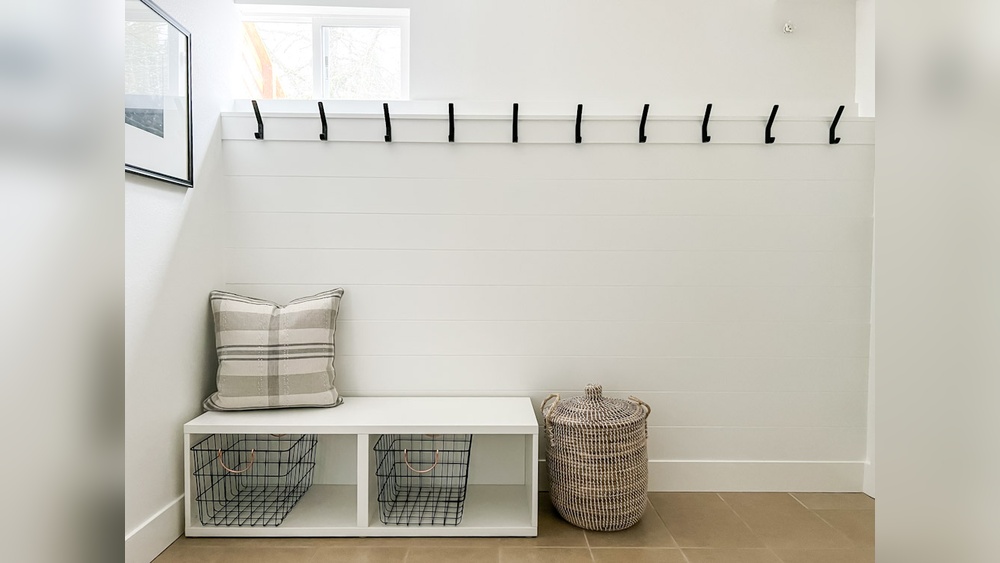
Looking for a simple way to organize your space and keep things within easy reach? Adding a hook to your wall might be the perfect solution.
Whether you want to hang keys, bags, or coats, a sturdy hook can make your daily routine smoother. In this guide, you’ll discover easy steps to install a hook quickly and securely—no special skills needed. By the end, you’ll feel confident transforming any wall into a handy storage spot.
Ready to get started? Let’s dive in!
Choosing The Right Hook
Choosing the right hook for your wall is an important step. It ensures your items hang safely and look good. This choice depends on what you want to hang and the wall type. Understanding different hooks helps you pick the best one for your needs.
Types Of Hooks
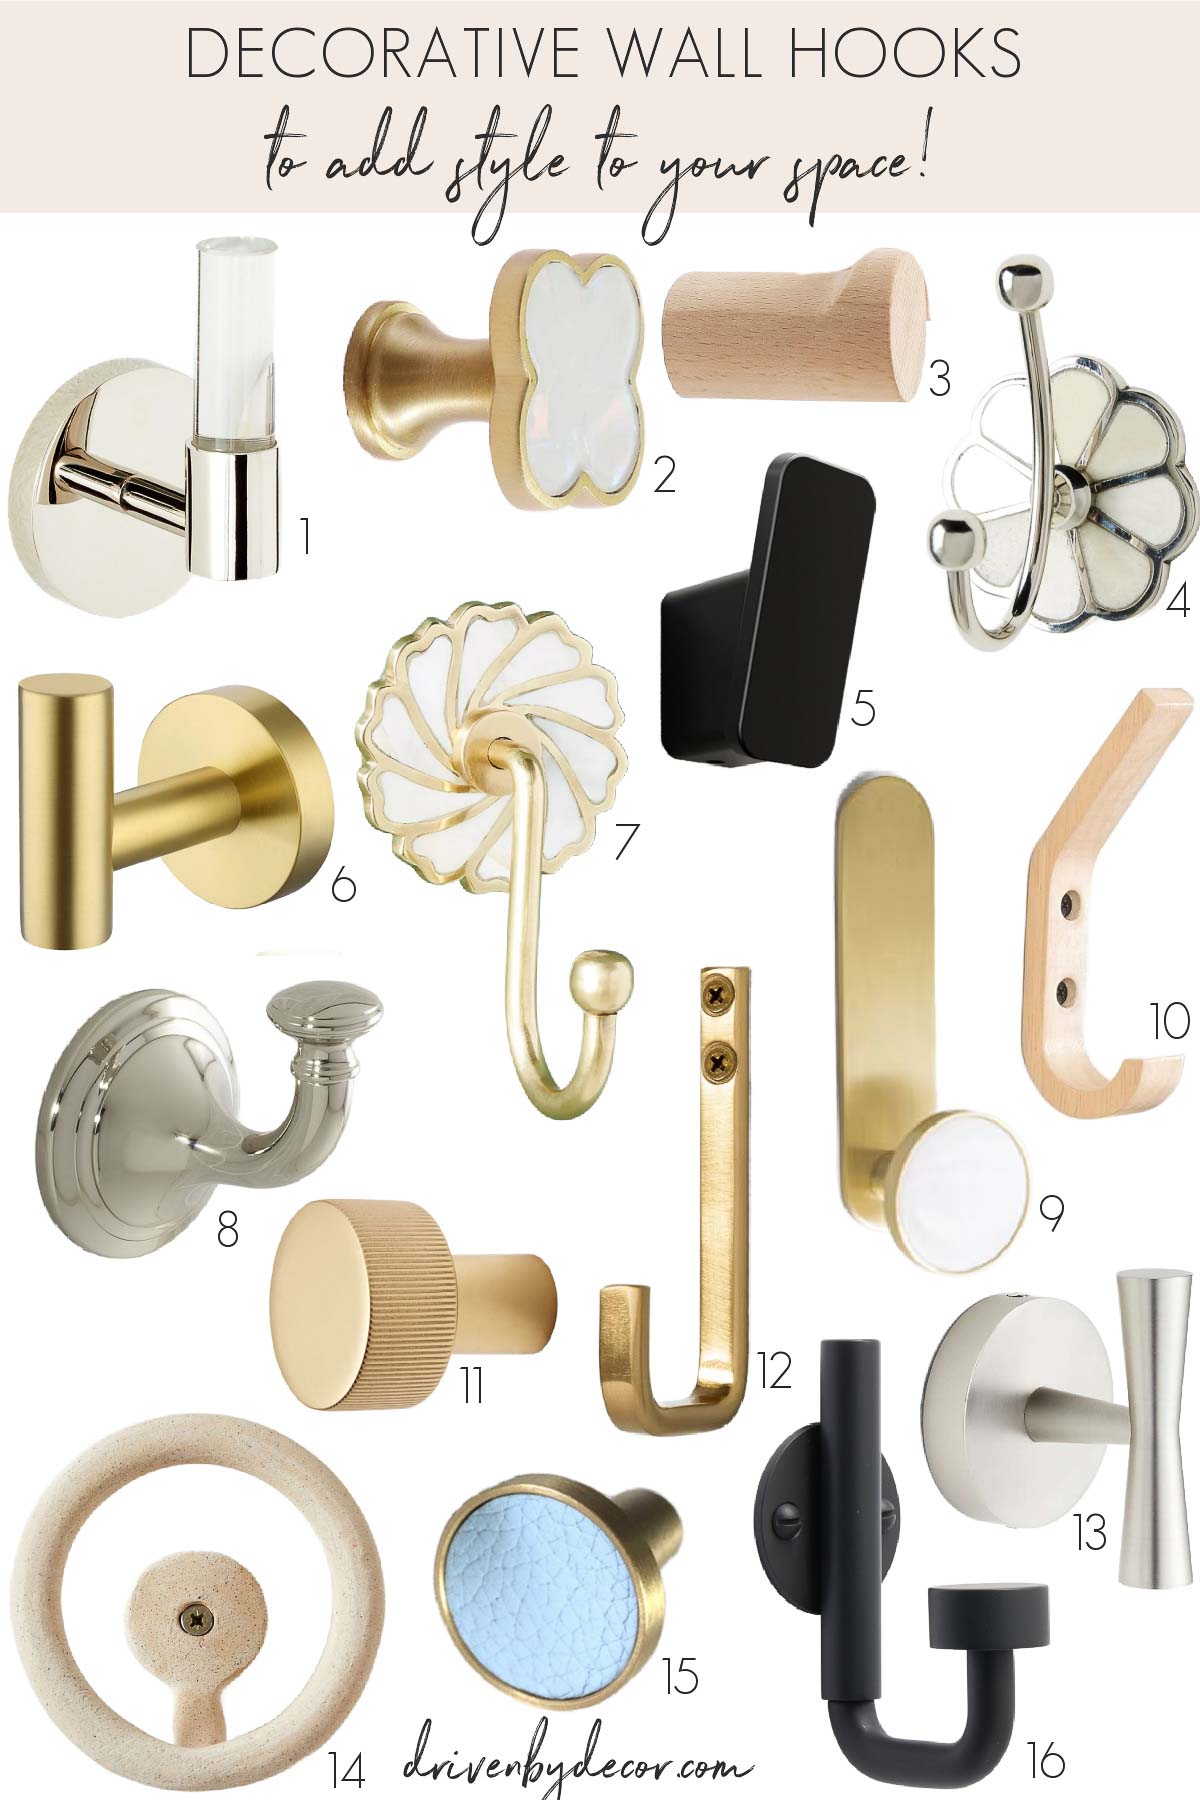
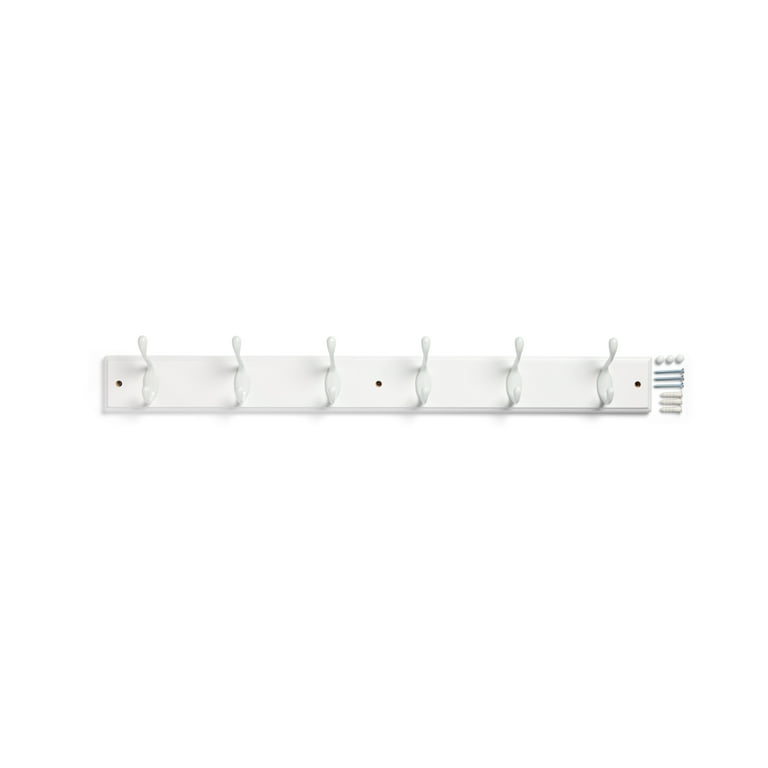
Hooks come in many shapes and sizes. Some hooks are simple, like a single nail or screw hook. Others have multiple prongs for hanging several items. There are adhesive hooks that stick to the wall without drilling. Also, decorative hooks add style while holding your items. Each type suits different purposes and walls.
Weight Capacity Considerations
Check the weight your hook can hold before buying. Light hooks hold keys or small items. Heavy-duty hooks can support coats or bags. Overloading a hook can damage your wall and items. Match the hook’s weight limit with what you plan to hang. Safety is key.
Material And Finish Options
Hooks come in various materials like metal, plastic, or wood. Metal hooks are strong and durable. Plastic hooks are light and often cheaper. Wood hooks add a natural look but may hold less weight. The finish affects the hook’s look and rust resistance. Choose a finish that fits your room’s style and lasts long.

Credit: www.tagltd.com
Gathering Necessary Tools
Before you start hanging a hook on your wall, gathering the right tools is important. This helps you work faster and prevents damage to your wall. Having everything ready makes the process smooth and easy.
Basic Tools Needed
Start with a drill or screwdriver to fix the hook securely. A hammer might be useful for some hooks that use nails. Use a pencil to mark the spot on the wall. A level helps keep the hook straight. Measuring tape or ruler ensures correct placement. Safety glasses protect your eyes from dust and debris.
Optional Tools For Specific Surfaces
For drywall, wall anchors can add extra support. Masonry walls need a masonry drill bit for drilling holes. Tile walls require a special drill bit to avoid cracks. Stud finders help locate wood studs behind drywall. A vacuum cleaner or brush cleans dust from drilled holes.
Preparing The Wall Surface
Preparing the wall surface is the first step to hang a hook securely. A clean and solid surface helps the hook stay in place longer. Taking time to prepare the wall also prevents damage and ensures safety.
Cleaning The Area
Start by cleaning the wall where you want to place the hook. Use a damp cloth to remove dust and dirt. Dirt can stop the hook from sticking well. Let the wall dry completely before moving on.
Locating Studs Or Anchors
Find studs or anchors behind the wall for strong support. Studs are wooden beams inside walls. Use a stud finder to locate them easily. Hooks fixed into studs hold more weight. If no stud is found, use wall anchors. Anchors help hold hooks on drywall securely.
Credit: www.drivenbydecor.com
Marking The Hook Placement
Marking the hook placement is a key step before you hang anything on your wall. It ensures your hook goes in the right spot. A well-marked placement helps avoid mistakes and keeps your items balanced and safe. This step saves time and effort during installation.
Measuring Height And Alignment
Start by deciding the height for your hook. Think about the items you will hang. Use a tape measure to find the exact spot. Mark the wall lightly with a pencil. Check the alignment with other hooks or objects nearby. Proper height and alignment make your wall look tidy and organized.
Using A Level For Precision
A level helps keep your hook straight. Place it on the wall where you marked. Adjust the mark until the bubble in the level is centered. This step prevents hooks from tilting or looking uneven. Taking time to use a level leads to a neat, professional finish.
Installing The Hook
Installing a hook on a wall is simple and useful. It helps hang items neatly and saves space. Follow these clear steps to install a hook safely and firmly.
Drilling Pilot Holes
Start by marking the spot for the hook. Use a pencil to make a small dot. Choose a drill bit slightly smaller than the screw size. Drill a pilot hole at the mark. This hole guides the screw and prevents wall damage. Drill straight and stop when you reach the right depth.
Using Anchors For Drywall
Drywall is soft and may not hold screws well. Use wall anchors to secure the hook. Push or tap the anchor into the pilot hole gently. Anchors expand behind the wall for a strong hold. Choose anchors made for the hook’s weight. This step ensures your hook stays steady and safe.
Screwing In The Hook
Place the hook’s base over the hole or anchor. Hold it steady with one hand. Use a screwdriver to turn the screw clockwise. Tighten until the hook is firm but avoid over-tightening. Check the hook’s stability by gently pulling it. Your hook is ready to use.
Testing Hook Stability
Testing hook stability is an important step after installing a hook on a wall. This ensures the hook can safely hold the items you plan to hang. Proper testing helps avoid accidents and damage to your wall.
Check the hook’s strength before putting heavy objects on it. This simple process takes only a few minutes but saves time and effort later.
Applying Weight Gradually
Start by hanging a light item on the hook. Increase the weight slowly. This helps you see how much the hook can handle. Avoid putting full weight at once. Gradual loading reduces the risk of the hook pulling out or bending.
Checking For Movement Or Damage
Watch the hook and wall closely. Look for any wiggle or shift in the hook’s position. Check the wall for cracks or holes. Small movements can mean the hook is not secure. Stop adding weight if you notice any damage. Fix the problem before using the hook again.
Tips For Different Wall Types
Different walls need different tools and methods for hooks. The right approach keeps your walls safe. It also holds the hook firmly. This section guides you through tips for brick, plaster, and tile walls.
Brick And Masonry Walls
Use a masonry drill bit for making holes. Drill slowly to avoid cracking bricks. Insert plastic anchors into the holes. These anchors hold screws tightly. Choose hooks designed for heavy loads. This ensures your hook stays secure and stable.
Plaster Walls
Find a stud behind the plaster for strong support. Use a stud finder tool to locate it. If no stud is available, use wall anchors. Choose anchors that spread the load over a wide area. Avoid hammering nails directly into plaster. It may cause cracks or damage.
Tile Surfaces
Mark the spot carefully to avoid tile cracks. Use a drill with a carbide bit made for tiles. Start drilling slowly with light pressure. Use tape over the drill spot for extra grip. Insert wall anchors designed for tile use. Avoid heavy hooks to prevent tile damage.
Credit: www.walmart.com
Frequently Asked Questions
What Tools Do I Need To Add A Hook To A Wall?
You need a drill, screws, anchors, a screwdriver, a pencil, and a level. These tools ensure secure and precise hook installation.
How Do I Find The Right Spot For The Hook?
Look for a sturdy wall area, preferably on a stud. Use a stud finder to locate the best spot for strong support.
Can I Add A Hook To Drywall Without Studs?
Yes, use wall anchors designed for drywall. They provide extra support and prevent the hook from pulling out.
What Types Of Hooks Work Best For Walls?
Metal hooks, adhesive hooks, and screw-in hooks all work well. Choose based on the weight and type of items you’ll hang.
Conclusion
Adding a hook to a wall is simple with the right steps. Choose the right spot and tools first. Mark the place clearly and drill carefully. Screw or nail the hook securely into the wall. Test it gently to make sure it holds well.
Hooks help keep your space tidy and organized. Small effort, big difference. Try adding hooks in different rooms for better use of space. You can hang coats, keys, or decorations easily. Enjoy a neat and functional wall today!