Have you ever wanted to hang something on your wall but weren’t sure how to do it right? Putting hooks in the wall might seem simple, but if you don’t do it properly, your favorite pictures or tools could fall and get damaged.
Imagine having a perfect spot for your keys, coats, or decorations without worrying about holes or cracks. In this guide, you’ll learn easy and effective steps to put hooks in your wall like a pro. By the end, you’ll feel confident and ready to organize your space exactly how you want it.
Keep reading to discover the secrets to strong, reliable hooks that stay put!

Credit: www.wikihow.com
Choosing The Right Hook
Choosing the right hook is key to a successful wall hanging. The right hook holds your items safely and keeps walls damage-free. Picking the right one depends on what you want to hang and the wall type.
Types Of Hooks
There are many hooks for different tasks. Picture hooks are small and good for light frames. Cup hooks work well for hanging mugs or small plants. Heavy-duty hooks support big items like shelves or bikes. Some hooks come with adhesive for no wall damage. Choose a hook that matches your item’s size and shape.
Weight Capacity
Each hook has a weight limit. Check the label to see how much weight it can hold. Light hooks support a few pounds, while strong hooks hold heavy items. Using a weak hook for a heavy object can cause damage. Always pick a hook that holds more than your item’s weight.
Material Considerations
Hooks come in metal, plastic, and wood. Metal hooks are strong and last long. Plastic hooks suit light items and avoid wall marks. Wooden hooks offer a natural look but may not hold heavy loads. Match the hook material with your wall type and item weight for best results.
Selecting The Spot
Selecting the right spot for your wall hook is key to a strong hold and neat look. The right place depends on your wall type and what you want to hang. Take time to check the wall and mark the best location carefully. This helps avoid mistakes and keeps your wall safe.
Wall Material Check
First, find out what your wall is made of. Common types include drywall, plaster, brick, or concrete. Each wall type needs different hooks and tools. Drywall is soft and easy to drill. Brick or concrete is hard and needs special anchors. Knowing the material helps you pick the right hook and avoid damage.
Stud Vs. Drywall
Studs are wooden beams inside your wall. They hold more weight than drywall alone. Hooks placed in studs can carry heavy items like shelves or mirrors. Drywall alone holds light objects only. Use a stud finder to locate studs behind the wall surface. Mark these spots for strong hook placement.
Marking The Location
Measure the spot carefully before drilling or hammering. Use a pencil to mark the exact point on the wall. Check the height and distance from other objects. Make sure the spot is level and clear of wires or pipes. Accurate marking saves time and keeps your hook straight and secure.
Gathering Tools And Materials
Gathering the right tools and materials is the first step to put hooks in the wall. Having everything ready makes the job easier and faster. It also helps avoid mistakes and keeps you safe during the process.
Before you start, check your list to ensure you have all the essentials. This way, you can focus on the task without interruptions.
Essential Tools
Start with a drill or screwdriver for making holes. A hammer is useful for some hook types. Use a level to keep hooks straight. Measuring tape ensures the right placement. Wall anchors provide extra support on drywall. A pencil helps mark spots clearly.
Safety Gear
Wear safety glasses to protect your eyes from dust and debris. Gloves can protect your hands from sharp edges. A dust mask keeps you safe from inhaling particles. Proper footwear helps avoid injuries from dropped tools. Safety gear is important to prevent accidents and injuries.
Preparing The Wall
Preparing the wall is an important step before putting hooks. It helps the hooks stay strong and last longer. Careful preparation also prevents damage to the wall. Follow simple steps to get the wall ready.
Cleaning The Surface
Start by cleaning the wall surface. Use a damp cloth to remove dust and dirt. Dry the area completely with a clean towel. A clean surface helps hooks stick better or hold screws firmly. Avoid using harsh chemicals that can damage paint or wallpaper.
Drilling Pilot Holes
Mark the spot where you want to put the hook. Use a pencil for a light, easy-to-erase mark. Choose a drill bit slightly smaller than the screw. Drill a pilot hole straight into the wall. This makes it easier to insert screws. It also stops the wall from cracking or breaking.
Installing The Hook
Installing a hook on the wall is a simple task. It helps keep things organized and saves space. Doing it right ensures the hook holds well and lasts long. The key is choosing the right method based on the wall type and hook size.
Using Nails Or Screws
For light items, nails or screws work well. Select a nail or screw that fits the hook size. Mark the spot on the wall where the hook will go. Gently hammer the nail or drill the screw into the wall. Make sure it is straight and secure. Avoid pushing too hard to prevent wall damage.
Anchors For Extra Support
Drywall or hollow walls need extra support. Use wall anchors to hold the hook firmly. Choose anchors that match the screw size and wall type. Drill a hole in the wall for the anchor. Push or tap the anchor into the hole until it fits snugly. Insert the screw into the anchor and tighten it.
Securing The Hook
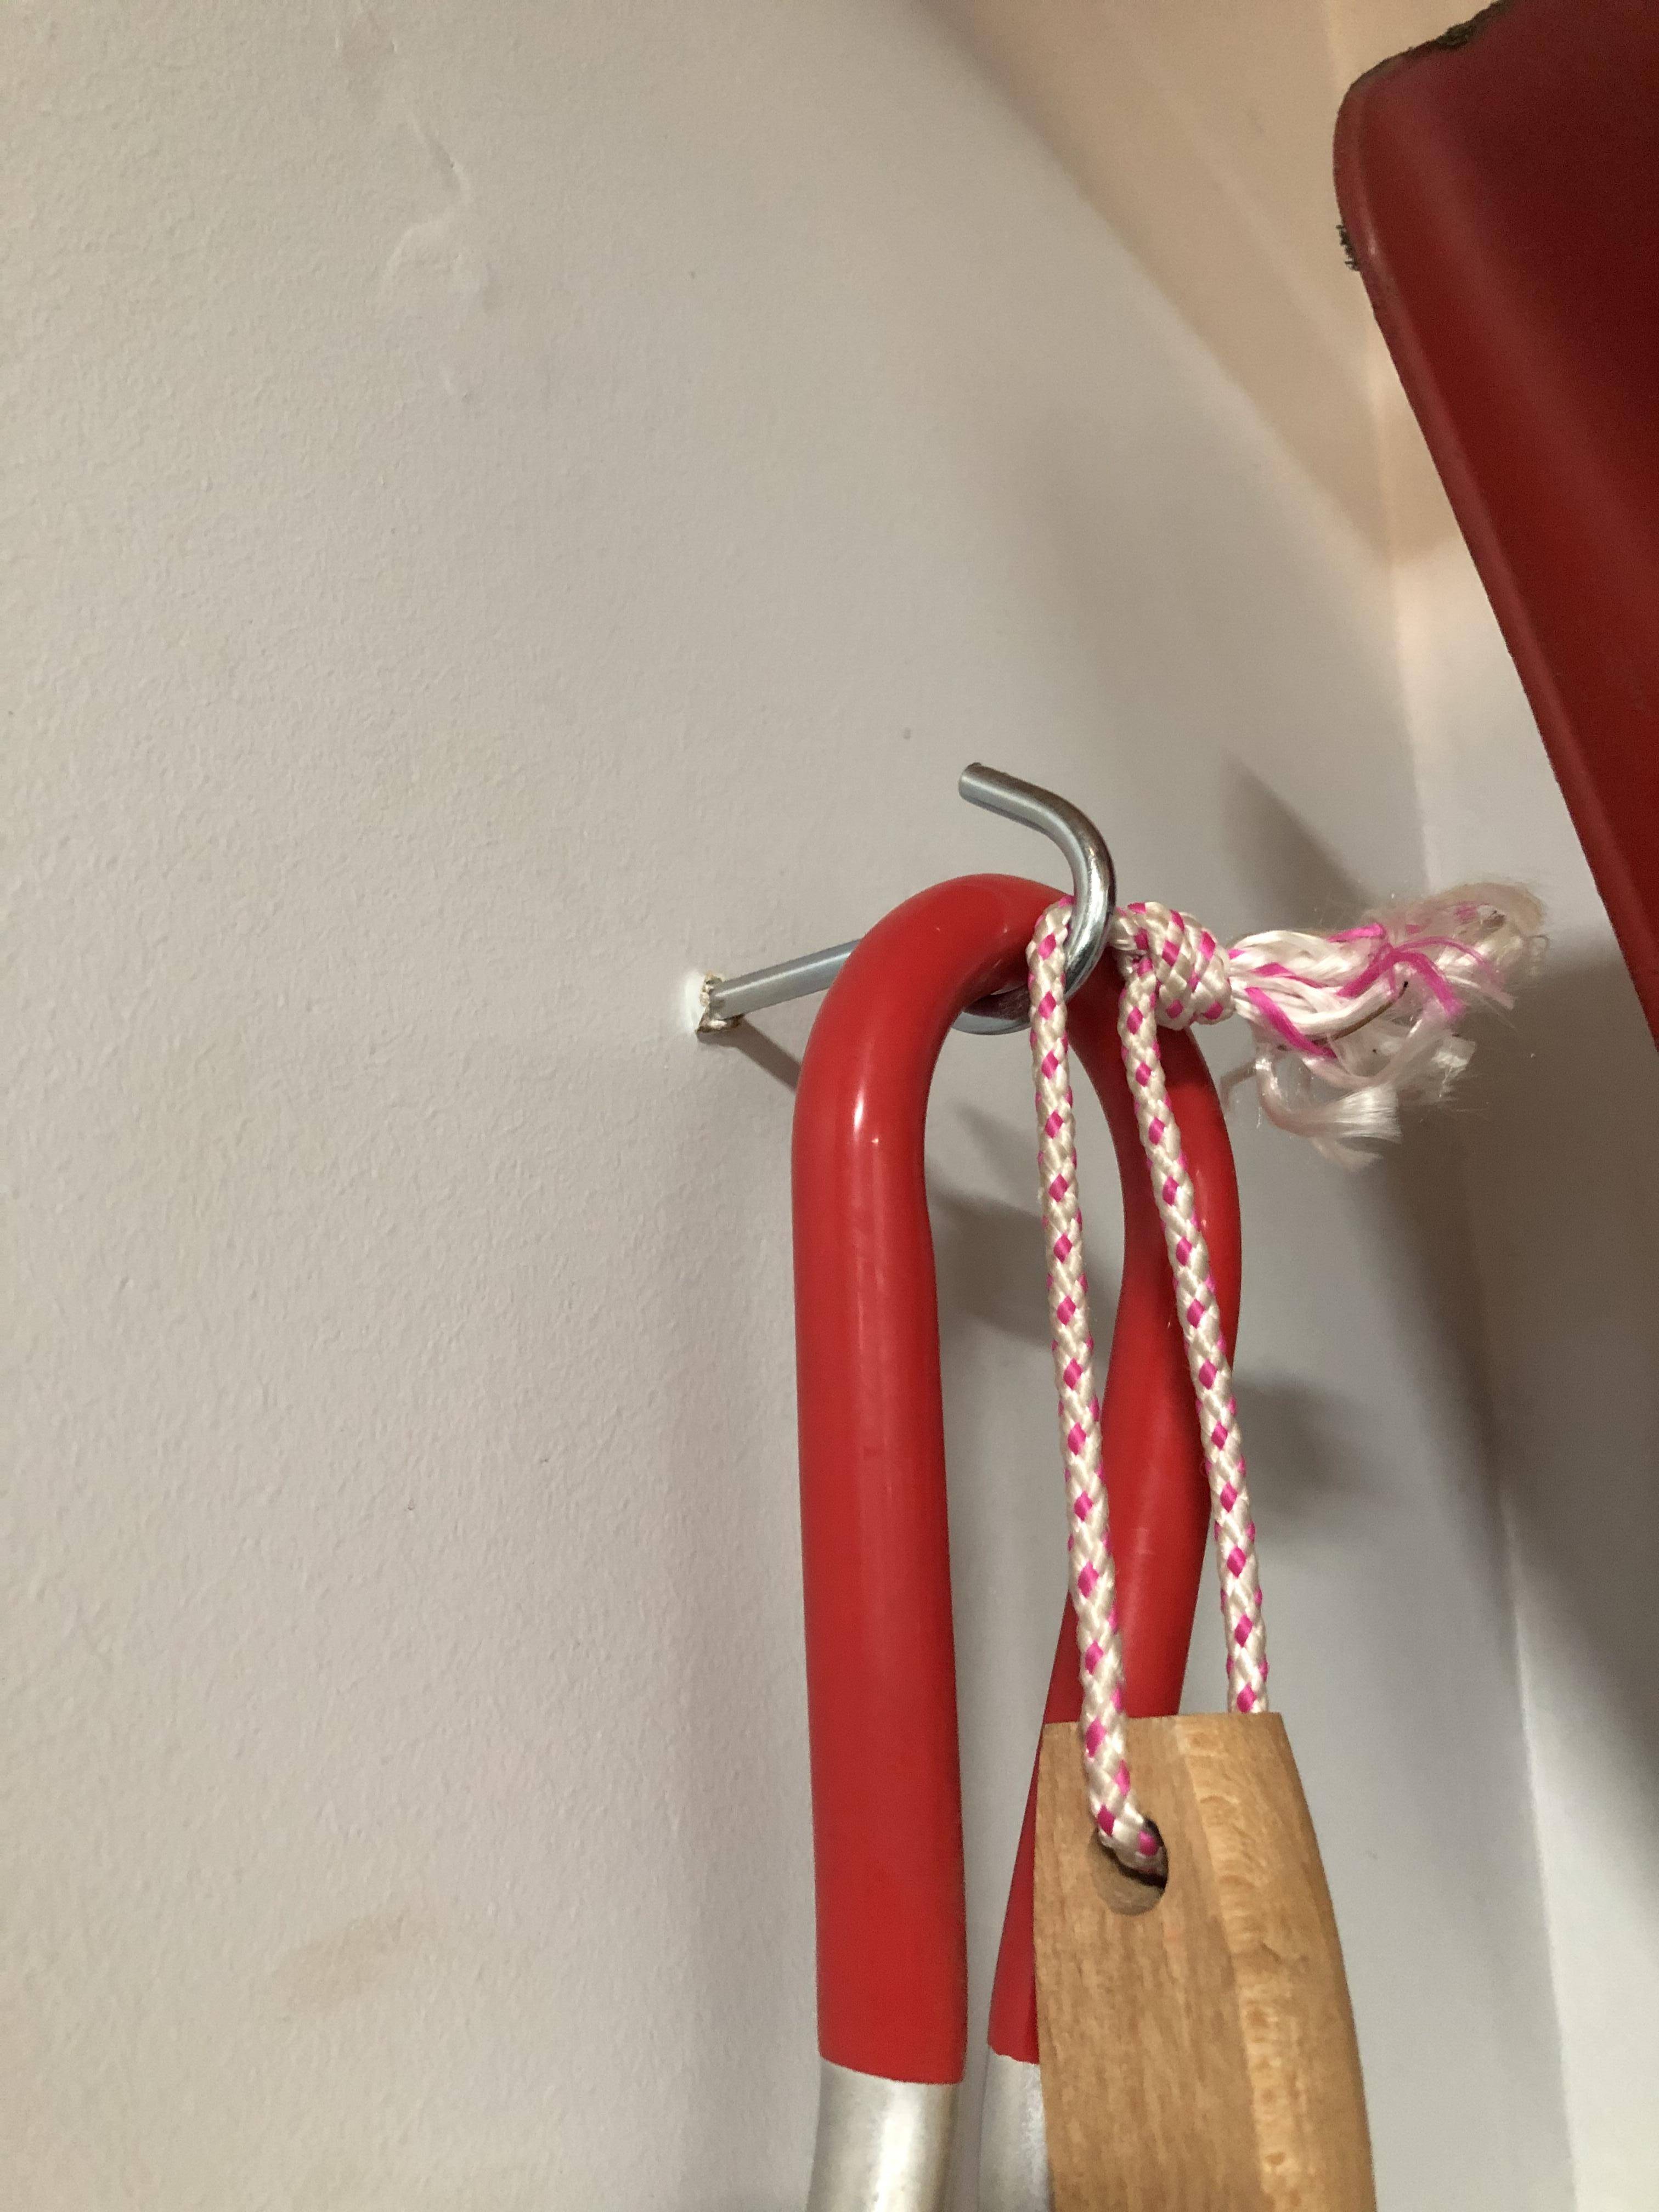
Attach the hook to the nail or screw securely. Check if the hook moves or feels loose. Tighten the screw or adjust the nail as needed. Test the hook by hanging a light item first. Confirm the hook holds well without slipping or pulling out. Proper securing prevents accidents and protects the wall.
Credit: diy.stackexchange.com
Testing The Hook
Testing the hook after installation is important for safety and function. This step helps ensure the hook can hold the items without falling. Proper testing also prevents damage to the wall or the hook itself. Take time to check the strength and stability before hanging anything valuable or heavy.
Weight Test
Start by gently placing a light object on the hook. Increase the weight slowly to match the item you plan to hang. Watch for any signs of bending or loosening. If the hook holds steady, it is ready for use. Test with weights close to the item’s real weight for best results.
Adjustments If Needed
Notice any wobbling or slipping? Tighten the hook screws or nails carefully. If the hook still feels weak, remove it and try a stronger anchor. Consider a different type of hook for heavy objects. Always retest after making adjustments to confirm strength and safety.
Tips For Long-lasting Hooks
Hooks can hold many items in your home or office. Making them last longer saves time and money. Simple care and smart use keep hooks strong and safe.
Follow these tips to keep your hooks firm and avoid damage to your walls.
Avoid Overloading
Check the hook’s weight limit before use. Do not hang heavy objects that exceed this limit. Heavy loads can pull hooks out of the wall. Even small extra weight can cause damage over time. Use multiple hooks for heavier items to spread the weight. This keeps hooks stable and walls intact.
Regular Inspections
Look at your hooks often to find problems early. Check for loose screws or bent parts. Tighten screws if they feel loose. Replace hooks that show signs of wear or damage. Early repairs keep hooks secure and prevent wall damage. Regular checks help your hooks last much longer.

Credit: www.wikihow.com
Frequently Asked Questions
What Tools Do I Need To Put Hooks In The Wall?
To put hooks in the wall, you need a drill, screwdriver, wall anchors, hooks, a measuring tape, and a pencil. These tools help ensure accurate placement and secure installation, especially on drywall or plaster walls.
How Do I Choose The Right Hook For My Wall?
Choose hooks based on wall type and weight capacity. Use adhesive hooks for light items and screw-in hooks for heavier objects. Always check the hook’s weight limit to avoid damage.
Can I Put Hooks In Drywall Without Studs?
Yes, you can use wall anchors or toggle bolts to install hooks in drywall without studs. These provide extra support and prevent the hook from pulling out under weight.
How High Should I Place Hooks On The Wall?
Place hooks at a comfortable height, usually between 4 to 6 feet from the floor. Adjust based on the item’s length and ease of access.
Conclusion
Putting hooks in the wall is simple with the right steps. Choose the right hook and tools before starting. Mark the spot clearly to avoid mistakes. Use a drill or hammer carefully to avoid damage. Check that the hook feels strong and steady.
This helps hang items safely and neatly. Small effort can make a big difference in your space. Enjoy the neat and organized look you create. Keep practicing to get better and faster each time.