Are you tired of cluttered walls and searching for the perfect spot to hang your favorite items? Hanging hooks on a wall might seem simple, but doing it right can save you time and keep your space looking neat.
In this guide, you’ll discover easy steps to hang hooks securely, no matter your wall type or the weight you need to hold. Keep reading, and you’ll learn tips that make your walls work smarter for you—making your home more organized and stylish in no time.
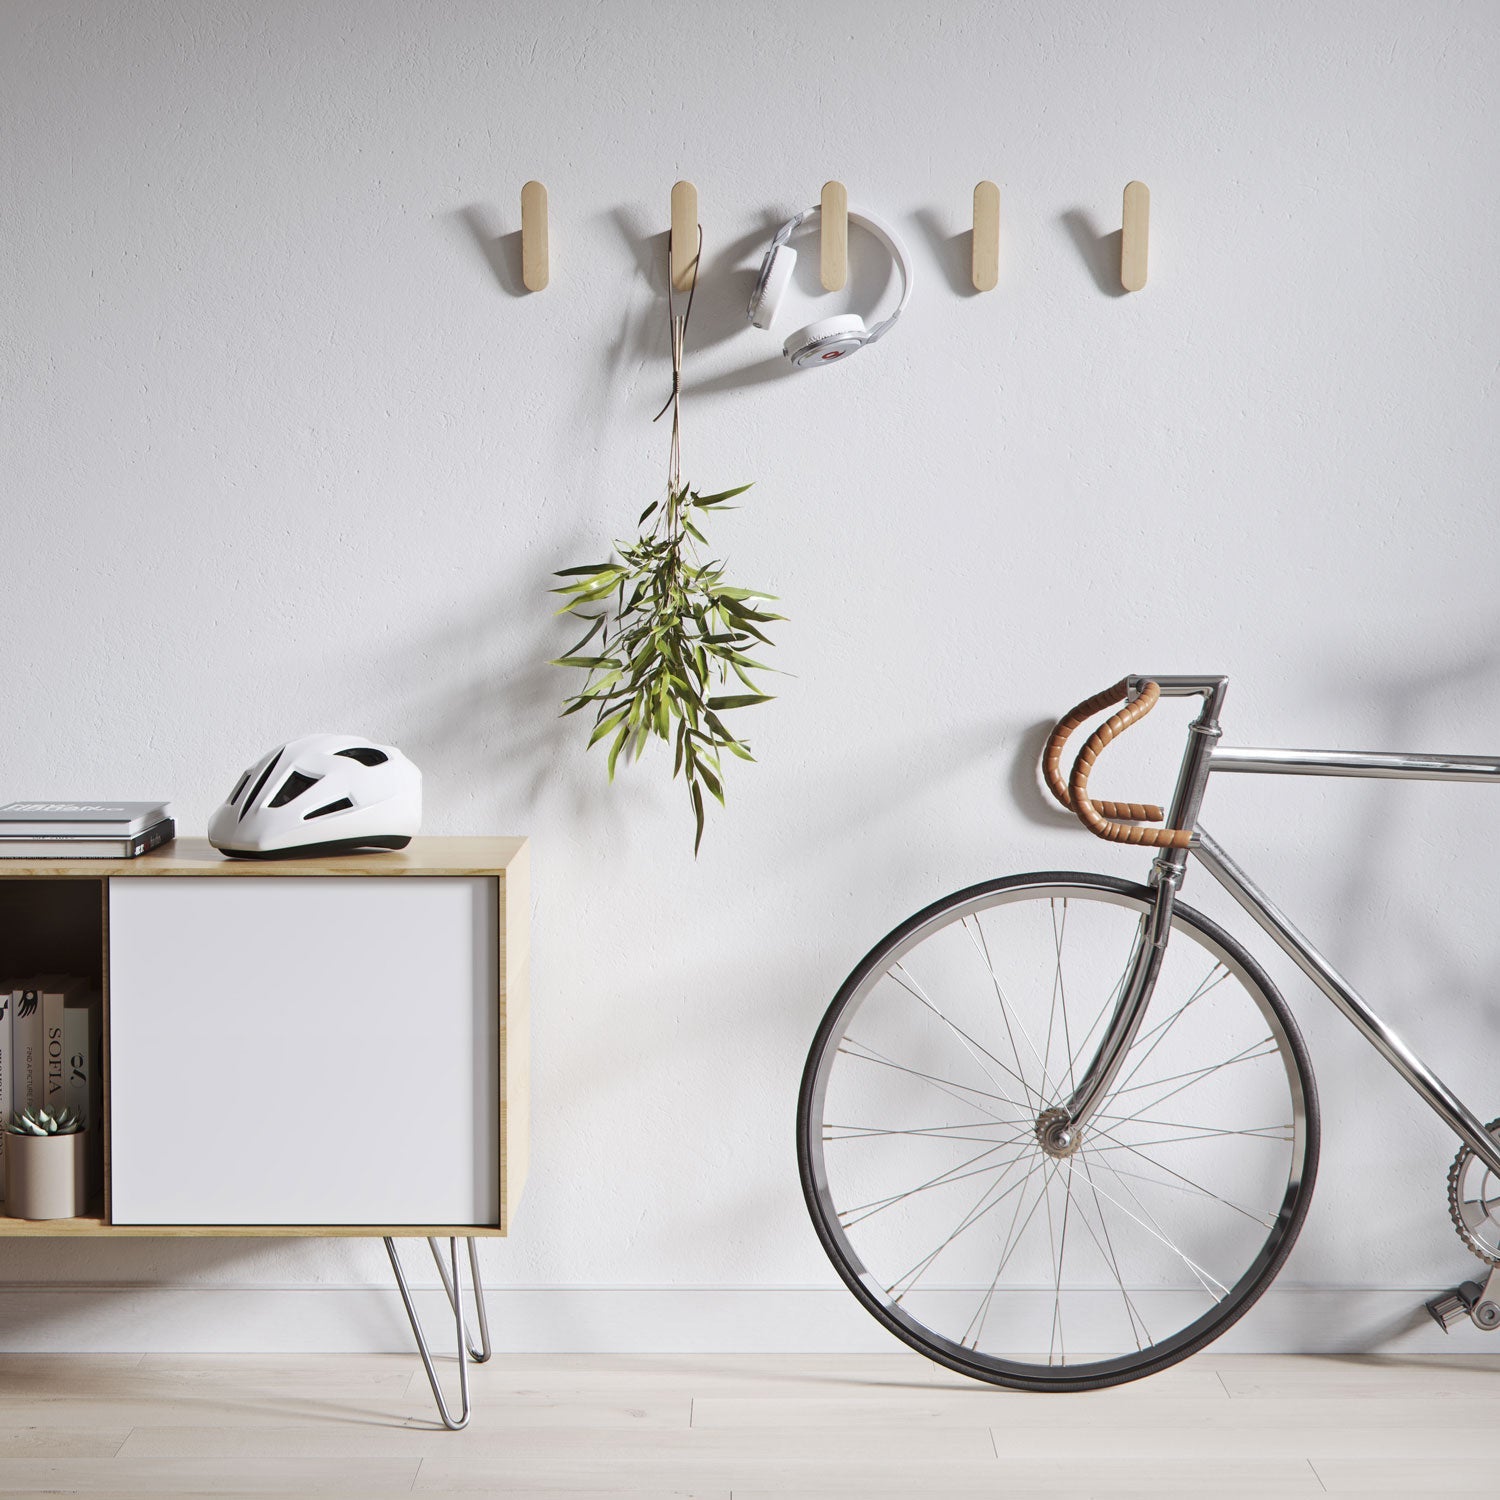
Credit: www.thehairpinlegcompany.co.uk
Choosing The Right Hooks
Choosing the right hooks matters. The right hook holds your items safely and looks good on your wall. Different hooks fit different needs. Consider what you want to hang and where. This helps you pick the best hook for your space.
Types Of Hooks
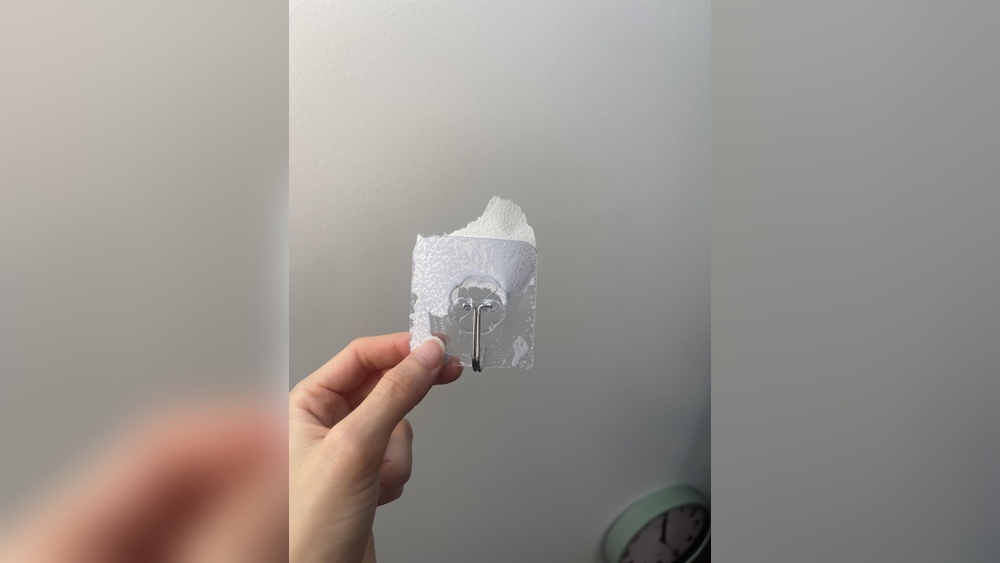
There are many hook types. Some hooks have adhesive backs for light items. Others need screws for heavy objects. Cup hooks hold mugs or keys. Picture hooks support framed photos. Choose hooks that match your item’s size and shape.
Weight Capacity
Each hook has a weight limit. Light hooks hold up to a few pounds. Heavy-duty hooks support large, heavy items. Check the weight of your item before buying. Use strong hooks for heavy coats or tools. This prevents damage to your walls and items.
Material Considerations
Hooks come in different materials. Metal hooks are strong and last long. Plastic hooks suit lighter loads and resist moisture. Wooden hooks add a natural look but may break under weight. Pick the material that fits your style and needs.
Selecting The Best Wall Location
Selecting the best wall location is key to hanging hooks safely and securely. The right spot holds weight well and avoids damage. It also makes hooks easy to reach and use. Take time to choose the wall area carefully. This helps your hooks last longer and work better.
Assessing Wall Material
Check what type of wall you have. Drywall, plaster, brick, or concrete walls all need different hooks and tools. Drywall is soft and needs anchors for heavy items. Brick and concrete walls require special drill bits and screws. Knowing the wall material helps pick the right hook and avoid mistakes.
Finding Studs
Studs are wooden beams behind drywall. They support heavy hooks best. Use a stud finder tool or tap the wall and listen for a solid sound. Mark the stud location before drilling. Hooks attached to studs hold more weight and stay secure longer. Never hang heavy items without checking for studs first.
Avoiding Obstacles
Look for pipes, wires, or switches inside the wall. Drilling into them is dangerous and costly. Use a wire detector to find hidden wires. Avoid areas near electrical outlets or plumbing fixtures. Choose a clear spot on the wall to keep your home safe and your hooks strong.
Gathering Tools And Supplies
Before hanging hooks on a wall, gather the right tools and supplies. Having everything ready makes the process faster and easier. It also helps avoid mistakes and damage to your walls. Let’s explore the key items you will need.
Essential Tools
Start with a drill or a screwdriver. These tools help insert screws into the wall. A hammer may be needed for some types of hooks. A pencil is useful for marking spots on the wall. A level keeps your hooks straight and neat. Gloves protect your hands during the work.
Anchors And Screws
Choose anchors based on your wall type: drywall, plaster, or brick. Anchors hold hooks firmly and prevent them from falling. Match screws with the hooks’ size and weight. Using the right anchors and screws ensures strong support. Avoid using small screws on heavy hooks.
Measuring Devices
A tape measure helps find the right height for hooks. Use a ruler for precise spacing between hooks. A stud finder locates wooden studs behind drywall. Mounting hooks on studs provides extra strength. Accurate measuring keeps your hooks level and balanced.
Marking Hook Placement
Marking hook placement is a crucial step before hanging hooks on your wall. It ensures that hooks go exactly where you want them. Careful marking helps avoid unnecessary holes and keeps your wall neat. Taking time here saves effort later.
Measuring Height
Measure the height where you want each hook. Use a tape measure for accuracy. Mark the spot lightly with a pencil. Think about what you will hang on the hook. Hooks for coats need to be higher than for keys. Keep the height comfortable for daily use.
Aligning Multiple Hooks
Place hooks evenly across the wall. Use a ruler or measuring tape to space them out. Mark each spot clearly. Equal spacing looks neat and balanced. It also makes hanging items easier and more organized.
Using Level Tools
Use a level to keep hooks straight. Hold the level against the wall near your marks. Adjust the marks until the bubble is centered. This prevents hooks from hanging crooked. A straight row makes a better visual impact.
Drilling And Installing Anchors
Drilling and installing anchors is key to hanging hooks safely and securely. Anchors help support weight on drywall, plaster, or hollow walls. They stop hooks from pulling out or causing damage. This section guides you through choosing the right drill bit, proper drilling methods, and installing anchors correctly. Follow these steps for strong, reliable hook mounting.
Drill Bit Selection
Pick a drill bit that matches the anchor size. The bit should be the same diameter as the anchor body. Too small a bit makes it hard to insert the anchor. Too large a hole means the anchor will not hold well. Check the anchor package for the recommended drill bit size. Use a masonry bit for brick or concrete walls.
Drilling Techniques
Mark the exact spot for the hole. Hold the drill steady and perpendicular to the wall. Start drilling slowly to avoid slipping. Drill straight to the required depth, usually the length of the anchor. Do not push too hard; let the drill do the work. Clear away dust from the hole before installing the anchor.
Installing Wall Anchors
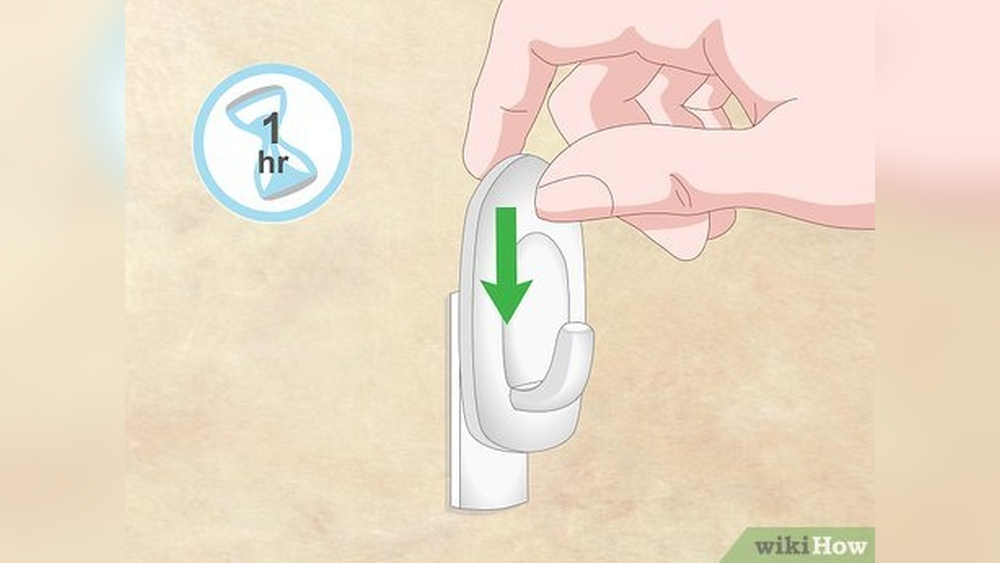
Insert the anchor gently into the drilled hole. Tap it lightly with a hammer if needed. The anchor should fit snugly and sit flush with the wall. Screw the hook into the anchor by hand or with a screwdriver. Avoid overtightening to prevent damage. Check the hook’s stability before hanging items.
Attaching Hooks Securely
Attaching hooks securely to a wall is key for safety and durability. Proper attachment stops hooks from falling or loosening over time. It also helps your items stay in place without damage.
Follow simple steps to fix hooks firmly. Use the right tools and techniques to make sure they hold strong on any wall type.
Screw Tightening Tips
Start by using screws that fit the hook holes well. Use a screwdriver that matches the screw head. Turn screws slowly to avoid stripping them. Tighten screws until firm but do not over-tighten. Over-tightening can damage the wall or the hook.
Ensuring Stability
Use wall anchors when attaching hooks on drywall. Anchors give extra support and prevent the hook from pulling out. Push the anchor flush with the wall surface. Insert the screw into the anchor and tighten. For wooden walls, drive screws directly into the wood.
Testing Hook Strength
After attaching, gently pull the hook to check its hold. Apply light pressure first, then increase gradually. If the hook moves or feels loose, tighten screws or adjust anchors. Test with the weight you plan to hang. This ensures the hook can carry the load safely.
Tips For Perfect Hook Placement
Placing hooks on a wall might seem simple, but the right placement makes a big difference. Proper hook placement keeps your items organized and your space tidy. It also helps hooks hold weight better and look great on your wall.
Spacing Guidelines
Space hooks evenly to avoid clutter. Leave enough room for items to hang freely without touching each other. For heavy items, place hooks closer to the wall studs. Use a measuring tape for accuracy. Keep at least 6 to 8 inches between hooks for coats and bags.
Aesthetic Considerations
Match hook placement with the room’s style. Align hooks at eye level for easy reach. Group hooks in straight lines or patterns for a neat look. Choose hooks that complement your wall color and decor. Consider the size and shape of items you want to hang.
Maintenance Advice
Check hooks regularly for looseness or damage. Tighten screws as needed to keep hooks secure. Clean hooks with a soft cloth to remove dust. Avoid hanging items heavier than the hook’s weight limit. Replace worn hooks to maintain safety and appearance.

Credit: www.youtube.com

Credit: www.wikihow.com
Frequently Asked Questions
How Do I Choose The Right Hooks For My Wall?
Select hooks based on wall type and weight needs. Use adhesive hooks for light items and screw-in hooks for heavier objects. Always check the hook’s weight rating before installation to avoid damage.
What Tools Are Needed To Hang Hooks On A Wall?
Common tools include a drill, screwdriver, level, tape measure, and pencil. For drywall, anchors may be necessary. Proper tools ensure secure and accurate hook placement.
Can I Hang Hooks On Drywall Without Studs?
Yes, use drywall anchors or toggle bolts for secure mounting. These support the hook’s weight without needing a stud. Avoid hanging heavy items without proper anchors to prevent wall damage.
How High Should I Hang Hooks On A Wall?
Hang hooks at a comfortable height for easy access. Typically, 5 to 6 feet from the floor works well. Adjust height based on the item’s use and user preference.
Conclusion
Hanging hooks on a wall is simple with the right steps. Choose the correct hook for your wall type. Measure and mark the spot carefully. Use proper tools to secure the hook firmly. Check the hook’s strength before hanging heavy items.
This small task can organize your space quickly. Try these tips to make your walls useful and neat. Enjoy a clutter-free room with easy hook installation.