Are you tired of your automatic light switch turning on or off at the wrong time? Changing the time on your automatic light switch can save you energy and make your home more comfortable.
It might seem tricky at first, but with the right steps, you can easily adjust the settings yourself. In this guide, you’ll discover simple, clear instructions that anyone can follow. Keep reading, and you’ll have full control over your lighting schedule in no time.

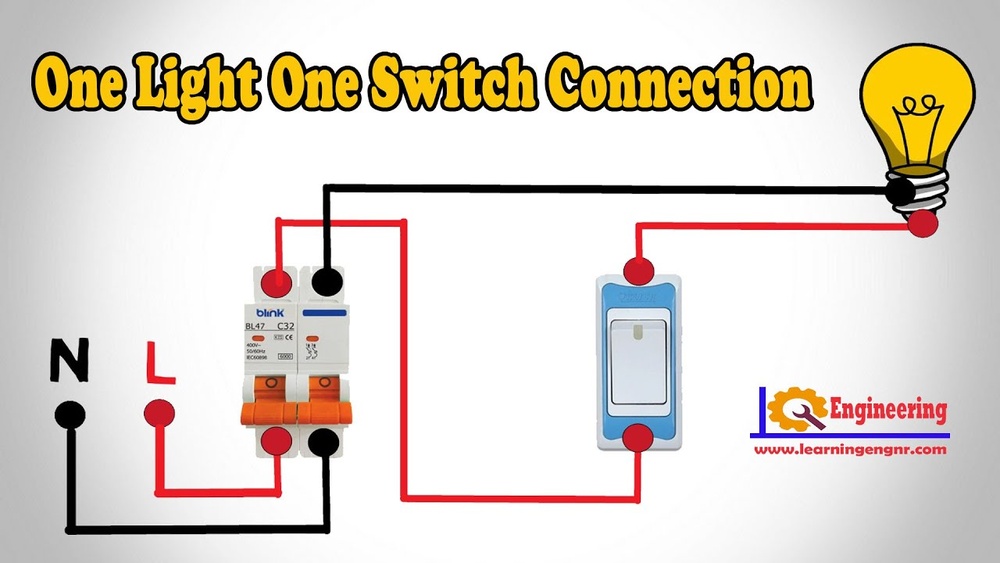
Credit: www.legrand.us
Types Of Automatic Light Switches
Automatic light switches help control lighting without manual effort. They save energy and add convenience. Different types fit different needs and budgets. Understanding these types makes changing the time easier.
Mechanical Timers
Mechanical timers use simple gears and dials. You turn a knob to set the on and off times. They do not need electricity to keep time. These timers are easy to use but less precise. Common in older homes and basic setups.
Digital Timers
Digital timers show time on a small screen. You set the schedule using buttons or a touchpad. These timers offer more accuracy and options. Some models allow multiple on/off settings per day. They need power to operate and keep time.
Smart Switches
Smart switches connect to Wi-Fi or Bluetooth. You control them with a smartphone app or voice commands. They offer flexible schedules and remote access. Some learn your habits to save energy. Ideal for tech-savvy users and modern homes.

Credit: www.youtube.com
Tools Needed For Adjustment
Adjusting the time on an automatic light switch is simple with the right tools. Having the proper tools ready makes the process faster and easier. It also helps avoid damage to the switch or your wall.
Below are the basic tools needed for time adjustment. Each tool serves a specific purpose during the process.
Screwdriver
A screwdriver is often needed to open the switch cover. Most automatic light switches have screws holding the front panel. A flathead or Phillips screwdriver usually works well. Choose the correct size to avoid slipping or stripping screws.
Small Flashlight
A small flashlight helps you see inside the switch clearly. Light switches are often in dim areas or have small display screens. Good lighting ensures you can read the timer settings and buttons easily.
User Manual
The user manual guides you step-by-step on adjusting the timer. It explains button functions and display codes. Keep the manual handy for quick reference during the adjustment.
Soft Cloth
A soft cloth is useful to clean the switch surface before and after adjusting. Dust and dirt can block buttons or screens. Cleaning keeps the switch working smoothly.
Locating The Timer Settings
Finding the timer settings on your automatic light switch is the first step to changing the time. These settings control when your lights turn on and off. Knowing where to find them makes adjusting the schedule simple and quick.
Each model may have a slightly different layout. Still, most automatic switches have a clear control panel or display. This section will guide you through locating and understanding these controls.
Accessing The Control Panel
Start by locating the control panel on your light switch. It is usually on the front or side of the device. Some panels have buttons or a small screen. Press any button gently to wake the display if it is off.
Look for labels like “Timer,” “Set,” or “Program.” These often lead you to the timer settings. If your switch has a cover, open it carefully to see the controls inside.
Reading The Display
The display shows the current time and programmed settings. Time usually appears in hours and minutes. Some models show AM or PM, others use 24-hour format.
Buttons near the display help you scroll through settings. You might see icons for weekdays or light bulbs. These indicate which times the lights turn on or off.

Credit: www.amazon.com
Adjusting Mechanical Timer
Adjusting the mechanical timer on an automatic light switch helps control when lights turn on and off. It saves energy and adds convenience. Mechanical timers use a dial with pins or segments to set the time. Adjusting this timer is simple and does not require tools. Follow clear steps for easy changes.
Identifying The Dial
The dial usually sits at the front of the timer. It looks like a round clock face with numbers. These numbers show hours of the day. The dial may have small pins or segments around its edge. These parts control the on and off times. Locate the dial before making any adjustments.
Setting On And Off Times
Push the pins or segments outward or inward. Each pin controls a specific time slot. Outward pins often mean the light turns on. Inward pins usually mean the light turns off. Rotate the dial clockwise to set the current time. Match the dial’s time with the real time. Adjust pins to set when lights should turn on and off. Double-check the settings to avoid mistakes.
Adjusting Digital Timer
Adjusting the digital timer on your automatic light switch helps control when your lights turn on and off. This feature saves energy and adds convenience to your daily routine. Learning the basic steps to set the timer makes your switch work perfectly for your needs.
Navigating The Menu
Start by pressing the menu button on your digital timer. Use the arrow keys to move through the options. Look for settings like “Time,” “On Time,” and “Off Time.” Press the select button to enter the desired menu. If you get lost, press the back button to return to the previous screen.
Setting Current Time
Select the “Time” option to set the current time. Use the arrow keys to adjust hours first. Press the select button to move to minutes. Adjust the minutes with the arrow keys. Confirm your setting by pressing the select button again. The timer now shows the correct current time.
Programming On And Off Times
Choose the “On Time” setting to set when lights turn on. Adjust hours and minutes using the arrow keys. Press select to save. Next, find “Off Time” and repeat the process to set when lights turn off. Save the settings to activate your schedule. Your lights will now switch on and off automatically.
Changing Time On Smart Switches
Changing the time on smart switches is simple and quick. These devices use digital controls to set schedules. You can adjust the timer without touching the switch itself. Most smart switches connect to your phone or home network for easy control.
Using The Mobile App
Smart switches usually come with a mobile app. Open the app on your phone to change the time. Look for the schedule or timer option in the app menu. Set the new time for the switch to turn on or off. Save your changes, and the switch will follow the new schedule.
Syncing With Home Network
Smart switches connect to your home Wi-Fi network. Syncing the switch ensures it uses the correct time. Check your phone’s time and Wi-Fi settings before syncing. The switch will update its clock automatically after syncing. This keeps your lighting schedule accurate all the time.
Common Issues And Fixes
Automatic light switches make controlling your lights easy. Sometimes, the timer may not change as expected. Small issues can cause this. Knowing common problems helps fix them fast. This saves time and avoids frustration.
Timer Not Changing
The timer may stay stuck on one setting. Check if the buttons respond. Dirt or dust can block the buttons. Clean gently with a soft cloth. Make sure the timer settings match your needs. Use the manual to adjust correctly.
Power Interruptions
Power cuts can reset the timer. The switch may lose its programmed time. Check the power supply to the switch. Use a surge protector to prevent damage. After power returns, reset the timer to your desired time.
Resetting The Switch
Resetting fixes many timer problems. Find the reset button on the switch. Hold it for a few seconds. The switch will return to factory settings. After reset, set your preferred time again. This often solves issues quickly.
Safety Tips During Adjustment
Adjusting the time on an automatic light switch requires care. Safety is key to avoid accidents and damage. Follow these tips to keep safe during the process.
Turn Off Power Before Adjustment
Always switch off the power at the breaker. This stops electricity from flowing to the switch. It helps prevent electric shocks while you work.
Use Insulated Tools
Use tools with insulated handles. They protect you from electric shock. Avoid using metal tools without insulation.
Read The Manual First
Check the switch manual before starting. It has specific safety steps. Follow the instructions carefully to avoid mistakes.
Work In A Dry Environment
Make sure your hands are dry. Avoid adjusting switches in wet areas. Water increases the risk of electric shock.
Wear Safety Gloves
Wear rubber gloves for extra protection. They reduce the chance of shocks. Gloves also protect your hands from sharp edges.
Do Not Rush The Process
Take your time adjusting the switch. Rushing can cause errors or accidents. Work slowly and carefully for best results.
Frequently Asked Questions
How Do I Set The Time On An Automatic Light Switch?
To set the time, first locate the clock or time button. Press it until the display blinks. Use the hour and minute buttons to adjust the time. Confirm the setting by pressing the clock button again. Always refer to your specific model’s manual for details.
Can I Change The Time On Any Automatic Light Switch?
Most automatic light switches allow time adjustments. However, some models have fixed settings or require special tools. Always check your device’s manual to confirm if time changes are supported. If unsure, contact the manufacturer for guidance before attempting changes.
Why Is My Automatic Light Switch Showing The Wrong Time?
Wrong time may result from power outages or battery issues. Reset the clock by following the manual’s instructions. Ensure the internal battery is charged or replace it if needed. Regularly check settings after power interruptions to keep the time accurate.
How Often Should I Update The Time On My Switch?
Update the time after daylight saving changes or power outages. Also, check periodically to ensure accuracy. Some models adjust automatically, but manual updates may still be necessary. Keeping the time correct ensures your lights operate as scheduled.
Conclusion
Changing the time on an automatic light switch is simple and quick. Follow the steps carefully to avoid mistakes. Adjusting the settings helps save energy and control lighting better. Regular checks keep your switch working well. Now, you can set the time to fit your daily routine easily.
Enjoy the convenience and comfort of automated lighting.