Have you ever pulled off a Command hook only to find your wall left with ugly marks or small holes? It’s frustrating when something meant to keep your space tidy ends up causing damage instead.
But don’t worry—you don’t need to call a professional or repaint the entire wall. You’ll discover simple, effective ways to fix Command hook wall damage quickly and easily. By the end, your walls will look smooth and flawless again, and you’ll feel confident handling this common problem on your own.
Keep reading to learn how!
Assess Wall Damage
Assessing the wall damage caused by Command hooks is the first step to fix it properly. Careful examination helps decide the right repair method. Different types of damage need different fixes. Also, the wall material affects the repair process. Take time to study the damage closely before starting any repair work.
Identify Damage Type
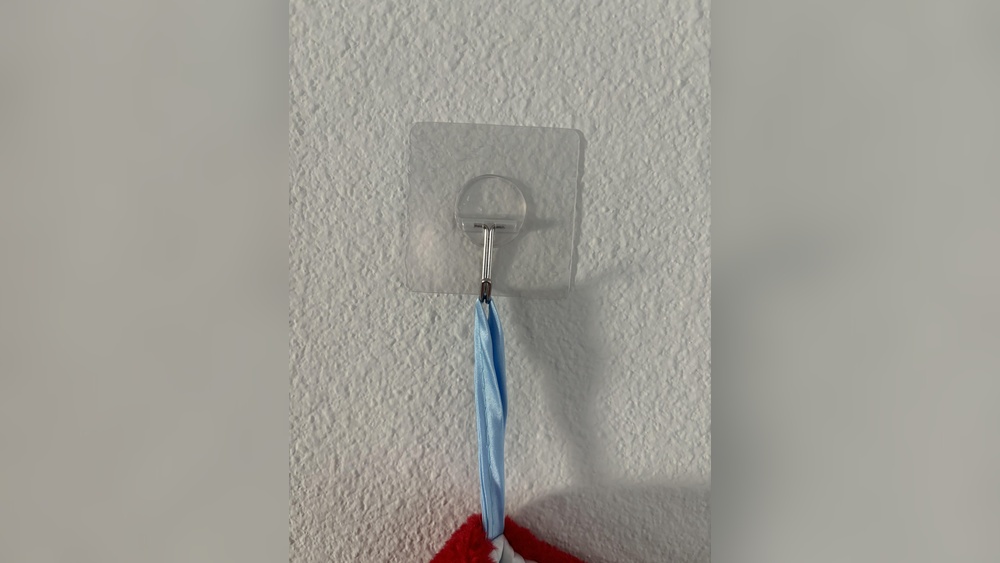
Look at the damage carefully. It could be small holes, peeling paint, or sticky residue. Small holes happen when the hook pulls off from the wall. Peeling paint shows the paint layer lifting or chipping. Sticky residue stays when the adhesive does not come off cleanly. Knowing the damage type guides the next steps.
Check Wall Material
Check what kind of wall you have. Drywall, plaster, brick, or wood all react differently to damage. Drywall often shows small holes and dents. Plaster may crack or chip around the hook. Brick and wood might have surface marks or scratches. Identifying the wall material helps pick the right tools and repair materials.

Credit: www.reddit.com
Gather Repair Tools
Before fixing Command Hook wall damage, gather the right tools. Having the proper supplies makes the repair easier. It helps you avoid mistakes and saves time. Organize everything in one place. This way, you won’t lose anything during the repair process.
Essential Supplies
Start with basic repair items. Spackle or wall filler is necessary to fill holes. A putty knife helps spread the filler smoothly. Sandpaper smooths the surface after drying. A damp cloth cleans dust and debris. Primer and paint match your wall color. Use a small paintbrush or roller for touch-ups.
Optional Tools
These tools are not required but help improve results. A utility knife trims rough edges around the damage. Painter’s tape protects the wall’s edges during painting. A sanding block makes sanding easier and more even. A plastic scraper can replace the putty knife. Gloves keep your hands clean and safe.
Prepare The Wall
Preparing the wall is an important first step to fix Command hook damage. A clean and smooth surface helps repair materials stick better. It also makes the patch look neat and last longer.
Start with cleaning the wall to remove dust and dirt. Then remove any sticky residue left by the hook. These simple steps create the best base for repair.
Clean The Surface
Use a soft cloth or sponge with mild soap and water. Gently wipe the damaged area to clear away dust and grime. Avoid harsh scrubbing that can worsen the damage. Let the wall dry completely before moving on.
Remove Residue
Sticky glue or tape residue can stop repairs from sticking well. Use rubbing alcohol or a gentle adhesive remover on a cloth. Dab the residue carefully until it dissolves and wipes away. Make sure no residue remains for a smooth repair surface.
Credit: www.reddit.com
Fix Small Holes
Small holes left by Command hooks are easy to fix. You need just a few simple steps and some basic tools. Fixing these holes will make your wall look neat again. It also prepares the wall for painting or wallpapering.
Apply Spackling
Start by cleaning the hole and its edges. Use a damp cloth to remove dust and dirt. Take a small amount of spackling paste on a putty knife. Press the paste firmly into the hole. Spread it evenly, making the surface smooth and flat. Let the spackling dry completely. Drying time depends on the product, usually 15 to 30 minutes.
Smooth And Sand
After the spackling dries, check the surface. It should be even with the wall. Use fine-grit sandpaper to smooth the area gently. Sand in a circular motion for best results. Wipe away dust with a clean cloth. Now your wall is ready for painting or touch-ups. This step helps the repair blend in perfectly.
Repair Larger Damage
Repairing larger damage from Command hooks needs more than just filling holes. Big holes or deep dents require patching to restore the wall’s smooth surface. Proper repair stops the damage from getting worse and hides signs of the hook.
Follow simple steps to fix big holes and make your wall look new again.
Patch With Drywall
Start by cutting out the damaged part around the hole. Use a drywall piece slightly bigger than the hole. Fit the drywall patch inside the hole. Secure it with drywall screws to the wall studs or backing. Make sure the patch is flush with the wall surface. This step creates a strong base for the repair.
Secure And Blend
Cover the edges of the patch with joint compound. Use a putty knife to spread the compound evenly. Feather the edges to blend with the wall. Let it dry completely. Sand the area smooth once dry. Repeat applying compound and sanding for a seamless finish. Prime and paint the spot to match the wall color. This hides the patch and makes the wall uniform again.

Credit: www.reddit.com
Paint And Finish
After fixing the damage left by Command hooks, painting and finishing the wall is essential. This step helps the wall look smooth and clean again. It hides any patches or marks from the repair process. Proper painting also protects the wall from future damage.
Choose Matching Paint
Pick paint that matches your wall color exactly. Use a small paint sample or take a chip to the store. Many stores have tools to find the right color. Matching paint makes the repair less visible. It blends the patch with the rest of the wall perfectly.
Apply Primer And Paint
Start by applying a primer to the repaired area. Primer helps the paint stick better and last longer. Wait for the primer to dry fully before painting. Then, apply the matching paint in thin layers. Use a small brush or roller for smooth coverage. Let each layer dry before adding another. This process creates a clean, even finish on the wall.
Prevent Future Damage
Preventing damage to your walls keeps your home looking neat. It saves time and money on repairs. Taking simple steps can protect your walls from harm caused by Command hooks.
Small changes in how you use hooks and remove them can make a big difference. Protect your walls and enjoy your space without worry.
Use Alternative Hooks
Try hooks that do not use adhesive. Suction cup hooks work well on smooth surfaces. Magnetic hooks suit metal walls or doors. These options cause less damage than sticky strips.
Consider lightweight hooks with nails or pins. They leave tiny holes, easier to fix than big wall patches. Choose hooks made for your wall type for best results.
Proper Removal Techniques
Always remove Command hooks slowly and carefully. Pull the adhesive strip straight down, not outward. This reduces wall stress and prevents paint peeling.
Stretch the strip gently until it releases. Avoid ripping or pulling fast. Heat the strip with a hairdryer to soften glue if needed.
Check the wall after removal. Clean leftover residue with mild soap and water. This keeps the surface smooth for the next hook use.
Frequently Asked Questions
How Do I Repair Damage From Command Hooks?
To repair Command hook damage, clean the area first. Fill holes with spackle, smooth it, then let it dry. Sand lightly and repaint to match the wall. This restores the surface without visible marks.
Can I Prevent Wall Damage Using Command Hooks?
Yes, use Command hooks correctly to prevent damage. Follow weight limits and apply on smooth, clean surfaces. Remove hooks slowly by pulling the tab downward to avoid paint peeling.
What Materials Do I Need To Fix Command Hook Holes?
You need spackle or wall filler, a putty knife, sandpaper, primer, and matching paint. These materials help fill holes, smooth the wall, and restore its appearance effectively.
How Long Does It Take To Fix Command Hook Wall Damage?
Fixing Command hook damage usually takes a few hours. Drying time for spackle or filler is about 1-2 hours. Painting and drying may take additional time depending on your paint type.
Conclusion
Fixing Command hook wall damage is simple and quick. Small holes and marks vanish with basic tools. You can restore your wall without hiring experts. Take your time to smooth and paint the area. This keeps your walls looking clean and fresh.
Regular care helps avoid future damage. Enjoy your neat and tidy space again.