Hanging a picture might seem simple, but if you’ve ever had a frame fall and leave a hole in your wall, you know it’s not always that easy. Using a wall anchor can make the difference between a secure hold and a messy repair.
If you want your pictures to stay put and your walls to stay damage-free, this guide is for you. Keep reading, and you’ll learn exactly how to hang a picture with a wall anchor—quickly, safely, and like a pro.
Choosing The Right Wall Anchor
Choosing the right wall anchor is key to hanging pictures securely. The right anchor supports the weight and fits your wall type. Using the wrong anchor can cause damage or make the picture fall. Understanding different anchors helps you pick the best one for your needs.
Types Of Wall Anchors
Plastic expansion anchors are common and easy to use. They work well with drywall and light loads. Metal anchors are stronger and fit heavier pictures. Toggle bolts spread inside the wall for firm hold. Molly bolts expand behind drywall for extra support. Each type suits different wall conditions and weights.
Matching Anchors To Wall Material
Drywall needs lighter anchors like plastic or molly bolts. Concrete or brick walls require heavy-duty anchors, such as sleeve or wedge anchors. Hollow walls benefit from toggle bolts for better grip. Match the anchor type to your wall material for safe hanging.
Weight Capacity Considerations
Check the anchor’s weight limit before buying. Light anchors hold up to 20 pounds. Medium anchors support up to 50 pounds. Heavy anchors can hold over 100 pounds. Choose an anchor with a capacity higher than your picture’s weight. This prevents accidents and wall damage.

Credit: www.mirrorspace.com.au
Gathering Necessary Tools
Gathering the right tools makes hanging a picture with a wall anchor easier. Having everything ready saves time and avoids mistakes. It helps you work safely and get good results. Below are the tools you will need.
Essential Tools Checklist
- Wall anchors suitable for your wall type
- Screwdriver or drill with screwdriver bit
- Hammer for tapping anchors into place
- Measuring tape to mark the spot
- Level to keep the picture straight
- Pencil for marking holes
- Screws that fit the wall anchors
Optional Tools For Accuracy
- Stud finder to locate wall studs
- Laser level for precise alignment
- Masking tape to mark measurements clearly
- Awl or nail to start pilot holes
Preparing The Wall
Preparing the wall is the first step to hang a picture with a wall anchor. This step ensures the picture stays secure and looks great. Taking time now saves hassle later. Follow these simple tips to get ready.
Locating The Perfect Spot
Choose a spot on the wall that suits the picture size. Look for a place free from obstacles like switches or studs. Use your eyes to check the wall’s surface for damage or uneven areas. A smooth, clean spot holds the anchor better. Stand back and see how the spot looks from different angles. Pick a height that fits the room and your style.
Marking Drill Points
Mark the exact points where you will drill holes. Use a pencil to make small dots. Measure twice to keep marks even and straight. Use a level tool to ensure the marks are aligned. Clear marks help avoid mistakes during drilling. Keep the marks light so you can erase them later if needed.
Installing The Wall Anchor
Installing the wall anchor is a key step to hang your picture safely. It supports the weight and keeps the picture secure on the wall. Follow these steps carefully to place the anchor correctly.
Drilling The Hole
Choose a drill bit that matches the size of your wall anchor. Mark the spot on the wall where you want to hang the picture. Hold the drill steady and drill straight into the wall at the mark. Drill just deep enough for the anchor to fit inside. Clean out dust from the hole before moving on.
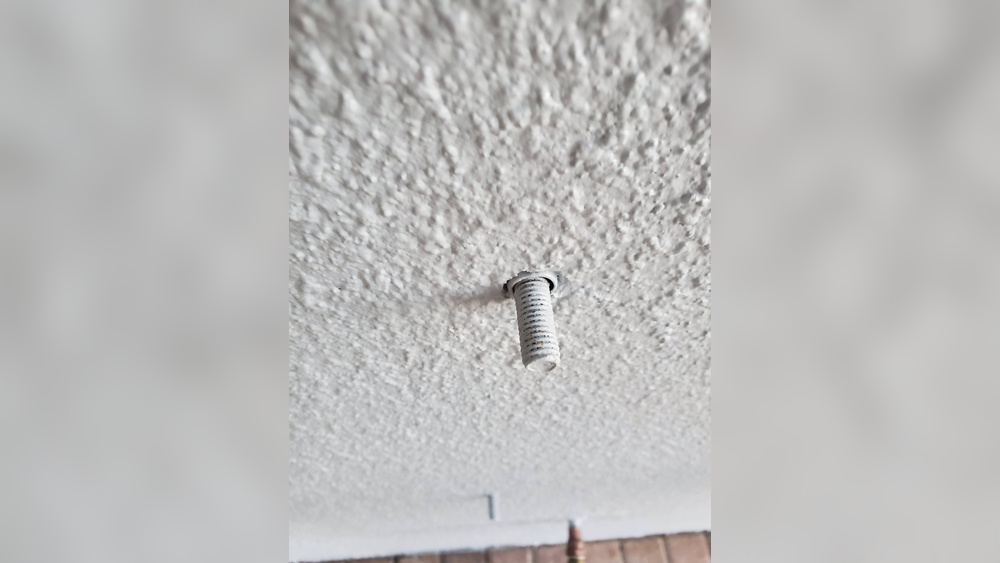
Inserting The Anchor Properly
Push the wall anchor into the drilled hole gently. Tap it lightly with a hammer until it is flush with the wall surface. Make sure the anchor fits tight and does not wiggle. This ensures a strong hold for your picture hook or screw. Check that the anchor is secure before hanging your picture.
Hanging The Picture
Hanging a picture with a wall anchor needs care and attention. The right steps help keep your artwork safe and straight. This section guides you through hanging your picture properly. Follow each step to ensure a secure hold and neat display.
Attaching Hardware To The Frame
Start by checking the back of your picture frame. Attach D-rings or sawtooth hangers on both sides. Use screws that fit your frame material. Make sure the hardware is level and secure. This provides a strong base for hanging.
For heavier pictures, use sturdy hardware like wire or heavy-duty hooks. Avoid using thin or weak materials. Double-check that all screws are tight. Loose hardware can cause the frame to fall.
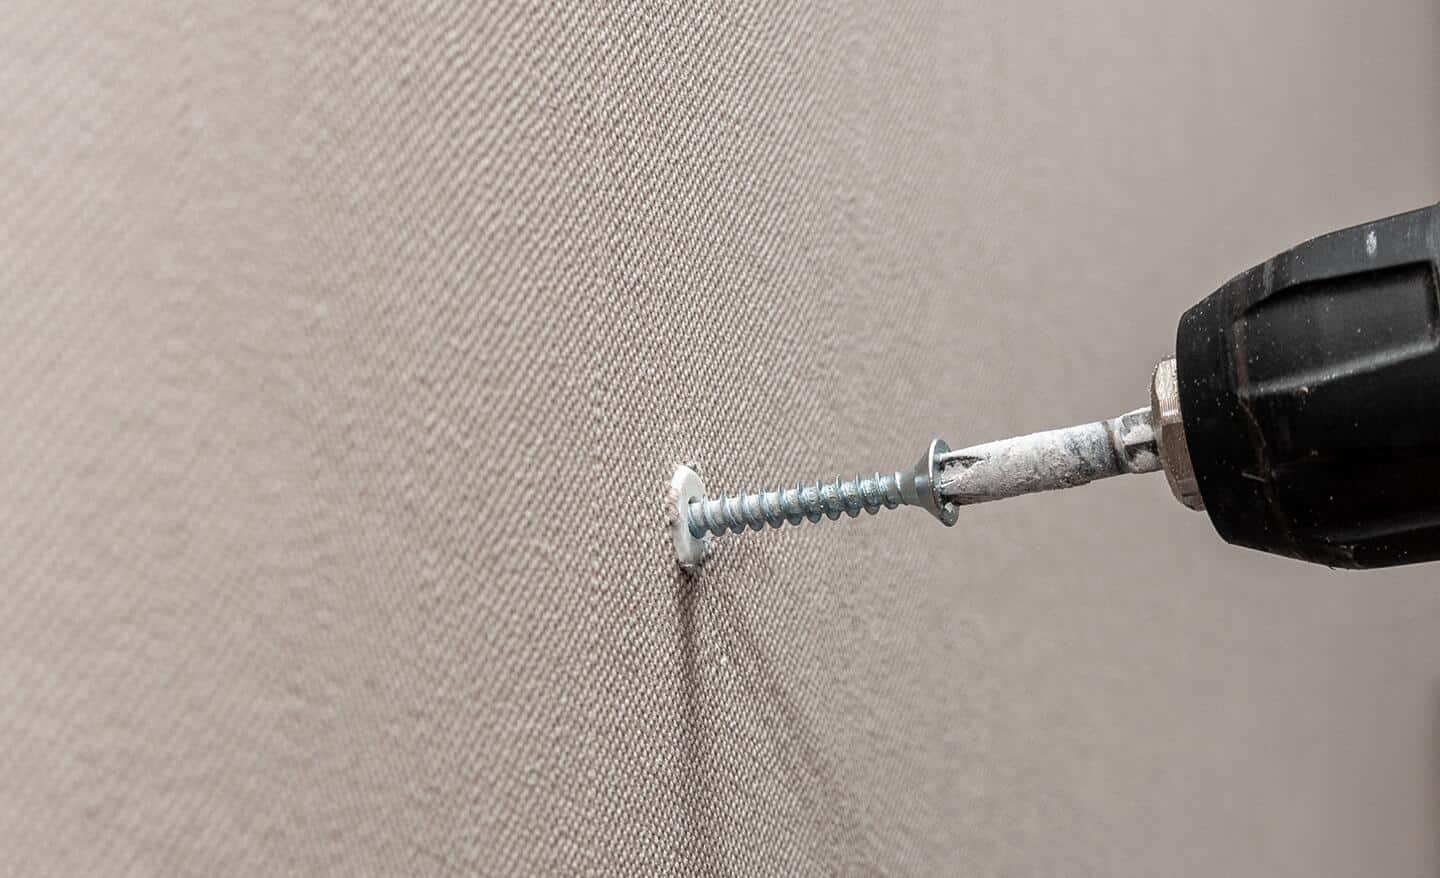
Securing The Picture On The Wall
Insert the wall anchor into the marked spot on your wall. Tap it gently until flush with the surface. Screw the hook or screw into the anchor firmly. The anchor holds the screw tightly in drywall or plaster.
Hang your picture carefully on the screw or hook. Adjust the position until it is level. Use a level tool to check straightness. Press gently on the frame to test stability. If it feels loose, tighten the screw or adjust the anchor.
Credit: www.homedepot.com
Ensuring Perfect Placement
Ensuring perfect placement is key to hanging a picture with a wall anchor. A well-placed picture looks balanced and enhances the room’s style. Taking time to position it right avoids crooked angles and uneven spacing.
Small adjustments can make a big difference. Careful measuring and checking keep your picture straight and centered. This process helps the picture stand out and complements other wall decor.
Leveling Techniques
Start by using a spirit level to check horizontal alignment. Hold the level on top of the frame before marking the spot. This ensures the picture will hang straight and not tilt.
For larger pictures, use two levels—one on top, one on the side. This double check stops any slanting in either direction. Mark the wall lightly with a pencil for the anchor placement.
Adjusting For Symmetry
Symmetry creates a pleasing and balanced look on the wall. Measure equal distances from nearby furniture or wall edges. Use a tape measure to confirm these gaps are the same on each side.
If hanging multiple pictures, space them evenly. Align their centers along the same horizontal line. This simple step helps the arrangement look neat and professional.
Common Mistakes To Avoid
Hanging a picture with a wall anchor seems simple but often goes wrong. Small mistakes can cause the picture to fall or damage the wall. Avoiding common errors helps keep your picture secure and your wall safe. Here are key mistakes to watch out for.
Incorrect Anchor Selection
Choosing the wrong type of anchor weakens the hold. Drywall anchors do not work well on concrete or brick walls. Use anchors designed for your wall type. Check the weight limit of the anchor. Picking an anchor too small can cause it to fail.
Improper Drill Depth
Drilling too shallow makes the anchor sit loose. Drilling too deep can damage the wall and reduce grip. Measure the anchor length before drilling. Drill a hole just a bit longer than the anchor size. This ensures a snug and secure fit.
Overloading The Anchor
Anchors have weight limits. Hanging heavy pictures on small anchors leads to failure. Always check the anchor’s weight rating. Spread weight across multiple anchors for large or heavy frames. Overloading causes the anchor to pull out and damage the wall.

Credit: www.picturehangsolutions.com
Tips For Different Wall Types
Choosing the right wall anchor depends on your wall type. Different walls need different anchors for a secure hold. Knowing your wall material helps prevent damage and keeps your picture safe. Here are tips for common wall types.
Drywall Specific Advice
Drywall is fragile and can crack easily. Use plastic or metal anchors made for drywall. Avoid heavy pictures without strong anchors. Drill a small pilot hole first. Push the anchor in until flush with the wall. Screw in the hook or screw gently.
Concrete And Brick Walls
Concrete and brick need strong anchors. Use masonry anchors or sleeve anchors. Drill a hole with a masonry bit first. Clean out dust before inserting the anchor. Tap the anchor in with a hammer. Tighten screws slowly to avoid cracks.
Plaster Wall Considerations
Plaster walls are thick but brittle. Use anchors designed for plaster or toggle bolts. Avoid large holes that weaken the wall. Drill carefully to prevent cracks. Insert the anchor gently. Support heavier items with multiple anchors.
Frequently Asked Questions
What Types Of Wall Anchors Are Best For Hanging Pictures?
Plastic expansion anchors suit light frames. Metal anchors hold medium to heavy pictures securely. Choose anchors based on wall material and weight.
How Do I Install A Wall Anchor Correctly?
Drill a hole matching the anchor size. Insert the anchor flush with the wall. Screw in the screw, leaving enough space to hang the picture.
Can I Hang Pictures On Drywall Without Studs?
Yes, using appropriate wall anchors. They distribute weight and prevent damage. Choose anchors rated for your picture’s weight.
How Much Weight Can A Wall Anchor Hold?
Weight capacity varies by anchor type. Plastic anchors hold up to 20 pounds. Metal anchors can support 50 pounds or more.
Conclusion
Hanging a picture with a wall anchor is simple and safe. Choose the right anchor for your wall type. Mark the spot carefully before drilling. Insert the anchor firmly and screw in the hook. Check that the picture hangs straight and steady.
This method helps avoid wall damage and keeps your art secure. Take your time and follow each step. Enjoy your beautifully displayed picture with confidence.