
Are you struggling to remove your Medeco deadbolt and don’t know where to start? Whether you’re upgrading your lock or fixing a jam, taking apart a Medeco deadbolt can seem tricky.
But don’t worry—this guide will walk you through each step clearly and simply. By the end, you’ll have the confidence to remove your deadbolt quickly and safely, without damaging your door or lock. Keep reading to learn exactly what you need to do.
Tools Needed
Removing a Medeco deadbolt requires specific tools. Having the right tools makes the job easier and safer. Use tools that fit well and work correctly.
Prepare all tools before starting. This saves time and avoids frustration. Keep everything close and ready.
Flathead Screwdriver
A flathead screwdriver helps remove screws on the lock. Choose one that fits the screw size well. It prevents damage to the screws and lock.
Phillips Screwdriver
Many Medeco deadbolts use Phillips screws. Use a matching Phillips screwdriver for these screws. It provides better grip and control.
Allen Wrench Set
Some Medeco locks have small hex screws. An Allen wrench set covers different sizes. It helps reach tight screws inside the lock.
Needle Nose Pliers
Needle nose pliers help pull out pins or clips. They work well in small, narrow spaces. Use them carefully to avoid bending parts.
Drill With Metal Drill Bits
In tough cases, a drill may be needed. Use metal drill bits for stronger materials. Drill slowly to avoid damaging the door.
Credit: guides.brit.co
Prepare The Door
Preparing the door is an important first step to remove a Medeco deadbolt safely. It helps avoid damage to the door and lock parts. Taking time to prepare ensures the process goes smoothly and quickly.
Organize your tools and clear the area around the door. This makes it easier to work and reduces mistakes. A tidy workspace also helps you find parts and screws easily as you remove the deadbolt.
Gather Necessary Tools
Collect all tools before starting. You need a screwdriver set, a drill, and possibly a pick tool. Having the right tools prevents delays and frustration.
Clear The Work Area
Remove any rugs or objects near the door. This prevents tripping or losing small parts. Keep the area clean and bright for better visibility.
Inspect The Door And Lock
Check the door for damage or unusual features. Notice the lock type and screw placements. Understanding these details helps avoid mistakes during removal.
Remove The Interior Cover
Removing the interior cover of a Medeco deadbolt is the first step in taking the lock apart. This cover hides important parts inside the door. It protects the lock’s mechanism from dust and damage.
Taking off the cover lets you see the screws and inner parts you need to work on. The process is simple but requires care to avoid breaking anything. Follow these steps carefully to remove the interior cover safely.
Locate The Screws Holding The Cover
Look closely at the interior side of the door. Find the screws that keep the cover in place. Usually, two or three screws hold the cover tight. Use a good flashlight if the area is dark.
Use The Correct Screwdriver
Pick a screwdriver that fits the screws exactly. Most Medeco deadbolts use a Phillips or flat-head screwdriver. Using the wrong tool can strip the screw heads and make removal hard.
Remove The Screws Carefully
Turn each screw slowly to avoid slipping. Keep the screws in a safe place for reassembly. If a screw feels stuck, apply light pressure but do not force it.
Lift Off The Interior Cover
After all screws are out, gently pull the cover away from the door. It should come off easily without using force. If it sticks, check for missed screws or clips holding it.
Unscrew The Deadbolt
Unscrewing the deadbolt is the key step to remove a Medeco deadbolt. This step allows you to separate the lock from the door. It is simple but requires attention to details.
Start by locating the screws on the interior side of the door. These screws hold the deadbolt in place. Removing them will free the lock from the door frame.
Gather The Right Tools
Use a screwdriver that fits the screw heads perfectly. Usually, a Phillips-head screwdriver works best. Having the right tool prevents damage to screws and lock.
Remove The Interior Screws
Turn the screws counterclockwise slowly. Keep a firm grip on the screwdriver to avoid slipping. Once loose, take the screws out completely and keep them safe.
Separate The Deadbolt Components
After removing the screws, gently pull the lock apart. The interior and exterior parts of the deadbolt should come apart easily. Avoid forcing them to prevent damage.
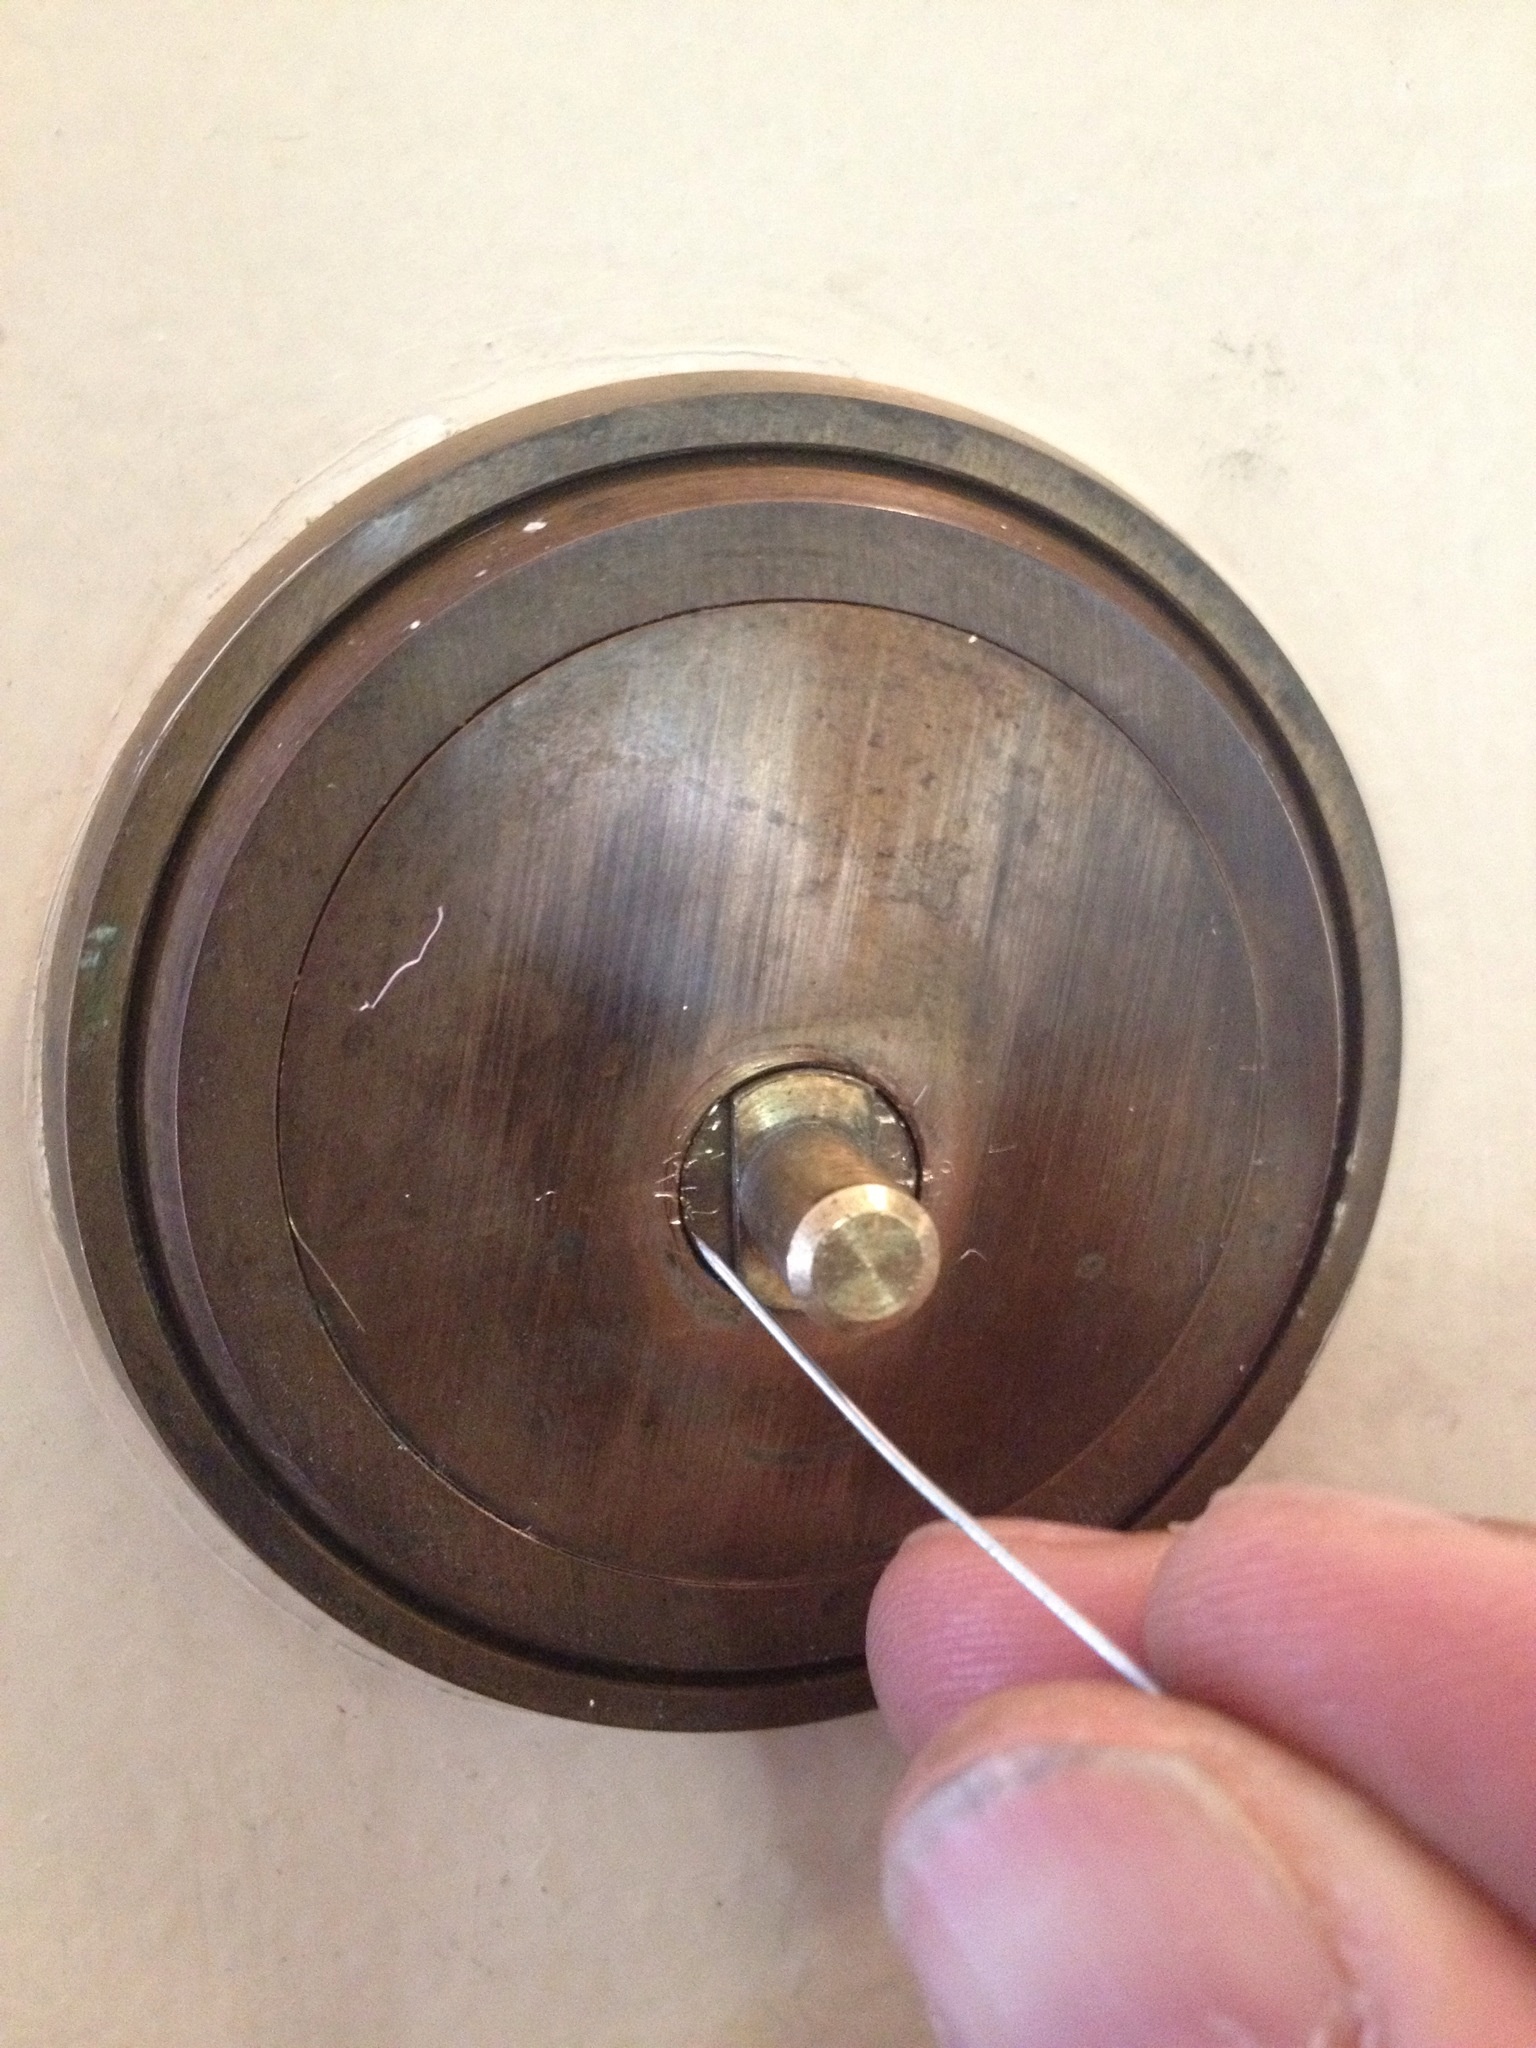
Extract The Deadbolt Mechanism
Extracting the deadbolt mechanism is a key step in removing a Medeco deadbolt. This part controls the locking and unlocking of your door. Removing it carefully allows access for repairs or replacement.
Start by preparing your tools and workspace. A clear area helps prevent losing small parts. Take your time to avoid damage to the lock or door.
Locate And Remove The Mounting Screws
Find the screws holding the deadbolt faceplate to the door edge. These screws keep the mechanism in place. Use a screwdriver to remove them carefully. Keep the screws safe for reassembly.
Pull Out The Deadbolt Mechanism
After removing screws, gently pull the deadbolt mechanism from the door. It should slide out smoothly without force. If stuck, wiggle it slightly to loosen.
Check For Additional Fasteners
Some Medeco deadbolts have extra clips or screws inside. Look closely inside the door edge. Remove any extra fasteners before pulling out the mechanism fully.
Handle The Mechanism With Care
The deadbolt contains small, delicate parts inside. Avoid dropping or hitting it. Place it on a soft surface to prevent damage during inspection or replacement.
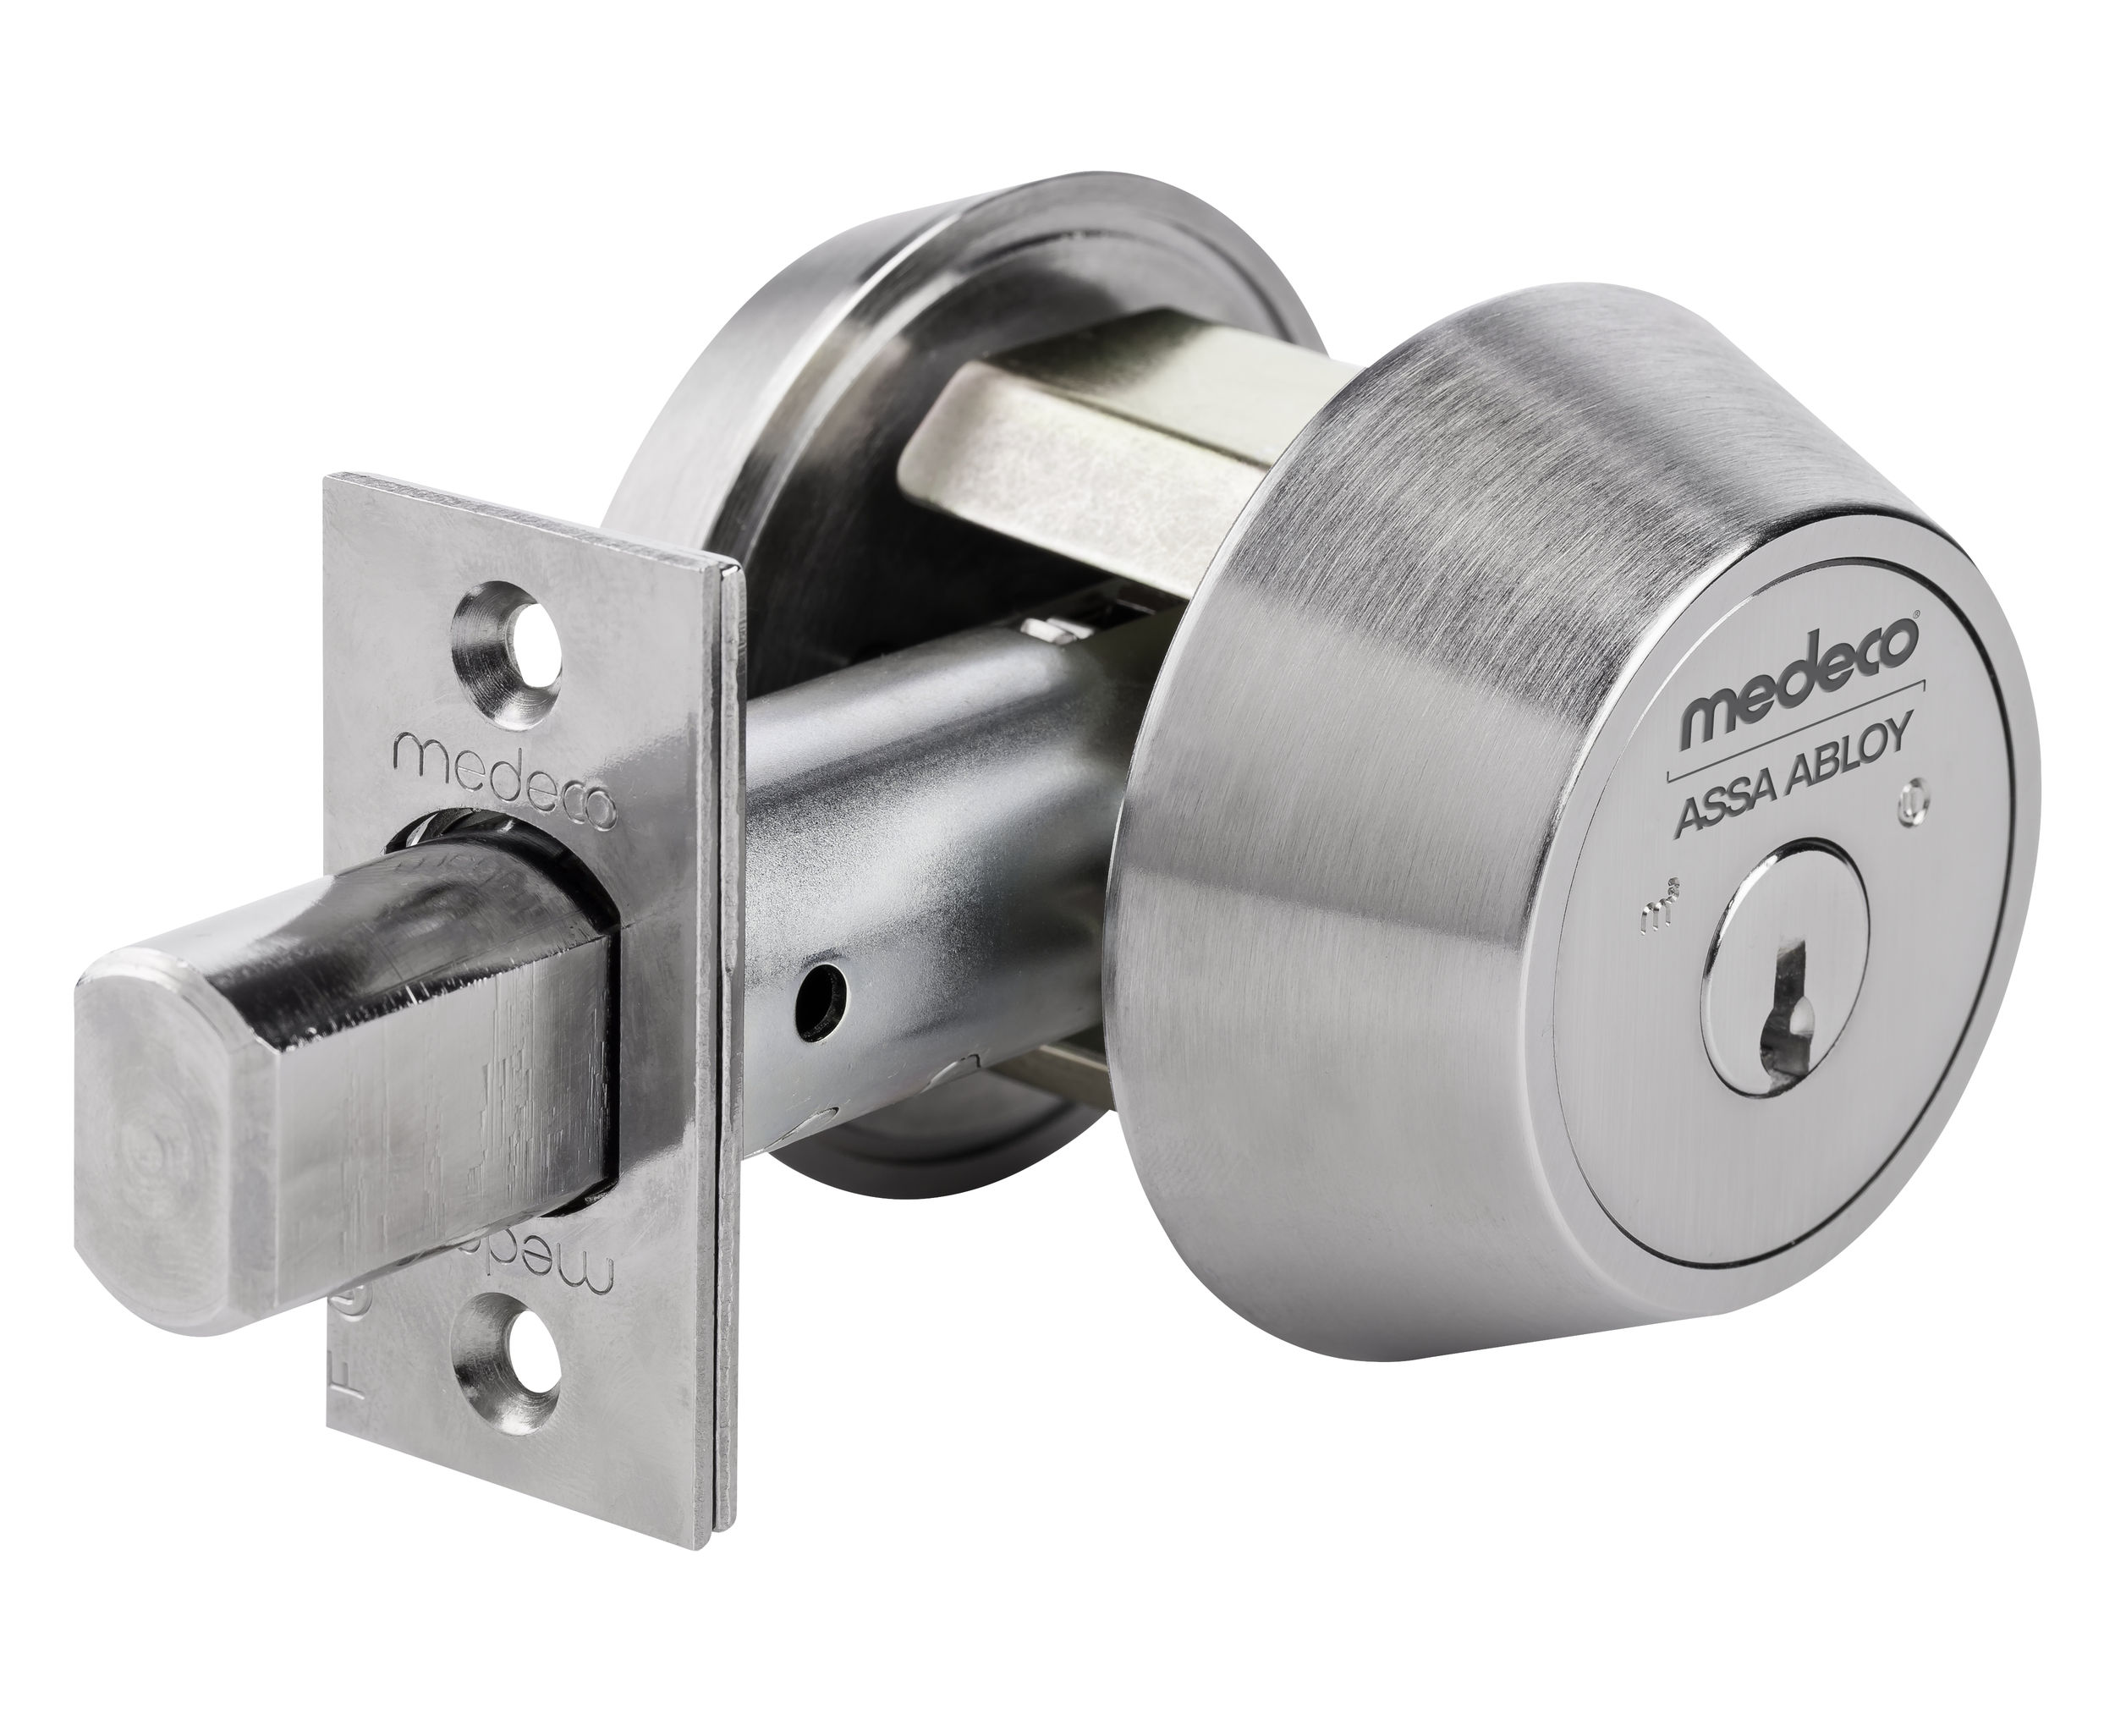
Credit: www.medeco.com
Remove The Faceplate
Removing the faceplate is a key step in taking apart a Medeco deadbolt. The faceplate covers the internal parts of the lock and holds everything in place. Taking it off carefully helps you access the screws and mechanisms inside.
It is important to work slowly and use the right tools. This prevents damage to the lock or door. A smooth removal of the faceplate makes the rest of the process easier.
Gather The Necessary Tools
Start by collecting a screwdriver that fits the faceplate screws. Usually, a Phillips head screwdriver works best. Make sure the tool is in good condition for a firm grip.
Locate And Remove The Screws
Look closely at the faceplate to find all screws. They often sit at the top and bottom. Unscrew them gently, turning counterclockwise. Keep the screws safe for later use.
Lift The Faceplate Carefully
After removing screws, pull the faceplate away from the door. Use your fingers or a flat tool to help. Avoid forcing it to prevent bending or breaking.
Inspect The Exposed Parts
With the faceplate off, check the lock’s inner parts. Notice how they connect and move. This view helps in understanding how to remove the deadbolt fully.
Troubleshooting Common Issues
Troubleshooting common issues helps remove a Medeco deadbolt smoothly. Problems can stop you from taking out the lock. Knowing how to solve these problems saves time and frustration.
Understanding common troubles keeps the process simple. It also protects your lock from damage. Follow these tips to fix usual problems and remove the deadbolt easily.
Stuck Deadbolt Cylinder
A stuck cylinder means the lock won’t turn. Dirt or rust often causes this. Spray a small amount of lubricant inside the keyhole. Insert and turn the key gently. This loosens the cylinder for easier removal.
Broken Key Inside Lock
A broken key blocks the lock from working. Use needle-nose pliers to pull out the key piece. If it is deep inside, try a key extractor tool. Avoid pushing the fragment further into the lock.
Deadbolt Not Retracting
The deadbolt may not pull back after turning the key. Check the screws on the faceplate and strike plate. Loose screws can stop smooth movement. Tighten any loose screws before trying again.
Difficulty Removing Screws
Screws can be tight or rusty. Use a screwdriver with a good grip. Apply pressure while turning slowly. If stuck, spray a little penetrating oil and wait a few minutes. This softens rust and eases removal.
Tips For Reinstallation Or Replacement
Reinstalling or replacing a Medeco deadbolt needs care and patience. Proper steps help the lock work smoothly and keep your home safe. Follow simple tips to avoid mistakes and ensure a good fit.
Prepare The Door And Lock Parts
Clean the door surface before installation. Remove dirt and old adhesive. Check all lock parts for damage or missing pieces. Organize screws and tools for easy access.
Align The Deadbolt Correctly
Place the deadbolt in the door hole carefully. Make sure the bolt slides freely in and out. Align the lock body with the screw holes. Misalignment causes the lock to jam or fail.
Tighten Screws Evenly And Securely
Use a screwdriver to tighten screws slowly. Alternate between screws to keep pressure balanced. Avoid overtightening to prevent damage. Secure screws until the lock feels firm.
Test Lock Function Before Finalizing
Turn the key or knob several times. Check if the deadbolt moves smoothly. Test from both sides of the door. Fix any stiffness or binding before finishing.
Check Strike Plate Position
Ensure the strike plate lines up with the bolt. Adjust the plate if the bolt does not enter easily. Secure the strike plate with strong screws. Proper alignment improves security and ease.

Credit: www.youtube.com
Frequently Asked Questions
How Do I Remove A Medeco Deadbolt Lock?
To remove a Medeco deadbolt, first unscrew the interior knob or thumb turn. Next, remove the screws from the faceplate. Finally, pull the lock cylinder out carefully to avoid damage. Always keep the key handy for easier lock cylinder removal.
What Tools Are Needed To Remove A Medeco Deadbolt?
You need a Phillips screwdriver, a flathead screwdriver, and possibly needle-nose pliers. These tools help remove screws and gently pry off components without damaging the lock or door. Having the correct tools ensures a smooth removal process.
Can I Remove A Medeco Deadbolt Without The Key?
Removing a Medeco deadbolt without a key is difficult and not recommended. The lock is designed for security, requiring the key to turn the cylinder for removal. In emergencies, consult a professional locksmith to avoid damage.
How Long Does It Take To Remove A Medeco Deadbolt?
Removing a Medeco deadbolt typically takes 10 to 20 minutes for someone with basic tools and skills. The process involves unscrewing parts and carefully removing the cylinder. Experience may reduce this time.
Conclusion
Removing a Medeco deadbolt is simple with the right steps. Take your time and follow instructions carefully. Always keep your tools ready and work patiently. This guide helps you avoid damage to the lock or door. You can handle this task without special skills.
Stay safe and check your work after finishing. Now, you feel confident to remove your Medeco deadbolt easily.


