Have you ever faced the frustration of a stubborn deadbolt lock that just won’t budge? Whether you’re upgrading your security or fixing a jammed lock, knowing how to remove a deadbolt lock can save you time and money.
In this guide, you’ll discover simple, step-by-step instructions that anyone can follow—even if you’re not a DIY expert. Keep reading, and you’ll gain the confidence to handle your deadbolt like a pro.
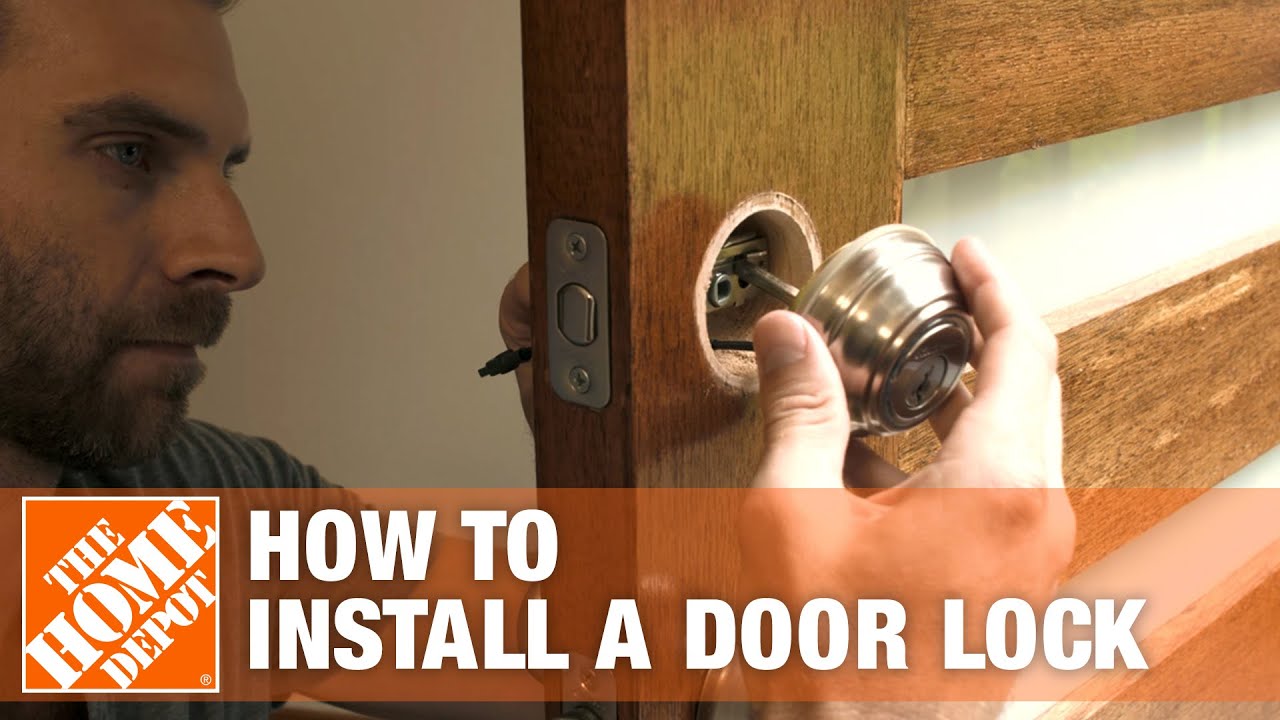
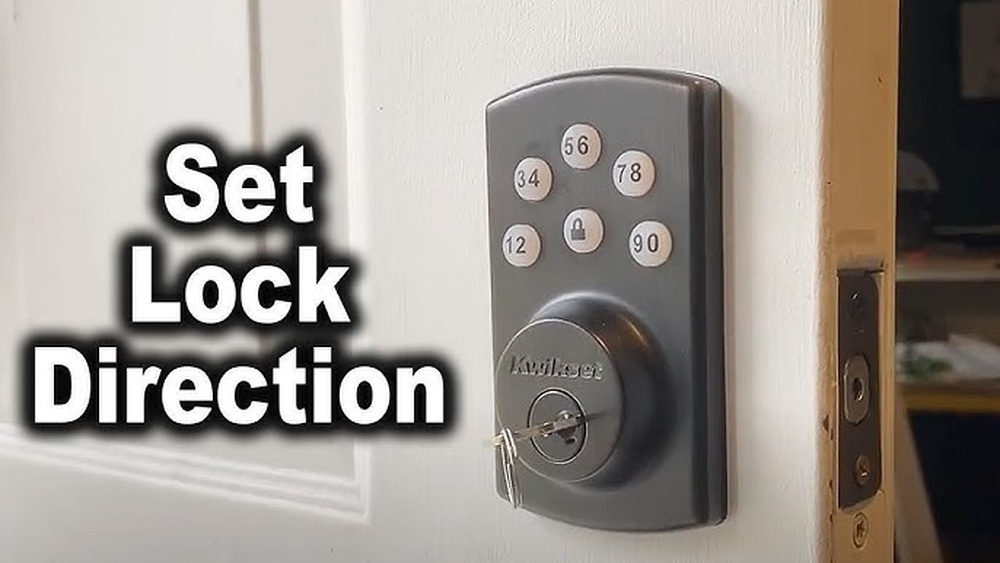
Credit: www.youtube.com
Tools Needed
Removing a deadbolt lock requires the right tools. Having the proper tools makes the job easier and faster. Some tools are essential, while others help with tougher locks. Gather your tools before starting the removal process. This ensures you won’t stop midway.
Essential Tools
A screwdriver is a must-have tool. Most deadbolts use Phillips or flat-head screws. A tape measure helps to check the lock size. Pliers can assist in gripping small parts. A flashlight improves visibility inside the lock area.
Optional Tools For Stubborn Locks
Some deadbolts may be hard to remove. A drill can help if screws are stripped or painted over. A pry bar aids in gently lifting the lock from the door. Lubricant spray loosens rusty or stuck parts. Safety gloves protect your hands during tough jobs.
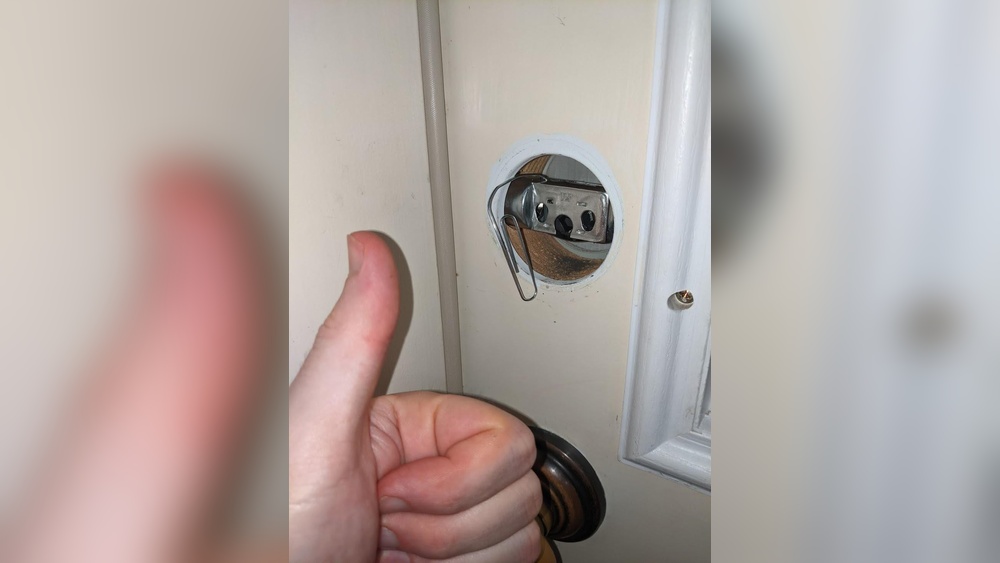
Credit: www.doorclosersusa.com
Prepare The Lock
Preparing the lock is the first step to remove a deadbolt safely. It helps avoid damage and makes the process smooth. Take time to get ready before starting the removal.
Clear The Area
Clear the space around the door. Remove items that block your work. This gives you enough room to move tools freely. A tidy area reduces accidents and saves time.
Inspect The Lock
Look closely at the deadbolt lock. Check how it is fixed on the door. Identify screws and parts you need to remove. Understanding the lock helps you work faster and avoid mistakes.
Remove The Interior Side
Removing the interior side of a deadbolt lock is the first step in taking the lock off. This part holds the lock mechanism and the thumb turn inside your door. Removing it carefully helps avoid damage and makes the next steps easier. Follow these simple steps to remove the interior side safely.
Locate Screws
Look closely at the interior side of the lock. You will see small screws holding it in place. These screws are usually found around the edge of the faceplate or under a small cover. Use a flashlight if needed to spot them clearly. Knowing where these screws are is important before you start unscrewing.
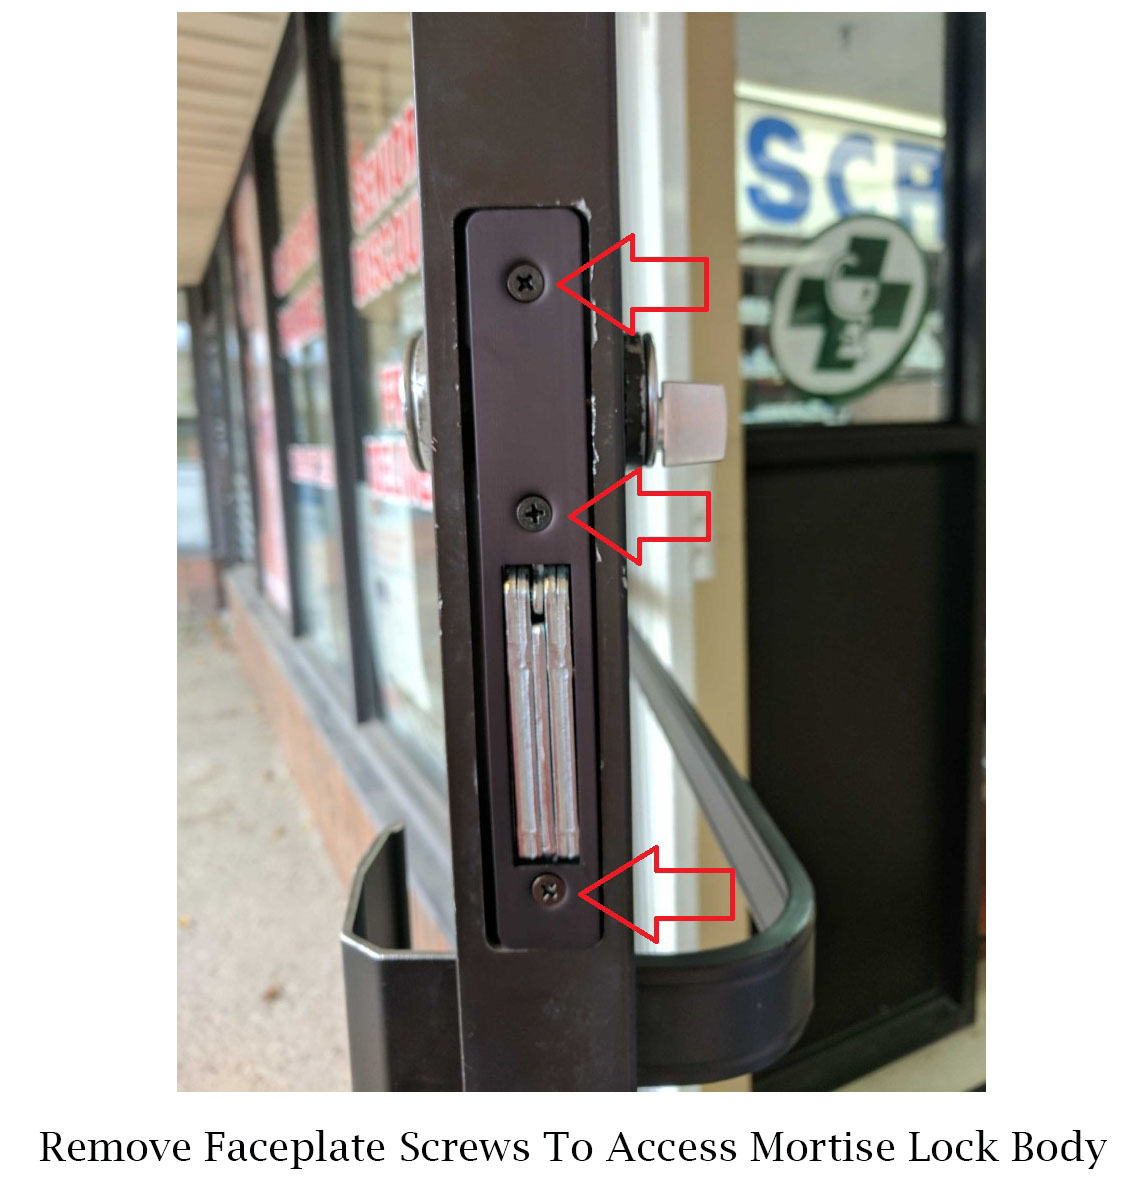
Unscrew The Faceplate
Use a screwdriver to turn the screws counterclockwise. Remove all screws completely. Keep the screws safe to use later. Once the screws are out, gently pull the faceplate away from the door. If it does not come off easily, check for hidden screws or clips. Removing the faceplate reveals the inner lock parts.
Detach The Exterior Side
Detaching the exterior side of a deadbolt lock is the first step in removal. This part usually contains the keyhole and the outer handle or knob. Removing it carefully helps access the inner parts of the lock. Follow these simple steps to remove the exterior side without causing damage.
Make sure you have the right tools ready, such as a screwdriver. Stay calm and work slowly to avoid breaking any pieces. This process is straightforward with the right approach.
Pull Off The Exterior Lock
Start by locating the screws on the exterior side. These screws often sit around the edges of the lock plate. Use a screwdriver to remove them carefully. Keep the screws safe for reinstallation or disposal.
Once screws are out, gently pull the exterior lock away from the door. It may need a slight wiggle or firm pull to come off. Avoid forcing it to prevent damage to the door or lock.
Handle Stuck Components
Sometimes, the exterior lock sticks or resists removal. Dust, rust, or paint can cause parts to stick. Use a lubricant spray to loosen tight areas. Apply it sparingly and wait a few minutes.
Try pulling again with steady pressure. If it still won’t budge, check for hidden screws or clips. Use a flat tool like a putty knife to gently pry stuck parts free. Work carefully to protect the door surface.
Extract The Deadbolt
Extracting the deadbolt is a key step in removing the lock. This part holds the door securely closed. Taking it out lets you replace or fix the lock easily. Follow clear steps to do it safely and quickly.
Remove The Bolt Mechanism
Start by opening the door fully. Look at the edge where the deadbolt extends. You will see screws holding the bolt mechanism in place. Use a screwdriver to remove these screws. Pull the bolt mechanism straight out from the door edge. Be gentle to avoid damaging the door.
Check For Hidden Fasteners
Some deadbolts have extra screws or clips hidden. Check inside the bolt hole with a flashlight. Look for small covers or plugs that hide screws. Remove these covers carefully. Unscrew any hidden fasteners found. This step ensures the bolt can come out smoothly.
Tips For Difficult Deadbolts
Removing a deadbolt lock can be tricky, especially if it feels stuck or old. Some deadbolts resist simple removal due to rust, dirt, or tight screws. These tips help you handle tough deadbolts without damage. Use care and patience. Small steps make a big difference.
Using Lubricants
Lubricants help loosen stuck deadbolts. Spray a small amount into the keyhole and around the lock. Let it sit for a few minutes. The lubricant breaks down rust and dirt inside the lock. This makes turning the key or removing screws easier. Use a graphite or silicone-based lubricant for best results. Avoid oil-based sprays; they can attract dust.
Applying Gentle Force
Gentle force helps with stubborn deadbolts. Use a screwdriver or wrench carefully. Do not push or twist too hard. Small back-and-forth movements can free tight screws or bolts. Try tapping the lock lightly with a rubber mallet. This can loosen rust without damaging the lock. Stop if you feel resistance. Excess force might break the lock or door.
Reinstalling Or Replacing The Lock
After removing a deadbolt lock, the next step is to reinstall or replace it. This process ensures your door stays secure. You can choose to put the old lock back or install a new one. Proper installation matters for safety and smooth use. Follow simple steps to get the lock working well again.
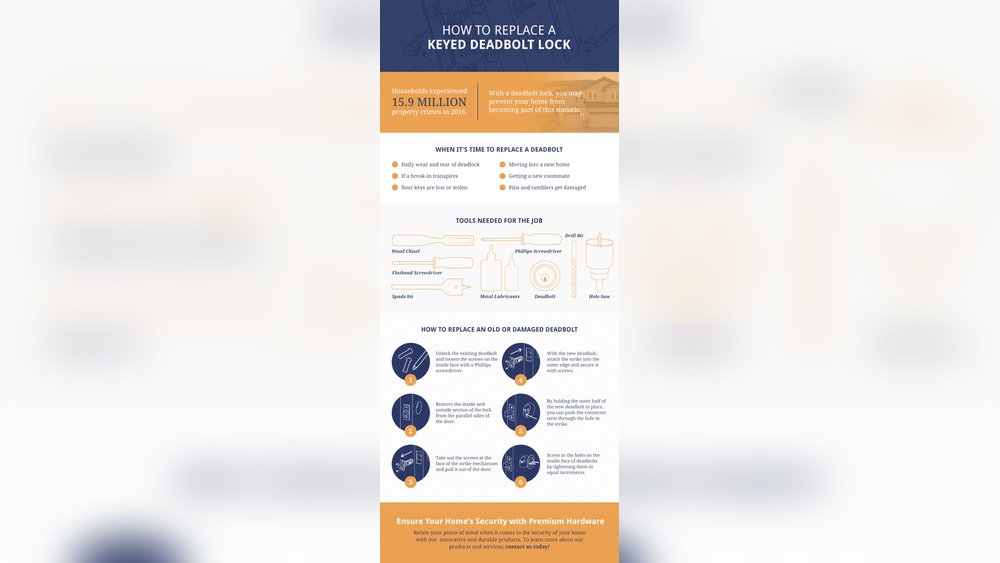
Choosing A New Deadbolt
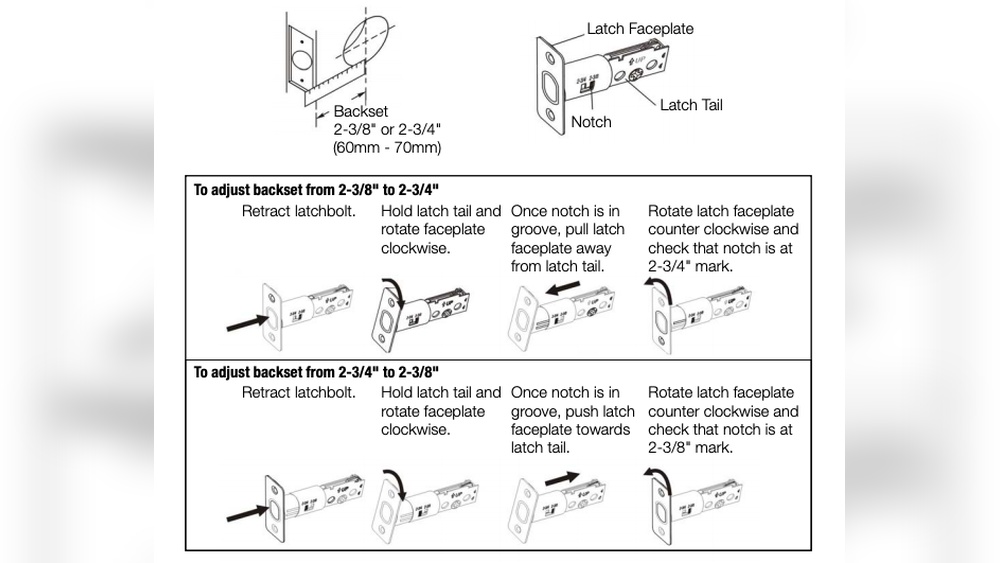
Select a deadbolt that fits your door’s size and style. Check the backset distance—the space from the edge of the door to the center of the hole. Common backsets are 2-3/8 or 2-3/4 inches. Pick a lock with a solid metal build for long-lasting strength. Consider key type and security features. Some locks offer extra protection against picking or drilling.
Installation Basics
Start by aligning the new lock’s parts with the door holes. Insert the latch into the edge of the door first. Secure it with screws to keep it tight. Attach the exterior and interior parts, making sure the key turns smoothly. Tighten all screws evenly to avoid misalignment. Test the lock several times to ensure it works without sticking. Adjust if needed before final tightening.
Safety Precautions
Removing a deadbolt lock requires care and attention to safety. Taking the right precautions protects your door and yourself. It helps avoid costly damage and injuries. Before starting, understand the steps to keep the process smooth and safe.
Avoiding Damage
Use the correct tools for removing a deadbolt lock. Avoid using too much force on screws and parts. Too much pressure can break the lock or damage the door. Work slowly and gently to keep everything intact. Keep screws and small parts safe for reinstallation or disposal.
Personal Safety Measures
Wear safety gloves to protect your hands from sharp edges. Use eye protection to guard against flying debris. Keep your workspace clear to prevent trips and falls. Work in a well-lit area to see all parts clearly. Take breaks if you feel tired to avoid mistakes or accidents.

Credit: www.youtube.com
Frequently Asked Questions
How Do You Remove A Deadbolt Lock From A Door?
To remove a deadbolt, first unscrew the interior thumb turn and exterior cylinder. Then, remove the screws from the faceplate on the door edge. Finally, pull out the lock components carefully to avoid damage.
What Tools Are Needed To Remove A Deadbolt Lock?
You need a screwdriver, usually Phillips or flathead, to remove screws. A drill may help with stubborn screws. Additionally, a pair of pliers can assist in pulling out the lock parts if necessary.
Can I Remove A Deadbolt Without The Key?
Yes, you can remove a deadbolt without a key by unscrewing the interior thumb turn and door edge screws. If the cylinder is locked, you may need to drill it out or call a locksmith for assistance.
How Long Does It Take To Remove A Deadbolt Lock?
Removing a deadbolt typically takes 10 to 20 minutes, depending on your experience and tool availability. Careful unscrewing and handling will ensure no damage to the door or lock components.
Conclusion
Removing a deadbolt lock can be simple with the right steps. Always gather the needed tools before starting. Take your time and follow each step carefully. If the lock feels stuck, try loosening the screws first. Safety matters—keep your fingers clear of sharp edges.
After removal, check the door for any damage. This helps when installing a new lock later. You can handle this task yourself with patience. Small repairs like this save money and build skills. Ready to try? Keep this guide handy for a smooth process.