Have you ever tried to remove a wall anchor and ended up making a bigger mess? You’re not alone.
Wall anchors can be stubborn, and pulling them out the wrong way might damage your wall. But don’t worry—this guide will show you simple, effective steps to get that anchor out cleanly and with minimal effort. Keep reading to learn how to save your walls and make your next project easier than ever.
Types Of Wall Anchors
Wall anchors help hold items securely on walls. Different types fit different needs. Knowing each type helps remove them properly. Here are common wall anchors used in homes and offices.
Plastic Expansion Anchors
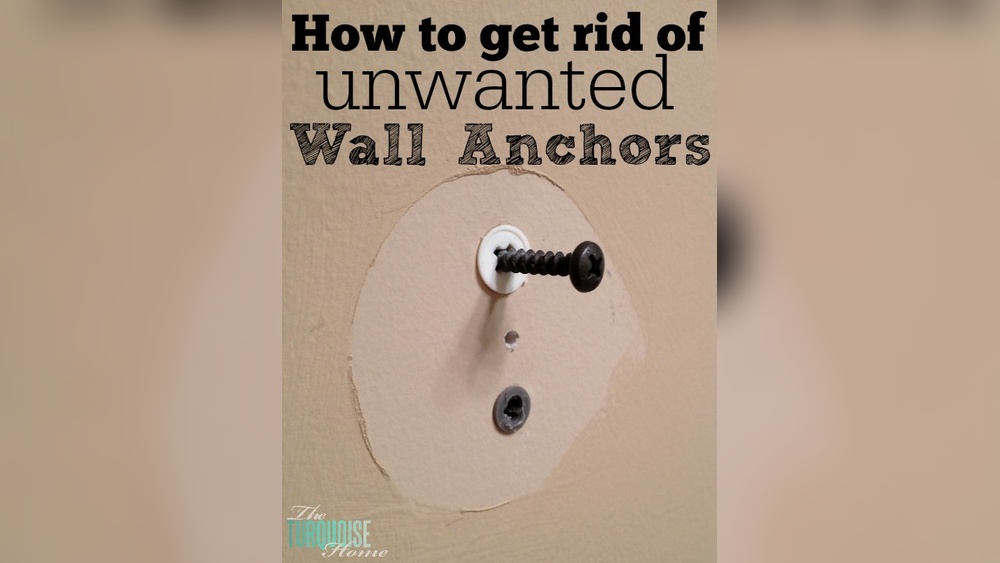
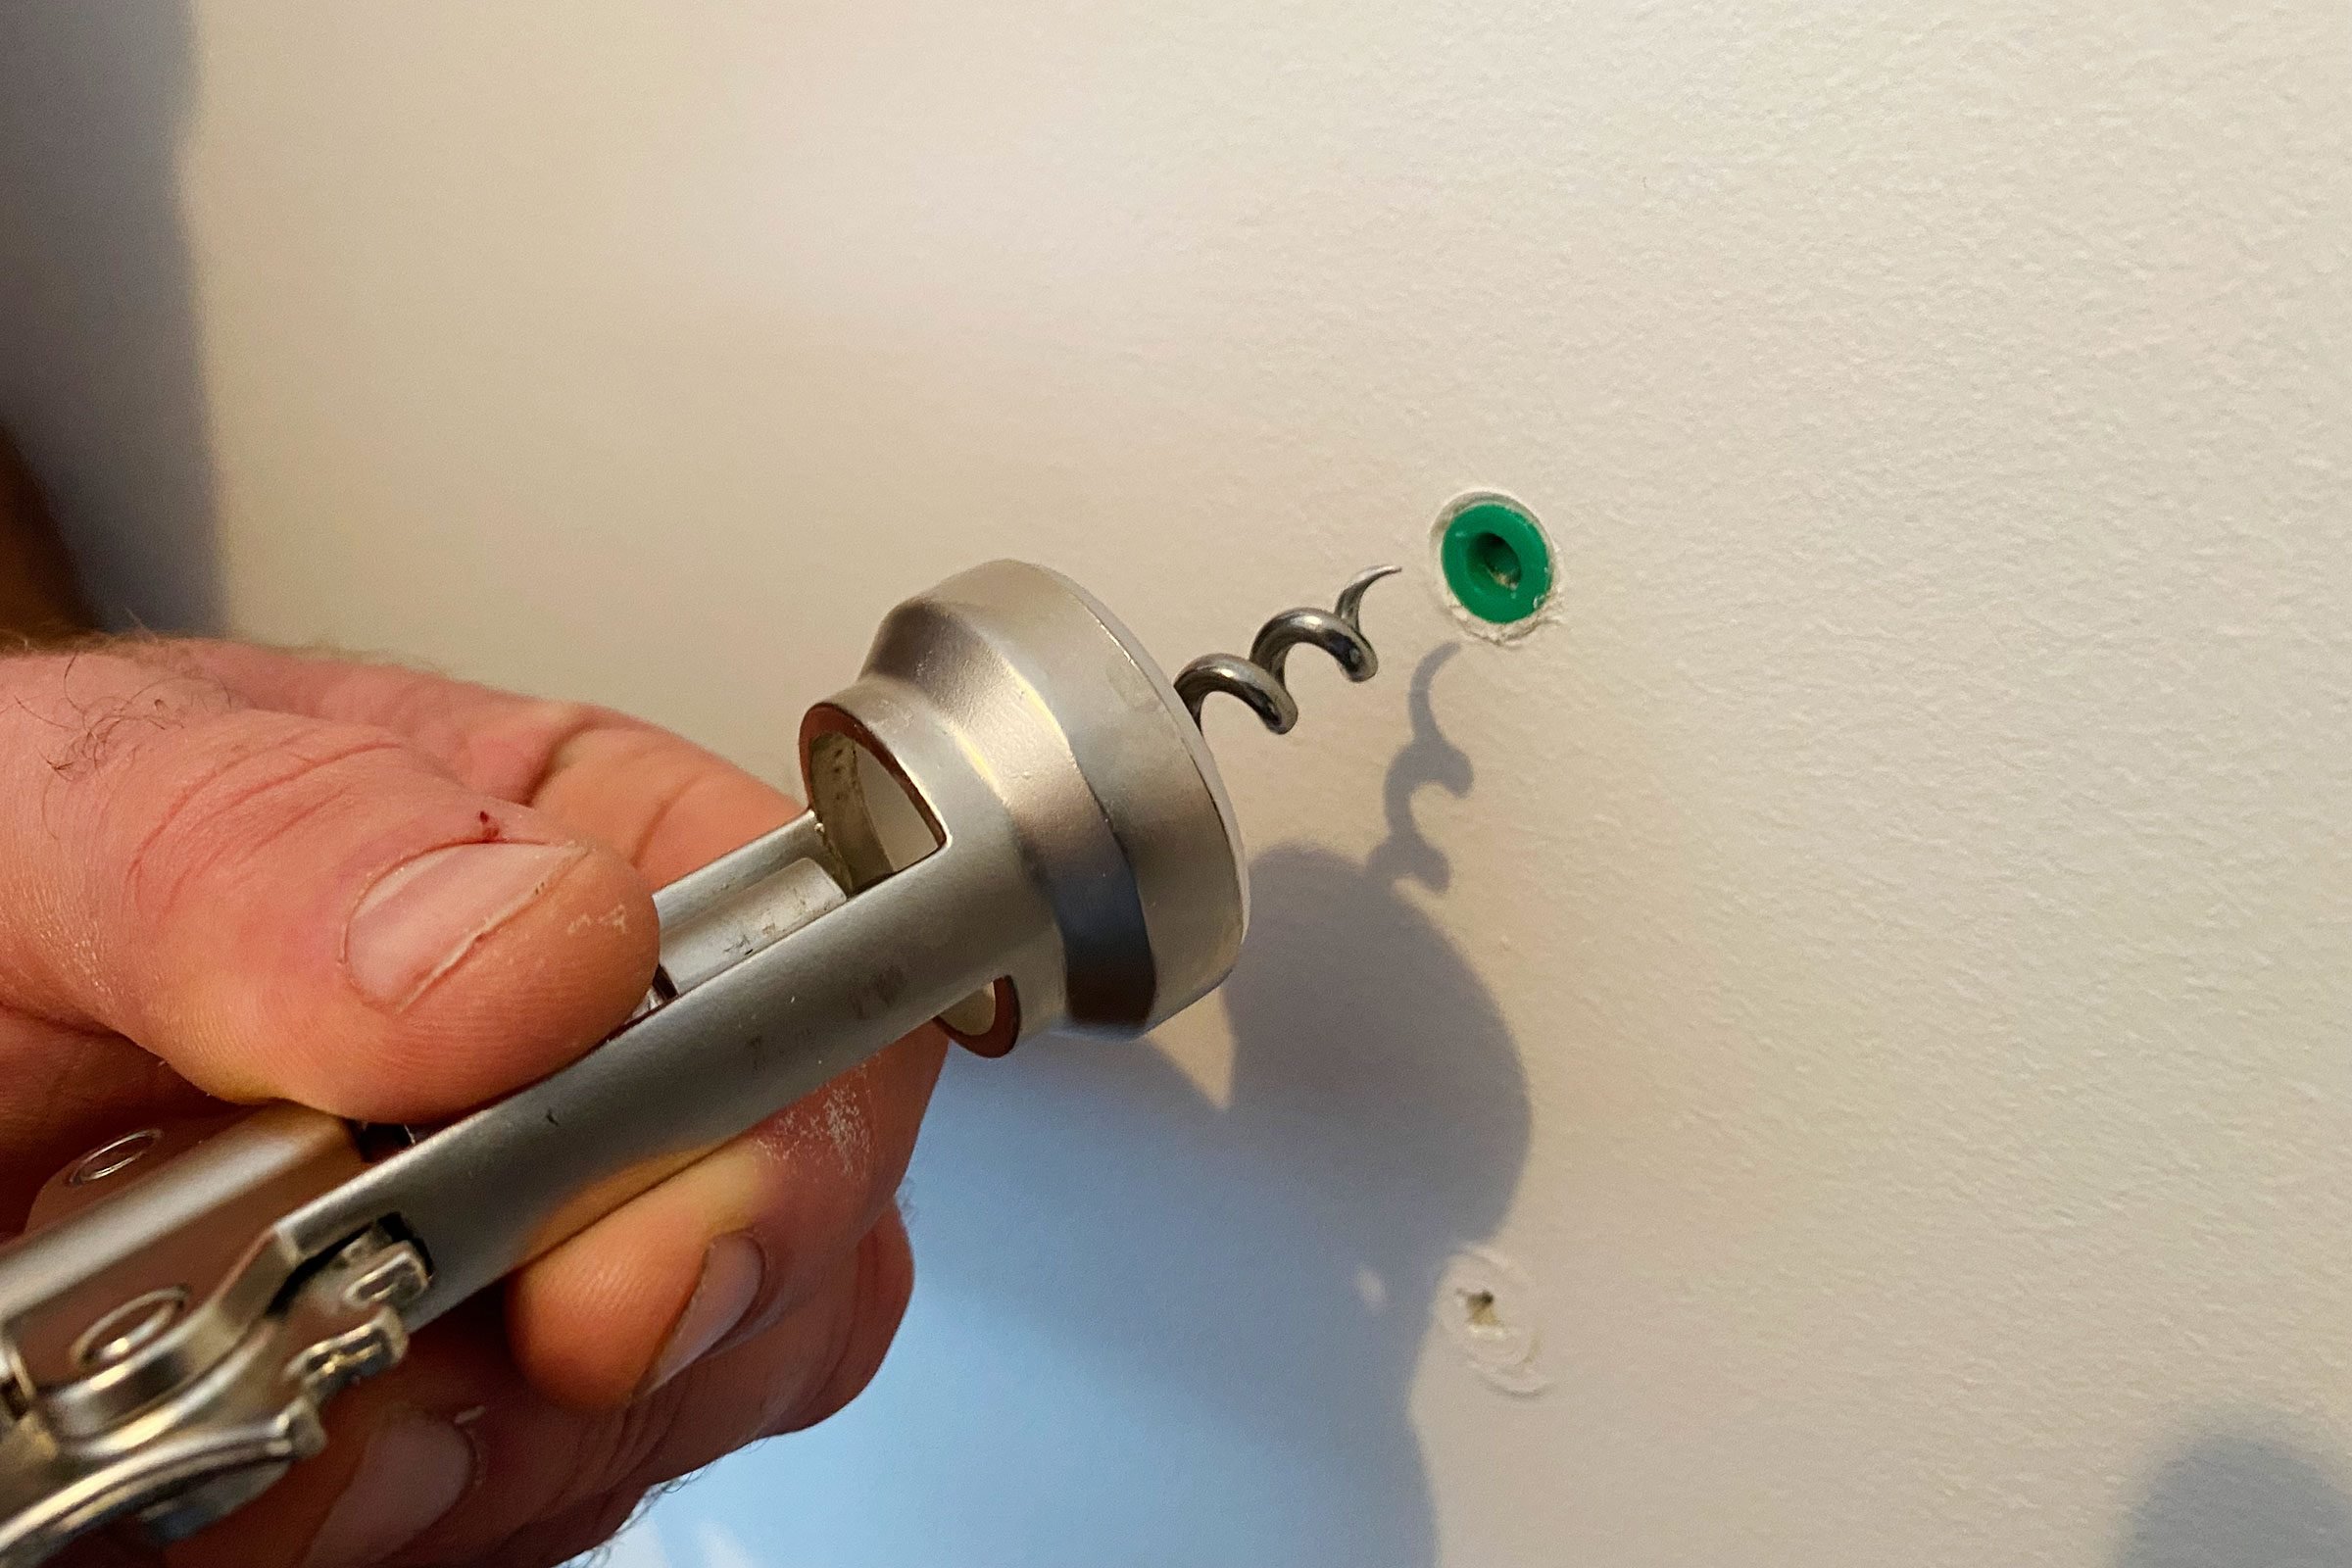
Plastic expansion anchors are simple and widely used. They expand inside the wall when a screw is inserted. These anchors work well in drywall. Removal involves unscrewing and gently pulling out the anchor.
Toggle Bolts
Toggle bolts have wings that open inside the wall. They provide strong support for heavy items. Removing toggle bolts requires unscrewing and collapsing the wings carefully. This type leaves a larger hole behind.
Molly Bolts
Molly bolts are metal anchors that expand inside the wall. They are great for medium-weight loads. Removal can be tricky; sometimes the bolt must be unscrewed, and the anchor pushed inside the wall.
Self-drilling Anchors
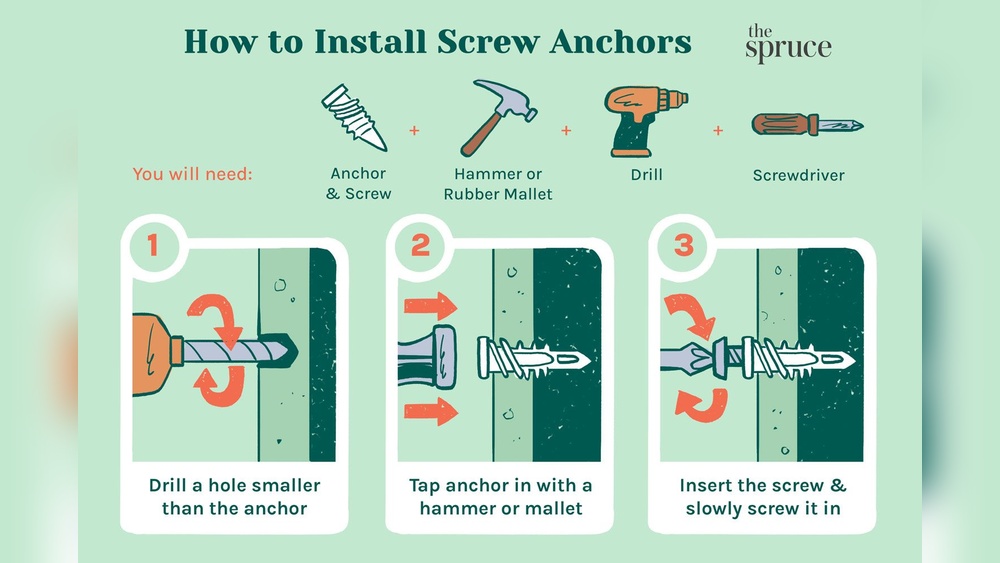
Self-drilling anchors screw directly into drywall without pre-drilling. They are easy to install and remove. To remove, unscrew the anchor slowly and pull it out carefully. These anchors cause minimal wall damage.
Credit: www.familyhandyman.com
Tools Needed For Removal
Removing a wall anchor can be tricky without the right tools. Preparing the tools ahead saves time and effort. Each tool serves a specific purpose in the removal process. Understanding their roles helps you work safely and efficiently.
Screwdriver
A screwdriver is essential to unscrew any screws in the anchor. Choose a screwdriver that fits the screw head perfectly. This prevents stripping the screw and makes removal easier. A flathead or Phillips screwdriver works for most anchors.
Pliers
Pliers provide a strong grip to pull the anchor out of the wall. Needle-nose pliers are ideal for tight spaces. Use gentle, steady force to avoid damaging the wall. Pliers also help twist and loosen stubborn anchors.
Drill
A drill can remove anchors stuck deep inside the wall. Use a small drill bit to carefully drill into the anchor. This breaks it into pieces for easy removal. Drilling requires caution to avoid wall damage.
Utility Knife
A utility knife helps cut away any drywall or paint around the anchor. This exposes the anchor for easier removal. Use the knife carefully to avoid cutting too deep. It also cleans rough edges after anchor removal.
Removing Plastic Expansion Anchors
Plastic expansion anchors are common in many walls. They hold screws tightly in drywall or plaster. Removing them can be tricky but is possible with simple tools and techniques.
These anchors expand inside the wall, making them secure. Removing them without damaging the wall is the goal. Two easy methods work well for this task.
Pulling Out With Pliers
Grab the anchor’s outer edge with needle-nose pliers. Pull it straight out slowly and gently. Wiggle the anchor slightly to loosen it first. If it resists, try pulling while twisting. Avoid using too much force to prevent wall damage. This method works best with anchors that stick out a bit.
Pushing Through The Wall
Use a screwdriver or a similar tool to push the anchor inside. Press it gently through the wall cavity. The anchor will fall behind the drywall. This leaves a small hole to fill later. This method works well for flush anchors. It is faster and less likely to cause wall cracks.

Credit: www.hgtv.com
Taking Out Toggle Bolts
Removing toggle bolts can be tricky. These anchors hold strongly inside the wall. They spread open behind the drywall for extra grip. Removing them needs care to avoid damage. Follow these simple steps to get the toggle bolt out safely.
Unscrewing The Bolt
Start by turning the bolt counterclockwise. Use a screwdriver that fits well. Keep steady pressure to avoid stripping the head. Turn slowly until the bolt comes free. If the bolt spins but does not loosen, it may be stripped or stuck. Try gripping the bolt head with pliers for better control.
Dealing With The Toggle
The toggle part stays inside the wall once the bolt is out. It usually falls into the wall cavity. To remove it, push gently on the drywall near the hole. This can dislodge the toggle. If it does not come out, patch the hole with spackle. The toggle will stay hidden behind the wall and cause no harm.
Extracting Molly Bolts
Molly bolts are common wall anchors for heavy items. Removing them can be tricky without damaging the wall. This guide shows how to take them out safely and easily. Follow these steps for a clean removal.
Loosening The Sleeve
Start by loosening the metal sleeve of the molly bolt. Use a screwdriver to turn the bolt counterclockwise. This action releases the grip inside the wall. Turn until the sleeve feels loose but stays in place. Avoid forcing the bolt out too fast.
Prying Out The Anchor
Next, gently pry the molly bolt from the wall. Use a flathead screwdriver or pliers for leverage. Insert the tool between the sleeve and the wall surface. Slowly pull or wiggle the anchor to loosen it. Take care not to widen the hole. Remove the bolt and sleeve carefully to keep the wall intact.
Handling Self-drilling Anchors
Self-drilling anchors are common in walls. They hold screws tightly without a pre-drilled hole. Removing them needs care to avoid wall damage. This section guides you through handling these anchors safely and easily.
Unscrewing The Anchor
Start by turning the screw counterclockwise. Use a screwdriver that fits well to avoid slipping. Pull the screw out gently as it loosens. The anchor may come out with the screw. If it stays in the wall, do not force it.
Removing Stubborn Anchors
Stubborn anchors need a different approach. Use needle-nose pliers to grip the anchor’s edge. Twist the anchor slowly while pulling it out. Push the anchor deeper if it breaks or resists. Fill the hole with spackling paste after removal to fix the wall.
Repairing Wall After Anchor Removal
Removing a wall anchor often leaves holes or damage on the wall surface. Repairing the wall is important to keep it smooth and clean. Fixing these spots helps the wall look fresh and ready for painting or decoration.
Follow simple steps to repair the wall after anchor removal. It takes just a little effort to restore the wall’s appearance. The two main steps are filling holes and then sanding and painting.
Filling Holes
Start by cleaning the hole from dust and loose material. Use a putty knife to apply wall filler or spackle into the hole. Press the filler firmly so it fills the hole completely. Overfill slightly to allow for shrinking as it dries. Let the filler dry fully, following the product instructions. Use more filler if needed for bigger holes. Filling holes properly creates a smooth base for the next steps.
Sanding And Painting
After the filler dries, use fine sandpaper to smooth the surface. Sand gently until the filled area is flush with the wall. Wipe off dust with a damp cloth to prepare for painting. Choose paint that matches your wall color. Apply a thin layer of paint over the repaired spot with a brush or roller. Let the paint dry and add more coats if needed. Sanding and painting finish the repair and blend the patch with the rest of the wall.
Safety Tips During Removal
Removing a wall anchor can be tricky and sometimes risky. Safety is the first thing to think about. Taking simple steps protects you and your wall. It also makes the job easier. Follow these safety tips to avoid injury and damage.
Wear Protective Gear
Always wear safety glasses to protect your eyes. Small pieces of wall or anchor may fly out. Gloves can protect your hands from sharp edges. Use a dust mask if the wall creates dust. Safety gear keeps you safe during removal.
Turn Off Power Near The Wall
Check if any wires run inside the wall near the anchor. Turn off the electricity from the main switch. This prevents electric shocks or accidents. Use a voltage tester to be sure wires are off.
Use The Right Tools
Choose tools made for wall anchor removal. Use a screwdriver or pliers that fit well. Poor tools can slip and hurt you or damage the wall. Sharp tools work better and make the task faster.
Work Slowly And Carefully
Do not rush the removal process. Pull or twist the anchor gently. Fast moves can break the anchor inside the wall. Slow work reduces the chance of injury or wall damage.
Keep The Area Clean
Clear the work area of clutter. Keep children and pets away. Clean up dust and debris often. A tidy space helps prevent slips and falls during removal.
Preventing Wall Damage
Removing a wall anchor can be tricky without harming your wall. The goal is to take it out cleanly. This prevents holes and cracks that need extra repair. Careful steps help keep your wall smooth and ready for new decorations.
Use The Right Tools For Removal
Select tools that fit the anchor size. Needle-nose pliers work well for small anchors. A screwdriver can help push out plastic anchors. Avoid forcing tools, which might damage the wall surface.
Work Slowly And Gently
Pull or push the anchor slowly. Quick or strong moves can tear the drywall. Take breaks if the anchor sticks. A steady hand reduces wall dents and scratches.
Fill The Hole Immediately
Fill holes right after removal. Use spackle or wall filler to close gaps. Smooth the surface with a putty knife. Let it dry before sanding for a neat finish.
Protect Surrounding Wall Area
Cover nearby wall parts with painter’s tape. This stops accidental scratches from tools. Keep the wall clean from dust and debris. A clean area means easier wall repair later.

Credit: www.wikihow.com
Frequently Asked Questions
How Do I Safely Remove A Wall Anchor?
To safely remove a wall anchor, use pliers to grip and gently pull it out. If it resists, drill around it carefully to loosen. Avoid damaging the wall by working slowly and using the right tools.
What Tools Are Needed To Remove Wall Anchors?
You will need pliers, a screwdriver, a drill, and possibly a utility knife. These tools help loosen, grip, and extract the anchor without damaging the wall surface.
Can I Patch The Hole After Removing A Wall Anchor?
Yes, patching is easy. Use spackle or wall filler to fill the hole. Sand it smooth once dry, then repaint for a seamless finish.
Why Is Removing Wall Anchors Sometimes Difficult?
Anchors can be hard to remove if they are deeply embedded or expanded inside the wall. They may also have barbs or wings that resist pulling, requiring extra care or drilling.
Conclusion
Removing a wall anchor can seem tricky but is doable. Use the right tools and take your time. Gently pull or twist the anchor to avoid damage. Patience helps prevent holes or cracks in your wall. With care, your wall will look smooth again.
Practice these simple steps for easy anchor removal. Keep your walls neat and ready for new decorations.