Have you noticed small holes or cracks on your plaster walls where hooks once hung? These little blemishes can make your room look unfinished and worn out.
But don’t worry—fixing them is easier than you might think. In this guide, you’ll learn simple, step-by-step methods to repair those holes quickly and smoothly. By the end, your walls will look fresh and flawless, ready for your next decoration.
Keep reading to discover how you can restore your plaster walls with just a few tools and some easy techniques.
Identify The Damage
Before fixing plaster walls damaged by hooks, start by identifying the damage. This step helps you understand what tools and materials you need. It also guides you on how to repair the wall properly. Careful inspection prevents further damage during repair.
Check The Hole Size
Look closely at the hole left by the hook. Is it small, like a pinhole, or large and rough? Small holes may only need simple patching. Larger holes might require filling and smoothing to match the wall surface. Measure the hole to know the exact size. This helps in choosing the right repair method and materials.
Assess Surrounding Area
Inspect the area around the hole for cracks or loose plaster. Cracks might spread if not fixed properly. Loose plaster can fall off during repair. Tap gently around the hole to check for weak spots. Note any damage beyond the hole itself. This ensures you repair all affected parts, not just the visible hole.

Credit: abutterflyhouse.com
Gather Repair Materials
Gathering the right repair materials is the first step to fix plaster walls from hooks. Having everything ready makes the process smooth and efficient. It saves time and avoids interruptions during repair.
Choosing proper tools and patch materials ensures a lasting fix. The wall will look clean and smooth after repair.
Select The Right Tools
Select tools that help you work neatly and safely. A putty knife is essential for applying patch materials. Choose one with a flexible, smooth blade for easy spreading.
Sandpaper helps smooth rough areas before and after patching. Pick fine-grit sandpaper to avoid damaging the plaster. A small paintbrush cleans dust from the hole before repair.
You also need a utility knife to trim loose plaster around the hole. A bucket or container holds water for cleaning tools or dampening the patch.
Choose Suitable Patch Materials
Select patch materials designed for plaster walls. Lightweight spackling paste works well for small holes left by hooks. It dries fast and sands easily.
For larger holes, use plaster repair compound for stronger support. It fills bigger gaps and bonds well with old plaster. Avoid using drywall mud on plaster walls; it does not stick as well.
Choose primer and paint that match your wall finish. A good primer helps patch blend with the rest of the wall. Use paint in the same color and finish for a seamless look.
Prepare The Wall Surface
Preparing the wall surface is the first step to fix plaster walls damaged by hooks. A clean and smooth surface helps the repair materials stick well. This step ensures a strong and lasting repair.
Clean The Area
Remove dust and dirt around the hole. Use a soft brush or cloth to wipe the surface. Cleaning helps the plaster patch bond better. Avoid wetting the wall too much. Let the area dry before moving on.
Remove Loose Plaster
Look for any plaster that is cracked or falling off. Use a putty knife to scrape away loose pieces. Removing weak plaster prevents future damage. Make the edges of the hole smooth and firm. This step creates a good base for patching.
Fill Small Holes
Filling small holes in plaster walls is a simple step to fix damage from hooks. It restores a smooth surface and prepares the wall for painting. Small holes need the right materials and care to look neat and last long.
Apply Spackling Compound
Start by cleaning the hole area with a dry cloth. Remove any loose plaster or dust. Use a putty knife to apply spackling compound into the hole. Press the compound firmly to fill the hole completely. Smooth the surface with the putty knife. Let the spackling dry for a few hours or as directed on the package.
Smooth And Sand
Once dry, check if the patch is level with the wall. Use fine sandpaper to smooth the area gently. Sand in small, circular motions for a flat finish. Wipe away dust with a soft cloth. Repeat sanding if needed until the patch blends well with the wall.
Fix Larger Holes
Fixing larger holes in plaster walls requires a bit more work than small nail holes. These holes from hooks can leave ugly gaps that need strong repair. Use the right materials and techniques to restore your wall smoothly. This section explains easy ways to fix bigger holes and make your wall look new again.
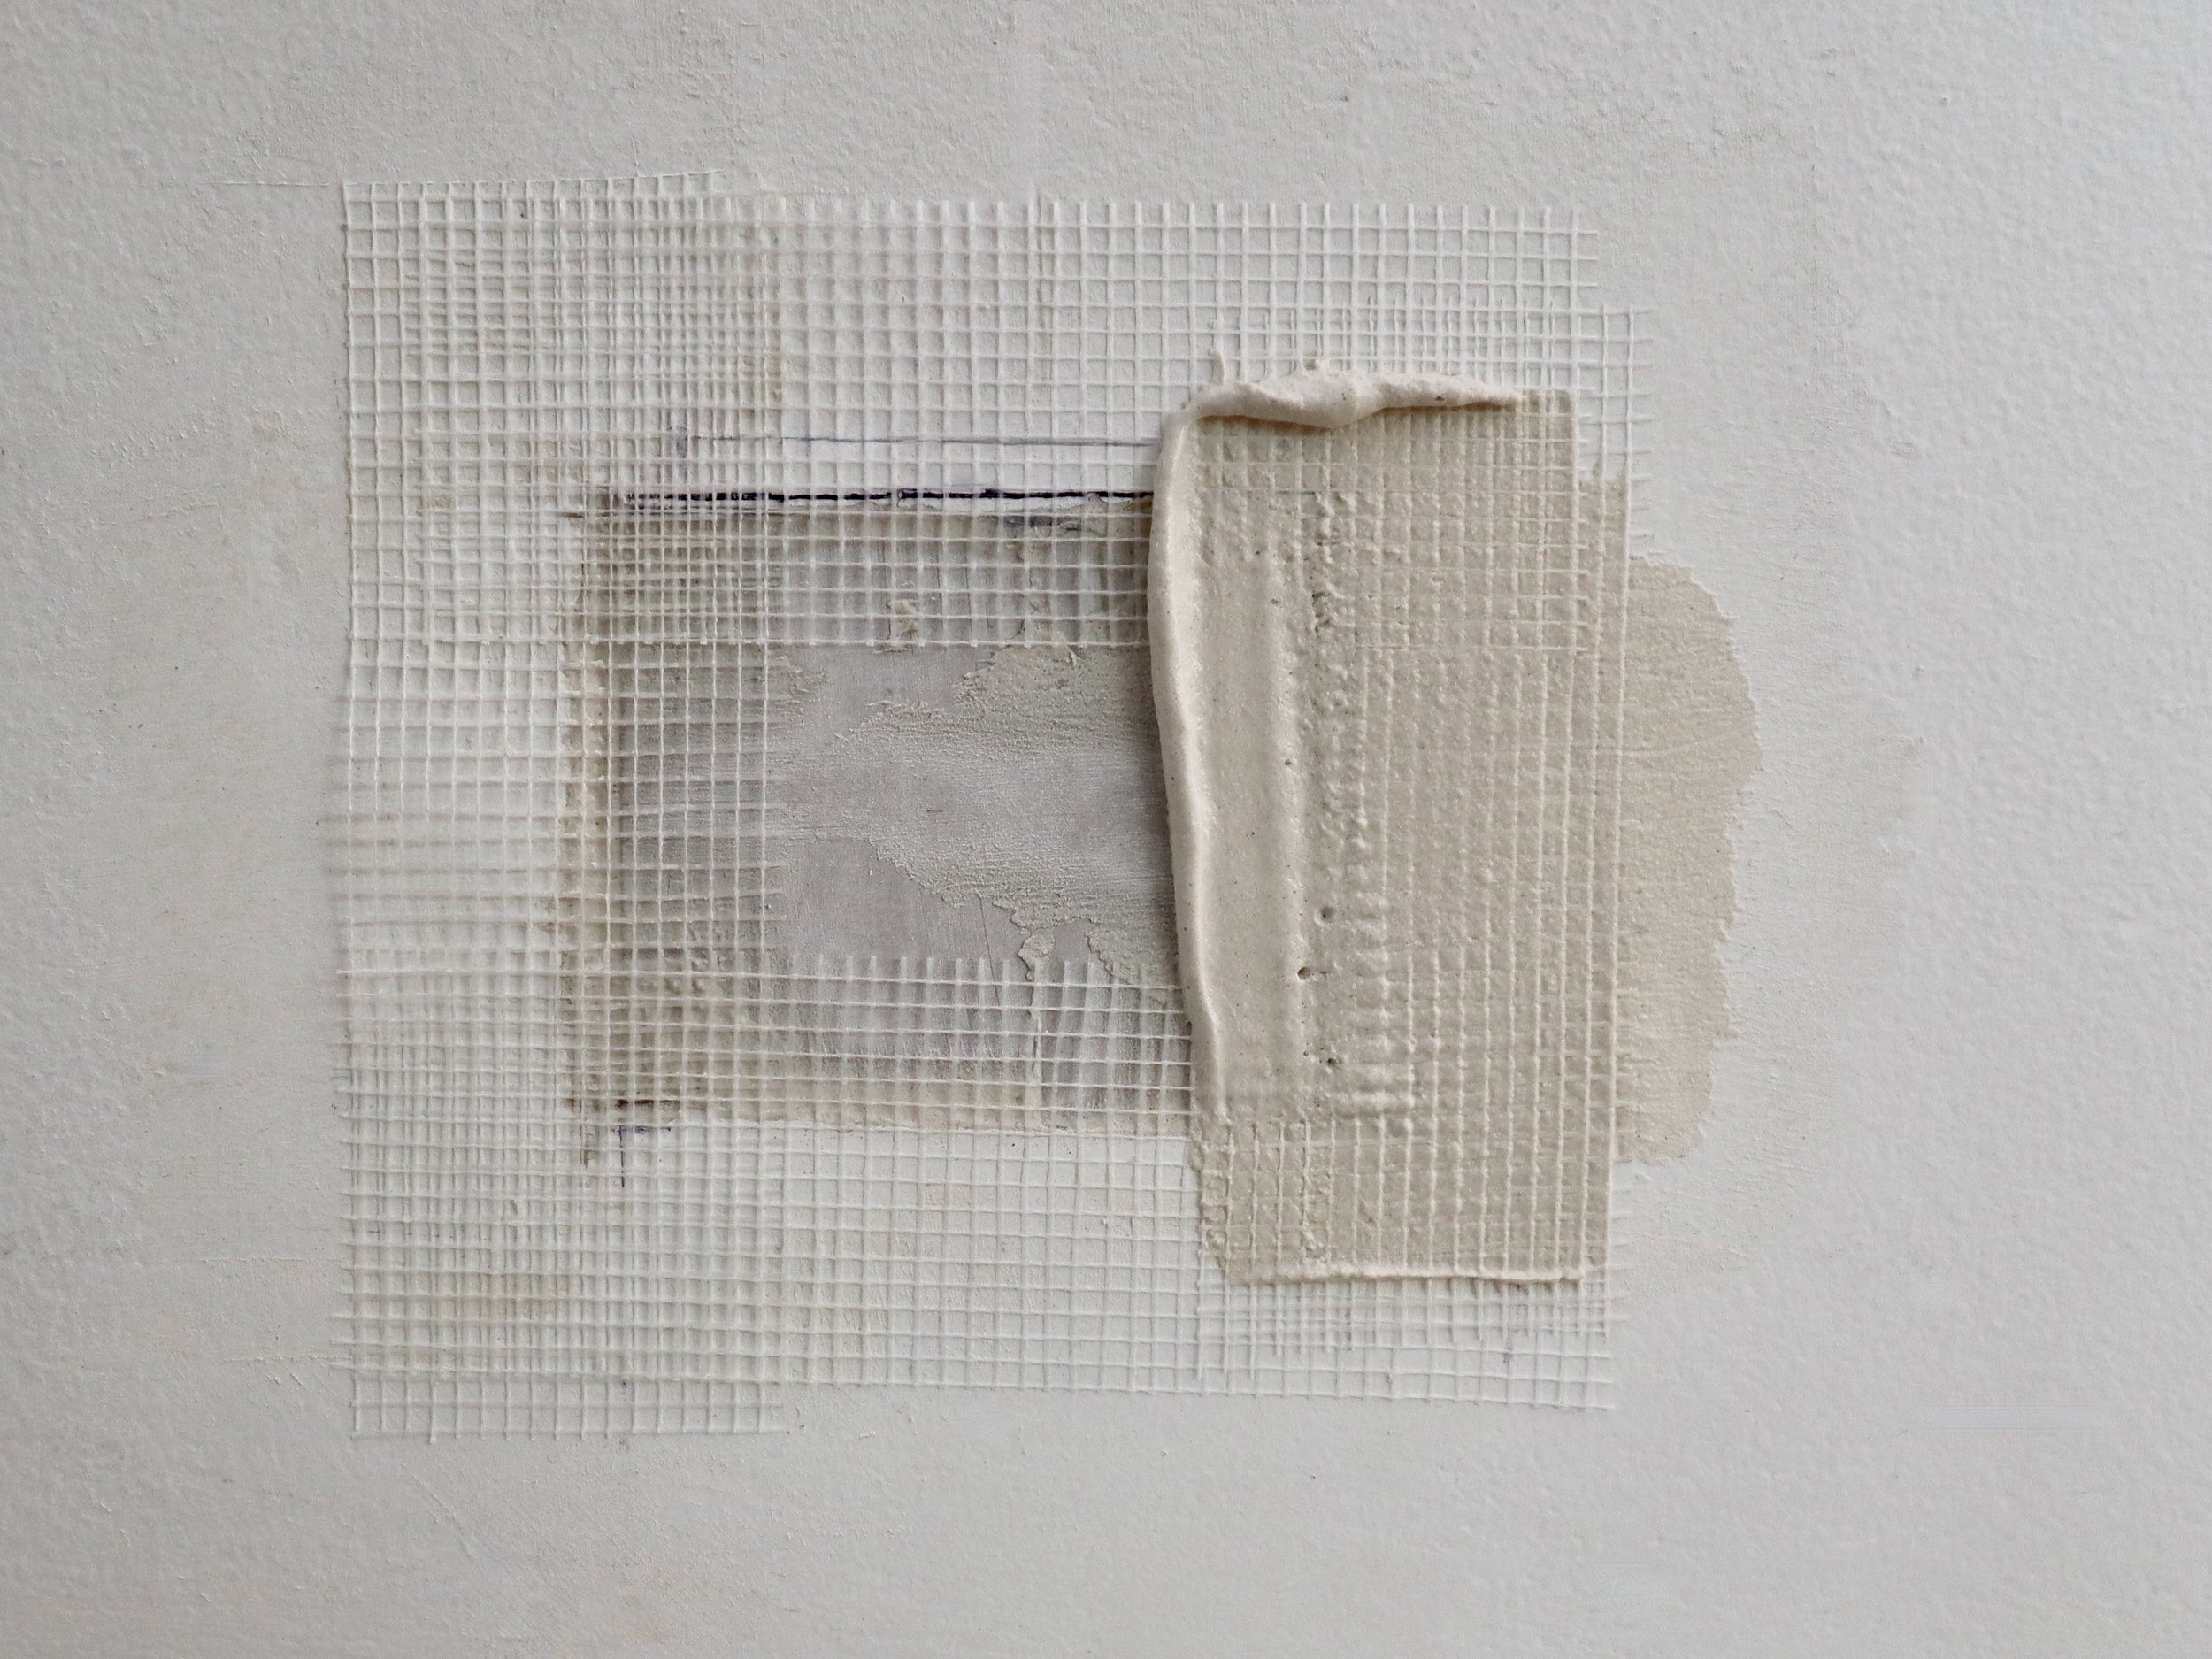
Use Patch Kits
Patch kits are a quick solution for bigger holes in plaster walls. These kits come with a mesh patch and joint compound. Start by cleaning around the hole. Place the mesh patch over the hole. Press it firmly to stick well. The patch gives support to the plaster repair. It stops cracks and keeps the wall stable.
Apply Plaster Or Joint Compound
After placing the patch, apply plaster or joint compound. Use a putty knife to spread the compound evenly. Fill the hole and cover the patch completely. Smooth the surface to blend with the wall. Let the first layer dry fully. Add more layers if needed, sanding between each. This creates a strong, even finish that hides the damage well.
Prime And Paint
After fixing holes from hooks, the next step is to prime and paint the wall. This step protects the repaired area and helps it blend with the rest of the wall. Proper priming and painting make the patch less visible. It also ensures the paint sticks well and lasts longer.
Choose Matching Paint
Pick paint that matches the wall color exactly. Use leftover paint from before if available. If not, take a small paint chip to the store for matching. Matching paint hides the repair spot better. It keeps the wall looking smooth and uniform.
Apply Primer Before Painting
Always apply primer on the patched area first. Primer seals the new plaster and stops paint from soaking in unevenly. Use a brush or roller to spread primer evenly. Let the primer dry fully before painting. This step creates a strong base for the paint. It helps the color look even and fresh.
Prevent Future Damage
Preventing future damage to plaster walls is key after repairs. Small steps protect your walls and keep them strong. Proper care helps avoid repeated fixes and saves money.
Focus on the right tools and methods. These reduce stress on the plaster and keep hooks secure. Let’s explore how to prevent damage with smart choices.
Use Proper Hooks
Choose hooks made for plaster walls. They grip better and cause less damage. Avoid nails or screws that are too large or heavy. Use anchors designed to spread weight safely. This keeps the plaster from cracking or breaking.
Distribute Weight Evenly
Spread the weight across multiple hooks. Heavy items should not hang on one hook alone. Use a hanging system that shares the load. This reduces pressure points on the plaster surface. Even weight distribution helps walls stay intact longer.
Credit: littleredindustries.com

Credit: thecraftsmanblog.com
Frequently Asked Questions
How Do I Fix Holes From Hooks In Plaster Walls?
To fix holes from hooks, clean the area first. Apply patching compound, smooth it out, and let it dry. Sand lightly, then repaint for a seamless finish.
What Materials Are Needed To Repair Plaster Wall Holes?
You need patching compound, a putty knife, sandpaper, primer, and paint. These tools help fill, smooth, and restore the wall’s appearance effectively.
Can I Repair Plaster Walls Without Professional Help?
Yes, small holes from hooks can be repaired easily at home. Follow simple steps like cleaning, patching, sanding, and painting for good results.
How Long Does It Take To Repair Plaster Holes From Hooks?
Repairing small holes usually takes a few hours including drying time. Most patching compounds dry within 1-2 hours, making the process quick and efficient.
Conclusion
Repairing plaster walls from hooks is simple with the right steps. Clean the area, fill holes carefully, and smooth the surface. Let the patch dry fully before painting. Small repairs keep your walls looking fresh and neat. Taking time to fix damage prevents bigger problems later.
Anyone can do this with patience and care. Keep tools ready for quick touch-ups anytime. Your walls will stay strong and beautiful longer this way.