Are you worried about the security of your home or office? Changing who has access doesn’t have to mean buying a whole new lock.
If you own a Schlage deadbolt, you can save time and money by rekeying it yourself. Imagine being able to control your keys without calling a locksmith or waiting days for service. In this guide, you’ll discover simple, step-by-step instructions to rekey your Schlage deadbolt quickly and safely.
Keep reading to take charge of your security and gain peace of mind right now.

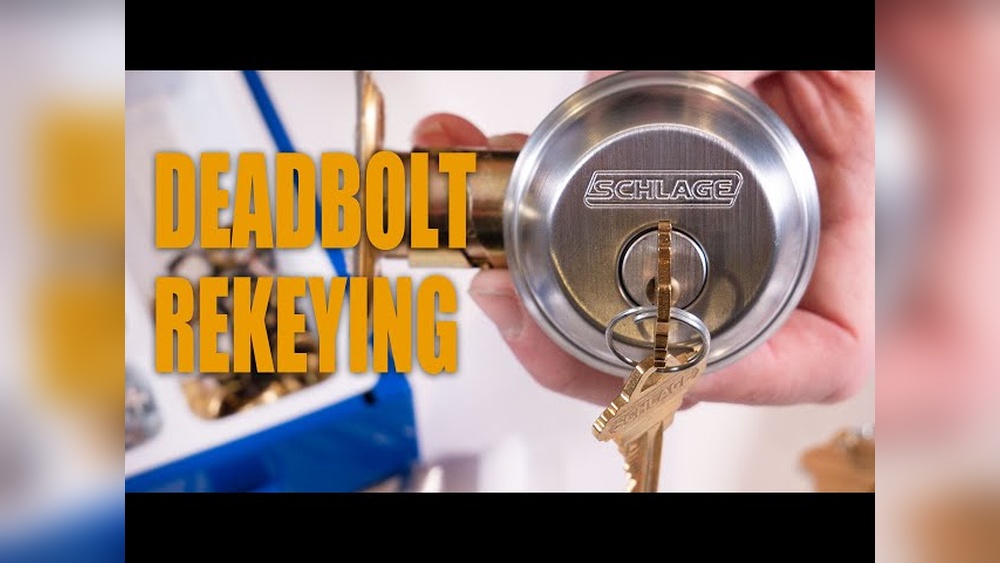
Credit: www.youtube.com
Tools Needed
Before starting to rekey a Schlage deadbolt, gather the right tools. Having the correct tools makes the job easier and faster. It also helps avoid damage to the lock or door. Below are the essential tools needed for rekeying.
Screwdriver
A screwdriver is needed to remove the deadbolt from the door. Most Schlage deadbolts use Phillips head screws. A flathead screwdriver may also be useful for prying parts gently.
Schlage Rekeying Kit
The rekeying kit contains special tools and new keys. It usually includes a follower tool, key pins, and a plug holder. This kit is made for Schlage deadbolts and fits perfectly.
Needle-nose Pliers
Needle-nose pliers help handle small parts like pins and springs. They offer good control and precision. Avoid using fingers to prevent dropping tiny pieces.
Tweezers
Tweezers are useful for placing or removing tiny pins inside the lock. They provide more accuracy than fingers. Use clean tweezers to avoid dirt inside the lock.
New Keys
New keys come with the rekeying kit or can be ordered separately. These keys match the new pin settings inside the lock. Keep old keys safe until the process is done.
Removing The Deadbolt
Removing the deadbolt is the first key step in rekeying your Schlage lock. This step lets you access the lock’s internal parts. You need to be careful and follow simple instructions to avoid damage.
The process is straightforward but requires some tools and patience. Taking out the deadbolt helps you work on the cylinder safely. This section explains how to remove the deadbolt easily and safely.
Gather Necessary Tools
Before starting, collect a screwdriver, usually a Phillips head. You might also need a flathead screwdriver. Have a clean space ready to place small parts. This helps keep everything organized during the process.
Remove The Interior Cover
Locate the screws on the inside part of the lock. Use the screwdriver to remove them. Gently take off the interior cover plate. This step reveals the deadbolt mechanism.
Unscrew The Deadbolt
Find the screws holding the deadbolt to the door. Unscrew them carefully and keep them safe. Pull the deadbolt unit out from the edge of the door. If it feels stuck, wiggle it gently to loosen.
Take Out The Cylinder
Once the deadbolt is free, locate the cylinder inside. Remove any screws securing the cylinder. Pull the cylinder out carefully. This part will be the focus for rekeying your lock.
Taking Out The Cylinder
Taking out the cylinder is the first step to rekey a Schlage deadbolt. This part holds the pins that control the lock’s key pattern. Removing it allows you to change the pins and set a new key code.
Follow each step carefully to avoid damaging the lock. The process is simple and requires only a few tools.
Gather The Necessary Tools
Start by collecting the tools you need. Usually, a screwdriver and the current key will do. Keep everything within reach to work smoothly.
Remove The Deadbolt Faceplate
Unscrew the faceplate on the door edge. This gives you access to the cylinder housing inside the door.
Use The Key To Turn The Cylinder
Insert the current key into the lock. Turn it slightly to align the cylinder with the housing. This step unlocks the cylinder for removal.
Unscrew The Cylinder Retaining Screw
Find the screw on the door edge that holds the cylinder. Use a screwdriver to remove it. Keep the screw safe for reassembly.
Pull Out The Cylinder From The Door
Gently pull the cylinder out while keeping the key turned. The cylinder should slide out smoothly. Do not force it to avoid damage.
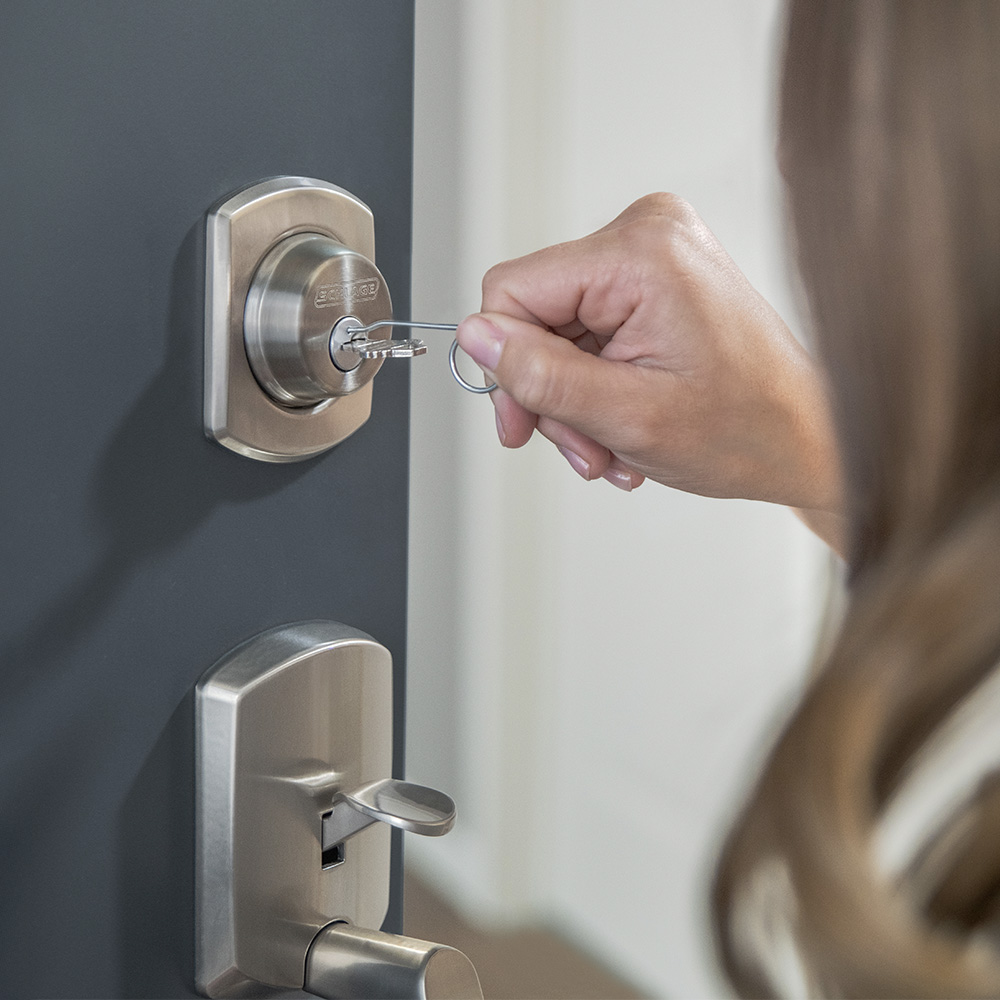
Credit: www.schlage.com
Disassembling The Cylinder
Disassembling the cylinder is the first step in rekeying a Schlage deadbolt. This part holds the pins and springs that control the lock. Taking it apart carefully helps you reach the pins inside. Each step must be done with care to avoid damage.
Remove The Deadbolt From The Door
Start by unscrewing the screws on the inside of the door. These screws hold the deadbolt in place. Pull the deadbolt out gently. Keep the screws safe for later use.
Take Off The Cylinder Face
Look for a small clip or retaining ring on the cylinder. Use a flathead screwdriver to pry it off. This clip holds the cylinder face to the lock body. Set the clip aside carefully.
Extract The Cylinder Core
Insert the key and turn it slightly to align the pins. Push the cylinder core out from the back. Use steady pressure to avoid bending the core. The core will slide out, exposing the pins inside.
Replacing The Pins
Replacing the pins in a Schlage deadbolt is a key step in rekeying the lock. This process changes the lock’s internal mechanism to fit a new key. It ensures old keys no longer work, giving you better security.
The pins inside the cylinder control the lock’s function. Each pin matches a specific cut on the key. Swapping these pins for new ones aligns the lock with your new key.
Remove The Old Pins
Start by pulling out the plug from the cylinder carefully. Use a follower tool to push the plug out without dropping pins. Once the plug is out, tip it upside down. The old pins will fall out or can be gently tapped out.
Select New Pins
Match new pins to the cuts on your new key. The pins must fit perfectly to ensure smooth turning. Use a pinning chart or guide for accuracy. Each pin size corresponds to a specific key cut depth.
Insert New Pins
Place each new pin into the plug’s pin chambers. Insert pins in the correct order based on your key’s cuts. Press the pins down gently to sit flat in their slots. Double-check that all pins are properly seated.
Reassemble The Lock
Carefully slide the plug back into the cylinder housing. Use the follower tool to keep pins in place during reassembly. Test the new key by turning it in the lock. The key should rotate smoothly without sticking.
Reassembling The Cylinder
Reassembling the cylinder is a key step in rekeying your Schlage deadbolt. Take your time and be careful. This process ensures your lock works smoothly and only the new key will open it.
Keep all parts clean and organized. Small pieces like pins and springs need to go back in the right order. Follow the steps carefully for the best results.
Insert The Plug Back Into The Cylinder
First, place the plug carefully inside the cylinder housing. Align it so the keyway faces outward. Gently push the plug in without forcing it.
Make sure the pins stay inside the plug. Use the follower tool to guide the plug in smoothly.
Replace The Retaining Clip
Next, snap the retaining clip back onto the cylinder. This clip holds the plug firmly in place. Use pliers if needed, but don’t bend the clip.
Double-check the clip is secure. A loose clip can cause the lock to malfunction.
Test The Cylinder With The New Key
Finally, insert your new key into the cylinder. Turn it several times to check smooth operation. If it sticks, remove the plug and try again.
Proper reassembly means your deadbolt works well and keeps your home safe.
Reinstalling The Deadbolt
Reinstalling the deadbolt is the final step in rekeying your Schlage lock. This step puts all parts back together. It ensures your lock works smoothly and securely with the new keys. Follow the steps carefully for a perfect fit and reliable function.
Align The Deadbolt With The Door
Start by placing the deadbolt into the door edge. Make sure the bolt slides in and out freely. The bolt should face the correct direction for your door. Check the alignment with the strike plate on the door frame.
Attach The Exterior And Interior Assemblies
Insert the exterior part of the lock first. Feed the tailpiece through the latch mechanism. Next, align the interior assembly on the inside of the door. Connect the two parts with the screws provided. Tighten the screws evenly to avoid misalignment.
Test The Lock Function
Turn the key in the lock to test the new rekeying. The deadbolt should move smoothly without sticking. Use the thumb turn inside to check the bolt movement. Confirm both sides operate the lock properly before finishing.
Testing The New Key
Testing the new key is an important step after rekeying your Schlage deadbolt. It ensures the lock works properly and the key turns smoothly. This step helps avoid lockouts and confirms your work is correct.
Insert The New Key
Take the new key and insert it into the keyhole. The key should slide in easily without force. If it feels stuck, do not force it. Gently wiggle the key to help it settle.
Turn The Key Slowly
Once the key is fully inserted, turn it slowly to unlock the deadbolt. Listen for a smooth click sound. The deadbolt should move without resistance. If it feels hard to turn, try again with care.
Test Locking And Unlocking
Use the key to lock the deadbolt by turning it in the opposite direction. Check if the bolt slides into the door frame easily. Repeat unlocking and locking several times to confirm smooth operation.
Check With Old Keys
Try using the old keys to see if they still work. They should no longer turn or unlock the deadbolt. This confirms the rekeying was successful and your lock is secure.
Test The Door Handle
After testing the key, open and close the door. Check if the deadbolt locks properly each time. Ensure the door handle works without problems. This final check helps avoid future issues.
Troubleshooting Tips
Rekeying a Schlage deadbolt can be straightforward. Some problems may arise during the process. Troubleshooting helps solve these issues quickly. It saves time and avoids frustration. Follow these tips to fix common errors and complete rekeying smoothly.
Check Key Alignment
Misaligned keys cause the lock not to turn. Insert the key gently and see if it fits smoothly. Avoid forcing the key. Slight adjustments in angle can help. Make sure the pins inside the lock match the new key cuts exactly.
Inspect The Cylinder
The cylinder may be stuck or dirty. Remove it carefully and clean with compressed air or a soft brush. Dirt blocks pins and stops the lock from working. Lubricate with graphite powder, never oil. Test the cylinder movement before reassembling.
Verify Pin Placement
Incorrect pin placement causes the lock to jam. Use the correct pin sizes from the Schlage kit. Place pins in the right order and depth. Double-check each pin before closing the cylinder. A small error can stop the key from turning.
Ensure Proper Assembly
Improper assembly leads to lock malfunction. Align all parts carefully during reassembly. Tighten screws without overdoing it. Loose or tight screws cause the lock to stick or feel rough. Test the deadbolt several times after assembly.

Credit: www.reddit.com
Frequently Asked Questions
How Do I Know If My Schlage Deadbolt Can Be Rekeyed?
Most Schlage deadbolts can be rekeyed unless they are electronic models. Check your lock type and consult the manual or a locksmith for confirmation.
What Tools Are Needed To Rekey A Schlage Deadbolt?
You need a Schlage rekeying kit, a screwdriver, and a key follower tool. These help you remove the cylinder and replace the pins safely.
How Long Does It Take To Rekey A Schlage Deadbolt?
Rekeying a Schlage deadbolt typically takes 10 to 30 minutes. Time depends on your experience and the specific lock model.
Can I Rekey A Schlage Deadbolt Without Removing It?
No, you must remove the lock cylinder to rekey. Removing the cylinder allows access to pins inside the lock for changing.
Conclusion
Rekeying a Schlage deadbolt can save you money and improve security. The steps are simple and easy to follow. Take your time and work carefully to avoid mistakes. Keep your new keys safe and test the lock before finishing. Regularly changing your locks helps keep your home secure.
Now, you can feel confident making this change yourself. Give it a try and protect your home today.