Is your ceiling fan light pull switch not working right? It can be really frustrating when you reach up to turn on the light, and nothing happens.
You might think the whole fan needs replacing, but often, the fix is much simpler. You’ll learn exactly how to fix your ceiling fan light pull switch quickly and safely. By the end, you’ll save money and get your light working like new again.
Keep reading—you’re just a few easy steps away from solving this common problem.
Tools And Materials Needed
Fixing a ceiling fan light pull switch needs the right tools and materials. Having them ready makes the job easier and safer. You can save time by preparing everything before starting the repair.
This list covers the basic items needed for most ceiling fan pull switch repairs. You may not need all, but it’s good to have them on hand. Each tool and material has a specific role in the process.
Safety Gear
Safety gear protects you from electric shocks and injuries. Use insulated gloves and safety glasses. Turn off the power before starting any work.
Basic Tools
A screwdriver set is necessary for removing the fan cover and switch. Pliers help with holding or twisting wires. A voltage tester checks if the power is off.
Replacement Pull Switch
Get the correct pull switch that fits your ceiling fan model. Some switches come with wiring instructions. Check the switch rating to match your fan’s light fixture.
Wire Connectors And Electrical Tape
Wire connectors keep wires secure and prevent shorts. Electrical tape adds extra insulation. Use these to join wires safely after removing the old switch.
Step Ladder
A sturdy step ladder helps you reach the ceiling fan. Choose one that is stable and tall enough. Safety matters while working at height.
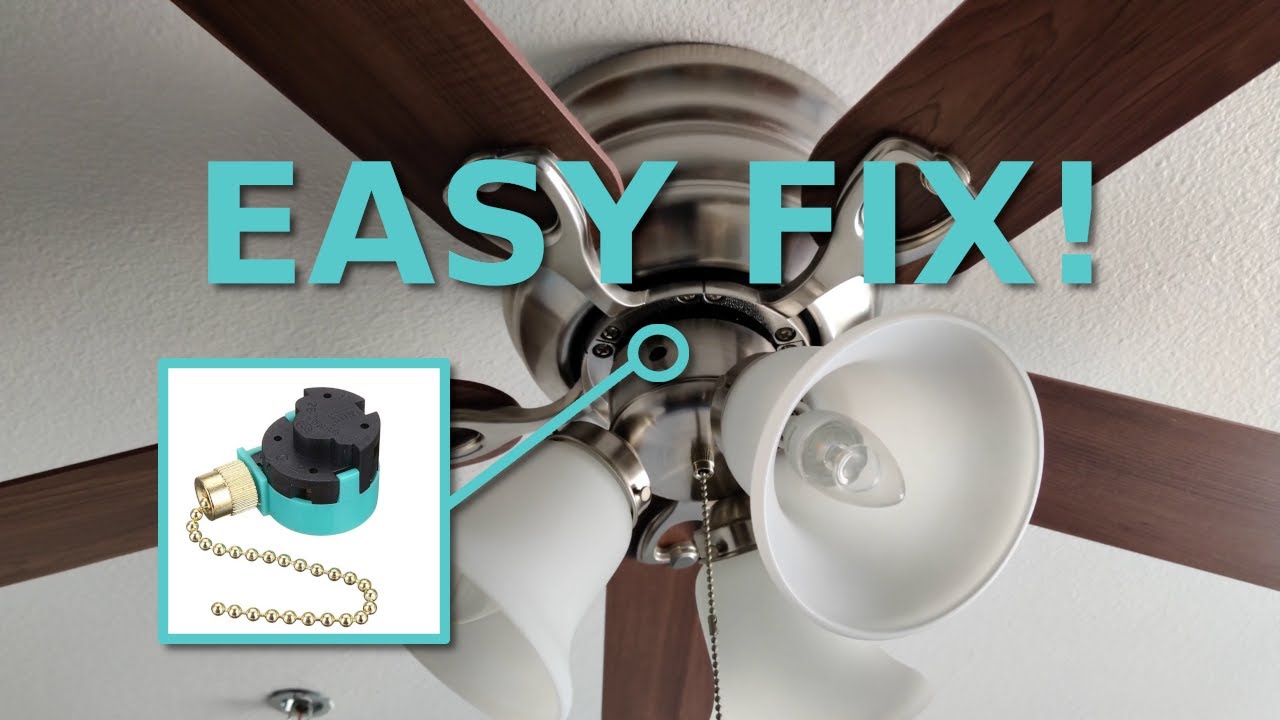
Credit: www.youtube.com
Safety Precautions
Working on a ceiling fan light pull switch needs care and caution. Safety comes first to avoid shocks or injuries. Follow simple steps before starting the repair.
Turn Off Power At The Circuit Breaker
Switch off the power supply to the ceiling fan. Use the main circuit breaker to cut electricity. Do not rely only on the wall switch.
Use A Voltage Tester
Check the wires with a voltage tester. Make sure no electricity flows through the wires. This confirms the power is off and safe to touch.
Wear Protective Gear
Wear insulated gloves to protect your hands. Use safety glasses to shield your eyes. These tools reduce risk during the repair process.
Use A Sturdy Ladder
Choose a stable ladder to reach the fan. Avoid standing on chairs or unstable objects. A good ladder keeps you safe while working above.
Work In A Well-lit Area
Good lighting helps you see wires clearly. It reduces mistakes and accidents. Use a flashlight if needed to brighten dark spots.
Identifying The Problem
Fixing a ceiling fan light pull switch starts with finding the exact problem. This step saves time and avoids extra work. The issue could be simple or need more attention. Careful checking helps you fix the problem safely and fast.
Check The Pull Switch
Look at the pull switch carefully. Pull it several times to see if it feels loose or stuck. A worn or broken switch often causes the light not to work. If the switch does not click or feels strange, it may need replacing.
Inspect The Wiring
Turn off the power before you touch any wires. Remove the fan’s light cover to see the wiring. Look for loose, disconnected, or damaged wires. Loose wires can stop the light from working. Tighten or fix any bad connections you find.
Test The Light Bulb
Remove the light bulb and check if it is burnt out. Try the bulb in a different socket to be sure. A dead bulb is a simple fix and does not need switch repairs. Replace the bulb with a new one if it does not light up.

Credit: jmpatelcollege.com
Removing The Ceiling Fan Light Cover
Removing the ceiling fan light cover is the first step to fix the pull switch. This step lets you see the switch clearly and work safely. The cover protects the bulbs and wires inside the fan. Taking it off carefully avoids damage to the fan and keeps you safe from electric parts.
Different ceiling fan models have different covers. Some covers twist off, while others use screws. Knowing how your cover fits helps you remove it without trouble. This part needs patience and a gentle touch.
Gather Necessary Tools
Before starting, collect tools like a screwdriver and a ladder. A soft cloth helps hold the cover without slipping. Turn off the fan and power to avoid accidents.
Turn Off Power
Switch off the ceiling fan power at the circuit breaker. Never work on electrical parts with power on. Test the fan switch to confirm the power is off.
Locate The Mounting Screws Or Clips
Check the light cover for screws or clips holding it. Screws are usually on the rim or base. Clips may be hidden and need gentle pressure to release.
Remove The Light Cover
Use a screwdriver to loosen screws carefully. Hold the cover firmly to prevent it from falling. If clips hold the cover, press or slide them gently.
Place The Cover Safely
Put the cover on a soft surface to avoid cracks. Keep screws or clips nearby for reassembly. Now, you can access the pull switch for repair.
Replacing The Pull Switch
Replacing the pull switch on a ceiling fan light is a simple fix for a common problem. Over time, the switch may stop working or feel loose. Changing it out can restore your fan light’s function quickly.
This process involves removing the old switch and connecting a new one. Safety is important, so always turn off the power before starting.
Disconnect The Old Switch
First, turn off the circuit breaker to cut power to the fan. Use a ladder to reach the fan safely. Remove the fan light cover or glass.
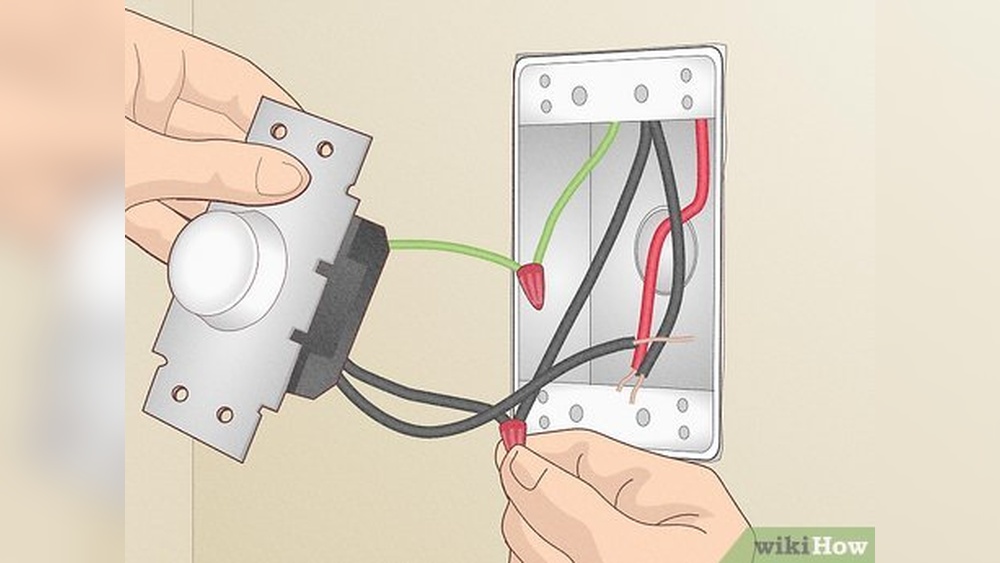
Locate the pull switch inside the light fixture. Note how the wires are connected. Take a photo or mark the wires for reference.
Carefully disconnect the wires from the old switch. Use a screwdriver to loosen any screws holding the switch. Remove the switch from its place.
Connect The New Switch
Take the new pull switch and compare it to the old one. Connect the wires to the new switch using your photo or marks as a guide. Tighten screws to secure the wires.
Place the new switch in the same spot as the old one. Reattach any mounting hardware. Replace the fan light cover or glass.
Turn the circuit breaker back on. Test the new switch by pulling it to see if the light turns on and off.
Testing The Repair
Testing the repair of a ceiling fan light pull switch is an important step. It confirms the switch works correctly and safely. This process helps avoid further issues or damage.
After fixing the switch, check the fan and light functions. Ensure the pull switch operates smoothly. A quick test can save time and effort later.
Turn On The Power
Before testing, restore power at the circuit breaker. This allows the fan and light to receive electricity. Avoid skipping this step for safety reasons.
Pull The Switch Gently
Pull the switch chain slowly and gently. Listen for a click sound. The fan or light should turn on or off with each pull.
Check Both Fan And Light
Test the switch several times. Turn the light and fan on and off. Make sure both respond correctly to the switch pulls.
Observe For Any Issues
Watch for flickering lights or unusual noises. These signs indicate the repair may not be complete. Stop and recheck the wiring or switch if needed.
Test The Switch Multiple Times
Pull the switch chain at least five times. This ensures the switch works consistently. A reliable switch improves safety and comfort.
Tips For Maintaining Ceiling Fan Lights
Maintaining ceiling fan lights keeps them working well and lasting longer. Simple care steps prevent common problems like flickering or broken switches. Regular checks and gentle cleaning help avoid damage and save money.
Cleaning The Light Fixtures
Turn off the fan before cleaning. Use a soft cloth to wipe dust from bulbs and glass covers. Avoid water on electrical parts. Clean monthly to keep lights bright and clear.
Checking The Pull Switch
Test the pull switch often for smooth operation. If it feels stiff or loose, it may need tightening or replacement. Fix issues early to prevent complete failure.
Replacing Bulbs Correctly
Choose bulbs with the right wattage for your fan light. Avoid higher wattage bulbs that cause heat damage. Handle bulbs gently to avoid breaking them.
Inspecting Wiring Connections
Turn off power before checking wires. Look for loose or frayed wires inside the light fixture. Secure connections help prevent flickering and electrical hazards.

Credit: www.reddit.com
Frequently Asked Questions
How Do I Fix A Ceiling Fan Light Pull Switch?
To fix a pull switch, first turn off power. Remove the fan cover, inspect the switch for damage, and replace it if faulty. Reassemble and test the switch to ensure it works properly.
Why Is My Ceiling Fan Light Pull Switch Not Working?
The pull switch may be broken, worn out, or have loose wiring. It can also fail due to dirt buildup or mechanical wear. Inspect and replace the switch if needed.
Can I Replace A Ceiling Fan Pull Switch Myself?
Yes, you can replace it by turning off power, removing the old switch, and installing a new one. Ensure the replacement matches the original switch specifications for safety.
What Tools Do I Need To Fix A Ceiling Fan Pull Switch?
You need a screwdriver, voltage tester, replacement pull switch, wire strippers, and electrical tape. These tools help safely remove and replace the faulty switch.
Conclusion
Fixing a ceiling fan light pull switch does not have to be hard. Follow the steps carefully and take safety first. A working pull switch can save you money and time. Small tools and patience make the job easier. Once done, enjoy your fan’s light working perfectly again.
Keep these tips in mind for future repairs. Simple fixes like this help keep your home comfortable. Give it a try and see the difference yourself.