Are you ready to upgrade your kitchen with a double wall oven but unsure how to hook it up yourself? Connecting a double wall oven might seem tricky at first, but with the right steps, you can do it safely and confidently.
Imagine having the power to cook multiple dishes at once, saving time and making meal prep a breeze. In this guide, you’ll find clear, simple instructions that walk you through the process step by step. By the end, you’ll not only have your oven installed but also feel proud of tackling a project that makes your kitchen smarter and more efficient.
Keep reading, and let’s get your double wall oven ready for your next delicious creation!
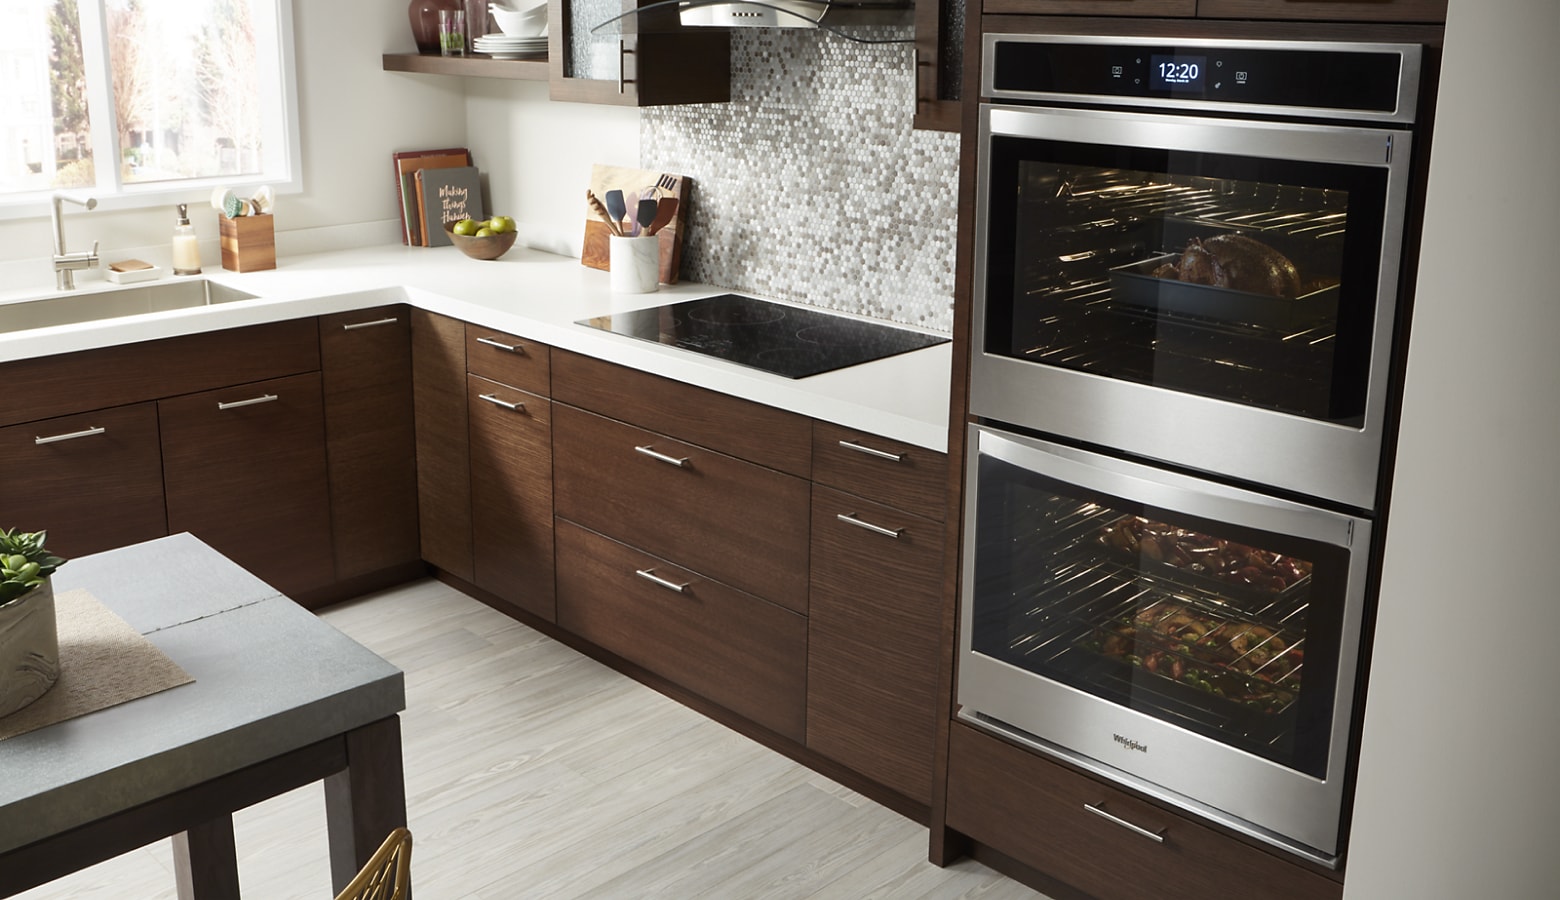
Credit: www.whirlpool.com
Tools And Materials Needed
Setting up a double wall oven requires specific tools and materials. Having everything ready helps the process go smoothly. It also keeps you safe and avoids mistakes. Below are the essential tools and materials you will need for this task.
Essential Tools
You need a few basic tools to hook up a double wall oven. A screwdriver is necessary to remove and secure screws. A voltage tester checks if the power is off. Wire strippers prepare the wires for connection. Pliers help twist wires together. A drill can make holes if needed for mounting. A level ensures the oven is straight. Having a tape measure helps with precise placement. These tools make the installation easier and safer.
Required Materials
Besides tools, some materials are needed to complete the hookup. Electrical wire is essential to connect the oven to power. Wire nuts secure the wire connections safely. A junction box protects the wiring connections. An electrical outlet or hardwired connection may be required depending on your oven. Mounting brackets hold the oven firmly in place. Always use materials that match local electrical codes. Using proper materials ensures a safe and lasting installation.

Credit: www.youtube.com
Preparing The Installation Area
Preparing the installation area is the first step to connect a double wall oven safely. A proper setup helps avoid problems during and after installation. It ensures the oven fits well and works correctly. This section guides you through key preparation tasks.
Measuring The Space
Measure the height, width, and depth of the space where the oven will go. Use a tape measure for accuracy. Compare these numbers with the oven’s dimensions. Leave a little extra space for air circulation and ease of installation. Check for any obstacles like shelves or electrical outlets.
Ensuring Proper Ventilation
Ventilation is important to prevent overheating. Check if the area has vents or openings for air to flow. The oven needs space around it to release heat. Avoid placing it in a tightly closed cabinet. Proper airflow keeps the oven safe and extends its life.
Checking Electrical Requirements
Double wall ovens usually need a dedicated electrical circuit. Verify the power supply matches the oven’s voltage and amperage. Use a multimeter to check the outlet if unsure. Make sure the wiring is up to code and can handle the load. If needed, hire a licensed electrician for safety.
Safety Precautions
Safety is the top priority when hooking up a double wall oven. Following the right precautions protects you and your home. A small mistake can cause serious injury or damage. Taking simple safety steps makes the process smooth and secure.
Turning Off Power
Always turn off the power before starting any work. Locate the circuit breaker that controls the oven. Switch it off to cut the electricity flow. Use a voltage tester to check power is off. Never skip this step. Electricity can cause shocks or fires.
Using Protective Gear
Wear safety gloves to protect your hands from sharp edges. Use safety glasses to shield your eyes from dust and debris. Wear long sleeves to avoid skin cuts or burns. Proper gear reduces injury risk. It makes working easier and safer.
Removing The Old Oven
Removing the old oven is the first step in installing a double wall oven. This process needs care and attention to avoid damage or injury. Follow clear steps to disconnect and take out the old unit safely.
Disconnecting Power And Wiring
Start by turning off the power at the circuit breaker. Check twice to make sure the oven has no electricity. Use a voltage tester to be sure. Next, remove the oven’s access panel. Carefully disconnect the wiring. Label the wires if needed for easier reconnection later. Keep the wires away from sharp edges to avoid damage.
Careful Removal Process
Remove any screws or brackets holding the oven in place. Pull the oven out slowly and steadily. Have a helper assist you if the oven is heavy. Avoid sudden movements to prevent injury or damage. Place the oven on a soft surface to protect it. Clean the cabinet space before installing the new oven.
Wiring The Double Wall Oven
Wiring the double wall oven is a key step in installation. It ensures the oven gets power safely and works correctly. Pay close attention to wiring details to avoid problems later.
Use the right tools and follow safety rules during wiring. Turn off the power at the breaker before starting. This step protects you from electric shock.
Identifying Wires
First, find the wires in the wall and the oven. Usually, there are three or four wires: black, white, green, and sometimes red. Black and red carry power. White is neutral. Green or bare wire is ground.
Check the oven’s manual for specific wire colors. Match each wire carefully to avoid mistakes. Wrong connections can cause damage or fire.
Connecting Wires Safely
Use wire nuts to join wires tightly. Connect black to black, white to white, and green to green. If there is a red wire, connect it with the other power wire.
Wrap each connection with electrical tape. This adds extra safety. Secure all wires inside the junction box. Close the box cover firmly after wiring.
Securing The Oven In Place
Securing the double wall oven in place is a key step in installation. It keeps the oven stable and safe to use. A properly secured oven prevents movement during use. It also ensures the oven fits well with the kitchen cabinetry. Follow these steps to fix your oven firmly and correctly.
Aligning The Oven
Start by sliding the oven into its cabinet space. Check if the oven is level from side to side. Use a spirit level for accuracy. Adjust the oven height by turning the leveling feet. The oven should fit flush with the cabinet edges. Proper alignment avoids gaps and uneven surfaces.
Fastening To Cabinetry
Locate the mounting holes on the oven frame. Use screws that match those holes and the cabinet material. Secure the oven by screwing it into the cabinet sides. Tighten the screws evenly to keep the oven stable. Do not overtighten, as it may damage the cabinet. Confirm the oven does not move after fastening.
Testing The Installation
Testing the installation is a key step after hooking up a double wall oven. It confirms everything works safely and correctly. Skipping this step can cause issues later. Take your time and follow the tests carefully. This ensures your oven heats properly and the wiring is secure.
Restoring Power
First, turn the power back on at the circuit breaker. Check the oven’s display or control panel for signs of power. No lights or sounds means no power. If that happens, double-check the breaker and wiring connections. Power must be stable for the oven to function safely.
Running Initial Tests
Start by setting the oven to a low temperature. Watch for any unusual sounds or smells. The oven should heat evenly and show the right temperature. Test both oven compartments separately. Make sure the timer and control buttons respond correctly. These simple tests confirm the oven is ready for use.
Troubleshooting Common Issues
Double wall ovens can face some common problems after installation. Fixing these problems quickly keeps your kitchen running smoothly. This guide covers easy ways to spot and solve issues.
Power Problems
No power to your oven? Check the circuit breaker first. Sometimes it trips and cuts power. Reset it by switching off and on again.
Look for loose wires or poor connections. Turn off power before checking wiring. A loose wire can stop the oven from working.
Check the power cord and plug. Replace any damaged parts. Use a voltage tester to ensure power reaches the oven.
Oven Not Heating
The oven may turn on but not heat. This often means a heating element is broken. Look for visible damage or burn marks.
Test the heating element with a multimeter for continuity. Replace it if the test fails. Faulty temperature sensors can also cause this issue.
Make sure the oven settings are correct. Sometimes the oven is set to a low temperature or a wrong mode.

Credit: www.deancabinetry.com
Frequently Asked Questions
How Do I Connect A Double Wall Oven Safely?
To connect a double wall oven safely, turn off the power first. Use the correct electrical wiring and follow the manufacturer’s guide. Ensure proper grounding and secure all connections tightly. If unsure, consult a professional electrician to avoid hazards and ensure compliance with local codes.
What Tools Are Needed To Hook Up A Double Wall Oven?
You need a screwdriver, wire stripper, voltage tester, and electrical tape. Also, have a drill and level handy for mounting. Always use insulated tools for safety. Proper tools help ensure a secure and efficient installation of your double wall oven.
Can I Install A Double Wall Oven Myself?
Yes, if you have electrical knowledge and follow safety guidelines. Turn off power before starting. Carefully follow the manufacturer’s instructions. If unsure about wiring or installation, hire a licensed electrician to avoid risks and ensure proper setup.
What Electrical Requirements Does A Double Wall Oven Need?
A double wall oven typically requires a 240-volt outlet. It needs a dedicated circuit with the correct amperage, usually 30-50 amps. Always check the oven’s manual for exact specs. Proper electrical setup prevents damage and ensures safe operation.
Conclusion
Hooking up a double wall oven is easier than it seems. Follow safety steps and use the right tools. Take your time and double-check each connection. A properly installed oven works better and lasts longer. Enjoy cooking with your new appliance soon!