Have you ever found yourself locked out, staring at a keyed deadbolt lock that just won’t budge? It’s frustrating, stressful, and sometimes feels impossible to fix on your own.
But what if you could take control and learn how to drill out that stubborn lock safely and effectively? In this guide, you’ll discover simple steps that anyone can follow to get past a stuck deadbolt without calling a locksmith.
Keep reading—you’re about to turn a tricky problem into a manageable task.
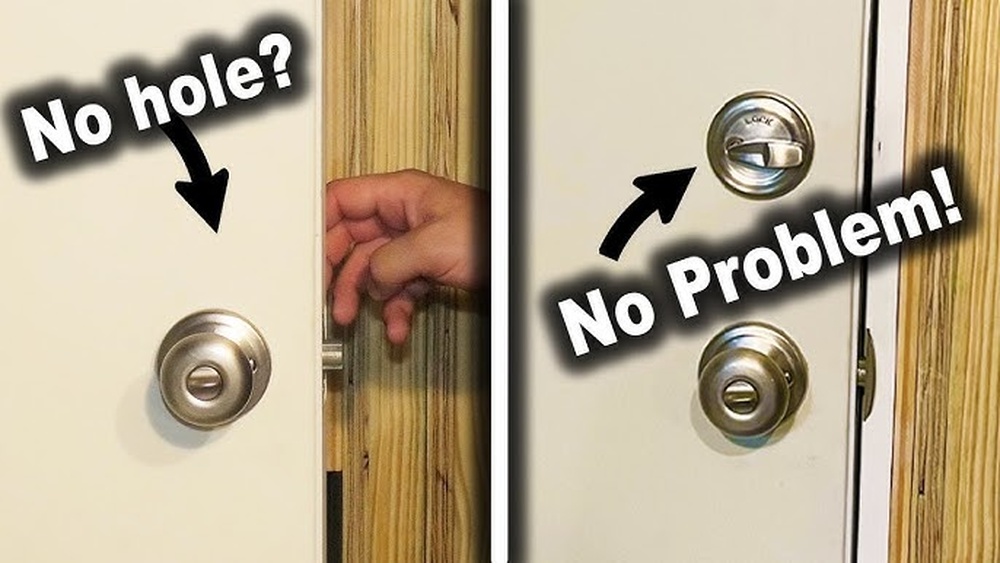
Credit: maximsystems.net
Tools Needed
Drilling out a keyed deadbolt lock requires the right tools. Using proper equipment makes the job easier and safer. Knowing what tools you need helps you prepare well.
Drill Types
A power drill is essential for this task. Corded drills offer constant power and control. Cordless drills provide flexibility without cords. Choose a drill with adjustable speed for precision. A hammer drill can help with tough locks but is not always necessary.
Drill Bits
Use high-quality drill bits made for metal. Titanium or cobalt bits work best for deadbolts. Start with a small pilot bit to make a guide hole. Then use a larger bit to drill through the lock. Sharp bits reduce effort and prevent damage.
Safety Gear
Safety glasses protect your eyes from metal shards. Wear gloves to guard your hands from sharp edges. Ear protection helps reduce loud drill noise. Work in a well-lit area to avoid mistakes. Always keep a first aid kit nearby.
Additional Tools
A center punch helps mark the drill spot accurately. A screwdriver may be needed to remove lock parts. Use pliers to hold or pull small pieces. Have a flashlight ready for better visibility. A vacuum or brush clears metal debris quickly.

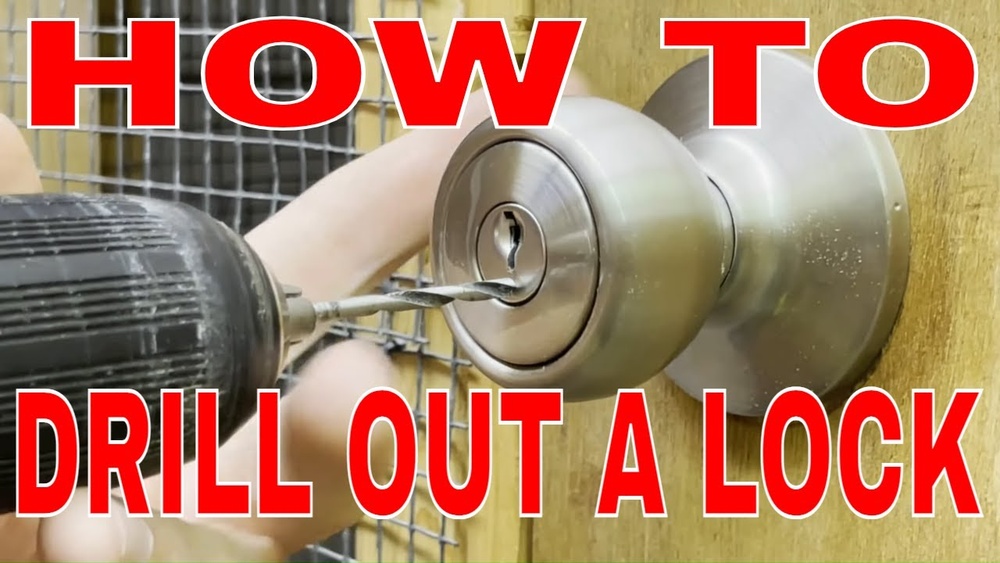
Credit: www.youtube.com
Preparing The Lock
Preparing the lock is the first step to drill out a keyed deadbolt. This stage involves getting clear access to the lock parts. Proper preparation makes drilling safer and easier. It also protects the door and hardware from damage.
Removing The Door Handle
Start by unscrewing the door handle. Use a screwdriver that fits the screws well. Place the screws somewhere safe to avoid losing them. Gently pull the handle away from the door. This step gives you room to work around the lock.
Exposing The Deadbolt
Next, remove the faceplate covering the deadbolt. Usually, it is held by two screws. Unscrew them carefully and take off the plate. This exposes the deadbolt mechanism and cylinder. Clear access here is crucial before drilling.
Marking Drill Points
Identify where to drill on the lock cylinder. Use a marker to highlight these points clearly. Mark spots where the pins inside the lock are located. Accurate marks help avoid unnecessary damage. Take your time to get this right.
Drilling Process
The drilling process is the key step to remove a keyed deadbolt lock. It requires precision and care to avoid damage. Understanding each phase helps you complete the job quickly and safely.
Use the right drill bit and tools for better results. Follow these steps closely to drill out the lock effectively.
Starting With A Pilot Hole
Begin by marking the center of the keyhole. Use a small drill bit, around 1/8 inch, to create a pilot hole. This hole guides the larger drill bit and prevents slipping. Drill straight and steady at low speed.
Drilling Through The Cylinder
Switch to a larger bit, about 3/8 inch, to drill through the lock cylinder. Apply firm pressure but keep the drill steady. Drill until you reach the inner mechanism. Avoid overheating by drilling in short bursts.
Clearing The Lock Mechanism
Use a spade or flat bit to widen the hole inside the lock. This clears the pins and springs holding the lock tight. Once cleared, the lock cylinder will break free. Remove all debris before attempting to open the door.
Removing The Lock
Removing a keyed deadbolt lock requires care and the right steps. This part focuses on taking out the lock properly. Doing this helps avoid damage and makes repair or replacement easier. Follow each step closely to handle the lock safely.
Extracting The Broken Cylinder
Start by drilling out the lock cylinder. Use a drill bit that fits the cylinder size. Drill slowly and keep the drill steady. The goal is to break the pins inside the lock. Once pins are clear, the cylinder can be pulled out with pliers.
Disassembling The Deadbolt
After the cylinder is removed, unscrew the lock’s mounting screws. These hold the deadbolt to the door. Keep screws safe for later use. Gently pull the deadbolt mechanism from the door edge. Check for any stuck parts and loosen them carefully.
Replacing Or Repairing
With the deadbolt out, decide to repair or replace. Repair means fixing or cleaning parts. Replacement requires a new deadbolt set. Match the new lock size to the old one. Follow the installation instructions for best results.
Safety And Precautions
Drilling out a keyed deadbolt lock requires care and attention. Safety is very important to avoid injury or damage. Taking the right precautions makes the process smoother and safer. Below are some key points to keep in mind.
Protecting The Door
Use tape or a protective cover around the lock area. This stops the drill from scratching the door. Choose the correct drill bit size to match the lock. Drill slowly to keep control and prevent slips. Keep the door steady during drilling to avoid damage.
Avoiding Damage
Wear safety glasses to protect your eyes from metal shavings. Use gloves to protect your hands from sharp edges. Keep your body clear of the drill path. Avoid using too much force to stop the door or lock from breaking. Clean metal debris often to see clearly while drilling.
Legal Considerations
Only drill a lock on property you own or have permission to work on. Drilling locks without permission is illegal and can lead to serious trouble. Keep proof of ownership or permission handy before starting. If unsure, ask a professional locksmith for advice. Respect privacy and property rights at all times.
Troubleshooting Tips
Drilling out a keyed deadbolt lock can be challenging. Problems may arise during the process. Troubleshooting helps you handle these issues with confidence. Below are some common problems and smart ways to solve them.
Dealing With Hardened Locks
Some deadbolts are made from hardened steel. This metal resists normal drill bits. Use a cobalt or titanium drill bit for better results. Drill slowly and apply steady pressure. Heat can build up, so pause often to cool the bit. Patience is key to avoid damage.
Handling Drill Bit Breakage
Drill bits can break inside the lock. This happens if you push too hard or use the wrong bit. Stop drilling immediately if the bit breaks. Use needle-nose pliers or a small magnet to pull out the broken piece. Always wear eye protection during this task.
Alternative Methods
Sometimes drilling may not work well. Try other options like using a lock pick set or bump key. These tools require practice but cause less damage. Another option is calling a locksmith for professional help. Choose the method that fits your skill and tools.

Credit: www.amazon.com
Frequently Asked Questions
How Do You Safely Drill Out A Keyed Deadbolt Lock?
Use a power drill with a metal drill bit. Drill at the center of the keyhole slowly. Wear safety goggles and gloves for protection. Stop once the lock cylinder is removed to avoid damaging the door.
What Tools Are Needed To Drill Out A Deadbolt Lock?
You need a power drill, metal drill bits, safety goggles, and gloves. A screwdriver may be required to remove the lock after drilling. Choose sharp bits for efficient drilling and safety equipment to protect yourself.
Can Drilling Out A Deadbolt Damage The Door?
Yes, improper drilling can damage the door or frame. Drill carefully and stop once the lock cylinder is cleared. Use the correct drill bit size and avoid excessive force to minimize damage.
How Long Does It Take To Drill Out A Keyed Deadbolt?
It typically takes 5 to 15 minutes depending on skill and tools. Using the right drill bit and steady pressure speeds up the process. Rushing can cause damage or injury, so proceed carefully.
Conclusion
Drilling out a keyed deadbolt lock takes care and patience. Use the right tools and follow safety steps closely. Work slowly to avoid damage beyond the lock. Remember, this method should be a last resort. Always consider calling a locksmith for help.
Knowing the process helps you handle lock problems better. Stay safe and take your time. This way, you can get back inside without extra trouble.