Are you struggling with a stubborn Schlage deadbolt lock that won’t come off? Whether you want to replace it, fix a jam, or upgrade your home security, removing this lock might seem tricky at first.
But don’t worry—you can do it yourself with the right steps. In this guide, you’ll learn exactly how to remove your Schlage deadbolt lock quickly and safely, even if you have no prior experience. Keep reading, and you’ll be unlocking this skill in no time.
Tools Needed
Removing a Schlage deadbolt lock requires some basic tools. These tools make the process easier and safer. Having the right tools helps avoid damage to the door and lock parts. Preparing your workspace with these tools saves time and effort.
Phillips Head Screwdriver
The Phillips head screwdriver is essential. Most Schlage deadbolts use Phillips screws. This tool helps remove screws on the lock’s faceplate and interior side. A medium-sized screwdriver fits most screws well.
Flathead Screwdriver
A flathead screwdriver helps pry off the trim plate gently. It also assists in loosening stuck parts. This tool works well for small adjustments during removal.
Allen Wrench (hex Key)
Some Schlage deadbolt models use small hex screws. An Allen wrench set covers different sizes. This tool is handy for loosening these specific screws quickly.
Needle-nose Pliers
Needle-nose pliers help grip small parts. They are useful for pulling out the cylinder or turning small screws. This tool provides better control in tight spaces.
Tape Or Marker
Marking screws or parts with tape or a marker is helpful. This practice keeps track of where each piece belongs. It prevents confusion during reassembly.
Identify Lock Type
Start by checking the lock’s shape and parts to identify the Schlage deadbolt type. Knowing the lock model helps in choosing the right removal method. Look for screws or a small hole on the faceplate to begin.
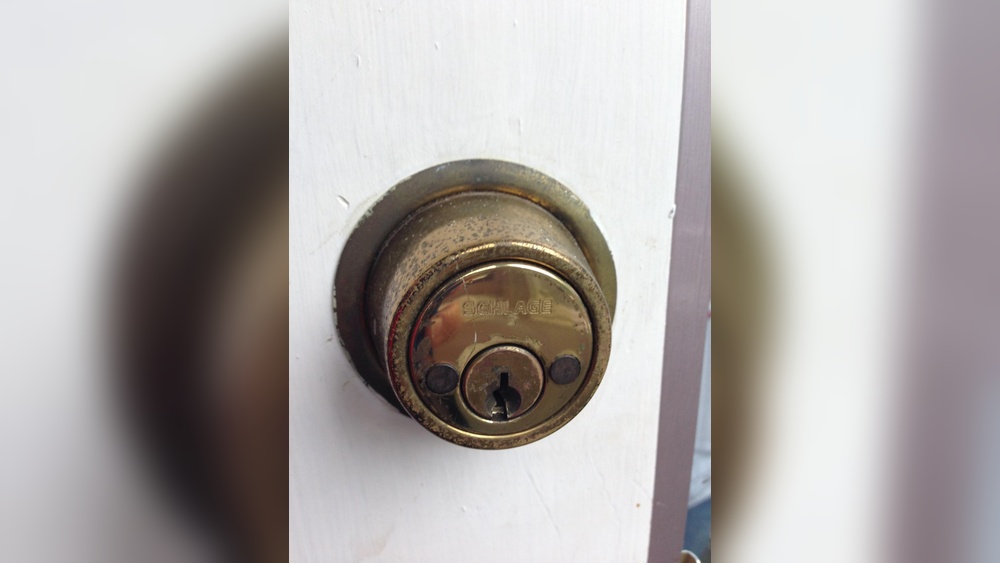
Understanding The Schlage Deadbolt Design
Schlage deadbolts come in different styles. Knowing your lock’s design helps in removal. Most models share similar parts but have small differences. This affects how you take them off.
Look at the lock from the outside. Notice if it has a keyhole or a thumb turn. This detail shows the type and model you are dealing with.
Check For Keyed Or Thumb Turn Locks
Schlage deadbolts usually have two main types: keyed or thumb turn. Keyed locks use a key on the outside to lock and unlock. Thumb turn locks have a small knob on the inside.
Identifying this helps you prepare the right tools. It also makes the removal process easier and faster.
Locate The Mounting Screws
Mounting screws hold the deadbolt together. Some Schlage locks hide these screws under a cover plate. Others leave them visible on the inside.
Find these screws before starting. Removing covers gently reveals screws without damage. This step is essential for safe removal.
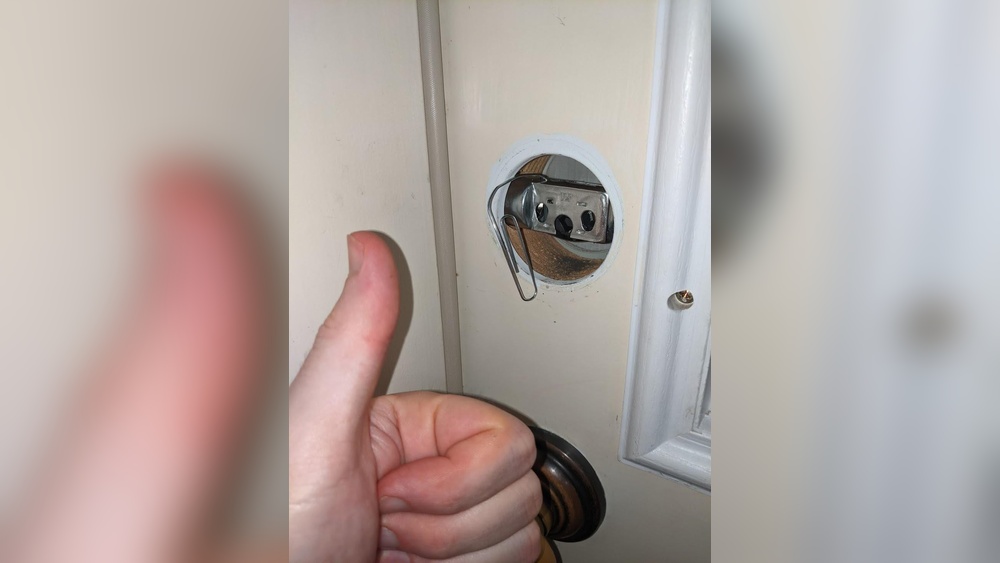
Remove Interior Knob Or Thumbturn
Removing the interior knob or thumbturn is the first step in taking out a Schlage deadbolt lock. This part controls the lock from inside your door. Taking it off allows access to the screws holding the lock in place. The process is simple and requires only a few tools.
Locate The Set Screw
Look closely at the interior knob or thumbturn. You will see a small set screw on the side or bottom. This screw holds the knob firmly on the spindle. Use a screwdriver or Allen wrench to loosen it.
Loosen The Set Screw
Turn the set screw counterclockwise. Do not remove it completely yet. Just loosen it enough so the knob can slide off easily. Keep the screw safe for reassembly.
Remove The Interior Knob Or Thumbturn
Hold the knob firmly and pull it straight away from the door. It should come off without much force. If stuck, gently wiggle it while pulling. Once off, set the knob aside in a safe place.

Credit: diy.stackexchange.com
Unscrew Deadbolt Plate
Removing the deadbolt plate is the first step to take off a Schlage deadbolt lock. This plate covers the locking mechanism on the door’s edge. Unscrewing it allows access to the lock’s internal parts. This step is simple but important for safe removal.
Locate The Deadbolt Plate Screws
Look on the edge of your door. Find the small screws holding the metal plate. Usually, there are two screws, one at the top and one at the bottom. These screws keep the deadbolt plate fixed firmly in place.
Use The Correct Screwdriver
Choose a screwdriver that fits the screws perfectly. Most Schlage deadbolts use a Phillips head screwdriver. Using the right tool prevents damage to the screws and plate. Avoid using tools that slip or strip the screw heads.
Unscrew The Deadbolt Plate Carefully
Turn the screwdriver counterclockwise to loosen the screws. Keep steady pressure and turn slowly. Remove both screws completely. Place screws in a safe spot to avoid losing them during the process.
Remove The Deadbolt Plate
After removing the screws, gently pull the deadbolt plate away from the door edge. Sometimes it may stick slightly. Wiggle it carefully to loosen without bending or scratching the door. Set the plate aside for reassembly or replacement.
Extract Deadbolt Mechanism
Removing a Schlage deadbolt lock starts by unscrewing the interior plate. Next, gently pull out the deadbolt mechanism from the door edge. This process is simple with basic tools and clear steps.
Locate The Deadbolt Faceplate
The deadbolt faceplate sits on the edge of the door. It covers the bolt mechanism inside. Use a screwdriver to remove the screws holding it. Keep the screws safe for later use. Gently pull the faceplate away from the door. This step reveals the bolt mechanism for removal.
Remove The Deadbolt Bolt
After removing the faceplate, the bolt is visible. Slide the bolt out of the door edge. Sometimes, it may need a little wiggling. Do not use too much force to avoid damage. Pull the bolt straight out to avoid bending.
Unscrew The Deadbolt Mechanism
Look inside the door cavity where the bolt was. You will find screws holding the mechanism. Use a screwdriver to remove these screws carefully. Pull the deadbolt mechanism out from the door. Keep parts organized for easy reassembly.
Remove Exterior Cylinder
Start by removing the screws on the interior side of the lock. Then, gently pull out the exterior cylinder from the door. This process helps access the deadbolt for repair or replacement.
Locate The Screws Holding The Cylinder
Start by finding the screws on the interior side of the door. These screws keep the exterior cylinder in place. Use a screwdriver to remove them carefully. Keep the screws safe for reassembly.
Pull Out The Exterior Cylinder
After removing the screws, gently pull the exterior cylinder from the door. It may need a slight wiggle to come loose. Avoid forcing it hard to prevent damage.
Handle The Cylinder Carefully
The exterior cylinder contains delicate parts. Place it on a soft surface. Do not drop or hit it. This keeps the cylinder ready for repair or replacement.
Troubleshooting Common Issues
Troubleshooting common issues makes removing a Schlage deadbolt easier. Problems can slow you down. Knowing how to fix them helps save time and effort.
Some problems happen often. You might find stuck screws, parts that don’t line up, or damaged pieces. Each has a simple fix. Here is how to handle these issues.
Stuck Screws
Stuck screws stop the lock from coming apart. Rust or dirt often causes this. Use a screwdriver that fits well. Turn screws slowly and gently.
Apply a drop of oil or WD-40. Let it sit for a few minutes. This loosens the rust. Try turning the screw again. Avoid forcing it to prevent damage.
Misaligned Components
Sometimes parts do not line up right. This makes removal hard. Check the lock’s position on the door. Tighten or loosen screws slightly to realign.
Push or pull the lock gently. See if it moves into place. Correct alignment helps the lock come off smoothly. Take your time to adjust carefully.
Damaged Lock Parts
Damaged parts block the removal process. Look for cracked or broken pieces. If parts are damaged, removal might need extra care.
Use pliers to grip and pull broken parts. Replace any parts that won’t come off. Damaged components may need new ones for proper function.

Credit: www.youtube.com
Tips For Reinstallation Or Replacement
Removing a Schlage deadbolt is only half the task. Reinstallation or replacement requires care to ensure the lock works well and stays secure. Use simple steps and check parts carefully during the process.
Taking time to follow clear tips helps avoid mistakes. These tips make the job easier and keep your door safe.
Check All Parts Before Reinstalling
Make sure you have all screws, plates, and the deadbolt itself. Missing parts can cause problems later. Compare parts with the instructions or your old lock.
Align The Deadbolt Correctly
Put the deadbolt in the door edge so it moves smoothly. Check the bolt slides without sticking. Proper alignment helps the lock last longer.
Tighten Screws Securely But Gently
Screws must hold the lock firmly. Tighten them without forcing. Too much pressure can strip the holes or damage the lock.
Test The Lock Before Finalizing
Turn the key and thumb turn several times. The lock should open and close easily. Testing now saves time and frustration later.
Use The Correct Tools
Choose screwdrivers and drills that fit the screws. Using wrong tools can damage screws or lock parts. Proper tools make the job faster and cleaner.

Credit: www.youtube.com
Frequently Asked Questions
How Do You Start Removing A Schlage Deadbolt Lock?
Begin by locating and unscrewing the interior side screws with a screwdriver. Remove the interior plate carefully.
Can I Remove The Deadbolt Without Special Tools?
Yes, a standard Phillips screwdriver is usually enough to remove a Schlage deadbolt lock.
How Do I Remove The Exterior Part Of The Deadbolt?
Once the interior is removed, gently pull the exterior part out from the door.
Is It Necessary To Remove The Strike Plate Too?
Removing the strike plate is optional but recommended when replacing the deadbolt lock.
Conclusion
Removing a Schlage deadbolt lock does not have to be hard. Follow each step with care and use the right tools. Take your time and stay patient throughout the process. This guide helps you do the job safely and quickly.
Now, you can replace or fix your lock with confidence. Keep this method handy for future needs. Simple steps make a big difference.