Are you tired of tangled cables and fuzzy TV signals? Setting up your cable TV wall connection doesn’t have to be confusing or frustrating.
With the right steps, you can enjoy clear, uninterrupted entertainment in no time. This guide will walk you through exactly how to hook up your cable TV wall, making the process simple and stress-free. Keep reading, and you’ll be watching your favorite shows faster than you think.
Gather Required Tools
Gathering the right tools is the first step to hook up your cable TV wall. Having everything ready saves time and avoids frustration. It ensures a smooth and safe installation. This section covers the types of cables and connectors you need. It also lists essential tools for the job.
Cable Types And Connectors
Choose the right cable for your TV connection. Coaxial cables are the most common. They carry the TV signal from the wall to your device. Check the cable thickness. RG6 is the standard for modern setups.
Connectors join the cable to your TV or wall outlet. F-type connectors are popular for cable TV. They screw on for a secure fit. Make sure the connectors match your cable type. This avoids signal loss and poor picture quality.
Essential Tools Checklist
Prepare these tools before starting the installation:
- Coaxial cable stripper to remove the outer layer cleanly.
- Compression tool to attach connectors firmly.
- Screwdriver to secure wall plates and brackets.
- Drill for making holes if needed.
- Level to keep your setup straight.
- Measuring tape to check cable length.
- Cable tester to confirm signal quality.
Having these tools ready makes the process easier. It helps you avoid mistakes and saves time.
Locate Cable Outlet
Locating the cable outlet is the first step to hooking up your cable TV. It connects your cable box or TV to the main cable line. Without finding this outlet, you cannot get a signal. Understanding where to find it helps you set up quickly and easily.
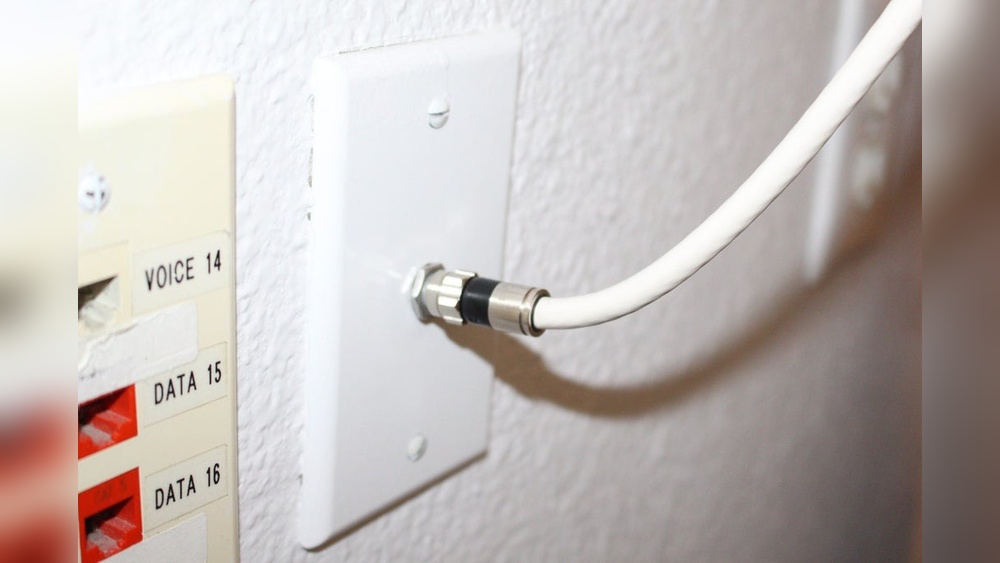
Finding The Wall Port
The wall port is usually a small round or rectangular socket. Check near your TV area first. Common spots include behind the TV, near power outlets, or on baseboards. Look for a port that fits a coaxial cable. It might be labeled as “Cable” or “TV.”
If you do not see it, try checking other rooms. Sometimes outlets are installed in living rooms or bedrooms where the cable line enters the house. Use a flashlight to spot dark or hidden ports.
Checking Signal Source
After finding the outlet, check if it provides a signal. Connect your cable wire to the port. Turn on your TV or cable box. See if the device detects a signal or channel list.
No signal? Make sure the cable line is active from your provider. You might need to call customer service to confirm. Test the cable outlet with another device to ensure it works. A working signal means you found the right outlet.
Prepare The Cable
Preparing the cable is an important step before hooking up cable TV to your wall. Proper preparation ensures a strong and clear signal. It also helps avoid damage to the cable and connectors. This part covers how to measure, cut, and strip the cable correctly.
Measuring And Cutting
Measure the distance from your cable box to the wall outlet carefully. Add a few extra inches to avoid a tight fit. Use a sharp cable cutter to make a clean cut. Avoid twisting or crushing the cable while cutting. A neat cut helps maintain signal quality and easier connection.
Stripping The Cable
Use a cable stripper tool to remove the outer jacket gently. Strip about half an inch of the outer layer without damaging the inner wires. Next, peel back the foil shield and grounding wire carefully. Expose the inner copper wire without nicking it. Proper stripping prepares the cable for a secure connector fit.
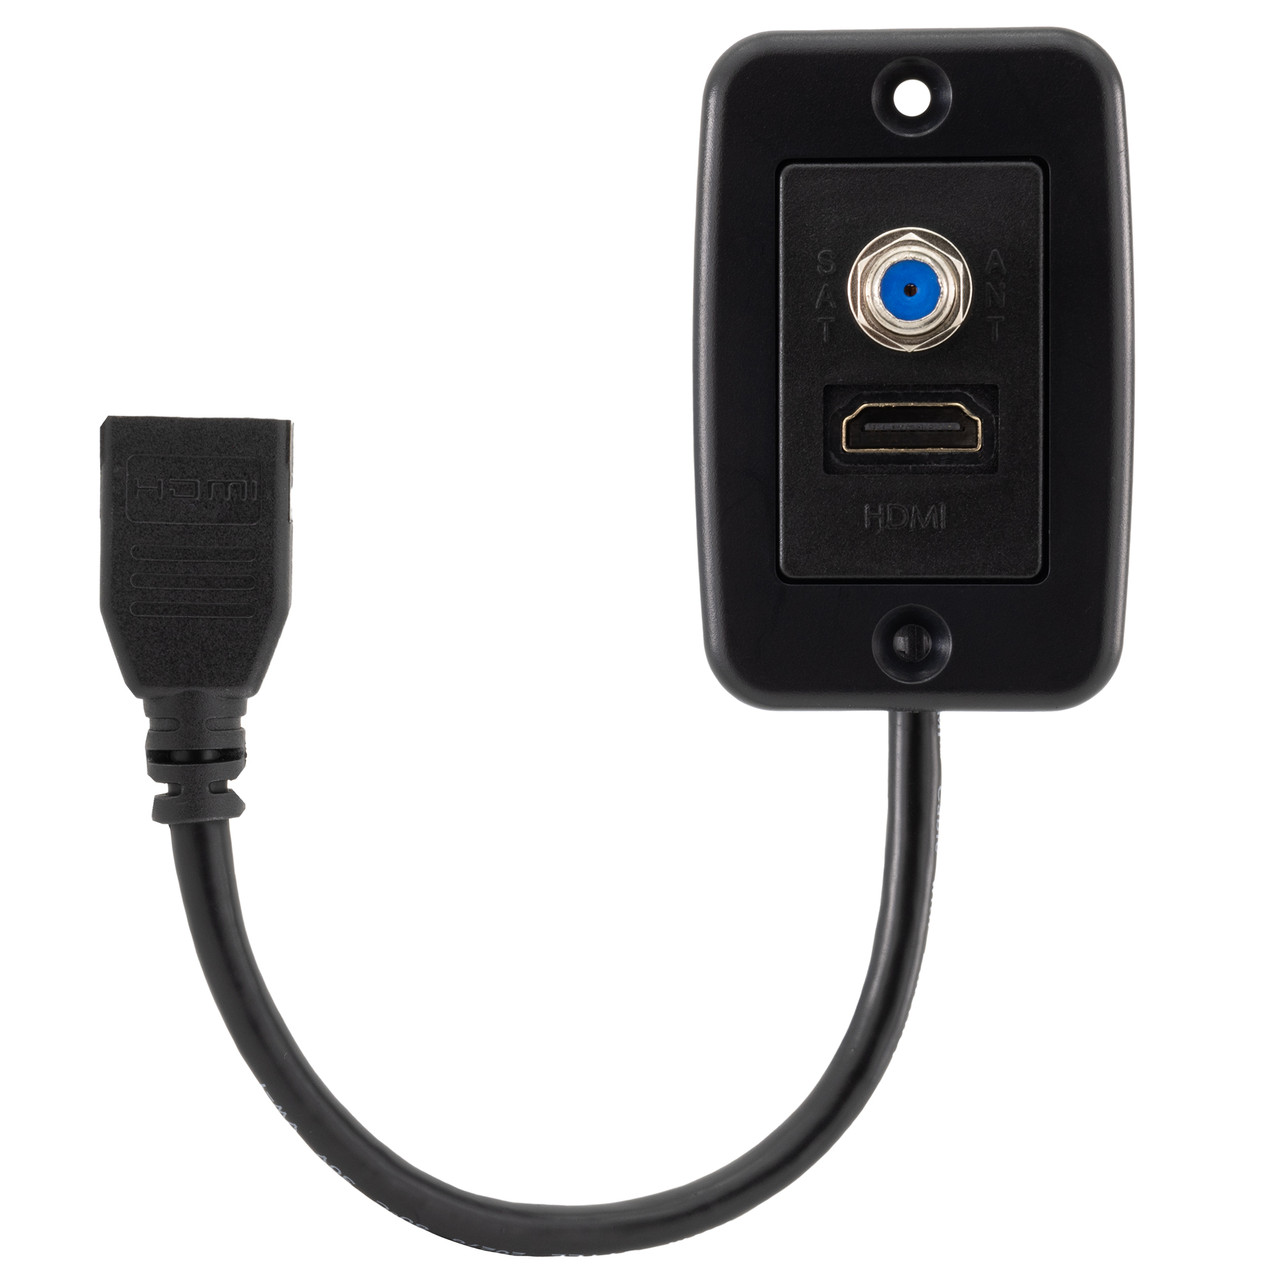
Credit: recpro.com
Connect Cable To Wall Plate
Connecting the cable to the wall plate is a key step in setting up your cable TV. It allows your TV to receive the signal from the cable provider. This step needs care to ensure a clear and strong connection. A poor connection can cause weak signals or no picture at all.
Follow simple steps to attach the cable properly. Use the right connectors and secure the cable firmly. This will help your TV work smoothly without interruptions.
Attaching Connectors
Start by stripping the cable end carefully. Remove about half an inch of the outer jacket. Avoid cutting the inner wires. Next, slide the connector onto the cable end. Push it until it fits tightly. The metal part should touch the wire inside. This ensures a good signal flow. Use connectors made for your cable type.
Securing The Cable
After attaching the connector, connect it to the wall plate. Screw it on gently but firmly. Do not over-tighten to avoid damage. Use a cable clip or tie to hold the cable near the wall. This prevents the cable from pulling or bending too much. A secure cable lasts longer and keeps the signal strong.
Mount The Wall Plate
Mounting the wall plate is a key step in setting up your cable TV connection. This plate holds the cable jack and links the cable to your TV. Proper mounting ensures a neat look and solid connection. Follow simple steps to place the wall plate correctly and keep it steady.
Aligning And Fixing
Start by choosing the right spot on the wall. Hold the wall plate against the wall. Check if it is straight and level. Use a pencil to mark the holes where screws will go. Drill small holes carefully to avoid damage. Place anchors if the wall is drywall. Screw the wall plate tightly but do not over-tighten. The plate should be flush with the wall.
Ensuring Stability
Make sure the wall plate does not move or wiggle. Test by pressing lightly on the plate. If it feels loose, tighten the screws more. Use wall anchors for extra support on weak walls. A stable plate protects the cable connection and keeps the setup safe. Avoid gaps between the wall and the plate to stop dust or dirt from entering.
Connect To Tv Or Receiver
Connecting your cable TV wall outlet to your TV or receiver is an important step. It lets you watch your favorite shows and movies. This connection sends the cable signal directly to your device. Doing this right ensures clear picture and sound quality.
Follow simple steps to make sure the setup works well. Avoid loose connections to prevent signal loss. Let’s explore how to pick the right input and test your connection.
Choosing The Right Input
Check the back of your TV or receiver. Look for the cable input labeled “Cable In” or “RF In.” This input is designed for coaxial cable connections. Avoid using other inputs like HDMI or AV for cable signals.
Some TVs have multiple inputs. Use the one marked for cable or antenna signals. This helps your device receive the correct signal type. Using the right input avoids signal errors and picture problems.
Connecting And Testing
Take the coaxial cable from your wall outlet. Screw it tightly into the “Cable In” port on your TV or receiver. Make sure the connection is firm but do not over-tighten. Loose connections cause static and poor image quality.
Turn on your TV or receiver. Use the remote to select the cable input source. Scan for channels if needed. This lets the device find all available cable channels. Watch a few channels to check picture and sound clarity.
Troubleshoot Common Issues
Troubleshooting common issues helps keep your cable TV working well. Many problems happen often. Fixing them yourself saves time and money. Simple checks can restore your TV signal and picture.
Below are easy steps to solve frequent problems. Follow them carefully for best results.
No Signal Problems
No signal means your TV does not receive the cable feed. Check the cable connection at the wall and TV. Make sure the cable is tight and not damaged. Try unplugging and plugging the cable again. Restart your cable box or TV to refresh the connection. Verify that the TV input matches the cable source. If the problem stays, test the cable on another TV. This helps find if the cable or TV causes the issue.
Picture Quality Fixes
Picture quality can drop due to loose cables or poor settings. Check all cable connections for firmness. Clean the cable ends to remove dust or dirt. Adjust the TV’s picture settings like brightness and contrast. Use the TV menu to run a picture test if available. Weak signals cause blurry or pixelated images. In that case, contact your cable provider for a signal boost. Keep cables away from electronic devices that cause interference.
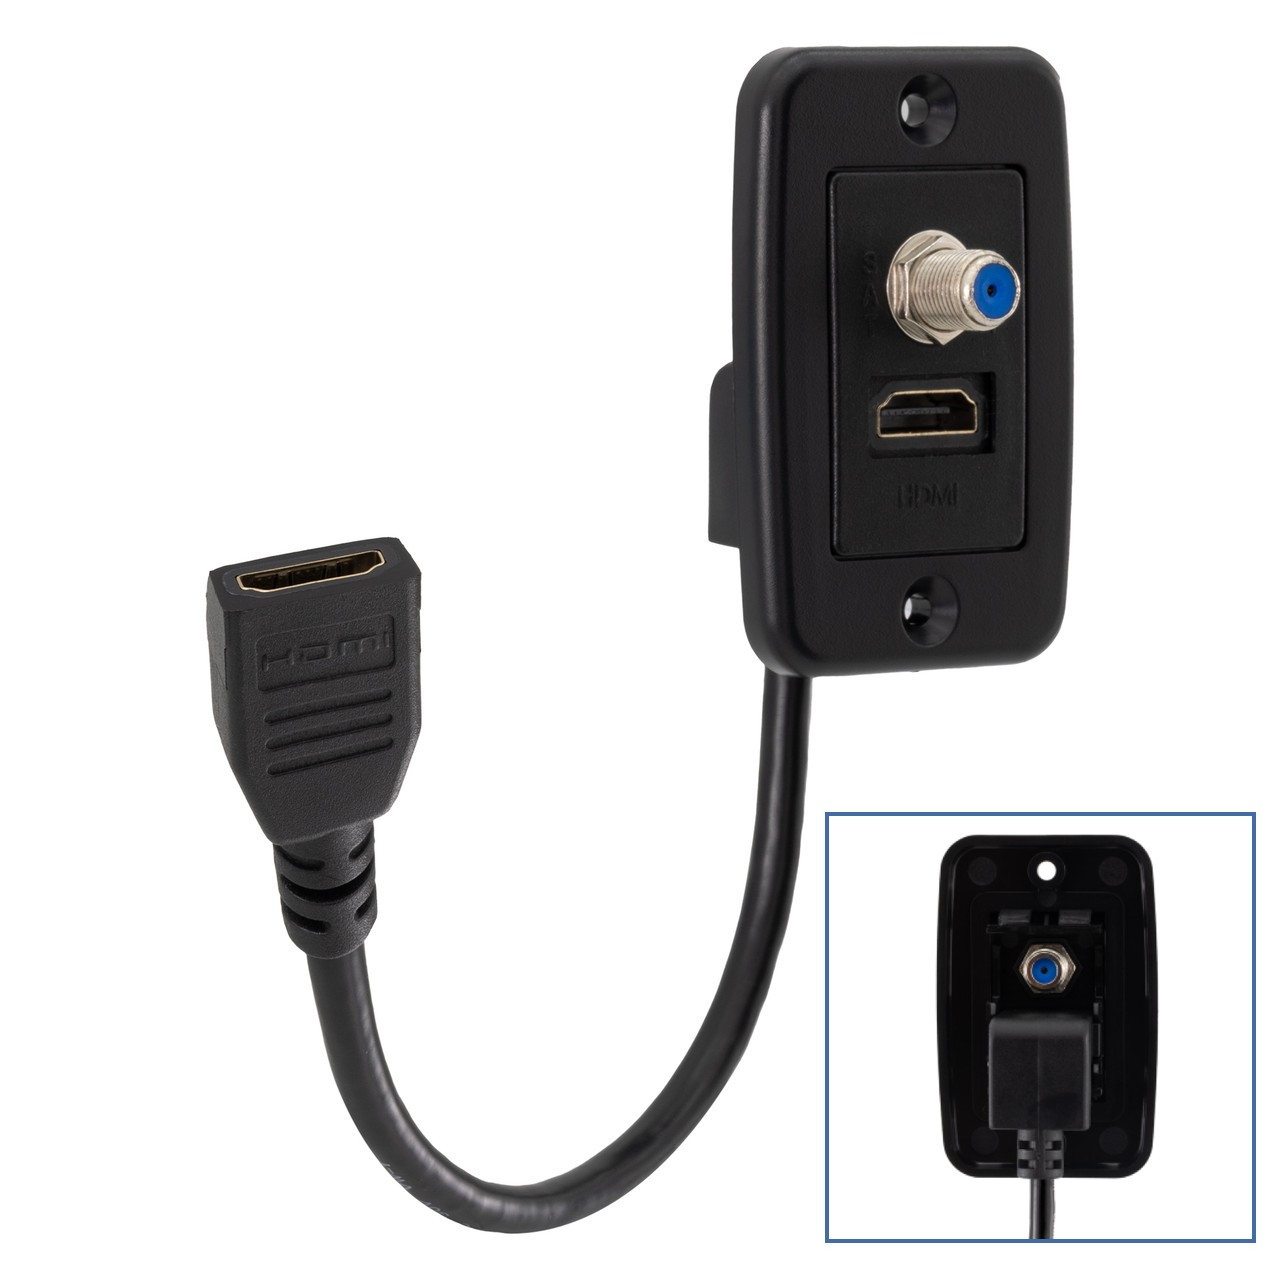
Credit: recpro.com
Optimize Cable Management
Organizing cables is important for a neat and safe TV setup. Proper cable management stops tangles and keeps wires out of sight. It also protects cables from damage and makes the area easier to clean. Simple steps can make a big difference in your cable setup.
Hiding Wires
Hiding wires improves the look of your TV wall. Use cable raceways or wall channels to cover cables along the wall. Paint these covers to match the wall color for a smooth look. Running cables behind the wall is another option, but it needs more work. Keeping wires hidden reduces clutter and creates a clean space.
Using Clips And Covers
Cable clips hold wires in place and stop them from hanging loose. Attach clips along the wall or behind the TV to keep cables tidy. Cable covers group several wires together for a neat bundle. These tools prevent cables from tangling and make the setup safer. Using clips and covers keeps your TV area organized and easy to manage.

Credit: www.youtube.com
Frequently Asked Questions
How Do I Connect Cable Tv To The Wall Outlet?
Locate the cable wall outlet and connect one end of the coaxial cable to it. Attach the other end to your TV or cable box input. Ensure both ends are securely tightened for a stable signal.
What Tools Are Needed To Hook Up Cable Tv Wall?
You mainly need a coaxial cable and a coaxial cable wrench or pliers. A screwdriver may be required if mounting equipment or securing cables. Always ensure cables are undamaged for the best connection.
Can I Use An Old Cable To Hook Up Tv?
Yes, you can use an old cable if it is in good condition. Check for any cuts or damage that might affect signal quality. Replace the cable if the signal is weak or intermittent.
How To Test Cable Tv Signal After Hookup?
Turn on your TV and select the cable input source. Check for a clear picture and sound. If the signal is weak or missing, recheck cable connections and ensure the outlet is active.
Conclusion
Connecting your cable TV to the wall is simple and quick. Follow the steps carefully to avoid mistakes. Use the right tools and parts for a secure fit. Check the connection before turning on your TV. A good setup means better picture and sound.
Enjoy your favorite shows without interruptions. Practice makes perfect, so don’t worry if it takes time. This guide helps you get started with confidence. Feel free to try it yourself and save money. Cable TV hookup can be easy and stress-free.