If you’re looking to remove your Kwikset Keypad Deadbolt, you might be feeling a bit stuck or unsure where to start. Don’t worry—this process is easier than you think, and you don’t need to be a locksmith to get it done.
Whether you want to replace it, fix a problem, or upgrade your security, this step-by-step guide will walk you through every part of removing your keypad deadbolt safely and quickly. Keep reading, and you’ll have your deadbolt off in no time, without any stress or confusion.
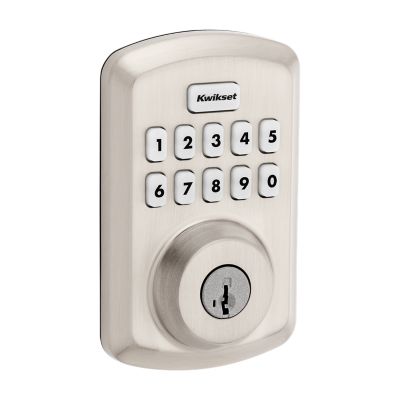
Credit: www.kwikset.com

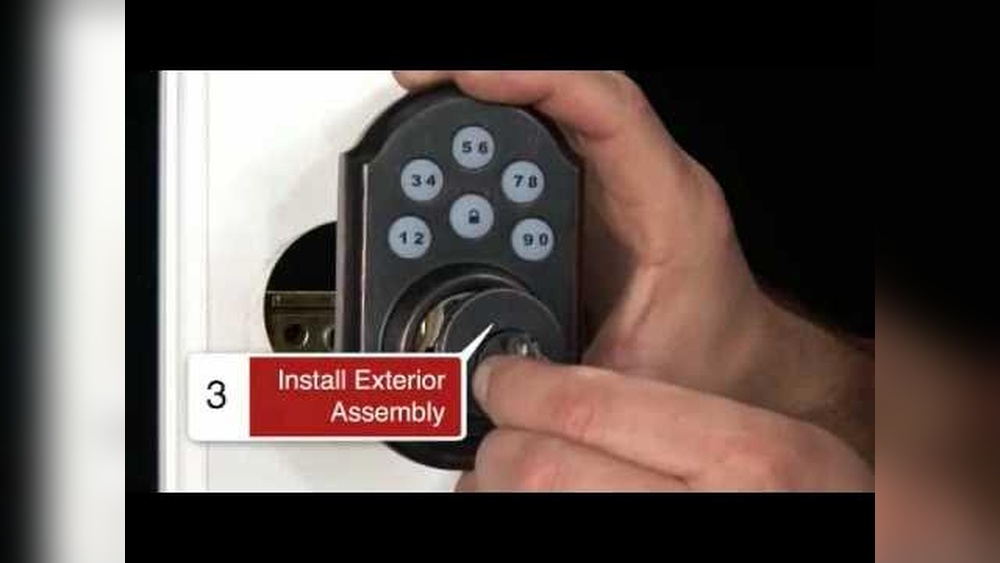
Credit: www.youtube.com
Frequently Asked Questions
How Do I Remove A Kwikset Keypad Deadbolt?
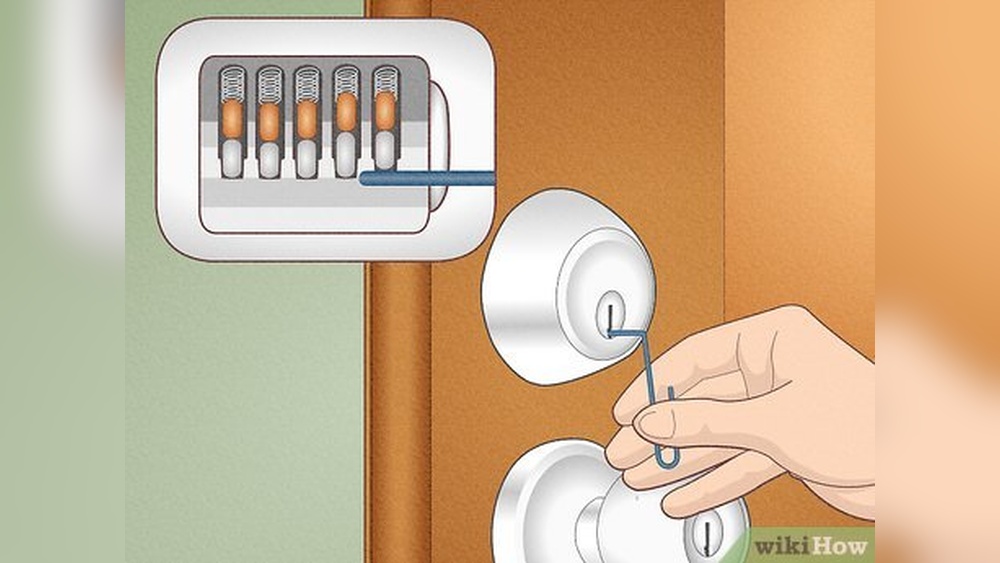
First, unscrew the interior mounting screws. Next, carefully detach the interior assembly. Finally, remove the exterior keypad and spindle. Follow the manual for specific model steps to avoid damage.
What Tools Are Needed To Remove Kwikset Keypad Locks?
You typically need a Phillips screwdriver and a flathead screwdriver. Some models may require a Torx driver. Always check your lock’s manual to confirm the exact tools before starting.
Can I Remove The Kwikset Keypad Without Damaging It?
Yes, removing the lock carefully with the right tools prevents damage. Avoid forcing parts and follow the step-by-step instructions. Handle electronic components gently to keep the keypad functional.
How Long Does It Take To Remove A Kwikset Deadbolt?
Removing a Kwikset keypad deadbolt usually takes 10 to 20 minutes. Time varies based on your experience and the lock model. Taking your time ensures safe and correct removal.
Conclusion
Removing a Kwikset keypad deadbolt is simple with the right steps. Follow each part carefully to avoid damage. Keep your tools ready and work patiently. This guide helps save time and effort during removal. Now, you can replace or fix your lock confidently.
Remember, safety first—always handle tools with care. Stay calm and check your work as you go. This process makes your door secure again, just how you want it.