Are you struggling to fit your deadbolt properly because the strike plate just won’t line up? Cutting out a deadbolt strike plate might sound tricky, but with the right steps, you can do it yourself and save time and money.
In this guide, you’ll discover simple, clear instructions that anyone can follow, even if you’ve never handled door hardware before. Keep reading to learn how to make your deadbolt work smoothly and secure your home with confidence.

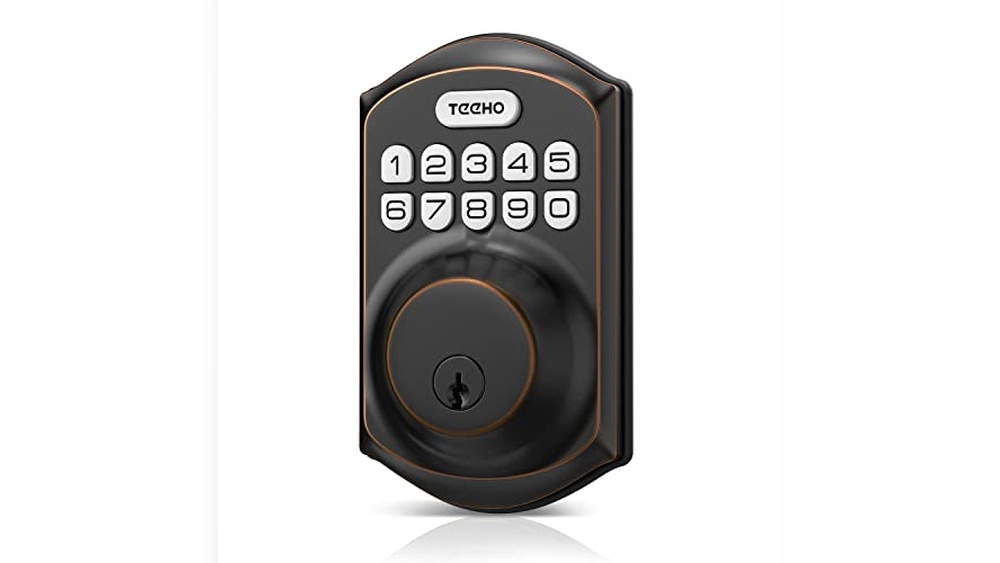
Credit: www.reddit.com
Tools Needed
Cutting out a deadbolt strike plate needs the right tools. Using the correct tools makes the job easier and safer. You can avoid mistakes and save time by preparing well. Here is a list of tools needed for this task.
Essential Tools
You need a screwdriver to remove screws from the strike plate. A chisel helps to carve out wood around the plate. Use a hammer to tap the chisel gently. A measuring tape is useful to mark the right size. A pencil helps to draw cutting lines clearly. A utility knife can clean up rough edges after chiseling.
Safety Gear
Wear safety glasses to protect your eyes from wood chips. Use gloves to protect your hands from sharp edges and tools. Hearing protection is good if you use power tools nearby. Always wear a dust mask if dust is heavy in the air. Safety gear keeps you safe and comfortable during the work.

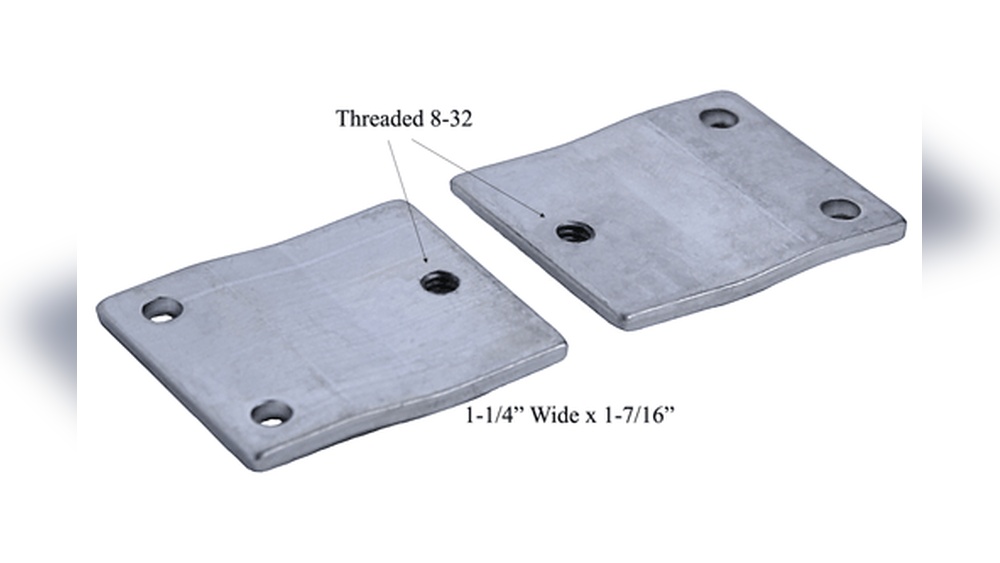
Credit: www.youtube.com
Prepare The Door Frame
Preparing the door frame is the first step in cutting out a deadbolt strike plate. This step helps ensure a clean and precise fit for the new hardware. Careful preparation saves time and prevents damage to the door frame. It also makes the installation process smoother and more secure.
Marking The Strike Plate Area
Start by closing the door and locating the deadbolt. Use a pencil to mark the outline of the strike plate on the door frame. Check the position carefully to match the deadbolt’s bolt. Mark the edges clearly to guide the cutting process.
Double-check the marks before moving on. This helps avoid mistakes and keeps the strike plate aligned. Accurate markings lead to better fitting and a stronger lock.
Removing Old Hardware
Remove any screws holding the old strike plate in place. Use a screwdriver that fits well to avoid stripping the screws. Gently pull the strike plate away from the door frame.
Clean the surface to remove dirt and old paint. This prepares the wood for new cuts and hardware. A clean surface ensures better adhesion and less damage during cutting.
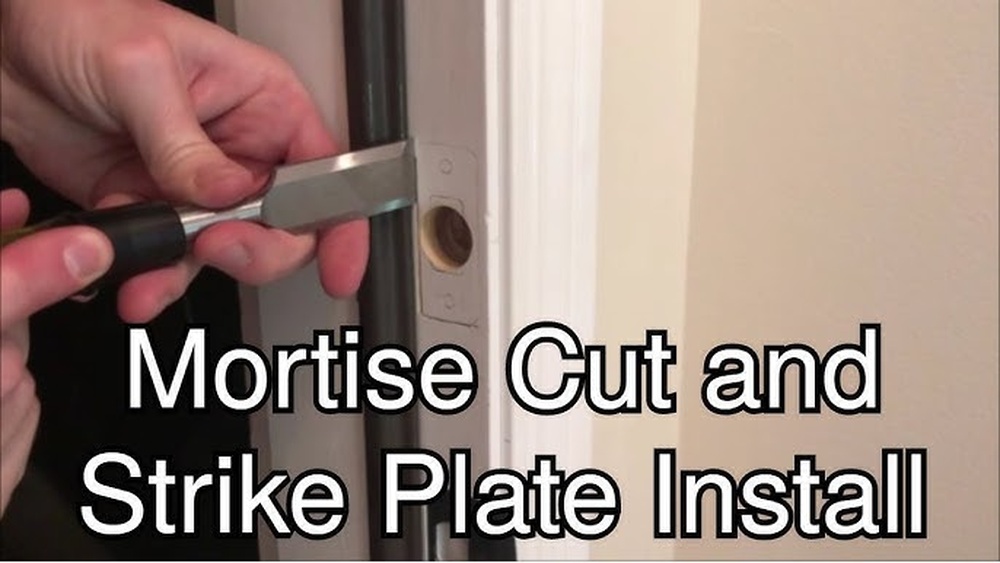
Cutting The Mortise
Cutting the mortise is a key step when installing a deadbolt strike plate. This process creates the recessed area where the strike plate will sit flush with the door frame. A clean, precise mortise ensures the deadbolt locks smoothly and securely. Taking time to cut the mortise correctly will improve the door’s security and appearance.
Choosing The Right Chisel
Select a chisel that matches the strike plate size. A sharp chisel with a width close to the plate works best. Avoid using a chisel too wide or too narrow. A well-sized chisel helps you control the cut and prevents damaging the door frame.
Scoring The Outline
Mark the strike plate outline on the door frame with a pencil. Use a utility knife or a sharp tool to score along these lines. Scoring creates a clear edge and guides the chisel. It also prevents wood from splintering outside the mortise area.
Chiseling The Recess
Start chiseling inside the scored outline. Work slowly and remove thin layers of wood. Keep the chisel flat to avoid uneven cuts. Check the depth regularly to match the strike plate thickness. Finish by cleaning up rough spots for a perfect fit.

Credit: www.reddit.com
Fitting The Strike Plate
Fitting the strike plate is a key step in installing a deadbolt. The strike plate holds the bolt securely in place when locked. It must fit snugly in the door frame. A proper fit ensures the door locks smoothly and safely. This section explains how to position and adjust the strike plate for the best fit.
Test Placement
Start by holding the strike plate against the door frame. Align it with the bolt hole. Mark the outline with a pencil. Check if the plate sits flush with the frame surface. The bolt should enter the hole without resistance. Test the door by locking and unlocking gently. This shows if the strike plate is in the right spot.
Adjusting The Mortise
Next, carve out the mortise for the strike plate. Use a chisel to remove wood inside the marked outline. Make the cavity deep enough for the plate to sit flush. Smooth the edges to avoid gaps. Regularly test fit the plate during this process. Adjust until the plate fits perfectly and the bolt slides in easily.
Installing The New Strike Plate
Troubleshooting deadbolt strike plate issues can save time and frustration. This section guides you through common problems and easy fixes. Follow these tips to ensure your deadbolt works smoothly and securely.
Common Mistakes
Cutting the strike plate hole too large weakens the door frame. Avoid cutting uneven edges that cause poor fit. Not measuring twice leads to errors in size and placement. Using the wrong tools can damage the door or plate. Skipping test fits wastes effort and creates problems later.
Fixing Alignment Issues
Check the deadbolt and strike plate alignment carefully. Use a pencil to mark where the bolt hits the frame. Adjust the strike plate up or down for a perfect fit. Shim behind the plate if it does not sit flush. Test the lock several times after each adjustment. Tighten screws firmly to keep the plate stable.
Frequently Asked Questions
How Do You Cut Out A Deadbolt Strike Plate?
First, mark the strike plate outline on the door frame. Use a chisel and hammer to carefully cut along the lines. Remove wood gradually until the strike plate fits flush with the frame. Sand edges smooth for a clean finish and proper deadbolt function.
What Tools Are Needed To Cut A Deadbolt Strike Plate?
You need a chisel, hammer, measuring tape, pencil, and possibly a drill. These tools help you mark, cut, and shape the door frame accurately for the strike plate installation. Proper tools ensure a precise and secure fit.
Why Cut Out The Deadbolt Strike Plate Recess?
Cutting a recess allows the strike plate to sit flush with the door frame. This ensures smooth deadbolt operation and improves security. Without a proper recess, the strike plate may stick out, causing alignment issues or damage.
How Deep Should The Strike Plate Recess Be?
The recess depth should match the strike plate thickness, usually about 1/8 inch. This depth ensures the plate sits flush with the door frame surface. Measure the strike plate precisely before cutting to avoid uneven installation.
Conclusion
Cutting out a deadbolt strike plate can seem tricky at first. Take your time and follow each step carefully. Use the right tools to make clean cuts and fit the plate well. Keep safety in mind while working on your door.
A well-cut strike plate helps your lock work smoothly and keeps your home secure. Practice makes perfect, so don’t worry if it takes a few tries. With patience, you can complete this task confidently and improve your door’s function. Simple steps lead to better home security.