If you want to boost your home’s security, installing a deadbolt lock is one of the best steps you can take. But before you can enjoy that extra protection, you need to know how to make a perfect hole for the deadbolt lock.
Don’t worry if you’ve never done this before—this guide will walk you through every step clearly and simply. By the end, you’ll feel confident handling the tools and ready to secure your door like a pro. Keep reading to discover how easy it is to create the right hole for your deadbolt lock and make your home safer today.
Tools And Materials Needed
Preparing to make a hole for a deadbolt lock requires the right tools and materials. These help you work safely and accurately. Having everything ready saves time and avoids mistakes. Below are the key items you will need.
Essential Tools
A power drill is necessary to create holes in the door. Choose a drill with variable speed control. You also need hole saw bits sized for the lock cylinder and latch. A tape measure helps mark exact points on the door. A pencil or marker is useful for clear markings. A chisel and hammer help adjust the mortise for the latch. A screwdriver is required to install the lock components.
Lock Components
Buy a deadbolt lock kit that fits your door thickness. The kit usually includes the lock cylinder, latch mechanism, strike plate, and mounting screws. Check all parts before starting. Make sure the lock matches your door’s specifications. This ensures smooth installation and proper function.
Safety Gear
Wear safety glasses to protect your eyes from dust and debris. Use ear protection if your drill is loud. Gloves can protect your hands from splinters and sharp edges. Work in a well-lit area to see clearly. Proper safety gear helps prevent accidents during the project.

Credit: www.youtube.com
Choosing The Right Location
Choosing the right location for your deadbolt lock is important for security and ease of use. A well-placed lock helps protect your home effectively. It also makes locking and unlocking simple every day. Take time to find the best spot before you drill any holes.
Consider the door material and structure. Avoid areas near hinges or where the wood is weak. The lock must fit tightly and work smoothly. Marking the spot carefully will help you drill accurately and avoid mistakes.
Ideal Height For Deadbolt
The ideal height for a deadbolt is usually between 5 and 6 feet from the floor. This height works well for most adults. It is comfortable to reach and hard for children to access. This position also aligns well with the door’s structure for strength.
Measure from the floor to about 60 inches. This spot is easy to find and mark. Adjust slightly if needed for your door’s design or personal comfort. Keeping the lock at this height improves security and usability.
Marking The Spot
Use a pencil to mark the exact spot on the door. Mark both the edge and face of the door. This helps when drilling the hole for the lock and the latch.
Check that the mark is straight and level. Use a ruler or tape measure. Double-check the height and distance from the door edge. Accurate marks prevent mistakes and ensure the lock fits perfectly.
Measuring And Marking
Measuring and marking are the first steps to install a deadbolt lock. This process ensures the holes will be in the right place. Accurate marks help avoid mistakes and extra work. Take your time to get this right.
Marking The Door Edge
Start by measuring the backset. This is the distance from the edge of the door to the center of the hole. Common backsets are 2 3/8 inches or 2 3/4 inches. Use a tape measure and mark this spot on the door edge. Make a clear dot with a pencil. This mark shows where to drill the hole for the deadbolt latch.
Next, mark the center height. This is usually about 6 to 7 feet from the floor. Check the lock instructions for exact height. Draw a horizontal line across the door edge at this height. Make sure it crosses the backset mark. This helps keep your drill straight.
Marking The Door Face
Now measure the same height on the door face. Use a level to draw a straight horizontal line. This line is where the deadbolt hole will go. Use the backset mark from the door edge to find the center point on this line. Mark it clearly.
Double-check all marks before drilling. The door face hole must line up with the door edge hole. This ensures the deadbolt fits perfectly. Accurate marking makes the installation smooth and secure.
Drilling The Face Hole
Drilling the face hole is the first step in installing a deadbolt lock. This hole goes through the door’s face. It holds the lock’s main body. Getting this hole right is important for a secure fit and smooth operation.
Selecting Drill Bits
Choose the right drill bit size for the lock. The standard size is usually 2 1/8 inches. Use a hole saw bit for clean cuts. Make sure the bit is sharp. Dull bits can cause splintering and rough edges. A good drill bit helps make a neat, precise hole.
Drilling Technique
Mark the spot carefully on the door face. Use a center punch to create a small dent. This prevents the bit from slipping. Drill slowly at first to guide the bit. Apply steady, even pressure. Drill straight through the door without tilting. Check the hole size and smooth edges before moving on.
Drilling The Edge Hole
Drilling the edge hole is a key step in installing a deadbolt lock. This hole holds the latch and connects the lock to the door. Accuracy matters here. A clean, well-placed hole ensures the lock works smoothly and fits tightly.
Aligning The Drill
Start by marking the spot on the door edge. Use the deadbolt template for exact placement. Hold the drill straight and steady. The bit should go in square to the door surface. This prevents the hole from being crooked. A crooked hole can block the latch or make installation hard. Drill slowly and check your angle often.
Cleaning The Hole
After drilling, remove wood chips and dust. Use a small brush or cloth to clean inside the hole. Check for rough edges or splinters. Sand these down with fine sandpaper. A smooth hole helps the latch slide in easily. It also protects the lock parts from damage.
Installing The Deadbolt
Installing the deadbolt is a key step to secure your door. This part involves placing the lock cylinder and securing the faceplate. Proper installation ensures the lock works smoothly and keeps your home safe.
Fitting The Lock Cylinder
Start by inserting the lock cylinder into the hole on the door. Make sure it fits snugly without forcing it. Align the cylinder so the keyhole faces outward. Tighten the screws on the inside to hold the cylinder firmly in place. Check that the key turns easily before moving on.
Securing The Faceplate
Next, position the faceplate over the edge of the door. The faceplate covers the deadbolt mechanism and adds strength. Use a screwdriver to fasten the screws tightly. Ensure the faceplate sits flush with the door edge. Test the deadbolt by turning the key and sliding the bolt smoothly.
Finishing Touches
After drilling the hole and installing the deadbolt lock, it’s time for the finishing touches. This step makes sure your lock works perfectly and lasts long. Taking time here saves you from future problems.
Testing The Lock
Start by inserting the key into the lock. Turn the key slowly to check if the bolt moves smoothly. Try locking and unlocking several times. Make sure the door closes tightly and the lock secures properly. If the key sticks or feels hard to turn, note where the problem might be.
Adjusting For Smooth Operation
If the lock is stiff or the bolt does not slide easily, adjust the strike plate on the door frame. Loosen the screws and move it slightly until the bolt fits well. Tighten the screws and test again. Sometimes sanding the door edge or repositioning the lock slightly helps. The lock should open and close with little effort.

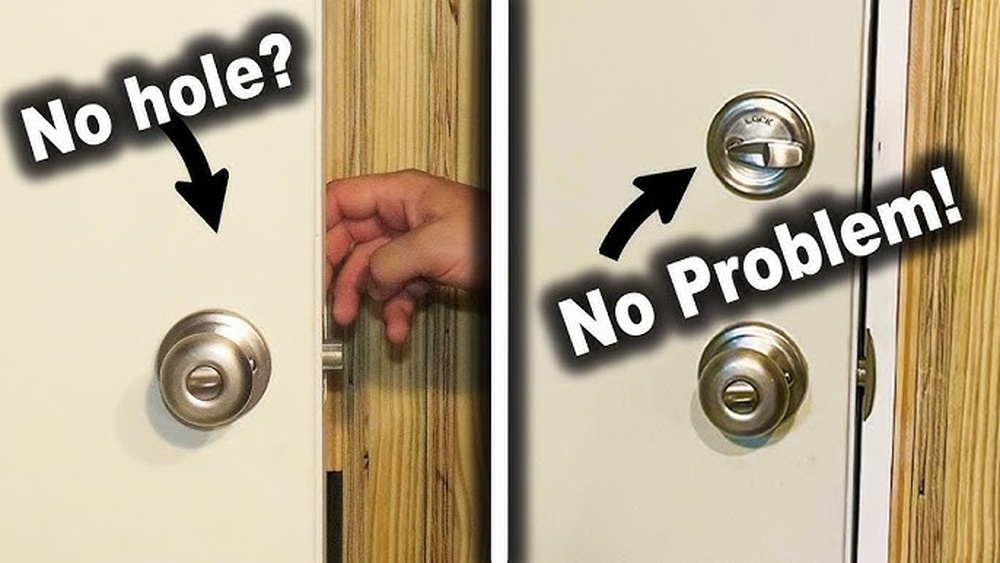
Credit: www.reddit.com

Credit: www.reddit.com
Frequently Asked Questions
How Do You Mark The Door For A Deadbolt Hole?
Use a template or measure 6 to 7 inches above the doorknob. Mark the center on the door edge and face for accurate drilling.
What Tools Are Needed To Drill A Deadbolt Hole?
You need a power drill, hole saw bit (usually 2 1/8 inches), spade bit, chisel, and screwdriver for installation.
How Deep Should The Deadbolt Hole Be Drilled?
Drill the hole through the door completely, usually about 2 to 2. 5 inches deep, to fit the lock body securely.
Can I Install A Deadbolt On Any Door Type?
Most solid wood and metal doors are suitable. Hollow doors may require special reinforcement for secure installation.
Conclusion
Making a hole for a deadbolt lock is simple with the right steps. Measure carefully and mark your door clearly. Use the right tools to drill straight and clean holes. Take your time to avoid mistakes. This helps your lock fit well and work smoothly.
A well-made hole keeps your home safe and secure. Keep practicing and soon it will feel easy. You can improve your DIY skills step by step. Safety and accuracy matter most in this task.