Are you struggling to hang something heavy on your wall, only to find that your screws just won’t hold? If your walls are hollow, you need the right solution to keep things secure.
That’s where hollow wall anchors come in. Learning how to put in a hollow wall anchor can save your walls from damage and give you the confidence to hang shelves, mirrors, or even TVs safely. Keep reading, and you’ll discover a simple step-by-step method that anyone can follow—even if you’ve never done it before.
By the end, you’ll be ready to tackle your next wall project with ease.
Types Of Hollow Wall Anchors
Hollow wall anchors come in different types for various needs. Each type offers unique benefits and suits specific wall materials. Understanding these types helps choose the right anchor for your project. Here are common types of hollow wall anchors.
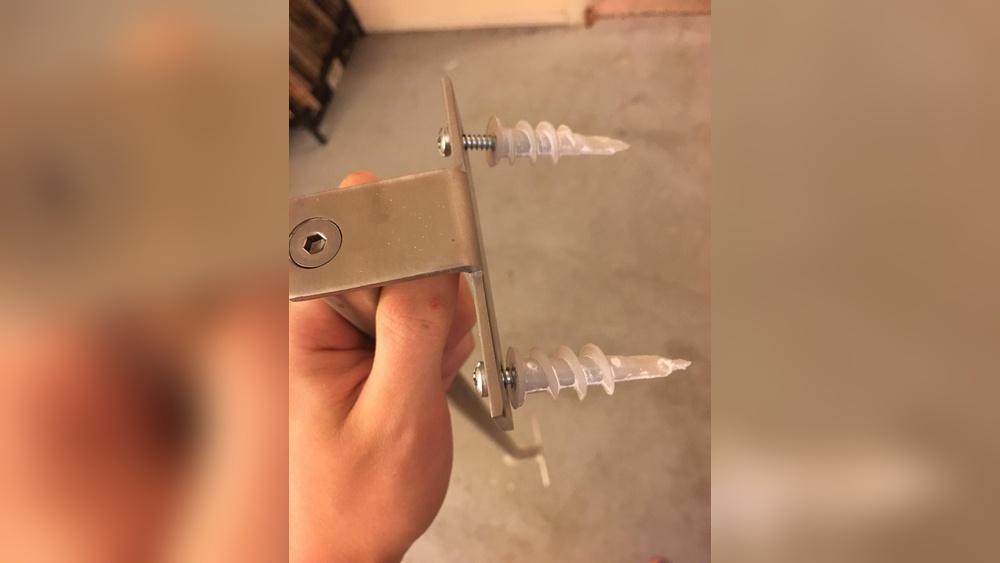
Plastic Expansion Anchors
Plastic expansion anchors are basic and easy to use. They expand when a screw is driven in. These anchors work well in drywall and light materials. Best for hanging small frames or lightweight shelves.
Metal Toggle Bolts
Metal toggle bolts have wings that open inside the wall. This spreads the load over a larger area. They support heavier items like cabinets or large mirrors. Requires drilling a larger hole for insertion.
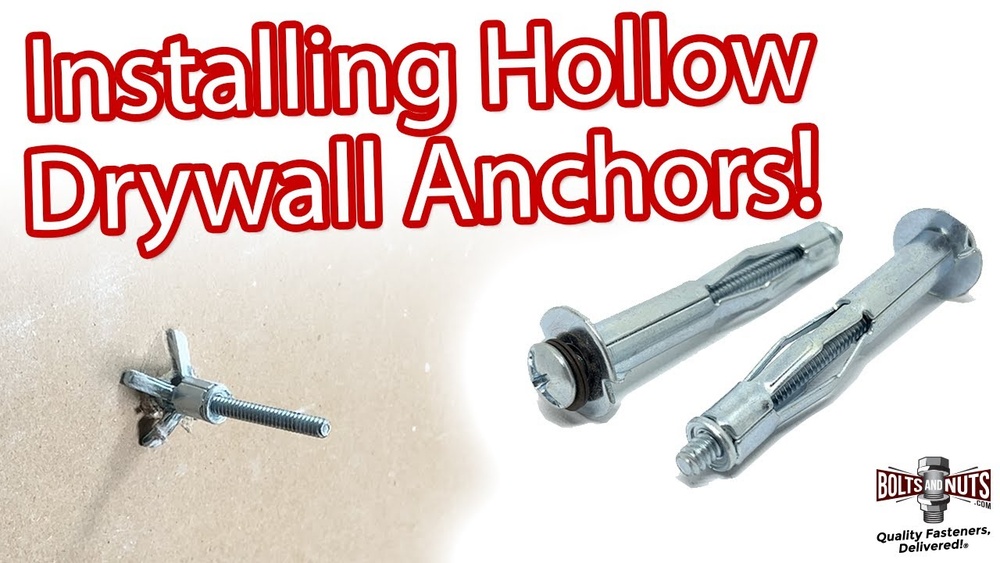
Molly Bolts
Molly bolts are metal anchors with expandable sleeves. The sleeve expands behind the wall when the screw tightens. They offer strong support for medium-weight objects. Useful for hollow walls where extra grip is needed.
Self-drilling Anchors
Self-drilling anchors do not need pre-drilling. They screw directly into drywall with a pointed tip. These anchors are quick to install and hold moderate weight. Ideal for simple tasks like hanging small decorations.
Credit: www.jcyscrews.com
Tools And Materials Needed
Putting in a hollow wall anchor needs some basic tools and materials. These tools help you make a strong hold in the wall. Preparing them first saves time and makes the job easier. Here are the key tools you need for this task.
Drill And Drill Bits
A drill is needed to make a hole in the wall for the anchor. Use the right drill bit size. It should match the size of the hollow wall anchor. A drill with variable speed control works best. It helps you drill carefully without damaging the wall.
Screwdriver
You will need a screwdriver to drive the screw into the anchor. Choose a screwdriver that fits the screw head perfectly. A manual or electric screwdriver can work. It should give you good control to avoid stripping the screw.
Measuring Tape
Measure the spot on the wall where you want to place the anchor. Use a measuring tape for accuracy. This helps you position the anchor in the right place. Marking the spot correctly is key to a neat and secure install.
Pencil Or Marker
A pencil or marker is useful to mark the drill spot on the wall. Mark clearly to see the exact place to drill. Choose a pencil or marker that is easy to erase or paint over later. This small step helps avoid mistakes and saves effort.
Choosing The Right Anchor Size
Choosing the right size for a hollow wall anchor is key to a secure hold. The anchor must fit the wall’s thickness and support the item’s weight. A wrong size can cause damage or failure.
Considering Wall Thickness
Measure the wall thickness before selecting an anchor. Thin walls need smaller anchors to avoid damage. Thick walls require longer anchors for a strong grip. Always match the anchor length to the wall depth.
Weight Capacity Requirements
Check the weight of the item to hang. Use anchors that can carry this weight safely. Bigger anchors hold more weight but need more space. Choose anchors rated for a bit more than your item’s weight.

Credit: www.do-it-yourself-help.com
Preparing The Wall
Preparing the wall is an important first step before installing a hollow wall anchor. This process ensures the anchor will hold firmly and safely. Taking time to prepare helps avoid mistakes and damage to the wall. Follow these simple steps to get your wall ready.
Locating The Fixing Point
Find the exact spot where you want to place the anchor. Check for any pipes or wires behind the wall first. Use a stud finder or a small drill bit to test the area gently. Choose a spot that is strong and clear of obstacles.
Marking Drill Spots
Mark the drilling point clearly with a pencil. Use a level to keep the mark straight if you plan multiple anchors. Double-check the position before drilling. Accurate marks help ensure the anchor fits well and works properly.
Drilling The Hole
Select a drill bit size that matches the anchor’s diameter. Drill slowly and carefully to avoid cracking the wall. Keep the drill straight and steady. Clean out dust and debris from the hole before inserting the anchor.
Inserting The Anchor
Inserting a hollow wall anchor is a key step for strong, safe mounting. The type of anchor affects how you insert it. Each type works best for certain wall materials and weights. Follow these simple steps to place the anchor firmly and securely.
Pushing Plastic Expansion Anchors
Plastic expansion anchors fit well in drywall. First, drill a hole slightly smaller than the anchor. Push the plastic anchor gently into the hole. Use your thumb or a small hammer to tap it flush with the wall. The plastic will expand as you insert the screw, holding tightly in place.
Installing Toggle Bolts
Toggle bolts hold heavy items on hollow walls. Fold the toggle wings and push them through the drilled hole. The wings open inside the wall, creating a strong grip. Pull the bolt slightly back to lock the wings against the inside wall. Tighten the screw carefully to secure the anchor without breaking the wall.
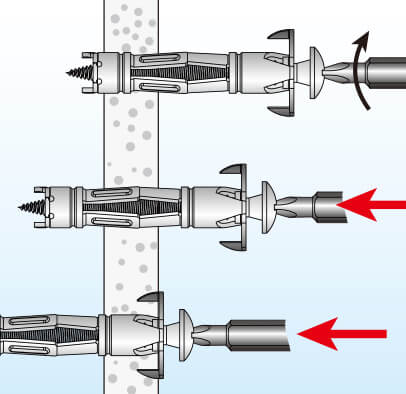
Securing Molly Bolts
Molly bolts work well for medium loads. Insert the molly bolt into the pre-drilled hole. Use a screwdriver to turn the screw. This expands the sleeve behind the wall, locking it firmly. Tighten the screw until the sleeve feels tight. Avoid over-tightening to keep the anchor secure and the wall intact.
Fixing The Screw
Fixing the screw is a key step in securing a hollow wall anchor. It holds the fixture firmly against the wall. Proper screw fixing ensures strength and safety. Avoid loose or overtightened screws to prevent damage.
Aligning The Fixture
Place the fixture carefully on the wall. Match the holes on the fixture with the anchors. Hold it steady to keep the alignment correct. A shifted fixture will not sit flush on the wall. Check the position before starting to screw in.
Tightening The Screw Properly
Use a screwdriver or drill with a proper bit size. Turn the screw slowly to control the tightness. Stop tightening when the fixture is secure and does not move. Avoid forcing the screw too much to prevent wall damage. A firm but gentle approach works best for hollow wall anchors.
Testing The Anchor Strength
Testing the strength of a hollow wall anchor is important for safety. It ensures the anchor can hold weight without slipping or breaking. This step helps avoid damage to walls and keeps items secure.
Applying Gradual Pressure
Start by gently pulling on the anchor. Apply small amounts of force slowly. Watch for any movement or loosening in the anchor. If it stays firm, increase the pressure bit by bit. This method helps check the anchor’s grip without sudden strain.
Ensuring Secure Fit
Check if the anchor fits tightly inside the wall. Wiggle it slightly to feel any play or looseness. A secure fit means the anchor holds steady under pressure. If it moves, remove and try a different size or type. Proper fit keeps your item safe and your wall intact.

Credit: www.youtube.com
Common Mistakes To Avoid
Putting in a hollow wall anchor can seem easy, but many make simple mistakes. These errors can weaken the hold or damage the wall. Avoiding common mistakes helps your anchor hold strong and last long. Here are key errors to watch out for.
Using Incorrect Anchor Type
Not all anchors work the same way. Using the wrong type can cause poor grip or wall damage. Choose an anchor made for hollow walls, like toggle or molly anchors. Avoid anchors meant for solid walls or heavy loads.
Over-tightening Screws
Tightening screws too much can break the anchor or damage the wall. Turn the screw until it feels snug, then stop. Over-tightening may cause the anchor to lose hold or the wall to crack.
Drilling Too Large Holes
Drilling holes bigger than the anchor size weakens the hold. The anchor needs a tight fit to grip the wall properly. Use the drill bit size recommended on the anchor package. Small adjustments keep the anchor secure and stable.
Tips For Long-lasting Fixings
Ensuring your hollow wall anchors last a long time requires some care. Small actions can protect your fixings and keep them strong. Follow simple tips to avoid common problems.
Regular Inspection
Check your fixings often for any signs of wear or damage. Look for cracks, rust, or looseness around the anchor. Early spotting helps prevent bigger issues. Tighten any loose screws carefully. Replace damaged anchors immediately to keep walls safe.
Avoiding Excessive Loads
Do not put too much weight on hollow wall anchors. Each anchor has a limit. Exceeding this limit can cause it to fail. Use anchors suitable for the weight you want to hang. Spread heavy items over several anchors for better support. This reduces strain and extends anchor life.
Frequently Asked Questions
What Tools Do I Need For Hollow Wall Anchors?
You need a drill, drill bit, screwdriver, and the hollow wall anchors. These tools help create holes and secure the anchors properly. Always match the drill bit size to the anchor for a snug fit and strong hold.
How Do I Install A Hollow Wall Anchor?
First, drill a hole matching the anchor size. Insert the anchor into the hole. Then, tighten the screw to expand the anchor inside the wall. This secures the anchor firmly, allowing you to hang or mount items safely.
Can Hollow Wall Anchors Support Heavy Weights?
Yes, but weight capacity depends on the anchor type and wall material. Always check the anchor’s packaging for weight limits. For heavy items, use multiple anchors or specialized heavy-duty anchors for better support.
Are Hollow Wall Anchors Reusable?
No, hollow wall anchors are generally not reusable. Once expanded inside the wall, removing them damages the anchor. For new installations, always use fresh anchors to ensure a secure hold.
Conclusion
Putting in a hollow wall anchor is simple with the right steps. Choose the correct anchor size for your wall. Drill a hole carefully, then insert the anchor firmly. Tighten the screw to secure your item. This method holds items safely on hollow walls.
Practice a few times to feel confident. Now, you can hang pictures, shelves, or mirrors easily. Enjoy your strong and stable wall fixtures every day.