Are you ready to improve your home’s security but unsure how to start? Cutting out a deadbolt hole might sound tricky, but with the right steps, you can do it yourself and save money.
Imagine the confidence you’ll feel knowing your door is stronger and safer. In this guide, you’ll learn exactly how to cut a clean, precise hole for your deadbolt—no guesswork, no wasted effort. Keep reading, and you’ll be one step closer to a more secure home.
Tools And Materials Needed
Cutting out a deadbolt hole requires the right tools and materials. Using proper equipment helps make the job easier and safer. It also ensures a clean, precise hole for your deadbolt lock.
Gather everything before starting. It saves time and avoids interruptions during the project.
Essential Tools
- Power drill with a 1-inch and 2 1/8-inch hole saw bit
- Chisel for smoothing edges
- Measuring tape to mark the correct spot
- Pencil or marker for marking
- Screwdriver to remove existing hardware
- Safety glasses to protect your eyes
- Clamps to hold the door steady
Recommended Materials
- Wood filler to fix any mistakes or gaps
- Sandpaper for smoothing rough edges
- Painter’s tape to mark cutting areas cleanly
- Deadbolt lock kit with all parts included
- Drop cloth to protect the floor from dust

Credit: www.youtube.com
Preparing The Door
Preparing the door is the first step in cutting out a deadbolt hole. This stage ensures the door is ready and the hole will fit perfectly. Proper preparation helps avoid mistakes and saves time during installation.
Focus on picking the right door and marking the hole location correctly. These steps make the process smoother and the final result better.
Choosing The Right Door
Choose a solid wood or metal door for a deadbolt. Hollow-core doors may not support the lock well. Check the door thickness; it should match the deadbolt’s requirements.
Inspect the door for damage or warping. A sturdy door ensures security and easy installation. Measure the door’s edge thickness to confirm the deadbolt fits properly.
Marking The Hole Location
Mark the exact spot for the deadbolt hole carefully. Use a tape measure and pencil for accuracy. Measure 6 to 12 inches above the doorknob, depending on your preference or lock instructions.
Mark the center point on the door face for the main hole. Also, mark the edge for the latch hole. Double-check all measurements before cutting to avoid mistakes.
Drilling The Deadbolt Hole
Drilling the deadbolt hole is a key step in installing a new lock. This step requires precision and the right tools. The hole must be the right size and position for the deadbolt to work properly.
Follow these steps carefully to drill the holes cleanly. This will ensure your deadbolt fits snugly and operates smoothly.
Selecting Drill Bits
Choose drill bits that match the size of your deadbolt. A standard deadbolt needs a 2 1/8 inch bit for the face bore. For the edge bore, use a 1 inch bit. Use high-quality bits to make clean holes. Sharp bits reduce splintering and make drilling easier.
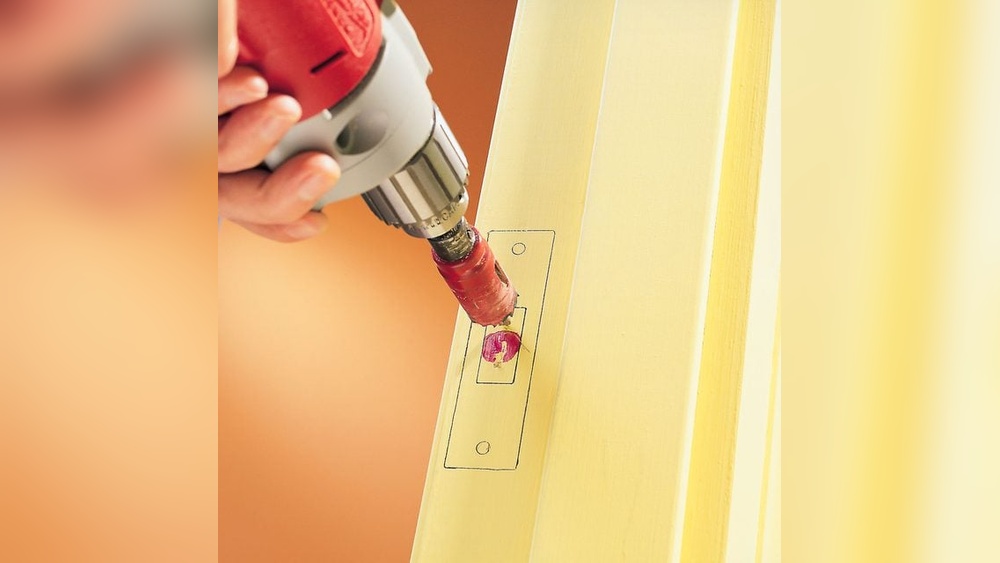
Drilling The Face Bore
Mark the spot on the door where the deadbolt will go. Drill straight through the door with the 2 1/8 inch bit. Keep the drill steady and level. Drill slowly to avoid splintering the wood. Stop once you reach the other side. This hole is the main opening for the deadbolt cylinder.
Creating The Edge Bore
Next, drill into the edge of the door with the 1 inch bit. This hole connects to the face bore. Drill about 1 inch deep. This space holds the deadbolt latch. Make sure this hole is centered and straight. A clean edge bore helps the latch fit tightly and work well.
Cleaning And Smoothing The Hole
After cutting out the hole for your deadbolt, cleaning and smoothing the edges is important. This step helps the lock fit properly and prevents damage to the door. It also makes the hole look neat and professional. Take your time to remove all rough spots and dust before installing the deadbolt.
Removing Debris
Clear away wood chips and dust left from cutting. Use a small brush or vacuum to clean inside the hole. Make sure no loose pieces remain. Debris can block the lock from fitting well. A clean hole ensures smooth installation.
Sanding The Edges
Use fine sandpaper to smooth the hole edges. Sand gently to avoid making the hole bigger. Smooth edges prevent splinters and help the lock sit flush. Check the hole often while sanding. Stop once the edges feel even and clean.
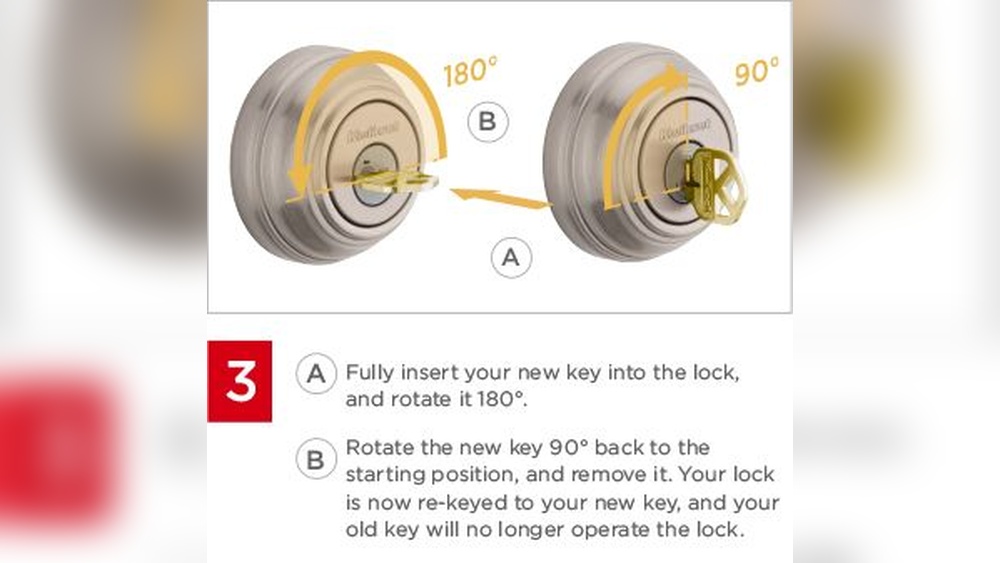
Installing The Deadbolt
Installing the deadbolt is a key step in securing your door. It requires careful placement and alignment to work properly. Follow simple steps to fit and secure the lock mechanism. This ensures your door locks smoothly and stays strong.
Fitting The Lock Mechanism
Start by inserting the lock mechanism into the hole. Make sure the bolt slides out easily. The faceplate should sit flush against the door edge. Use a screwdriver to tighten the screws. Check that the lock turns without resistance.
Securing The Deadbolt
Next, attach the interior and exterior parts of the lock. Align them through the door holes carefully. Tighten all screws firmly but avoid over-tightening. Test the deadbolt by turning the thumb turn or key. Ensure it locks and unlocks smoothly every time.

Credit: diy.stackexchange.com
Testing The Lock
Testing the lock is an important step after cutting out a deadbolt hole. It ensures the lock fits well and works properly. This step helps avoid problems later, such as difficulty locking or unlocking the door. Take your time to check the lock carefully.
Checking Alignment
First, check if the lock lines up with the hole. The deadbolt should fit snugly without forcing it. Make sure the latch and bolt slide smoothly into the strike plate. Misalignment can cause the lock to jam or not close fully. Adjust the hole or strike plate if needed.
Ensuring Smooth Operation
Next, test the lock’s turning mechanism. Turn the key or thumb turn several times. The lock should move easily without sticking. Check both locking and unlocking actions. If it feels stiff, the hole might be too tight or the lock may need lubrication. Smooth operation means the lock is installed correctly.
Tips For A Professional Finish
Cutting out a deadbolt hole requires care and precision for a neat result. Small details make a big difference in how your door looks and works. Follow these tips to achieve a professional finish that lasts.
Focus on accuracy and safety. Use the right tools and measure twice before cutting. Take your time to avoid mistakes that can damage the door or weaken its strength.
Avoiding Common Mistakes
Mark the hole carefully using a template or the deadbolt itself. Double-check your measurements to prevent errors. Use a drill to make starter holes for easier cutting. Cut slowly and steadily to keep edges smooth. Avoid rushing, which can cause splintering or uneven cuts.
Maintaining Door Integrity
Keep the door strong by not cutting too close to the edges. Preserve the door’s structure by following the manufacturer’s guidelines. Use wood filler or sealant to protect exposed areas. Sand the hole edges gently for a clean look. Test the fit of the deadbolt before final assembly to ensure proper function.

Credit: www.reddit.com
Frequently Asked Questions
How Do You Mark A Deadbolt Hole On A Door?
Use a template or measure 2 1/8 inches diameter for the hole. Mark the spot carefully on the door face. Ensure the height is about 6 to 7 feet from the floor for standard placement.
What Tools Are Needed To Cut A Deadbolt Hole?
You need a hole saw drill bit, drill, chisel, measuring tape, pencil, and safety goggles. A hole saw creates a clean round hole for the deadbolt installation.
How Deep Should The Deadbolt Hole Be Cut?
Cut the hole deep enough to fit the deadbolt lock body fully. Usually, the hole depth should match the lock’s thickness, often about 1 inch deep.
Can I Cut A Deadbolt Hole Without A Template?
Yes, but using a template is recommended for accuracy. Mark measurements carefully using a tape measure and pencil. Precise marking ensures the deadbolt fits properly and functions well.
Conclusion
Cutting out a deadbolt hole is simple with clear steps. Measure carefully and mark the door before you start. Use the right tools to make clean, precise cuts. Take your time to avoid mistakes or damage. Practice on scrap wood if you feel unsure.
This helps you get comfortable with the process. A well-cut hole ensures your deadbolt fits properly and works well. You can save money by doing it yourself. Follow these tips, and your door will be secure in no time.