Are you ready to upgrade your home security without the hassle of keys? Installing a Schlage keyless deadbolt is easier than you think, and it gives you full control over who enters your home.
Imagine never fumbling for your keys again or worrying about lost copies. In this guide, you’ll find simple, step-by-step instructions that anyone can follow—no special tools or skills needed. Keep reading to discover how you can quickly and confidently install your Schlage keyless deadbolt and enjoy peace of mind every time you lock your door.
Choose The Right Deadbolt
Choosing the right deadbolt is the first step to secure your door with a Schlage keyless deadbolt. Not all deadbolts fit every door or meet your security needs. Selecting the proper model helps ensure smooth installation and strong protection.
Types Of Schlage Keyless Deadbolts
Schlage offers several types of keyless deadbolts. Some models use a keypad to enter a code. Others include fingerprint scanners for added security. There are also smart locks that connect to your phone. Each type offers different features and levels of convenience. Choose one that fits your daily routine and security preference.
Compatibility With Your Door
Check your door’s thickness before buying. Most Schlage deadbolts fit doors between 1 3/8 and 1 3/4 inches thick. Also, measure the backset, the distance from the door edge to the lock hole. Common sizes are 2 3/8 or 2 3/4 inches. Some deadbolts only work with certain door materials, like wood or metal. Confirm your door type matches the deadbolt’s specifications. This ensures easy installation and reliable function.

Credit: www.youtube.com
Gather Necessary Tools
Gathering the right tools is the first step to install your Schlage keyless deadbolt correctly. Having everything ready saves time and makes the process smoother. It also helps avoid mistakes or damage to your door.
Organizing your tools and workspace sets the stage for easy installation. Take a moment to prepare before starting the work.
Tools Required For Installation
You need a few basic tools for this job. A Phillips screwdriver is essential to fasten screws. A tape measure helps check the door’s thickness and hole size. A pencil is useful for marking measurements. A drill with drill bits is needed if new holes are required. A level ensures the deadbolt sits straight. Keep a utility knife handy to trim any excess material or packaging.
Preparing Your Workspace
Clear the area around the door to avoid distractions. Lay down a cloth or mat to protect your floor. Make sure you have good lighting to see details clearly. Organize your tools within reach to avoid searching mid-installation. Keep the Schlage deadbolt parts together in one place. This preparation makes the process faster and less stressful.
Remove Existing Deadbolt
Removing the old deadbolt is the first step in installing your new Schlage keyless deadbolt. This process prepares your door for a smooth and secure upgrade. Taking time to do it carefully prevents damage and ensures a good fit for the new lock.
Unlock And Remove Old Hardware
Start by unlocking your current deadbolt. This makes it easier to handle the lock parts. Use a screwdriver to remove the screws from the interior side of the door. Pull off the inside knob or lever gently. Next, remove the exterior lock and the latch from the door edge. Keep all screws and parts in case you need them later.
Clean Door Surface
After removing the old lock, clean the door surface well. Remove any dirt, dust, or old paint around the lock area. A clean surface helps the new deadbolt fit tightly. Wipe the area with a damp cloth and let it dry before installing the new lock. This step ensures better security and a neat finish.
Install The Deadbolt Components
Installing the deadbolt components is a key step in setting up your Schlage keyless deadbolt. This part ensures the lock works smoothly and securely. Follow these simple steps to attach the main parts correctly.
Attach Exterior Keypad
Start by placing the exterior keypad on the outside of your door. Align it with the hole where the deadbolt fits. Make sure the keypad’s cable passes through the door hole carefully. The keypad should sit flat and flush against the door surface.
Position Interior Assembly
Next, take the interior assembly and position it on the inside of the door. Feed the cable from the keypad into the interior assembly’s connector. Align the screw holes on the interior part with the door holes. Check that the thumb turn is easy to turn and not stuck.
Secure With Screws
Use the screws provided to fasten the exterior keypad and interior assembly tightly. Insert screws through the interior assembly into the exterior keypad. Tighten each screw evenly to avoid misalignment. Do not over-tighten to prevent damage to the parts.
Set Up Batteries
Setting up the batteries is a key step in installing your Schlage keyless deadbolt. This process powers the lock’s electronic features. Without proper battery installation, the lock will not work correctly.
Follow these simple steps to locate the battery compartment and insert the batteries. Testing the batteries ensures the lock functions smoothly.
Locate Battery Compartment
The battery compartment is usually on the inside part of the deadbolt. Remove the interior cover by sliding it down or pressing a release tab. The compartment will be visible once the cover is off. Check your lock model’s manual for exact location if needed.
Insert And Test Batteries
Place the recommended batteries inside the compartment. Make sure the positive and negative ends match the markings. Close the battery cover securely. Press any button on the keypad to test if the lock powers on. A light or sound signal means the batteries are working well.
Program Your Code
Programming your code is a crucial step in setting up your Schlage keyless deadbolt. This step lets you control who can enter your home. You will learn how to enter programming mode and save new user codes easily.
Access Programming Mode
Start by pressing the Schlage button on the keypad. Enter the default programming code found in the manual. The keypad will light up to show you are in programming mode. If the code is correct, you will hear a beep. Now you can add or delete user codes. Exit programming mode by pressing the Schlage button again.
Create And Save User Codes
Press the number 1 on the keypad to begin adding a new code. Enter a unique 4 to 8-digit code you want to use. Press the Schlage button to save the code. The lock will beep twice to confirm the code is saved. Repeat this process to add more user codes. Delete codes by entering programming mode and following the manual’s instructions.
Test The Deadbolt Function
Testing the deadbolt function is an important step after installation. This ensures the lock works smoothly and keeps your home secure. Take time to check both manual and keyless operations. Confirm the deadbolt locks and unlocks without issues. This helps avoid future problems.
Check Manual Lock And Unlock
Turn the thumb turn inside to lock the door. Feel the deadbolt slide smoothly into the strike plate. Next, turn it back to unlock. The deadbolt should move easily without sticking. Make sure the door opens without resistance. Test several times to confirm consistent action.
Verify Keyless Entry
Use the keypad to enter your code. Press the lock or unlock button as instructed. The deadbolt should respond quickly to the keypad commands. Test multiple codes if your lock supports them. If the deadbolt does not move, recheck battery power and programming. Confirm the keyless entry works every time for safety.

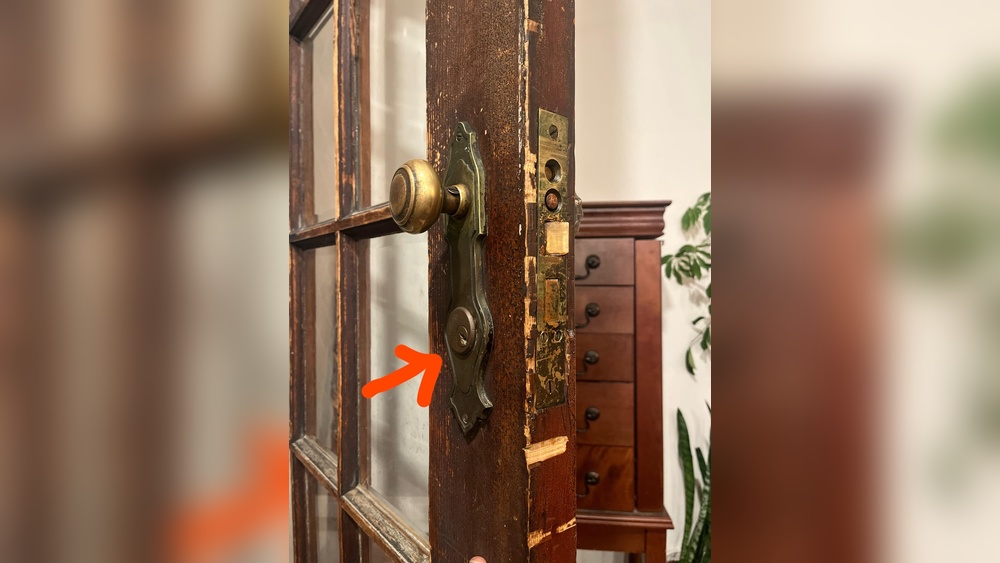
Credit: www.youtube.com
Troubleshooting Tips
Troubleshooting can help fix issues during Schlage keyless deadbolt installation. A few small problems may stop the lock from working well. Knowing how to solve these issues saves time and effort.
Read on for common installation issues and how to reset the deadbolt. These tips make the process smoother and easier.
Common Installation Issues
Sometimes, the lock does not fit the door properly. Check the door thickness and compare it to the lock’s requirements.
The deadbolt might not turn smoothly. This often happens if the latch or strike plate is misaligned. Adjust the plates to line up correctly.
If the keypad does not respond, check the batteries. Weak or dead batteries cause keypad failure.
Loose screws can cause parts to wobble or not work right. Tighten all screws firmly but avoid over-tightening.
Resetting The Deadbolt
Resetting the lock clears old codes and errors. Use this step if the lock malfunctions after installation.
Locate the reset button inside the lock housing. Press and hold the button for about 10 seconds.
Release the button when the keypad lights flash. This means the lock reset is complete.
After reset, reprogram your user codes following the manual’s instructions. This ensures the lock works with your settings.
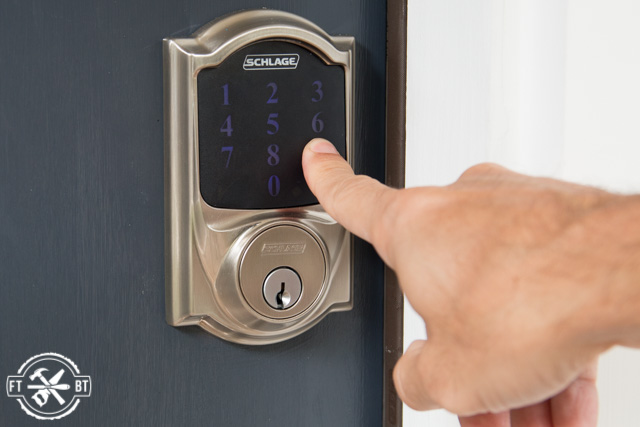
Credit: fixthisbuildthat.com
Frequently Asked Questions
How Do I Install A Schlage Keyless Deadbolt?
To install, remove the existing lock, align the deadbolt with the door, and secure screws. Follow the included manual for wiring and programming.
What Tools Are Needed To Install Schlage Deadbolt?
You need a screwdriver, drill, tape measure, and pencil. These tools help mount the lock and drill holes if required.
How To Program Codes On Schlage Keyless Deadbolt?
Enter the programming code, then press the Schlage button. Follow prompts to add or delete user codes easily.
Can I Install Schlage Deadbolt On Any Door?
Yes, it fits standard doors with 1-3/8” to 1-3/4” thickness. Check door preparation requirements before installation.
Conclusion
Installing a Schlage keyless deadbolt is simple and quick. Follow each step carefully for the best results. Double-check your work to ensure the lock fits and works properly. This lock adds extra safety to your home without needing keys. Enjoy the ease of keyless entry every day.
Keep the manual handy for future reference. Now, your door is secure and convenient to use.