Have you ever tried to remove a screw only to find a stubborn wall anchor stuck behind it? It can be frustrating when that little plastic piece won’t come out easily, leaving you wondering how to fix the wall or reuse the space.
You’re not alone, and the good news is there are simple, effective ways to get that wall anchor off the screw without damaging your wall. Keep reading, and you’ll learn easy steps to solve this common problem quickly—saving you time, stress, and extra repair work.
Tools Needed
Removing a wall anchor from a screw requires the right tools. These tools make the job easier and prevent damage to your wall. Prepare everything before starting for smooth work.
Phillips Head Screwdriver
A Phillips head screwdriver fits most screws in wall anchors. It helps to unscrew the fastener carefully. Choose the right size to avoid stripping the screw head.
Pliers
Pliers provide a strong grip on the anchor. Use them to pull the anchor out after loosening the screw. Needle-nose pliers work best for small or tight spots.
Utility Knife
A utility knife can cut away excess anchor material. It helps to trim anchors flush with the wall. Use it carefully to avoid damaging the wall surface.
Putty Knife
A putty knife helps pry out the anchor gently. Slide it behind the anchor to lift it from the wall. This tool reduces the risk of making large holes.
Drill With A Drill Bit
A drill may be needed for tough anchors. Use a drill bit slightly larger than the anchor. Drill slowly to avoid enlarging the hole too much.
Types Of Wall Anchors
Wall anchors help hold screws firmly in walls. They prevent screws from slipping out. Different types of wall anchors suit different wall materials and weights. Knowing the types helps remove them safely from screws.
Plastic Expansion Anchors
Plastic expansion anchors are common in drywall. They expand when a screw goes in. This expansion grips the wall tightly. Removing these anchors can be tricky if the screw is stuck.
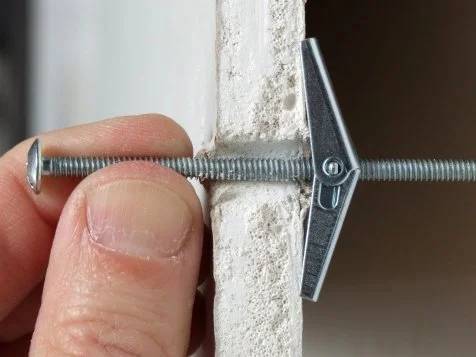
Toggle Bolts
Toggle bolts use metal wings that open inside the wall. They hold heavy items well. The wings spread the load over a bigger area. Removing toggle bolts means dealing with the wings inside the wall.
Molly Bolts
Molly bolts have a metal sleeve that expands behind the wall. They give strong support for medium loads. When the screw tightens, the sleeve opens like legs. Removing molly bolts requires handling the expanded sleeve carefully.
Self-drilling Anchors
Self-drilling anchors screw directly into drywall without pre-drilling. They are easy to install. These anchors have threads that grip drywall firmly. Removing self-drilling anchors may need extra care to avoid wall damage.
Preparing The Area
Preparing the area is the first step to safely remove a wall anchor from a screw. A clean and organized space helps prevent damage and makes the task easier. Take time to gather tools and clear the workspace.
Proper preparation also protects the wall and your hands. Small debris may fall, so cover the floor with a cloth or paper. This keeps the area tidy and avoids extra cleanup later.
Clear The Surrounding Wall Space
Remove any pictures, decorations, or furniture near the anchor. This prevents accidental bumps or scratches. A clear wall surface allows better access and visibility.
Gather The Right Tools
Use pliers, screwdrivers, and a utility knife. Having tools ready saves time and avoids interruptions. Choose tools that fit the screw head and anchor size.
Protect Your Hands And Eyes
Wear gloves to avoid cuts or scrapes. Use safety glasses to guard your eyes from dust or small particles. Safety comes first during any removal task.
Lay Down A Protective Covering
Place a drop cloth or old towel under the work area. This catches any falling debris or anchor pieces. It also protects your floor or furniture.

Credit: www.youtube.com
Removing The Screw
Removing the screw is the first step to take out a wall anchor. The screw holds the anchor tightly in place. Taking out the screw allows the anchor to come out easily. You can use a screwdriver or a drill to remove the screw. Choose the method that fits your tools and skills.
Using A Screwdriver
Pick a screwdriver that fits the screw head well. Turn the screwdriver counterclockwise to loosen the screw. Apply steady pressure to avoid stripping the screw. If the screw is stuck, try rocking the screwdriver gently. Keep turning until the screw comes out completely.
Using A Drill
Select a drill bit that fits the screw head. Set the drill to reverse mode to remove the screw. Hold the drill firmly and apply light pressure. Start the drill slowly to avoid damaging the wall. Keep the drill steady as the screw backs out. Stop once the screw is fully removed.
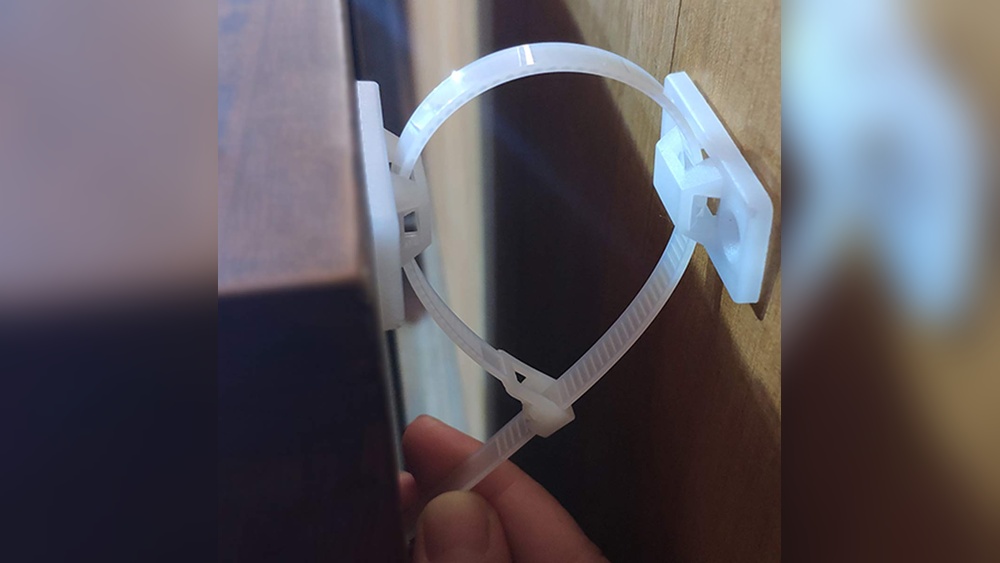
Extracting The Wall Anchor
Removing a wall anchor from a screw can be tricky. The right method helps avoid damage to your wall. Extracting the wall anchor carefully keeps the surface smooth and ready for new fixtures. Here are three easy ways to take the anchor out.
Pulling Out With Pliers
Use needle-nose pliers for better grip on the anchor. Hold the anchor firmly and pull straight out. Move slowly to avoid tearing the wall. If it resists, try rocking it gently side to side. This loosens the anchor and makes removal easier.
Pushing The Anchor In
Sometimes pushing the anchor into the wall works best. Use a screwdriver or a similar tool. Press the anchor inward until it goes flush with the wall. This hides the anchor inside the wall cavity. Patch the hole later for a smooth finish.
Using A Hook Tool
A hook tool grabs the anchor behind the wall surface. Insert the hook under the anchor’s lip carefully. Pull the anchor out slowly with the hook tool. This method works well for anchors that don’t come out easily. It reduces wall damage and speeds up removal.
Credit: www.hgtv.com
Dealing With Stubborn Anchors
Stubborn wall anchors can be tough to remove from screws. They often get stuck deep inside the wall, making removal tricky. Patience and the right methods help get them out without damage. Two effective techniques include applying heat and widening the hole.
Applying Heat
Heat softens plastic anchors, making them easier to pull out. Use a hairdryer on medium heat and aim it at the anchor for a few minutes. The warmth loosens the grip inside the wall. Avoid high heat to prevent damage to the paint or drywall. After heating, try gently twisting the screw and pulling it out. The softened anchor should come free more easily.
Widening The Hole
Widening the hole helps release metal or plastic anchors stuck tightly. Use a drill with a bit slightly larger than the anchor. Drill slowly and carefully around the edges of the anchor. This loosens its hold inside the wall. Take care not to drill too deep or wide. After widening, pull the screw and anchor out together. This method works well for anchors that resist twisting or heat.
Repairing The Wall
Removing a wall anchor can leave small holes or damage. Repairing the wall is key to restoring a smooth surface. The process is simple and does not require special skills.
Filling Holes
Start by cleaning the hole of dust and loose debris. Use a putty knife to apply spackle or wall filler. Press the filler firmly into the hole to fill it completely. Smooth the surface with the knife to make it even. Allow the filler to dry fully before moving on. Drying time depends on the product used.
Sanding And Painting
Once the filler is dry, lightly sand the area with fine-grit sandpaper. Sand until the surface feels smooth and flush with the wall. Wipe away dust with a damp cloth. Choose paint that matches your wall color. Apply paint using a small brush or roller for best results. Let the paint dry before touching or hanging anything on the wall.
Preventing Future Issues
Preventing problems with wall anchors saves time and effort. Proper choices and careful installation keep anchors secure and walls safe. Small steps help avoid damage and the need for repairs.
Choosing The Right Anchor
Select anchors based on wall type and weight of items. Drywall anchors work well for light objects. Use toggle or molly anchors for heavier loads. Match anchor size to screw size for a tight fit. Avoid using anchors that are too big or too small.
Proper Installation Tips
Drill the correct size hole before inserting an anchor. Clean out dust to help anchors hold better. Insert anchors straight and flush with the wall. Do not overtighten screws to prevent anchor breakage. Test the anchor’s hold gently before hanging heavy items.

Credit: www.youtube.com
Frequently Asked Questions
How Do I Remove A Wall Anchor From A Screw?
To remove a wall anchor, first unscrew the screw completely. Then, pull the anchor out gently using pliers. If it’s stuck, push it further into the wall and patch the hole later.
Can I Reuse A Wall Anchor After Removal?
Reusing a wall anchor is not recommended. It may lose grip and cause instability. Always use a new anchor for better support and safety.
What Tools Help Remove Wall Anchors Easily?
Pliers, screwdrivers, and utility knives are useful tools. Pliers help grip and pull anchors. A screwdriver can unscrew embedded screws. A utility knife can cut around the anchor if needed.
How To Avoid Wall Damage When Removing Anchors?
Remove screws carefully to avoid wall damage. Use pliers gently when pulling anchors. If damage occurs, fill holes with spackle and sand smooth for repainting.
Conclusion
Removing a wall anchor from a screw takes patience and care. Use the right tools to avoid damage to your wall. Gently twist or pull the anchor while keeping the screw steady. Sometimes, a little extra effort helps loosen stuck anchors.
With practice, the process becomes easier and quicker. Always work slowly to keep your wall intact. Now, you can handle anchors without stress or mess. Simple steps make home repairs smoother and less frustrating. Give it a try and see the difference yourself.